• Don't miss out on all the fun! Register on our forums to post and have added features! Membership levels include a FREE membership tier.

Installation & Review: Yamaha OEM Turbo & MPI Stage One Upgrade

From the looks of your new avatar you got CHIMPED after last night's conversation in the Chatbox.

230px-Speed_Racer_promotional_image.jpg


_5655.jpg


tumblr_mgoewuzQIQ1s1vxj9o1_500.jpg


Maybe you should nickname your sled the "Mach 5" and put a cool red "M" on it?

32891227796995.jpg
 
I thought you were doing a stage 1 upgrade so that should have a intercooler right?
I think his plan was the install the OEM kit from Yamaha (made by MPI) , take it out and ride it a bit, then install the MPI Stage 1 upgrade kit that has the intercooler and see what difference that makes.
 
I think his plan was the install the OEM kit from Yamaha (made by MPI) , take it out and ride it a bit, then install the MPI Stage 1 upgrade kit that has the intercooler and see what difference that makes.

I would do it all the one time. I wouldnt really want to have to take all of those parts off again in order to put that intercooler and the other bypass valve on.
 
I would do it all the one time. I wouldnt really want to have to take all of those parts off again in order to put that intercooler and the other bypass valve on.


Yes I agree. Do it all right now. If you want to get used to the boost just turn down the boost controller for now.

I am ready to see some video even if it is just. A road ride!
 
Yea Christopher got it right!

I will be doing the OEM upgrade and then going back and doing the inter-cooler. I know it might seem odd, but I really do want to see what that difference is.

Trust me there will be video and pictures!

haha stay tuned!
 
Chassis Preparation and TurboCharger Installation

Step 28
On top of tunnel remove the 2 rubber plugs and loosen the 2 bolts. Dont unscrew completely

chassisprep001.jpg


Step 30
(STRESSFUL)

Cut a 2-1/4" inch hole in the tunnel to the LF side of the 1st exhaust pipe.
chassisprep004.jpg

chassisprep005.jpg
 
If you are going to add an air/fuel gauge and a boost controller, here is where we put mine last season when I did this install on my 2011.

Boost Controller -

8111360871_db6b11fb61_b.jpg


O2 sensor location -

8111359606_b3876a20c6_b.jpg


If you do install an o2 sensor and put it there, drill the holes and do it on the bench before you put it on the sled. The metal shavings from the unibit I used got everywhere and we had to remove it again and use a shop vac to get them all out of the exhaust.

And here is the clutching I am using -

Weights -

4.6g toe
3.6g center and heel

Spring 2 and 6 = 80 degrees


I was given that to use by Dustin at Outlaw Motorsports, and it was perfect for me last season.
 
Im gonna have to take a look and see if its something I can do!

Chassis Preparation and Turbocharger Installation

Step 30 continued

I took the hole saw and found where I wanted to make the hole, marked it, then took a punch and made a little hole and off I went making the cut!

Well here it is! The first hole I have had to make on my sled. It was actually pretty stressful being told to make a hole into your sled.

chassisprep009.jpg


Step 31

After that you have to debur and smooth down the hole.

Then once you do that add the black gasket. We used M3's gasket adhesive and its worked great.

(PS these are not my fingers in this picture, my nails are not painted! :face-icon-small-win)

chassisprep014.jpg
 
Chassis Preparation and Turbocharger Installation

Step 32
Remove the support bar from the inside of the large rear upper heat shield. Im not gonna lie I took a second looking on the sled for this haha! Then I realized it was a part we took off earlier

chassisprep015.jpg


That support bar has to go!

Three rivets on each side!

chassisprep016.jpg


I used a punch to knock out the cores of each one and then a 9/64 bit to drill them out!

Youre gonna want a second pair of hands to hold the back end of the rivet bc it spins!

chassisprep019.jpg
 
Chassis Preparation and Turbocharger Installation

Step 33

Mark and cut from the rear upper heat shield the front left edge

So on the piece we just took the rivets out of, I had to remove the front left corner to allow for the steel braided turbo oil feed line.

chassisprep020.jpg


haha I learned that I might not have the right tools for this, but I did get it done!
 
Chassis Preparation and Turbocharger Installation

Step 34

Remove the two "Stud Plates" on both the LF and RH side inside the tunnel. Each plate had two studs and one rivet.

View from the top

chassisprep021.jpg


View of Both

chassisprep022.jpg


Removed
chassisprep023.jpg


Pretty simple, just the exact same process as the heat shield
 
Chassis Preparation and Turbocharger Installation

Step 35

Use the large U shaped bracket as a guide mark and cut the rear corners of the OE tunnel to fit bracket.

turbo2001.jpg


Once marked cut and remove corners.

turbo2010.jpg
turbo2018.jpg


Removed. Its always a bit nerve racking to be cutting metal off your sled. Luckily MPI gives a pretty good picture of exactly where to draw the lines. But cutting always makes me a bit nervous haha

turbo2023.jpg
 
Chassis Preparation and Turbocharger Installation

Step 36-37
Install the U shaped bracket to the underside of the sled. (IE lots of drilling holes and lots of riveting!)

First step is to go back and get the stud plates we removed before and to attach the bracket with those. From there you can just drill out each hole from the underside of the sled. There is a total of 14 rivets that get installed.

If I can recommend a good pair of safety glasses and a long sleeve shirt. I was covered in metal shaving and had them running down my sleeves. Lots of little nicks on my self lol.
turbo2024.jpg


Here we have all the holes drilled and all the rivets before i drive them in.
turbo2026.jpg


turbo2032.jpg
 
Chassis Preparation and Turbocharger Installation

Step 38

Hardest thing I have done yet. I spent half of the day working on this just due to the fact I didnt know what I was doing

There are three rear facing holes on the U bracket that have to be drilled out, but you are drilling out steel instead of aluminum. I quickly found out that it is not as easy.

I went through three cobalt 3/16 drill bits getting this job done. I am going to make two recommendations. Use cobalt, go slow when drilling and push hard on it. I spent over an hour a piece working the first two because I just wasn't pushing. Where as on number three it took me 5 minutes to drill it out because I put all of my weight into it. It cost me about $2.50 for the drill bits a piece. So worth it in my opinion for a new edge, it just ate right through it on the last one.

Last recommendation on this step would be to jack the end of the sled up way high. I have the tail of mine about 4 or 4 1/2 feet in the air. It made it so much easier.

This is my buddy he was working on it with me today. Nothing to much to see picture wise here, just rivets and some hard drilling.

turbo2036.jpg
 
Chassis Preparation and Turbocharger Installation

Step 40

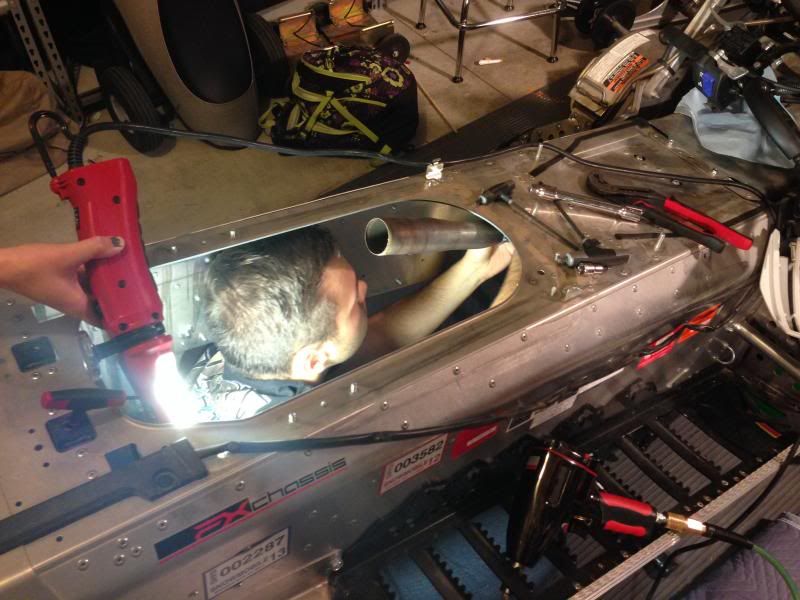
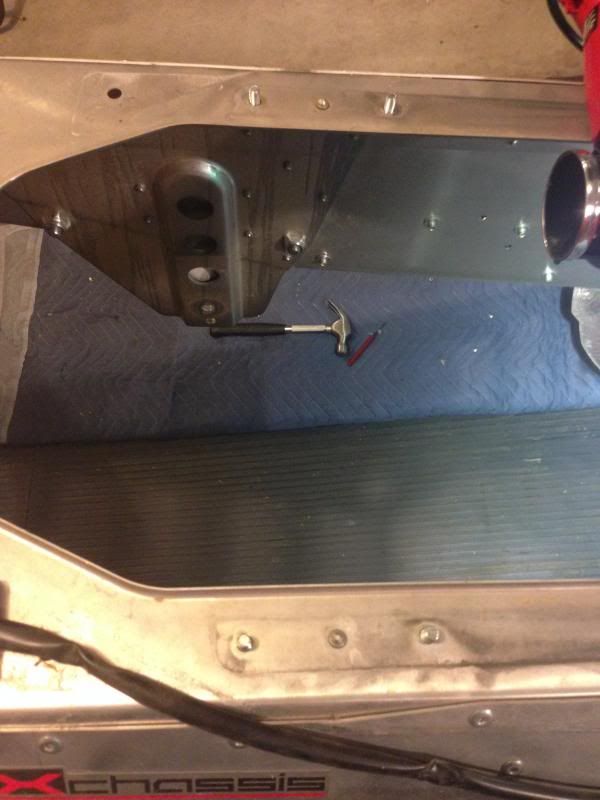
Mount the turbo onto the OE exhaust pipe.

Now its gonna tell you to find the special non-nylock clamp. I looked everywhere for this thing!! Turned out it was actually already on the turbo further up the pipe. So dont look through everything trying to find it. Just check on the turbo and make sure its there before the turbo is slid onto the exhaust pipe.

turbo2041.jpg


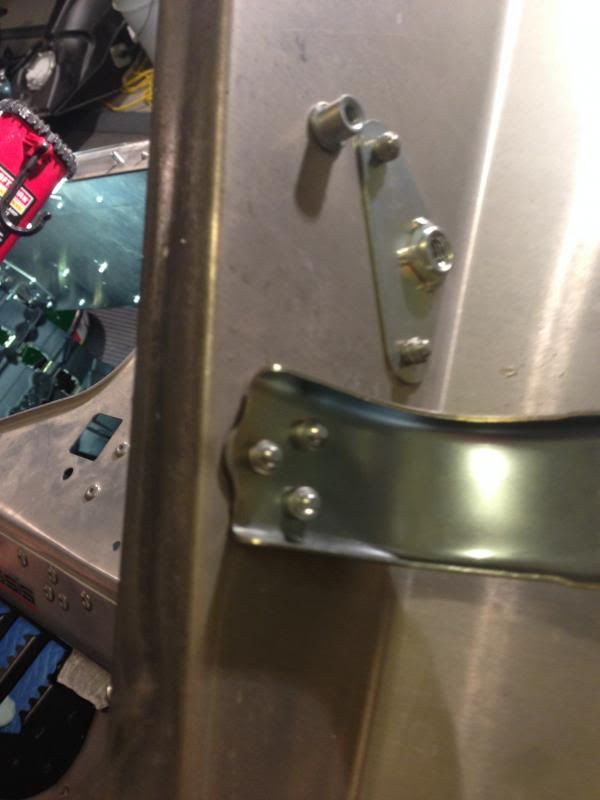
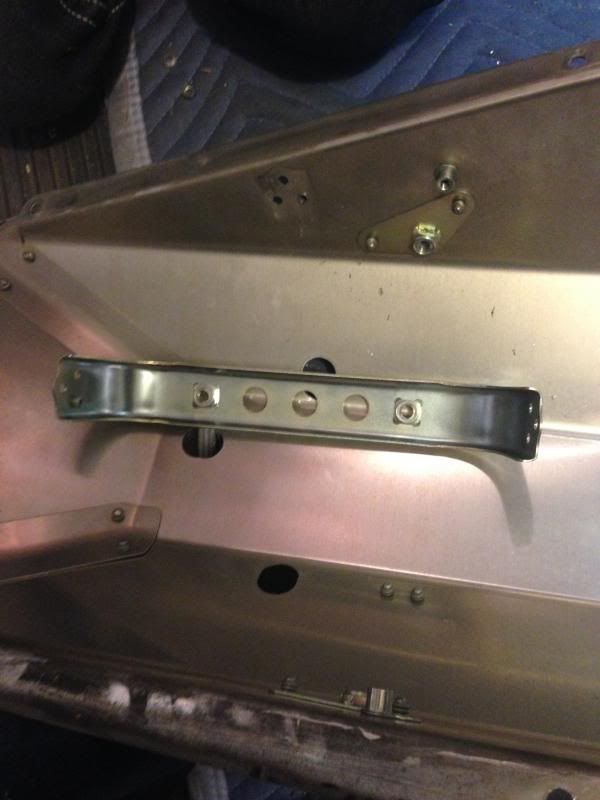
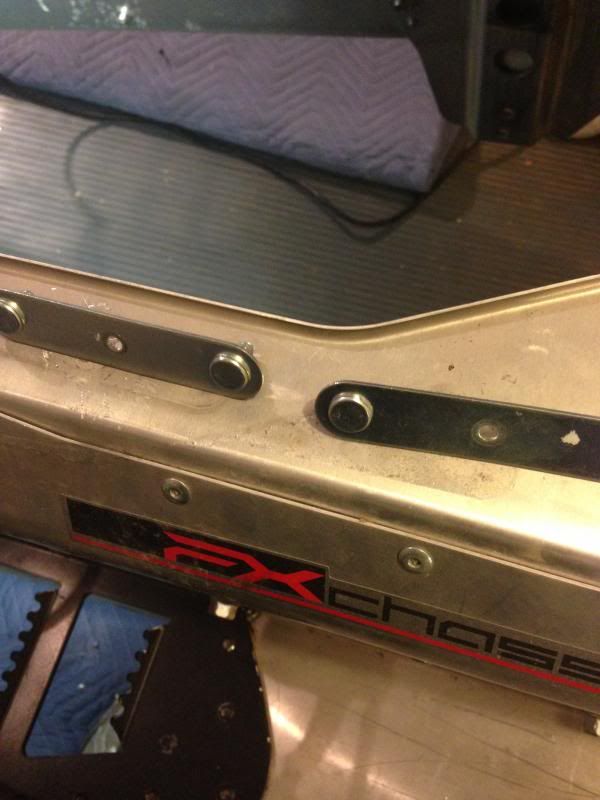
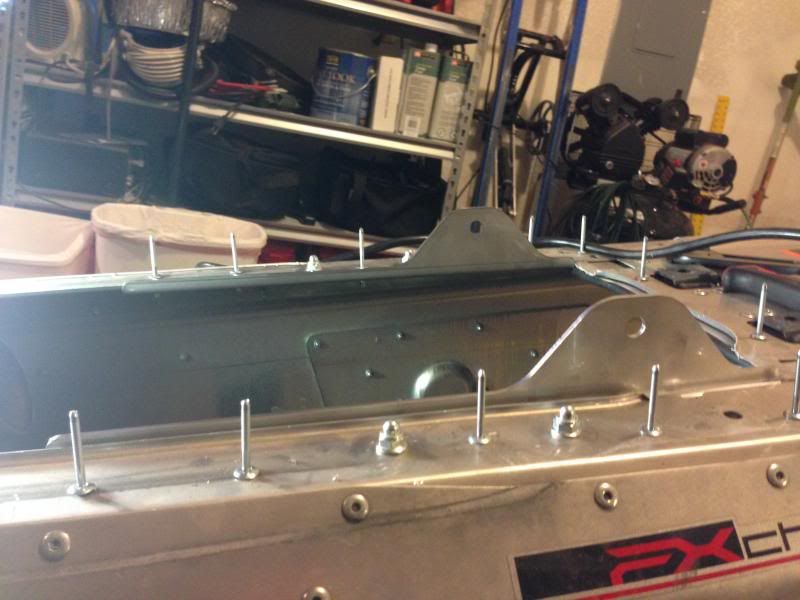
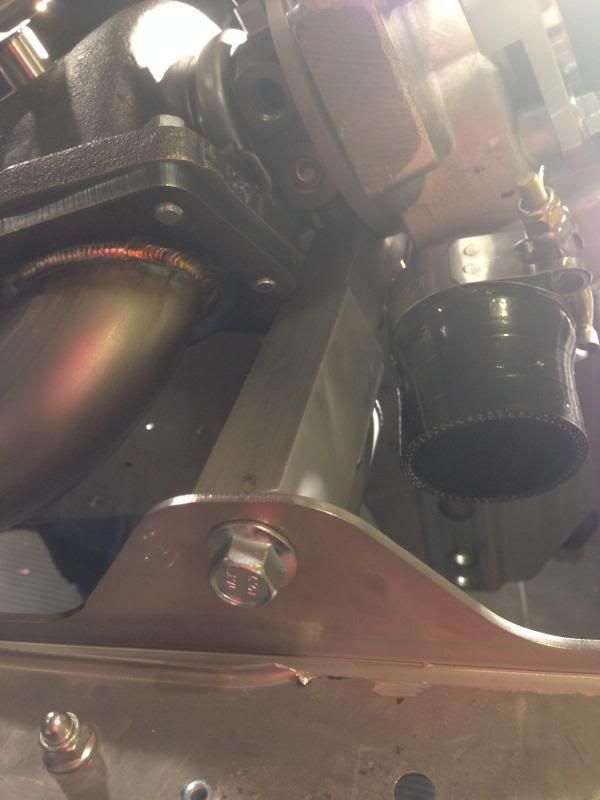
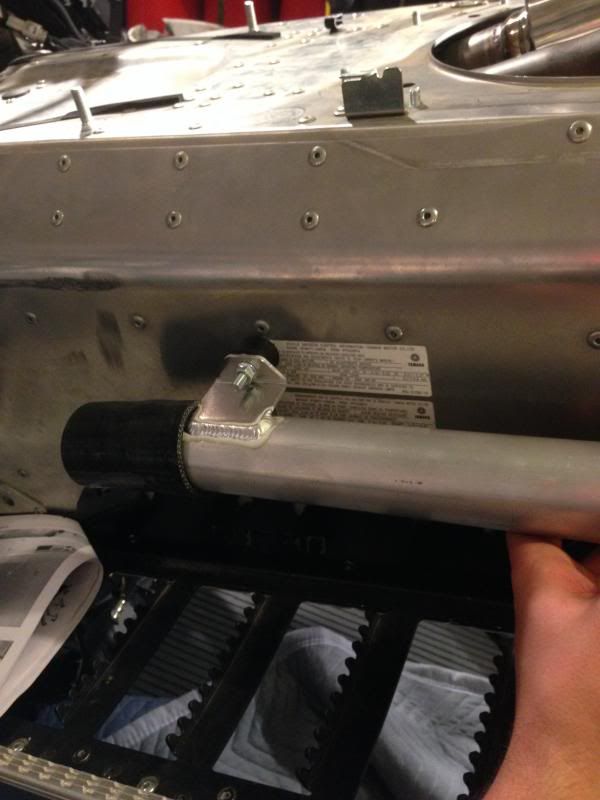
Once you actually get the turbo on, undo the 2 M10 bolts and then mount the turbo to the U shaped bracket that was just riveted down.

turbo2038.jpg


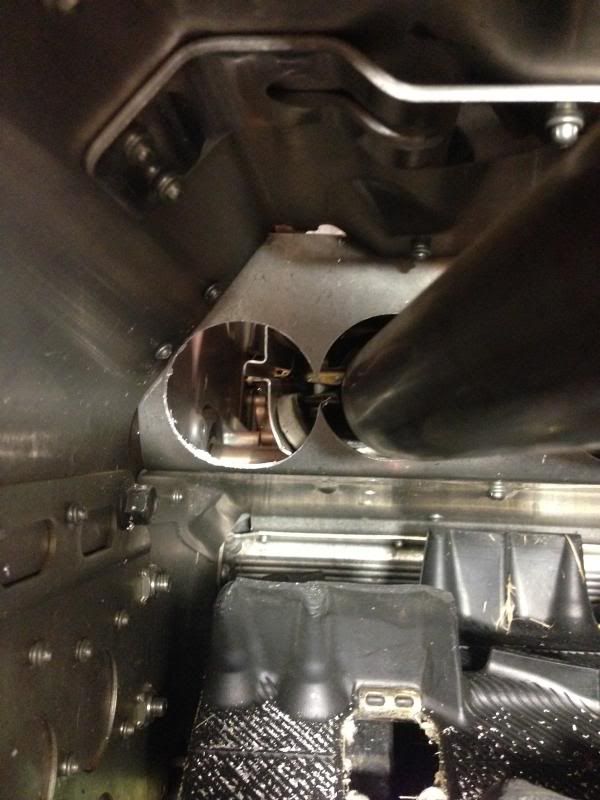
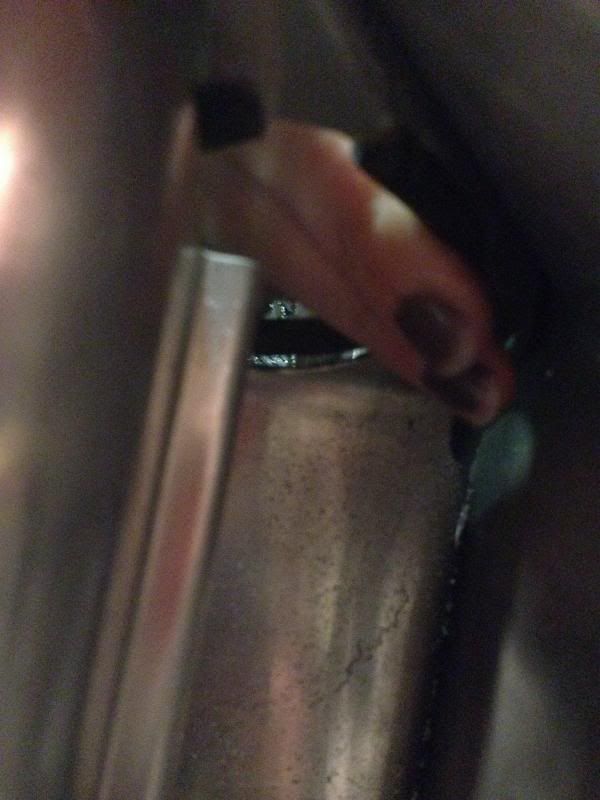
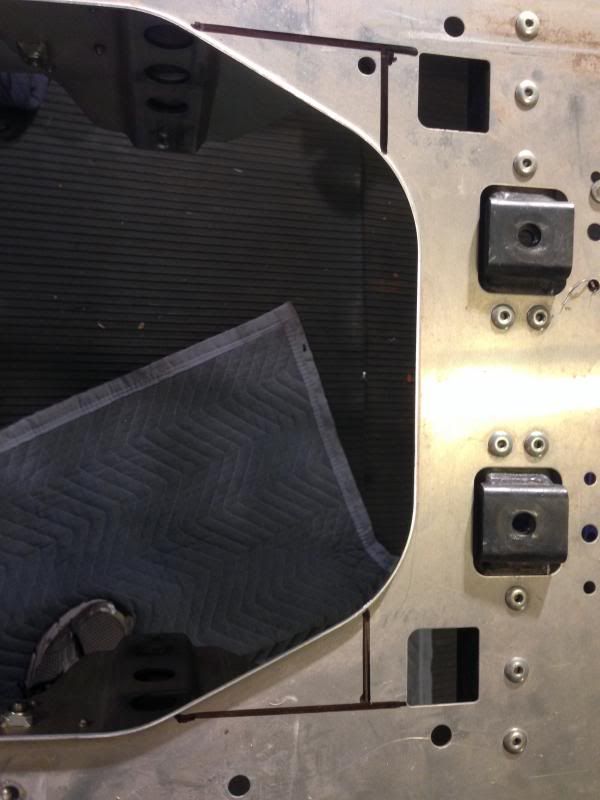
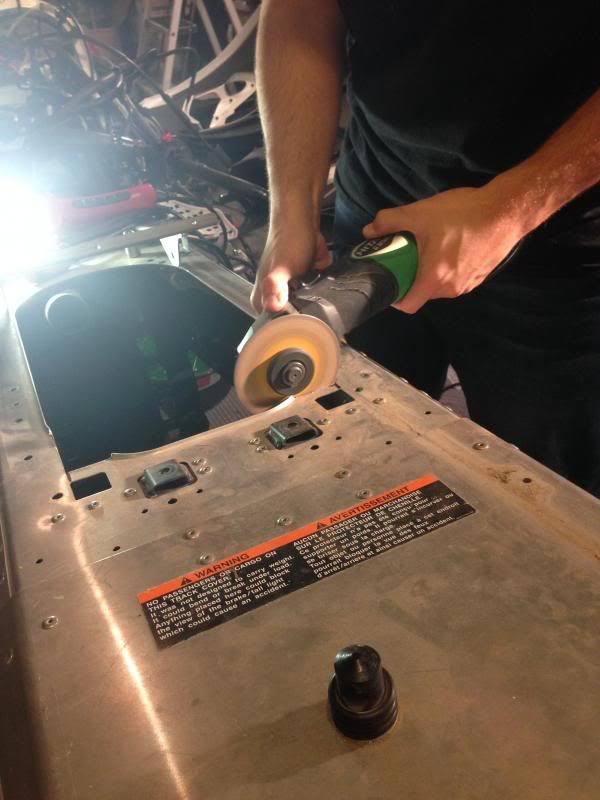
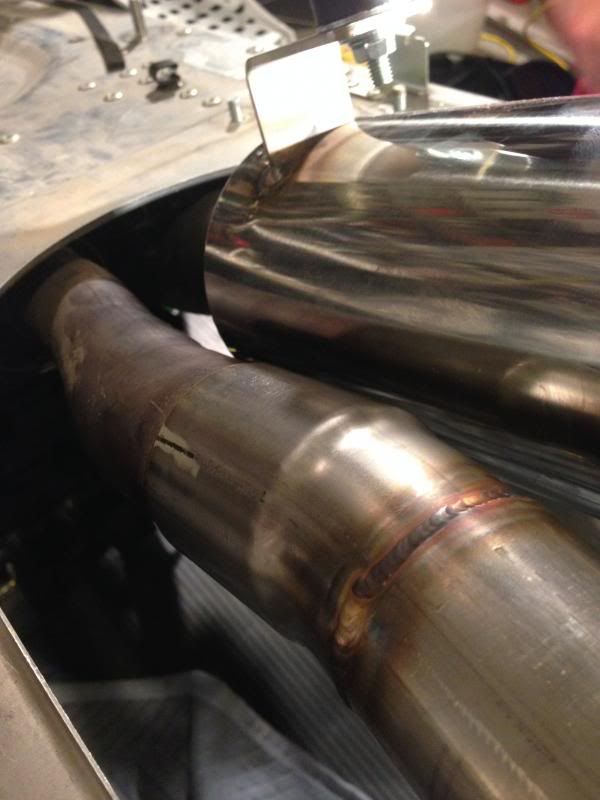
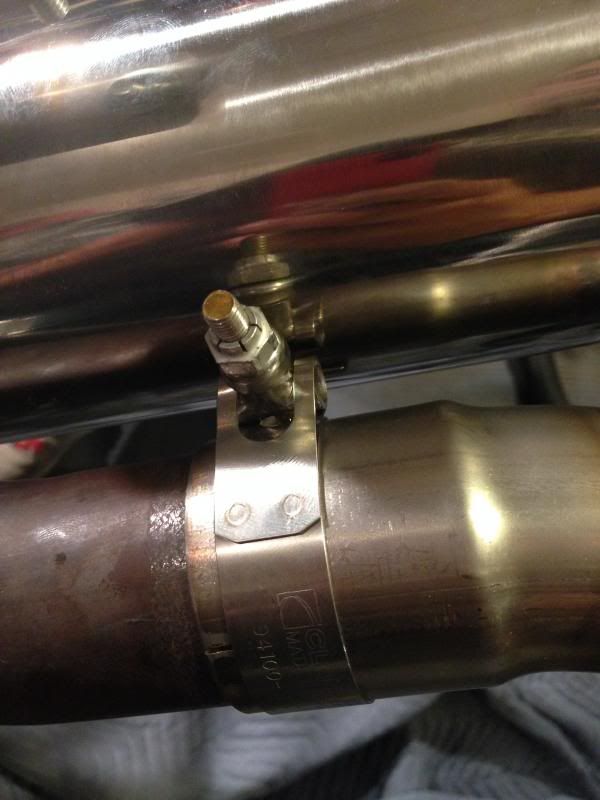
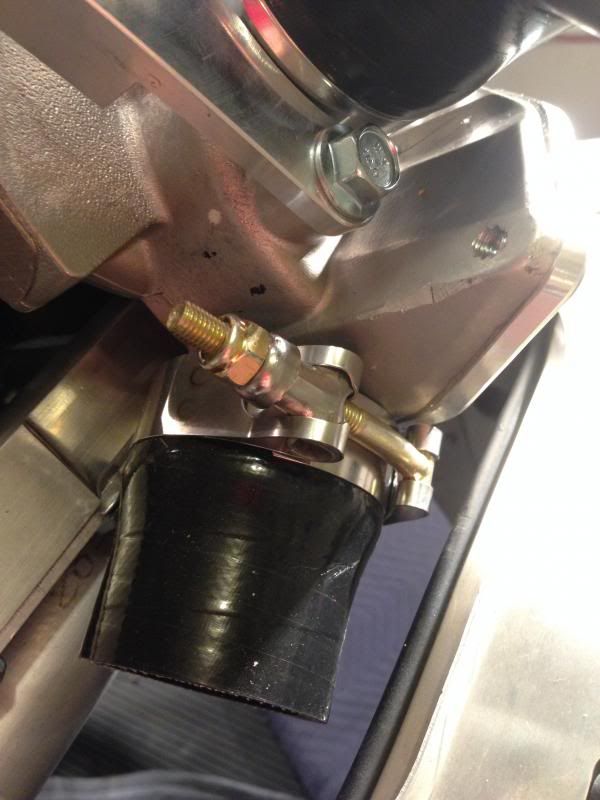
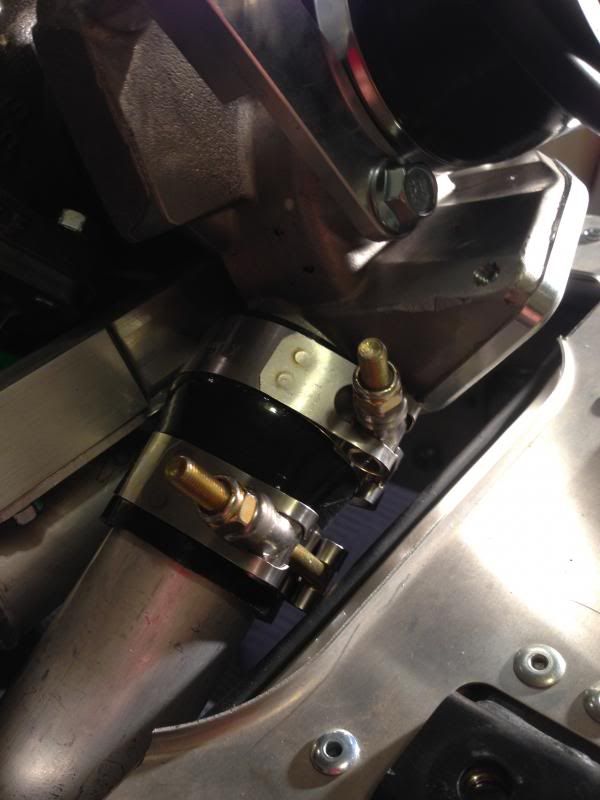
Once both sides are tightened down and set, I headed back to that T clamp and cinched that down. Make sure that it is over the cuts in the turbo inlet pipe so that when it is tightened down it pulls the cuts together and seals the two pipes together.

You can see the cuts here.
turbo2039.jpg


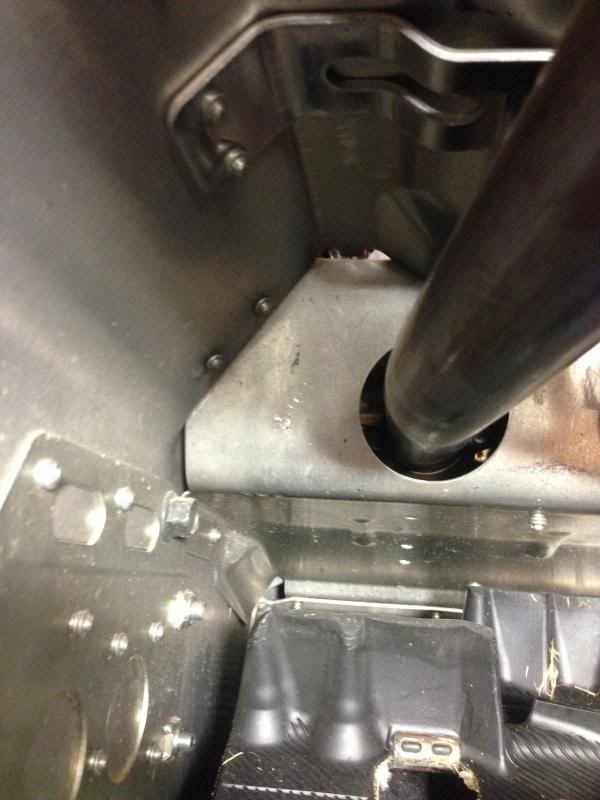
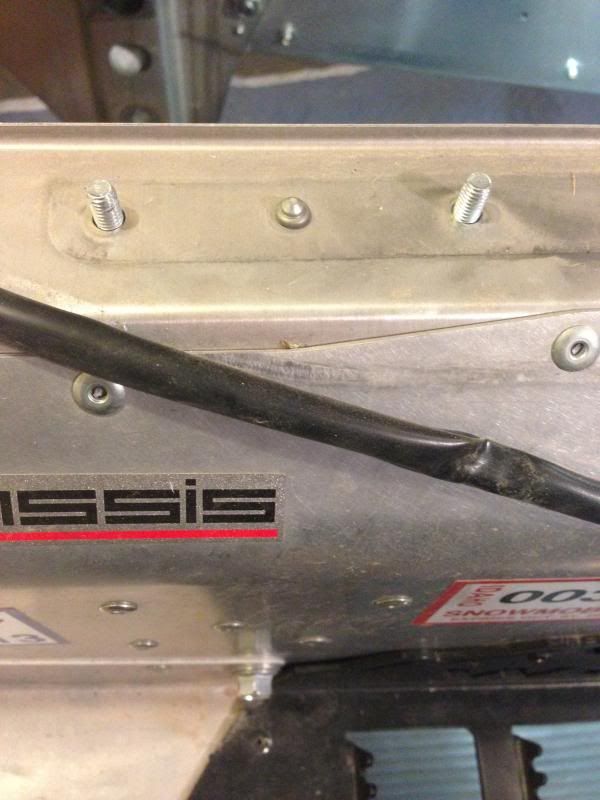
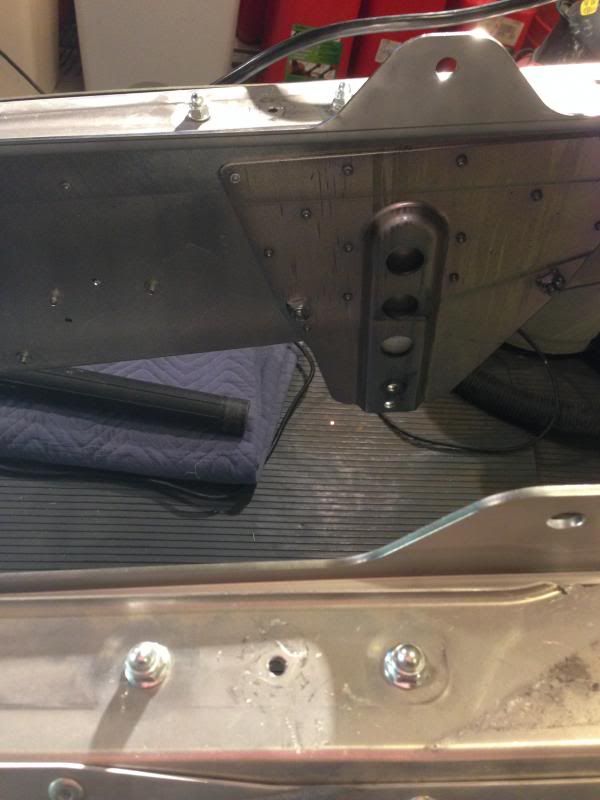
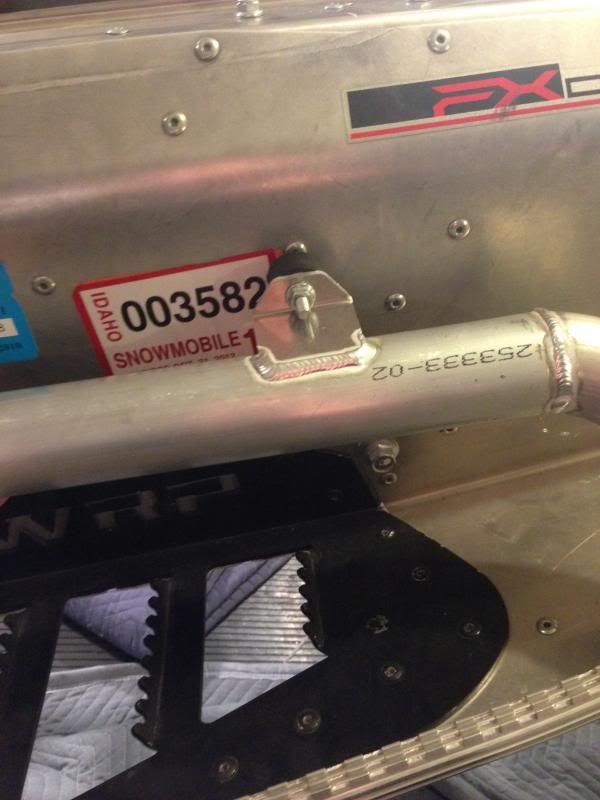
Insure that it is positioned like this so as to not interfere with any tubing or the track.

turbo2042.jpg


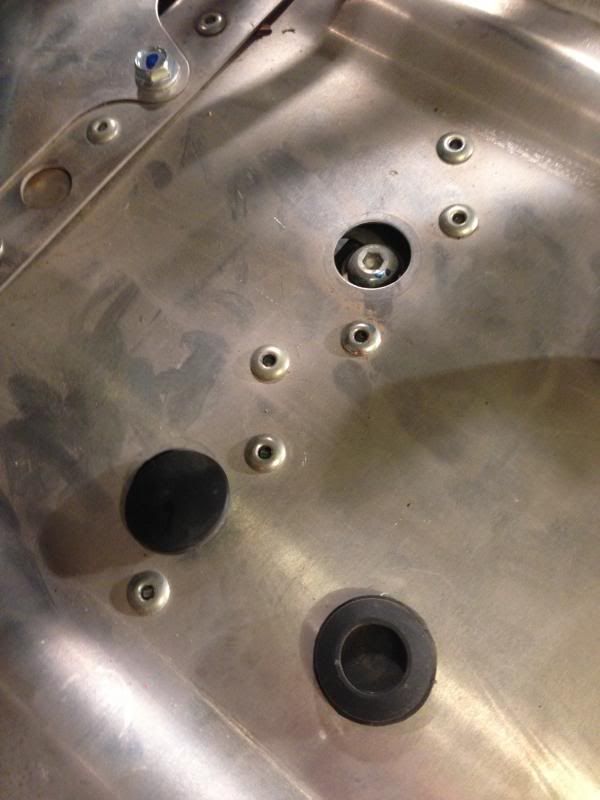
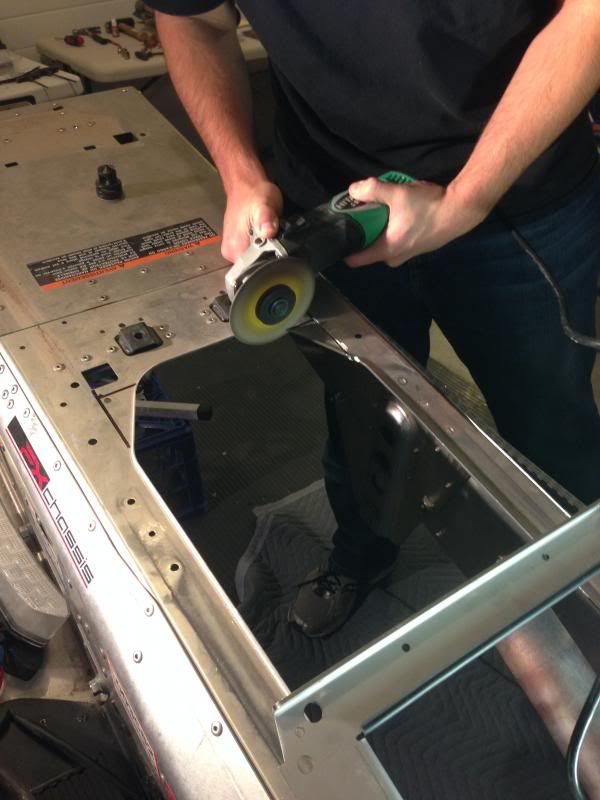
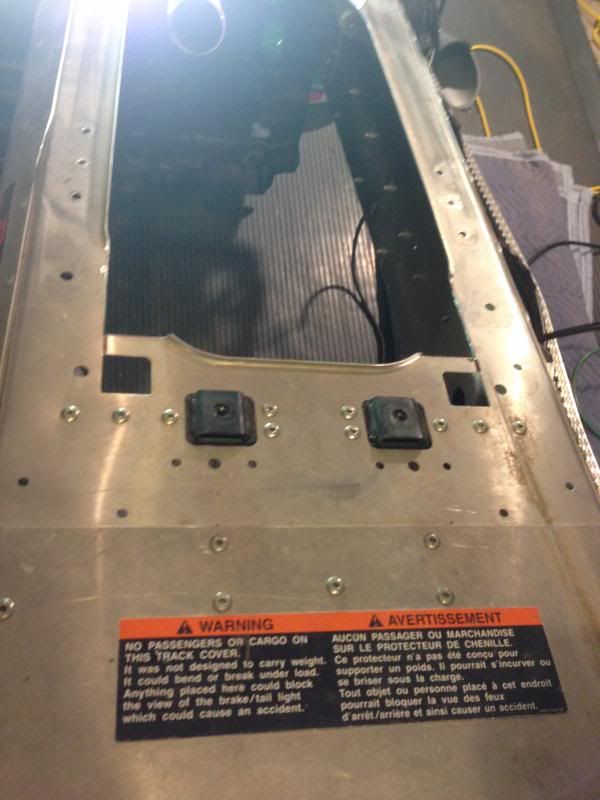
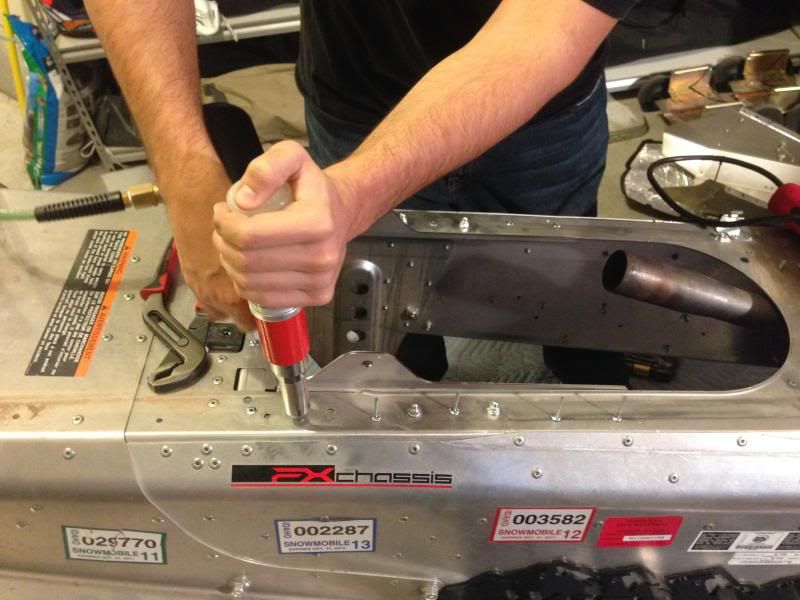
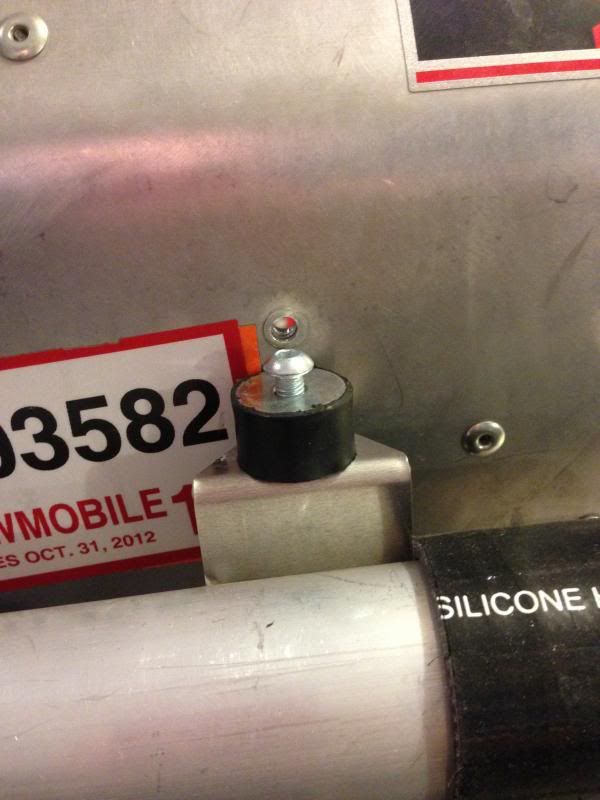
Lastly head back to the top of the tunnel and re-tighten the two bolts we loosened that hold the exhaust manifold along with reinstalling their rubber plugs.

With that this section is over!
 
Charge Tubes Installation CAC

So I pulled the brain out of my sled today to send it back to MPI to have it re-flashed. As part of the turbo package they do this for you. Im also excited because they said they are gonna make my hand warmers hotter as a little side bonus haha! Over all its just to make the timing work better with the turbo which is cool its included.

turbo4001.jpg


Step 44-46

Using the Long tube with the single 90deg turn find the two rivets on the left side of the sled to remove and replace with the button head screws of the CAC tube.

turbo4004.jpg
turbo4005.jpg


Once both of them have been located (There is only one way that it can fit on the sled.) Pop out the rivets, I had to drill the hole just a bit bigger than the hole that was there from popping the rivet out.

turbo4006.jpg


With that done I went underneath the sled and mounted the tube. The button head goes on the outside, with the tubing and the vibration mounts on the inside.

Now for me it was easier to mount the vibration mounts to the tube first instead of the attaching the mounts to the sled and then the tube to them like the instructions say..

(I did these next couple steps at 1AM yesterday morning so I do apologize for the lack of pictures. I was 12 mountain dews down and just couldnt go to sleep till I finished this section)
 
Charge Tubes Installation CAC

Install the CAC tubing to the turbo mount.

Now its going to say to find a special longer T clamp than the rest. It is not in the assortment of parts given to you. It is already located on the turbo. Once again i spent 15 minutes thinking i had lost a part to only find it ready to go.

There it is! Keep in mind it is not tightened down.
turbo4007.jpg


I attached the tubing, (make sure you put the T clamps on before connecting or you have to take it apart haha.) then tightened them down. Now a huge part of the instructions for this section make up a warning to not over tighten these or they will crush the aluminum. It gives this warning at least four times in all caps.

turbo4008.jpg


From here on out the direction that the bolt points is important. Otherwise it can interfere with the track, or attaching back other parts.
 
Premium Features


Back
Top