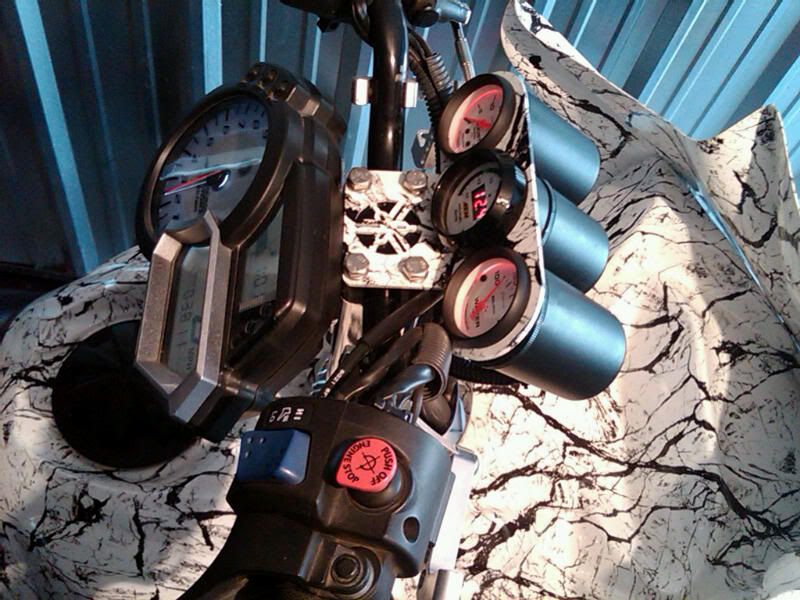
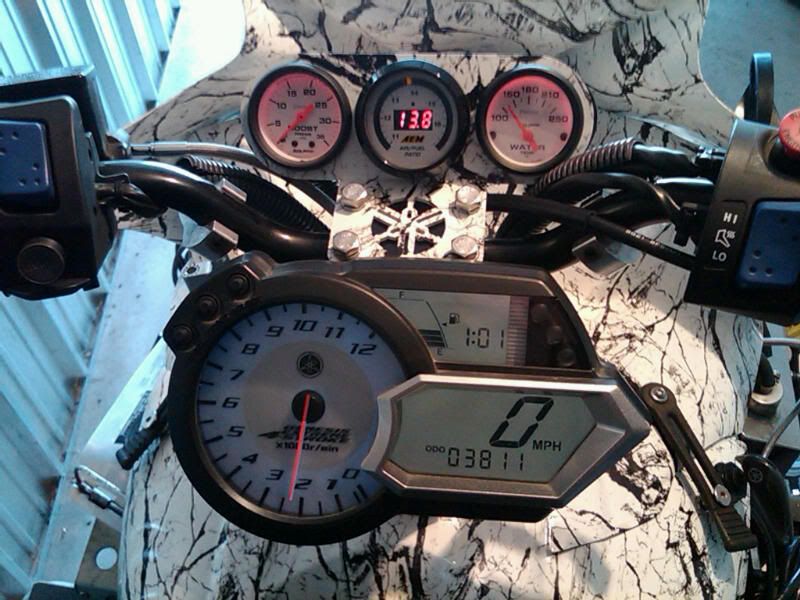
I also like this gauge pod setup. One question, how are you going to keep the gauges fastened into the aluminum pipe mounts? I have an idea how you could do it but I'm interested in your thoughts.
I plan on doing something similar with my sled, just need some time in the garage to mull it over and start cutting
I plan on doing something similar with my sled, just need some time in the garage to mull it over and start cutting