WOW!!! First off, thanks for the post! It was incredibly informative and overall just awsome! It is amazing to see what hard work and dedication can do. Your M1000 has to be a top 3 build of all time, just my .02. This makes me want to go try and build a mod sled, minus the fact that I couldn't even hold a candle to one such as your M1000, haha. Thanks again for such an in-depth and cool post! Enjoy your sled!
Install the app
How to install the app on iOS
Follow along with the video below to see how to install our site as a web app on your home screen.
Note: This feature may not be available in some browsers.
You are using an out of date browser. It may not display this or other websites correctly.
You should upgrade or use an alternative browser.
You should upgrade or use an alternative browser.
"Twisted Mini Panther" Amber Holt's TM1000 Sled Build Project
- Thread starter BackCountryBasics
- Start date
- Thread Rating
- 5.00 star(s)
I have over a 1300 reliable miles on The Twisted Mini Panther now. I recently returned from nearly a 3 week road trip that covered Idaho, Utah & Wyoming riding everywhere from 4,000 to 10,000 feet of varied terrain and conditions with this sled.
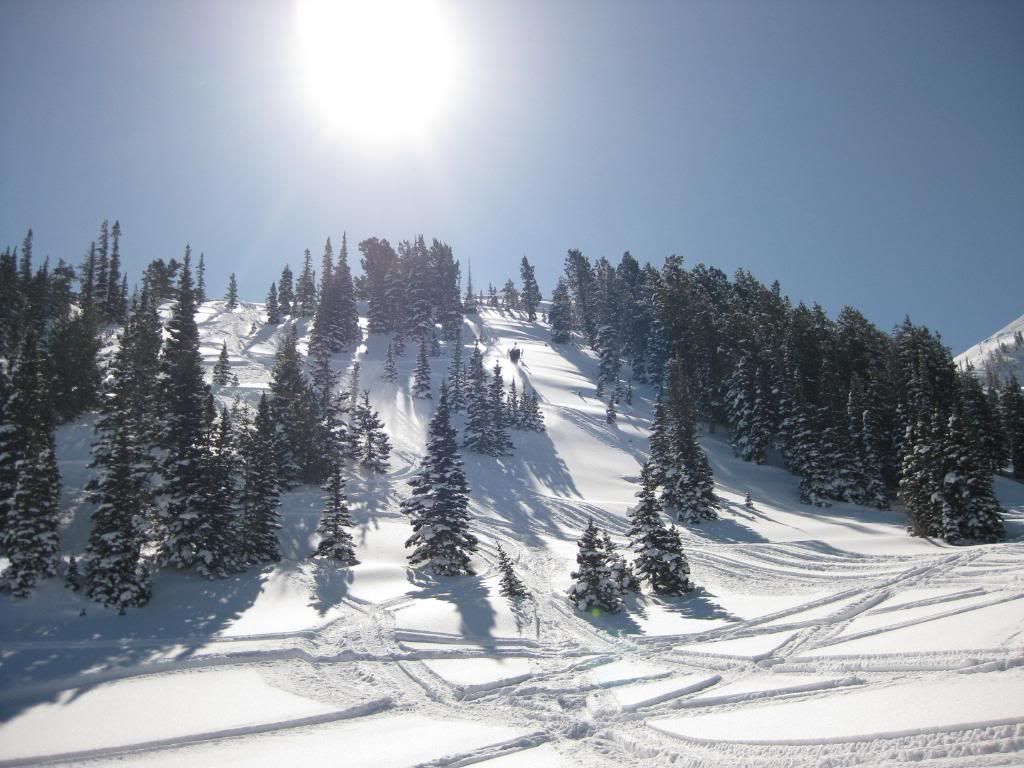
I have to say I am beyond pleased with my Twisted Turbo kit! Going into this trip was bit unnerving and intimidating knowing I would be on my own as far as tuning and maintaining this sled without my #1 mechanic & husband, Budd. The consequences if I did not fully understand what I was doing as far as tuning my turbo sled would be expensive and would have probably ended the trip.
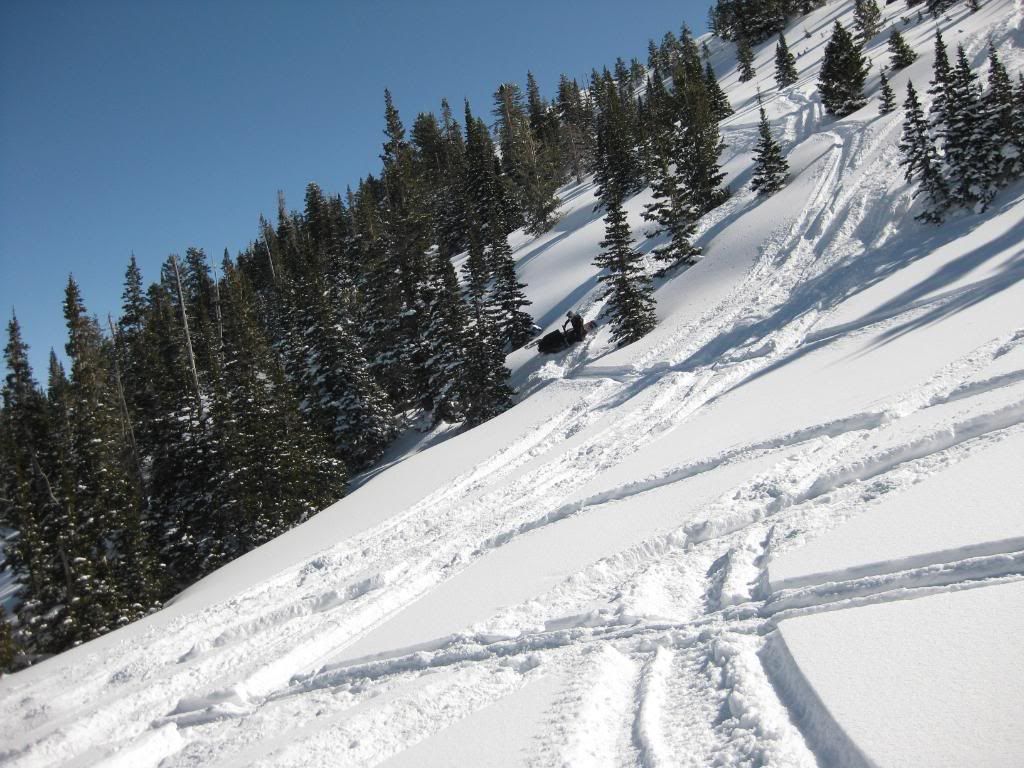
However, Shain Stanger explained tuning a Twisted Turbo set up in a few SHORT & SIMPLE sentences... & SIMPLE it WAS!
#1) He told me to set my boost for my elevation. Which was anywhere from 7lbs to 8.5lbs.
#2) Next I had to dial my Attitude fuel control box so that my air/fuel numbers indicated 12.2.
~ Higher numbers (example 13.4) meant I added fuel do to a lean condition, & lower numbers (example 11.4) I subtracted fuel do to a rich condition ~
#3) This part is accomplished is by the use of adding or subtracting colored dots per indicated fuel range.
Green= Bottom Fuel
Yellow= Mid Fuel
Red=Top Fuel (main jet)
Green/Blue=Boost Fuel
Green/Yellow=Bottom/Mid Transition Fuel
Yellow/Red= Mid/Top (Mainjet) Transition Fuel
That was all that was needed to dial this sled in! Again! It WAS so simple!
Throughout this trip I would dial these settings in just a matter of my first 2-3 pulls in a new area of elevation & road the rest of the time at each location without anymore tuning after that.
My last ride of this trip on Saturday afternoon at 9500 feet, I happened to look down while maintaining a 30 second plus full throttle and fairly steep pull, my indicated track speed was 70+ miles an hour & my air fuel was holding at 12.2 on 8lbs of boost. Not bad for a beginner!
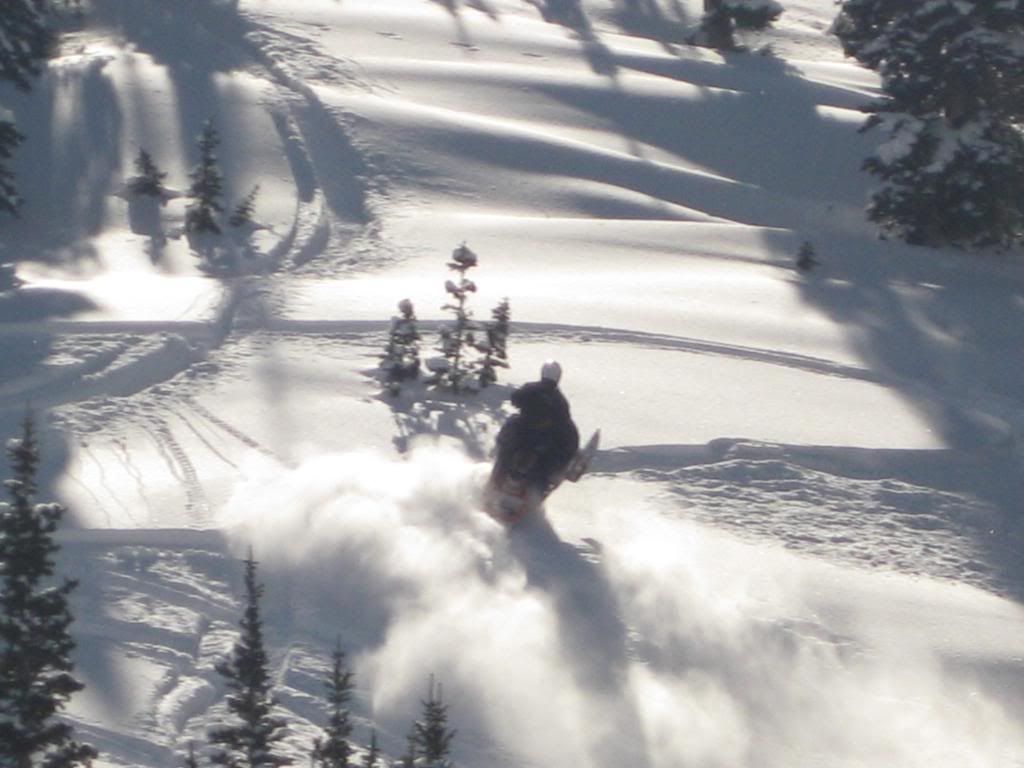
In 1300 miles I have had only a few minor maintenance issues:
-My air/fuel sensing probe has to be replaced around every 500 miles. It acquires a lead build up from using avgas.
-My fuel pressure gauge stopped working and I replaced it with an different model from Black Diamond Xtreme.
-My original belt was changed at 1000 miles.
- My actuator came arm came loose causing a boost leak.
-I had to take ibruprophen after every ride from wind chill pain exposure to my teeth and grinning till my cheeks hurt!
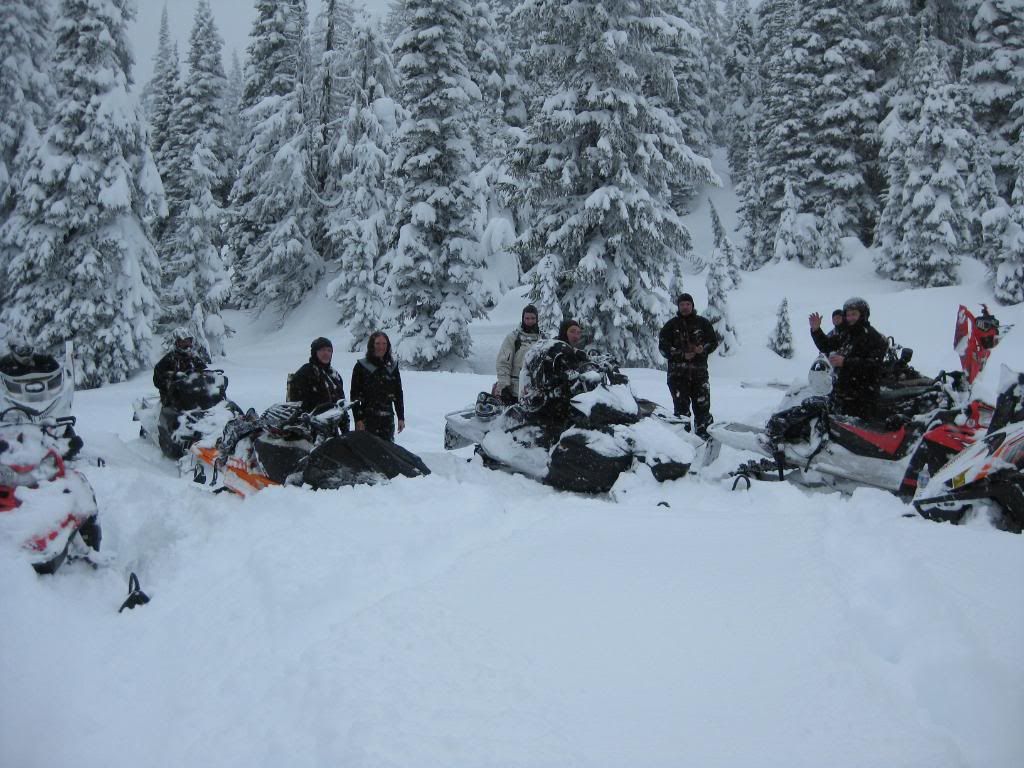
The motor flat out rips and is dependable and with the use of the Skinz light weight hood even deep powder days don’t slow you down from underhood heat!!
Thinking back to a first conversation Shain and I had, I asked, “What would be a dependable entry level turbo for a smaller turbo novice rider like me?”
Shain replied, “My Pump/Race Gas Extreme Kit for a M1000.”
Majority rules!....This is a whole line up of Twisted T’s recently!!!!!
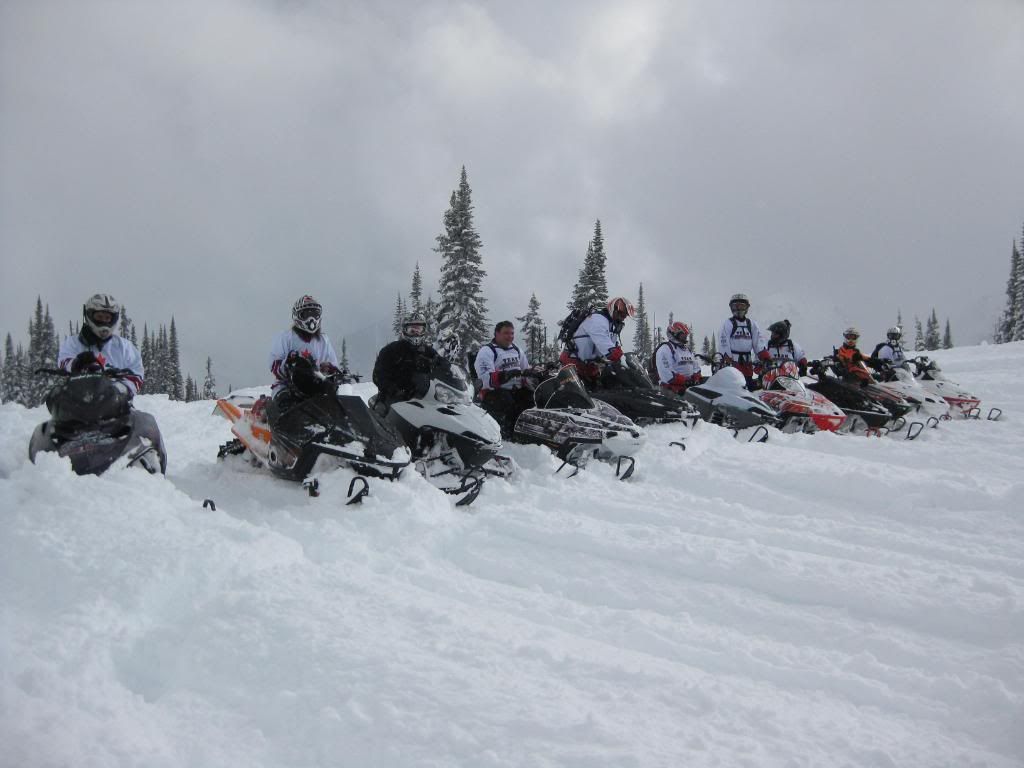
Thanks Shain! You were right!
We made EXCITING and BOLD new suspension changes on the chassis and revolutionized the sleds performance at 1000 miles. The issues I had spoken earlier in the thread were never completely remedied and I was struggling with maintaining consistent ease of handibility in varied conditions and terrain. Despite older presumptions that it was not possible to run my own preferred track of choice, the Camoplast 156 Challenger Xtreme, which is considered to be a “short track” for this league of performance and horsepower and hinder handibility issues was seeming to be true..Though I stubbornly did not want to accept that idealism….until…..sneak peak...
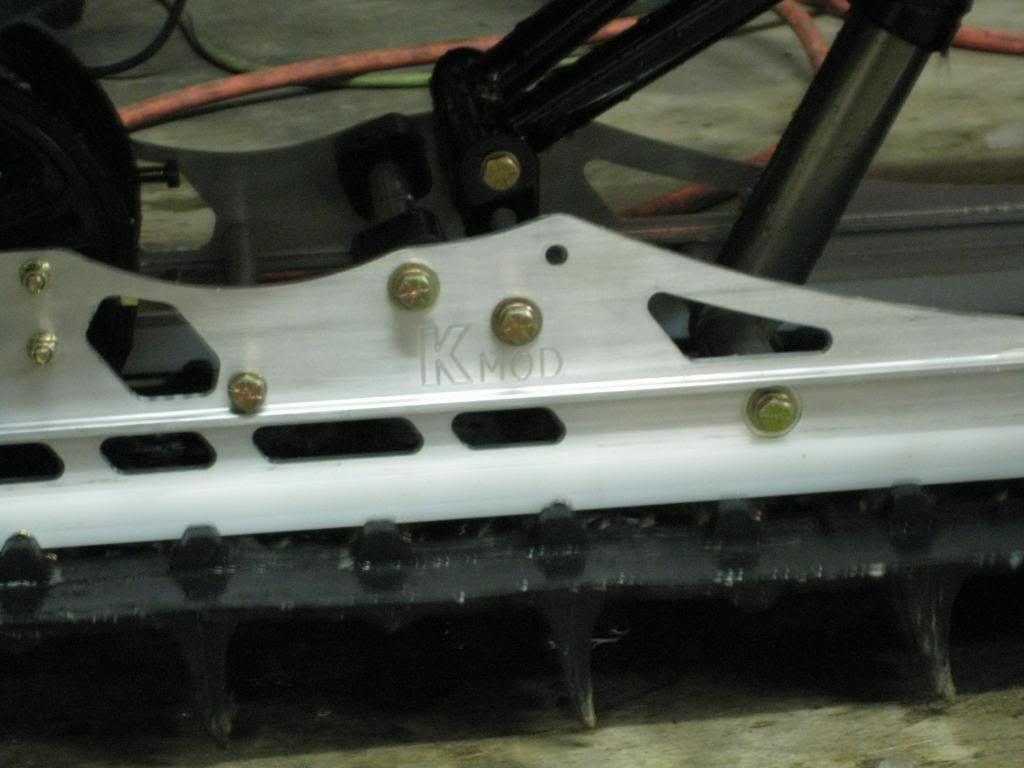
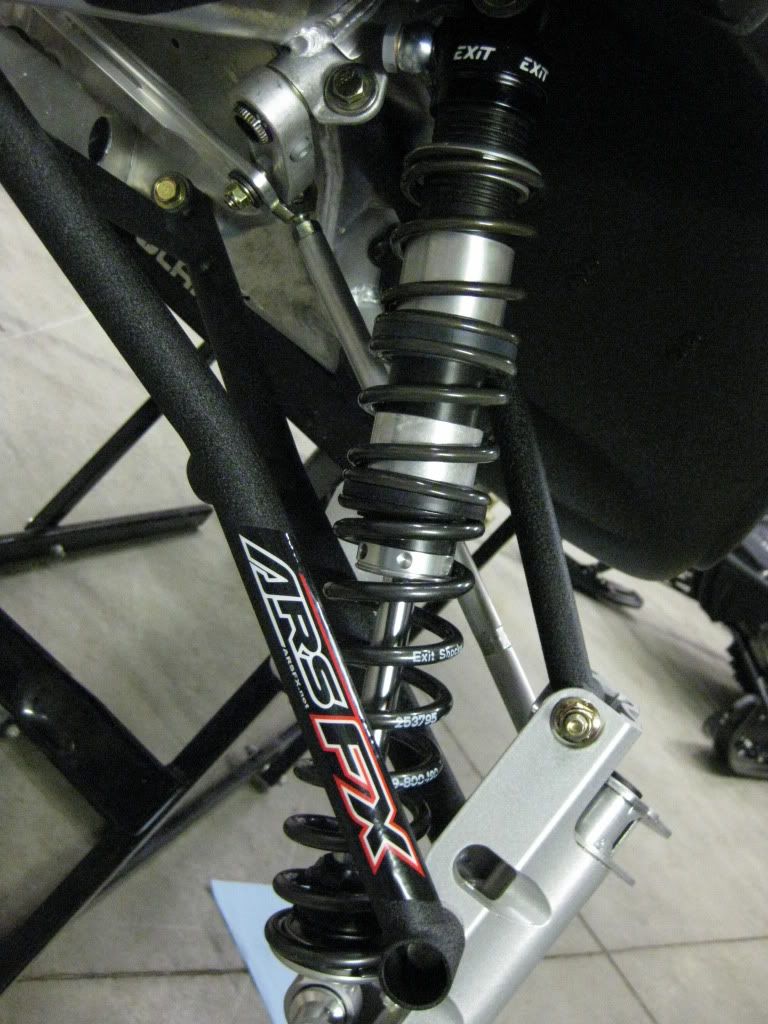
Zbroz Racing and Kmod helped out with some R&D suggestions and goodies and made the “Twisted Mini Panther” into ultimate NON-WHEELING FUNMOBILE IN THE STEEP and DEEP and HOT BUTTER SLICE’N NIMBLE KITTEN IN THE TREES!! I can’t wait to share this latest modification changes…but it is a post worthy of its own!
So be sure not to go away!...Is it that GREAT???!!!!! YES!!!!!.....EVEN BETTER THAN GREAT!!!! IT IS WHOOOOOHOOOOO ‘N WORTHY!!!!!!!

I have to say I am beyond pleased with my Twisted Turbo kit! Going into this trip was bit unnerving and intimidating knowing I would be on my own as far as tuning and maintaining this sled without my #1 mechanic & husband, Budd. The consequences if I did not fully understand what I was doing as far as tuning my turbo sled would be expensive and would have probably ended the trip.

However, Shain Stanger explained tuning a Twisted Turbo set up in a few SHORT & SIMPLE sentences... & SIMPLE it WAS!
#1) He told me to set my boost for my elevation. Which was anywhere from 7lbs to 8.5lbs.
#2) Next I had to dial my Attitude fuel control box so that my air/fuel numbers indicated 12.2.
~ Higher numbers (example 13.4) meant I added fuel do to a lean condition, & lower numbers (example 11.4) I subtracted fuel do to a rich condition ~
#3) This part is accomplished is by the use of adding or subtracting colored dots per indicated fuel range.
Green= Bottom Fuel
Yellow= Mid Fuel
Red=Top Fuel (main jet)
Green/Blue=Boost Fuel
Green/Yellow=Bottom/Mid Transition Fuel
Yellow/Red= Mid/Top (Mainjet) Transition Fuel
That was all that was needed to dial this sled in! Again! It WAS so simple!
Throughout this trip I would dial these settings in just a matter of my first 2-3 pulls in a new area of elevation & road the rest of the time at each location without anymore tuning after that.
My last ride of this trip on Saturday afternoon at 9500 feet, I happened to look down while maintaining a 30 second plus full throttle and fairly steep pull, my indicated track speed was 70+ miles an hour & my air fuel was holding at 12.2 on 8lbs of boost. Not bad for a beginner!

In 1300 miles I have had only a few minor maintenance issues:
-My air/fuel sensing probe has to be replaced around every 500 miles. It acquires a lead build up from using avgas.
-My fuel pressure gauge stopped working and I replaced it with an different model from Black Diamond Xtreme.
-My original belt was changed at 1000 miles.
- My actuator came arm came loose causing a boost leak.
-I had to take ibruprophen after every ride from wind chill pain exposure to my teeth and grinning till my cheeks hurt!

The motor flat out rips and is dependable and with the use of the Skinz light weight hood even deep powder days don’t slow you down from underhood heat!!
Thinking back to a first conversation Shain and I had, I asked, “What would be a dependable entry level turbo for a smaller turbo novice rider like me?”
Shain replied, “My Pump/Race Gas Extreme Kit for a M1000.”
Majority rules!....This is a whole line up of Twisted T’s recently!!!!!

Thanks Shain! You were right!
We made EXCITING and BOLD new suspension changes on the chassis and revolutionized the sleds performance at 1000 miles. The issues I had spoken earlier in the thread were never completely remedied and I was struggling with maintaining consistent ease of handibility in varied conditions and terrain. Despite older presumptions that it was not possible to run my own preferred track of choice, the Camoplast 156 Challenger Xtreme, which is considered to be a “short track” for this league of performance and horsepower and hinder handibility issues was seeming to be true..Though I stubbornly did not want to accept that idealism….until…..sneak peak...


Zbroz Racing and Kmod helped out with some R&D suggestions and goodies and made the “Twisted Mini Panther” into ultimate NON-WHEELING FUNMOBILE IN THE STEEP and DEEP and HOT BUTTER SLICE’N NIMBLE KITTEN IN THE TREES!! I can’t wait to share this latest modification changes…but it is a post worthy of its own!
So be sure not to go away!...Is it that GREAT???!!!!! YES!!!!!.....EVEN BETTER THAN GREAT!!!! IT IS WHOOOOOHOOOOO ‘N WORTHY!!!!!!!
I have done two major modifications to the Twisted Mini Panther. I have installed a KMOD Gen II Coupling Rear Suspension and a ZBROZ front suspension with the Top Cat Modz Spindle Mod. First, let me share about why I switched to a KMOD suspension on this project build.
I decided that at 1000 miles and several different configurations of trial and error with the Timbersled Mountain Tamer rear suspension originally installed on this build, to look into another alternative for a rear suspension choice because of poor handibilty issues that could not be resolved. These issues were directly caused and accentuated by the increased power delivery to the rear suspension in conjunction with a shorter length track.
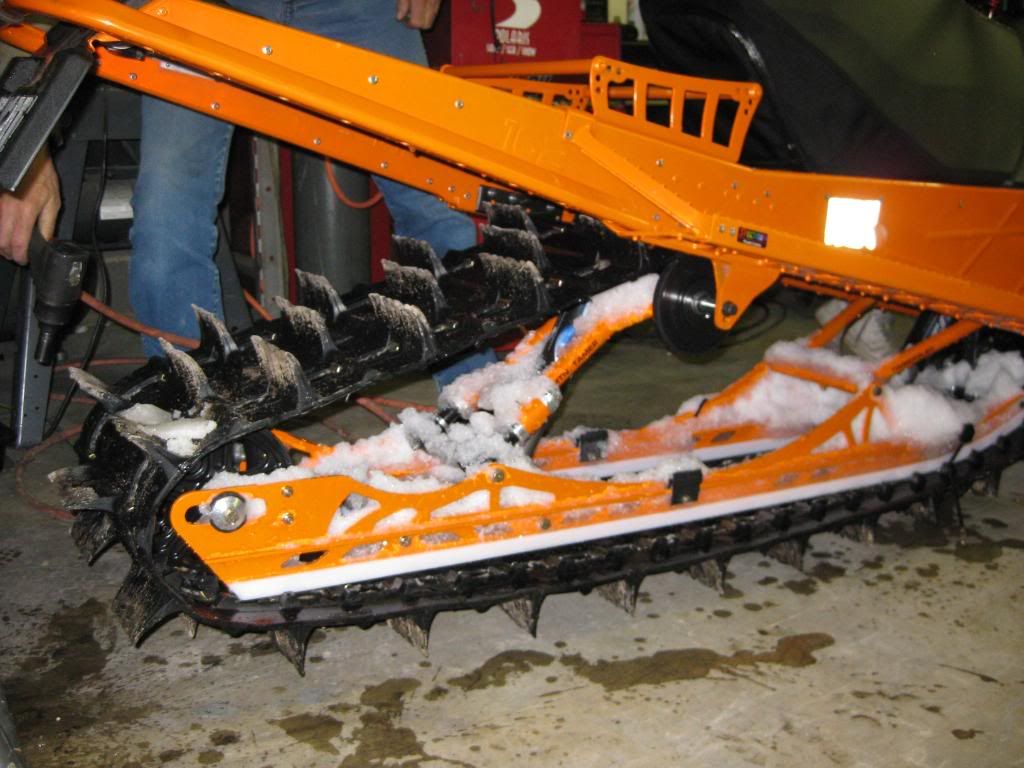
First, here is a recap of the reasons leading up to why I decided to make a switch and the issues I was having.
The biggest handibilty issue with the Mountain Tamer on the Twisted Mini panther was uncontrollable wheeling tendencies. Timbersled’s recommended fix to this problem is to readjust the placement of the front and rear shock. Timbersled’s Technical Support Team did the relocation placement of the shocks a few months prior on the “Twisted Mini Panther”.
The relocation mod had solved the problem but with limited results. The shock relocation mod helped control the wheeling characteristics under full boost but it completely takes away the nimbleness to handle the sled in technical situations and becomes exhausting to ride in this configuration. The shock forward relocation mod on the Mountain Tamer limits the sleds performance handibility to “point and shoot” capabilities only.
The next procedure was to add shims to the rear arm to enable the front arm to couple sooner and help prevent ski lift. The limiter straps were also shortened, however this made the front of the sled very heavy to maneuver. At first, we thought we had finally remedied the wheeling tendencies, and at slower speeds and on lower boost up to 3-4lbs it did seem to resolve the problem. However, as the boost would build and the increase in power was transferred to the rear skid, it still had wheeling issues to the point of not being able to maintain directional control.
All of these problems were accentuated especially if there were any moguls, big rollers, or unevenness in terrain.
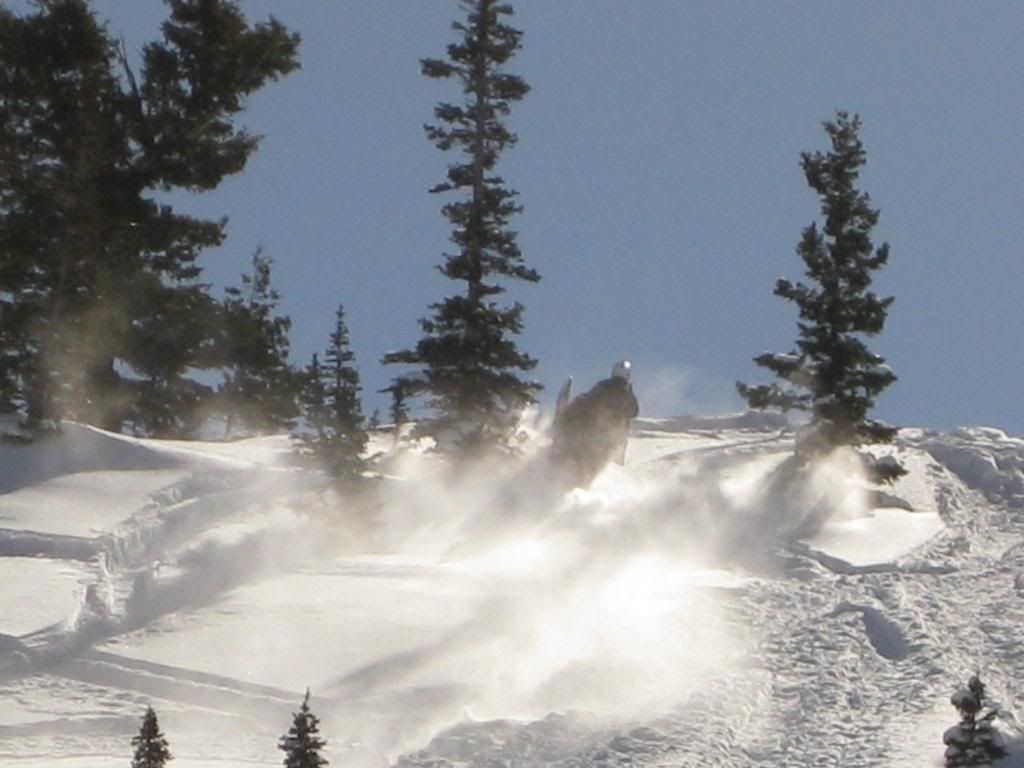
This picture was taken while I was on a shallow grade with the shim modification while in full boost this is the results, “wheelie mobile”!

For the past three riding seasons since I introduced the Mountain Tamer on the Snowest forums it had been my preferred rear suspension of choice on ALL my previous NATURALLY ASPIRATED sleds that were all under 200 horse power. Until this current season the Mountain Tamer HAD exceeded my expectations for an all around great performing boondocking rear skid. It also provided that key aftermarket attribute to enhance a heavier sled, like the Arctic Cat M1000, specifically it reduced weight & improved handibilty for a smaller rider like myself on these bigger style sleds. Unfortunately, it would not be truthful if I claimed this to be the case with the Mountain Tamer on my Twisted Turbo M1000 sled with 300HP and a 156 track configuration. It would defeat the educational purpose of this build and thread.
Shain Stanger of Twisted Turbo’s riding my sled with Mountain Tamer.
I decided to explore my options on my own and began to do some research and talk to experienced riders with similar boosted sleds and riding style preferences; I was referred to Kevin Bolinder at KMOD. I called Kevin up and discussed my issues. He was eager and very much up for taking on this new challenge!
I explained that I was a lighter rider of 130lbs, running what is considered a very short track for the amount of power and torque being transferred to the rear suspension. We also discussed some possible challanges that a shorter track could create. However, he was confident he had the knowledge and the product to master the performance that was needed from a rear suspension.
While I was in Utah, Kevin drove down from Blackfoot, Idaho and installed one of his complete KMOD Gen II coupling rear suspensions while I was visiting Twisted Turbo's facility. It took Kevin only about a half hour to install his complete rear suspension!
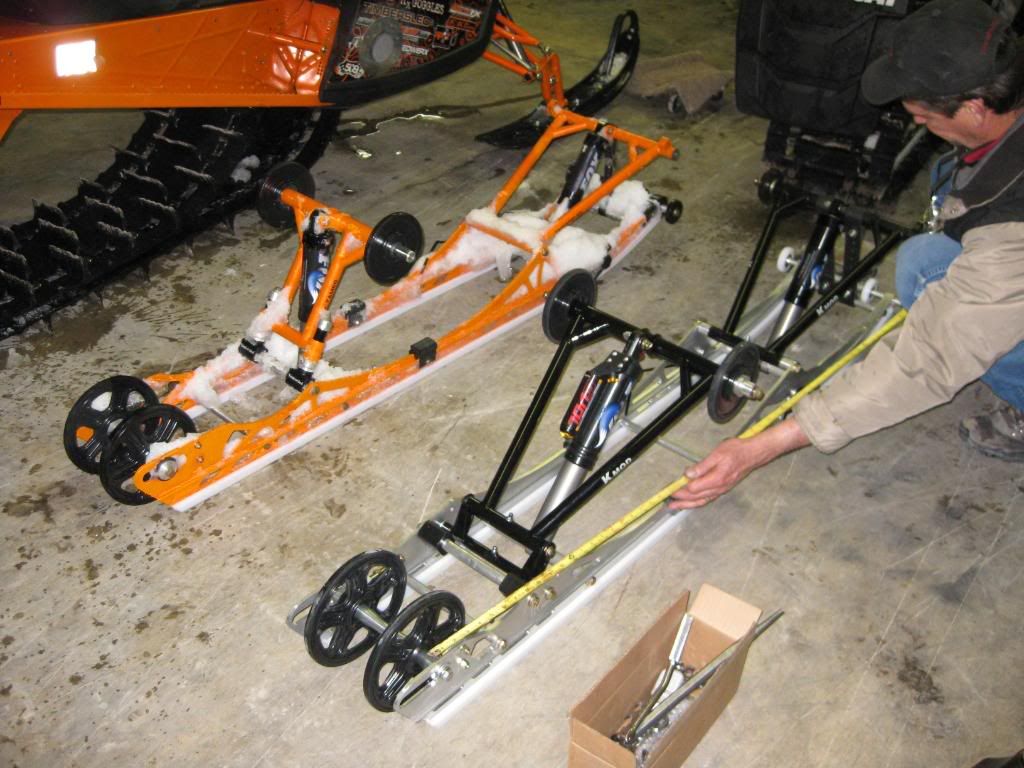
The Kmod Gen II is a coupling mountain suspension design.
KMOD Gen II is a parallel design. This means its arms are equal length and the shocks are equal length.
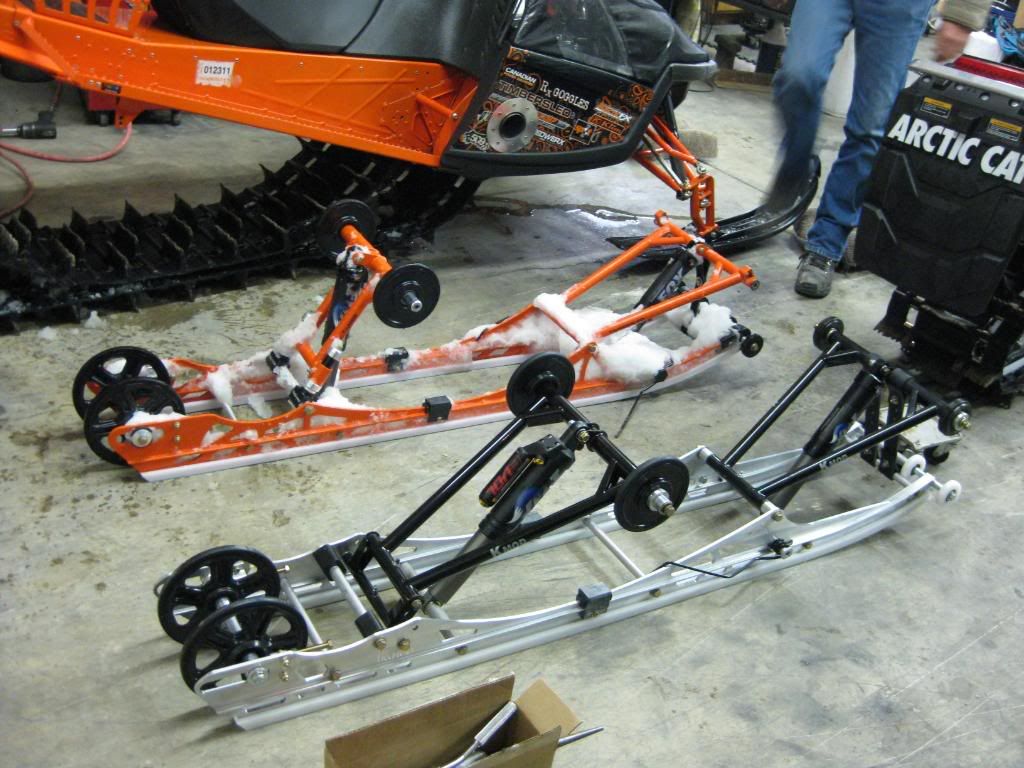
The front shock is a Fox Float and the KMOD Gen II uses 2 limiter straps at which mine are set all the way out.
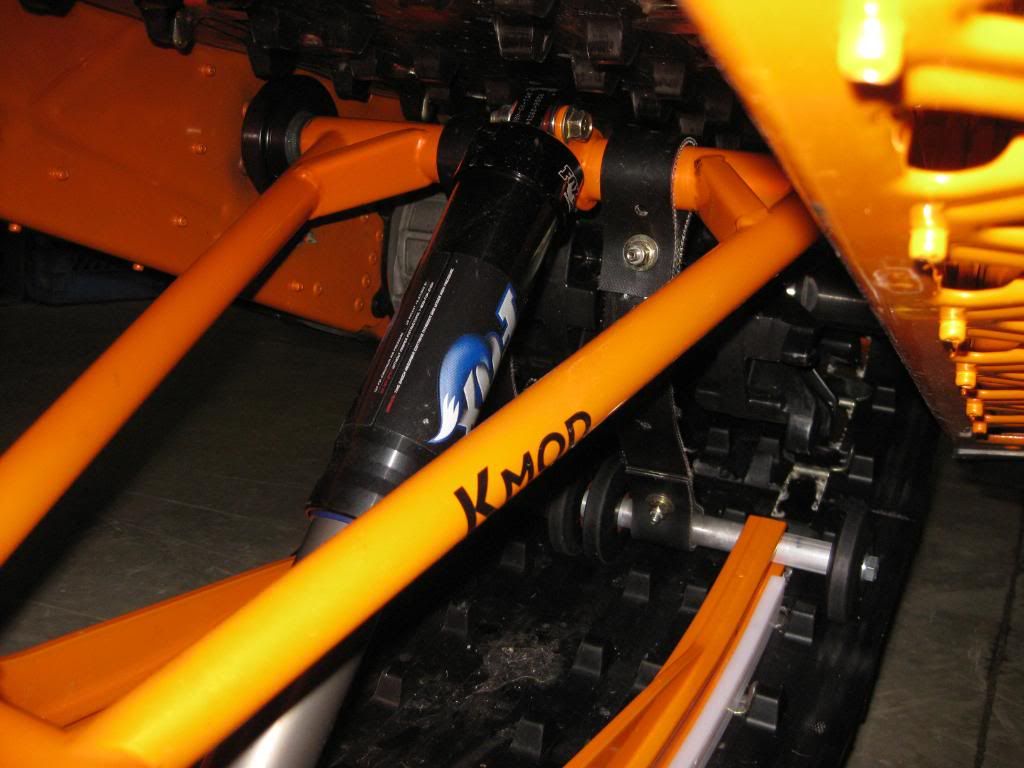
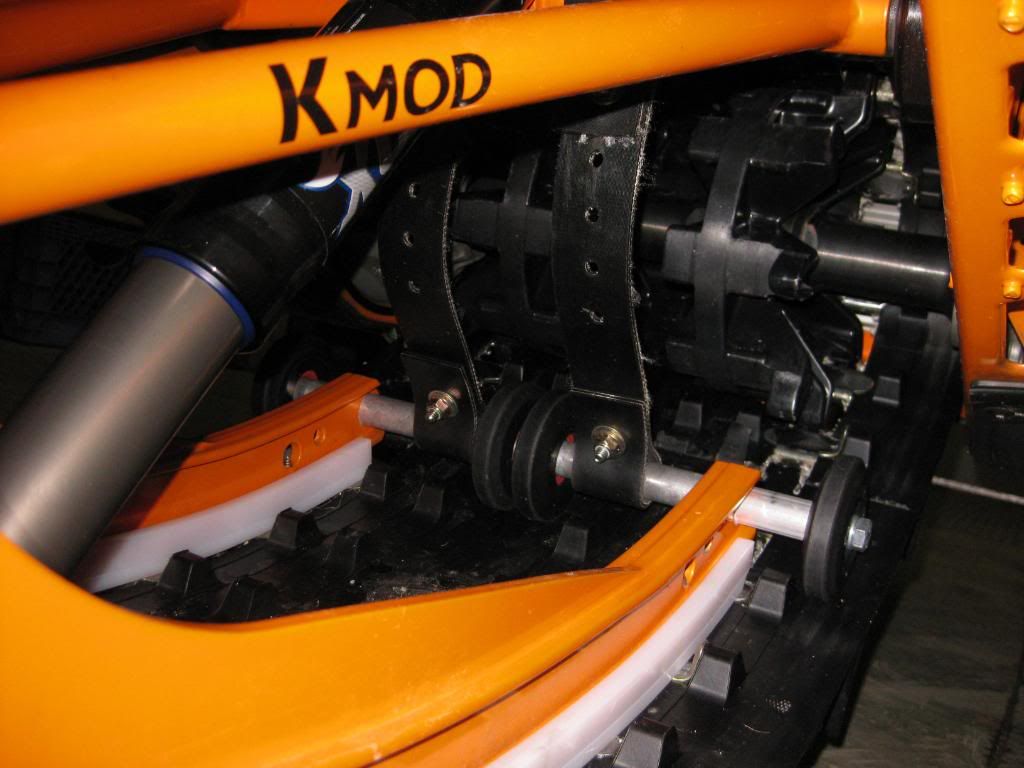
The rear shock is a Fox Evol. The Evol has dual adjustable air chambers, a high pressure chamber and the normal chamber like the float 2; this is an added performance feature for Turbo sleds specific. The Evol is euipped with a dampening adjustment for rebound as well.
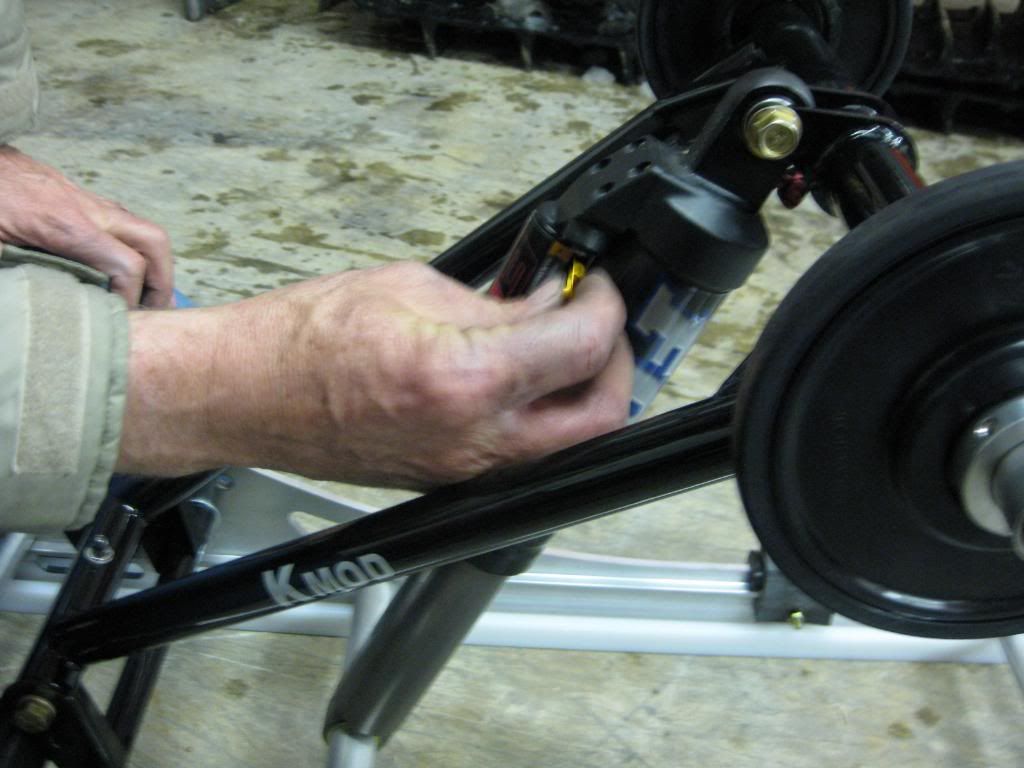
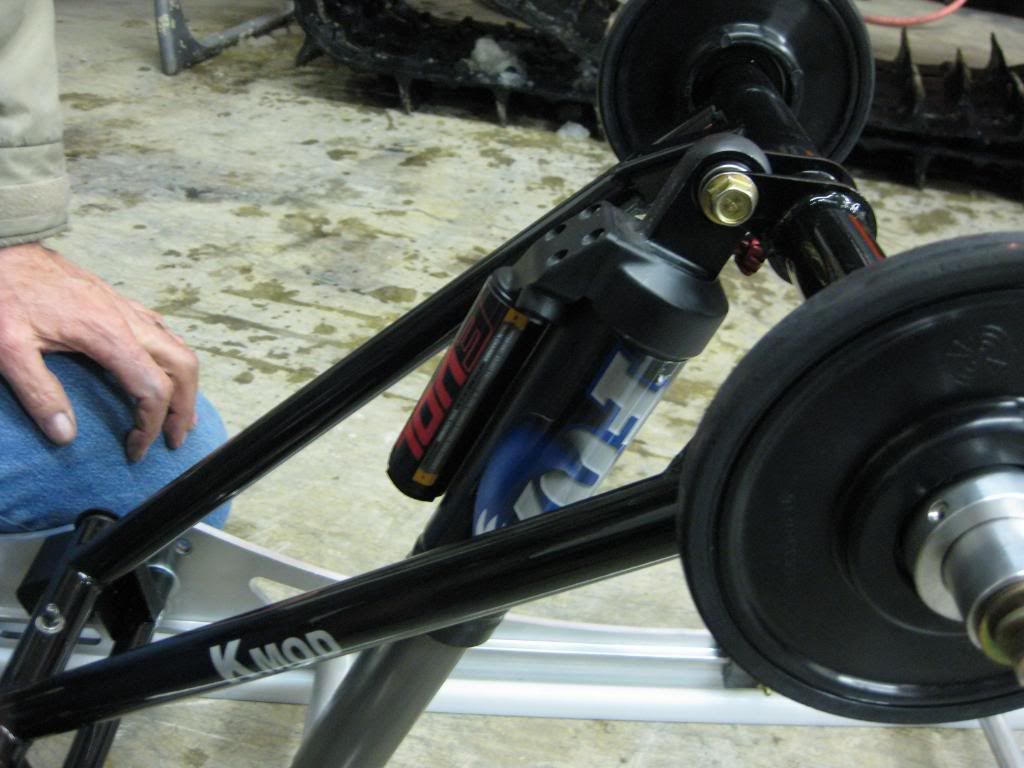
The rubber coupling block is adjustable; the thickest side of the block creates a quicker coupling for more aggressive ski lift control. I run mine on the middle setting (total of three settings) and it is more than sufficient on controlling my sleds ski lift and the ride is smooth.
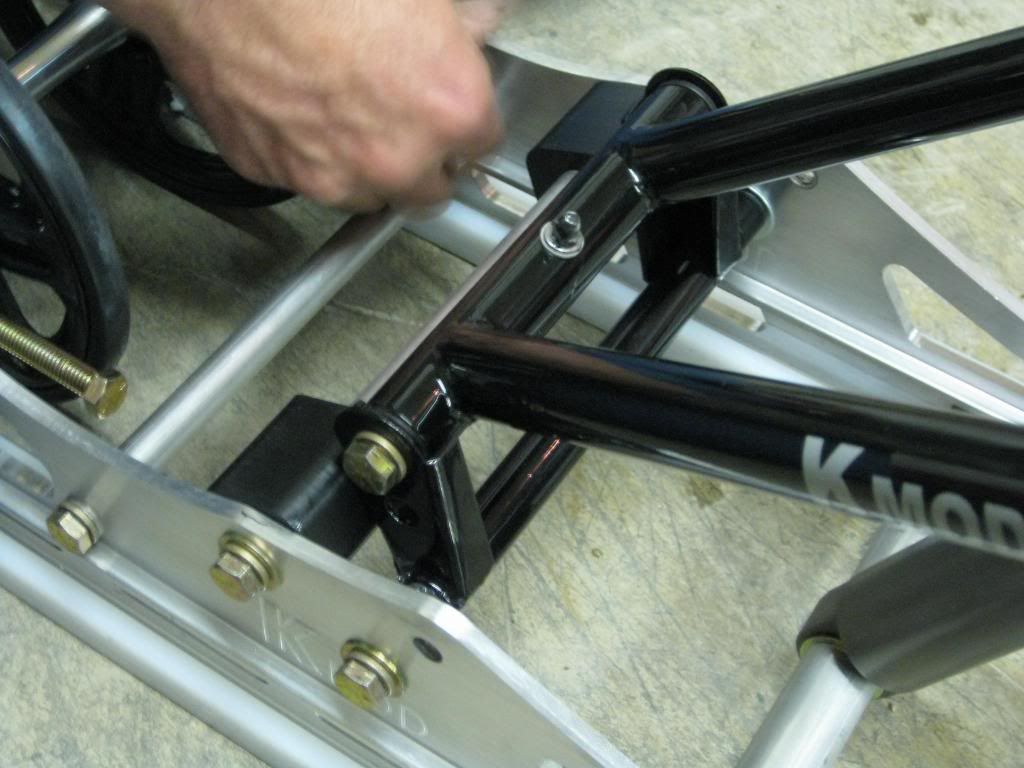
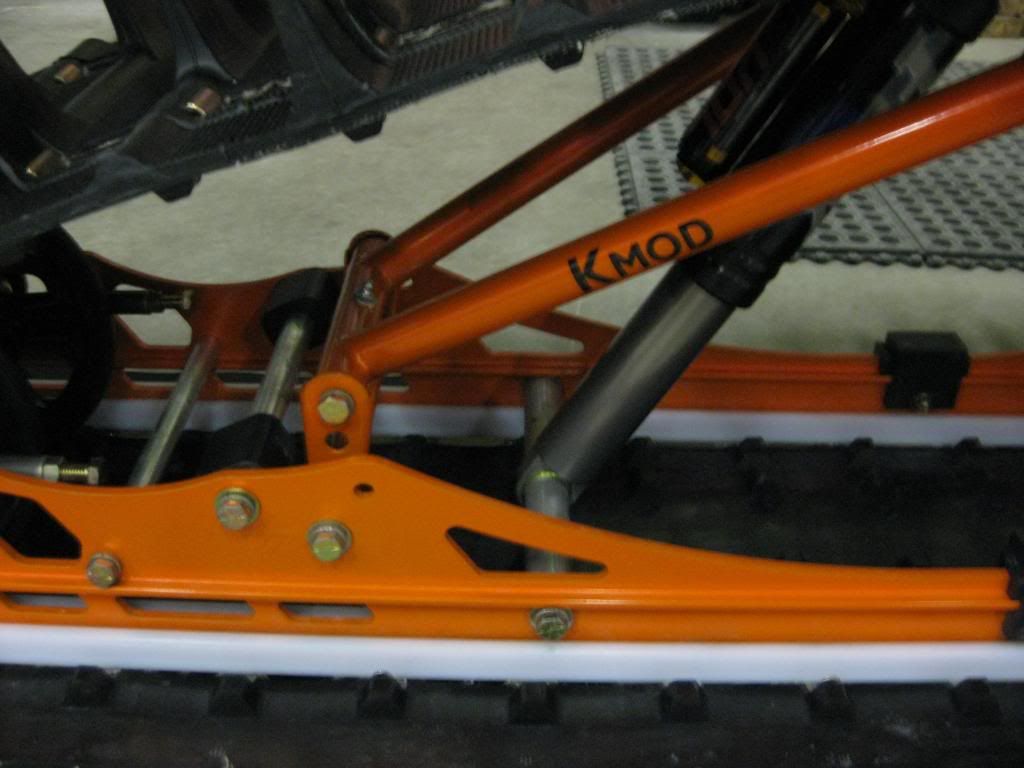
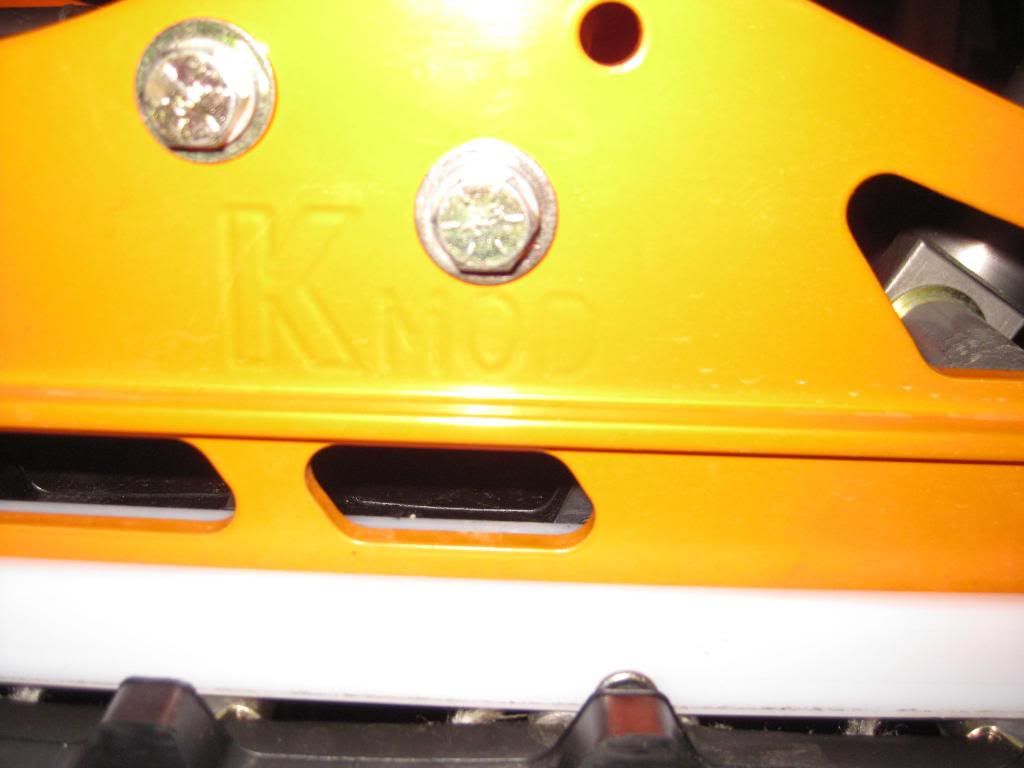
With the ice age rails specifically designed for KMOD the entire rear skid weighs 39.5 lbs. It is a bit heavier than the Timbersled, however, I do not notice the weight at all and the improved performance actually gives my Twisted Turbo M1000 sled a lighter feel. Ride height can also be adjusted with the KMOD.
First ride review:
The very first ride on my KMOD I was able to put about 70-100 miles on it. During this ride I had the opportunity to meet up with Kevin one more time to test the new skid in Alpine, Wyoming. Basically, if I didn’t like it he would take it back off was our agreement.
I felt pretty positive about the switch from our conversations, but like a favorite pair of shoes, the question in my head was, could this skid really be that great & that much of an improvement?
Well this picture below is one of the few times I parked the sled that day…….When asked what I thought of it my reply was, “I am sorry, but I am keeping this baby! It’s BEYOND incredible!”
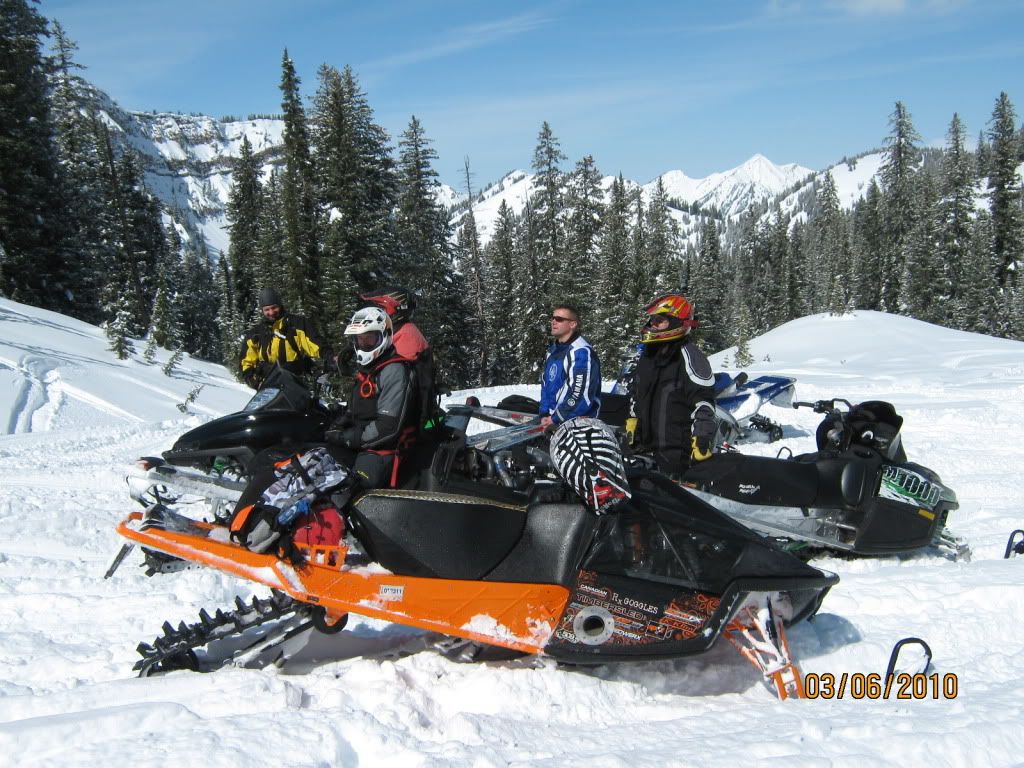
I INSTANTLY LOVED IT! First off, DID NOT wheelie! In fact, I was only able to actually MAKE the sled “tail walk” on purpose twice! You can actually feel it forcing the front portion of the sled back down while the track portion begins to level off with the slope of the terrain causing an increased foot pattern, better floatation and control as the pitch of the terrain increases and actually feel the ‘sled hooking up’ and gaining speed in a climb (70MPH track speed & was gaining on a steep incline). This suspension seemed to excel in performance with increasing power and steeper terrain conditions.
Last, what really impressed me about this rear suspension, its handibility was not compromised for its stability. I was able to do downhill carving, u-turns, tight tree hooks, sustained side-hills while on full boost. I know side-hilling on boost is an oxy-moron, but I wanted to see if it was possible and just how precision like it would handle in this scenario. I could not ask for a straighter foot pattern line across a hillside while on a steep incline!
The sled was able to pull technical steep climbs without getting out of my boost range and top out a climb with a 5 foot width mark at the top of 800+ vertical accents without trenching, wallowing, or any wheeling side effects. It felt like the sled was on rails connected to where I wanted to go every climb!
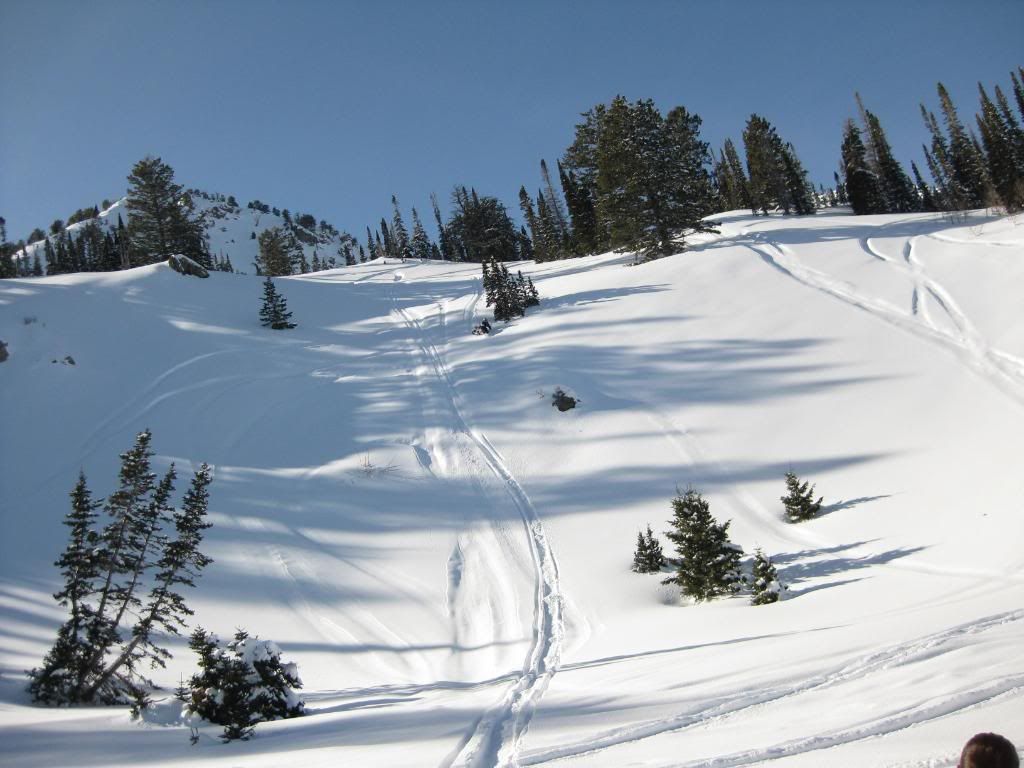
What a confidence builder! I found myself feeling more and more aggressive and confident as I rode this set up and checking my fuel more often from the continual use of WOT that I had never been able to experience until the KMOD Gen II was installed!
Installing the KMOD suspension was that night and day difference that the Twisted Mini Panther needed.
When I returned from Utah, Budd disassembled the rear skid. I then took it into Spectrum Powder Coating in Hayden, Idaho and they powder coated it to match the sled while I waited. The next Day I went to Revolstoke with it.
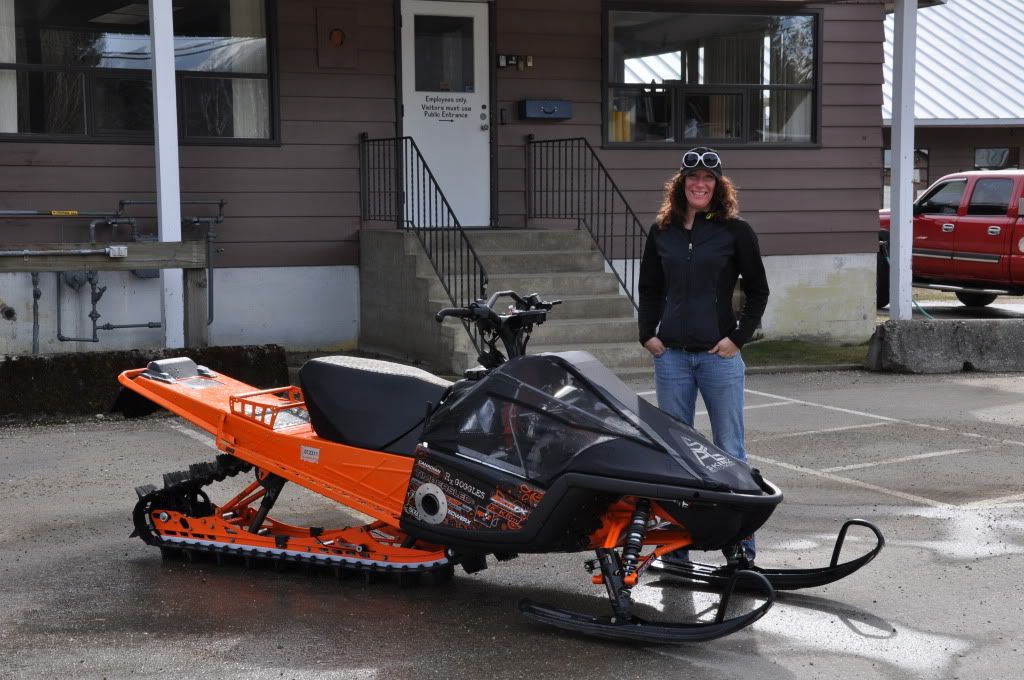
Laird took this picture recently in Revolstoke, BC.
I now have almost 400 miles on my KMOD in various terrain and snow conditions from Utah, Wyoming, Idaho, and Canada. I have had absolutely no complaints in durability through out this period! The air shocks have held the pressure nicely and there is no sign of wear to bushings, or rubbing and binding in geometry.
Those people that I have come across on the hill with a KMOD say the EXACT same thing & many tried other aftermarket suspensions before they made the KMOD switch.
Feel free to give Kevin Bolinder a call & pick his brain if you have any more questions that I have not answered 208-681-0348.
Or check out his website:
http://www.kmodsnowmobileparts.com/
Thank you! Kevin Bolinder at KMOD!
I decided that at 1000 miles and several different configurations of trial and error with the Timbersled Mountain Tamer rear suspension originally installed on this build, to look into another alternative for a rear suspension choice because of poor handibilty issues that could not be resolved. These issues were directly caused and accentuated by the increased power delivery to the rear suspension in conjunction with a shorter length track.

First, here is a recap of the reasons leading up to why I decided to make a switch and the issues I was having.
The biggest handibilty issue with the Mountain Tamer on the Twisted Mini panther was uncontrollable wheeling tendencies. Timbersled’s recommended fix to this problem is to readjust the placement of the front and rear shock. Timbersled’s Technical Support Team did the relocation placement of the shocks a few months prior on the “Twisted Mini Panther”.
The relocation mod had solved the problem but with limited results. The shock relocation mod helped control the wheeling characteristics under full boost but it completely takes away the nimbleness to handle the sled in technical situations and becomes exhausting to ride in this configuration. The shock forward relocation mod on the Mountain Tamer limits the sleds performance handibility to “point and shoot” capabilities only.
The next procedure was to add shims to the rear arm to enable the front arm to couple sooner and help prevent ski lift. The limiter straps were also shortened, however this made the front of the sled very heavy to maneuver. At first, we thought we had finally remedied the wheeling tendencies, and at slower speeds and on lower boost up to 3-4lbs it did seem to resolve the problem. However, as the boost would build and the increase in power was transferred to the rear skid, it still had wheeling issues to the point of not being able to maintain directional control.
All of these problems were accentuated especially if there were any moguls, big rollers, or unevenness in terrain.
This picture was taken while I was on a shallow grade with the shim modification while in full boost this is the results, “wheelie mobile”!

For the past three riding seasons since I introduced the Mountain Tamer on the Snowest forums it had been my preferred rear suspension of choice on ALL my previous NATURALLY ASPIRATED sleds that were all under 200 horse power. Until this current season the Mountain Tamer HAD exceeded my expectations for an all around great performing boondocking rear skid. It also provided that key aftermarket attribute to enhance a heavier sled, like the Arctic Cat M1000, specifically it reduced weight & improved handibilty for a smaller rider like myself on these bigger style sleds. Unfortunately, it would not be truthful if I claimed this to be the case with the Mountain Tamer on my Twisted Turbo M1000 sled with 300HP and a 156 track configuration. It would defeat the educational purpose of this build and thread.
Shain Stanger of Twisted Turbo’s riding my sled with Mountain Tamer.

I decided to explore my options on my own and began to do some research and talk to experienced riders with similar boosted sleds and riding style preferences; I was referred to Kevin Bolinder at KMOD. I called Kevin up and discussed my issues. He was eager and very much up for taking on this new challenge!
I explained that I was a lighter rider of 130lbs, running what is considered a very short track for the amount of power and torque being transferred to the rear suspension. We also discussed some possible challanges that a shorter track could create. However, he was confident he had the knowledge and the product to master the performance that was needed from a rear suspension.
While I was in Utah, Kevin drove down from Blackfoot, Idaho and installed one of his complete KMOD Gen II coupling rear suspensions while I was visiting Twisted Turbo's facility. It took Kevin only about a half hour to install his complete rear suspension!

The Kmod Gen II is a coupling mountain suspension design.
KMOD Gen II is a parallel design. This means its arms are equal length and the shocks are equal length.

The front shock is a Fox Float and the KMOD Gen II uses 2 limiter straps at which mine are set all the way out.


The rear shock is a Fox Evol. The Evol has dual adjustable air chambers, a high pressure chamber and the normal chamber like the float 2; this is an added performance feature for Turbo sleds specific. The Evol is euipped with a dampening adjustment for rebound as well.


The rubber coupling block is adjustable; the thickest side of the block creates a quicker coupling for more aggressive ski lift control. I run mine on the middle setting (total of three settings) and it is more than sufficient on controlling my sleds ski lift and the ride is smooth.


With the ice age rails specifically designed for KMOD the entire rear skid weighs 39.5 lbs. It is a bit heavier than the Timbersled, however, I do not notice the weight at all and the improved performance actually gives my Twisted Turbo M1000 sled a lighter feel. Ride height can also be adjusted with the KMOD.

First ride review:
The very first ride on my KMOD I was able to put about 70-100 miles on it. During this ride I had the opportunity to meet up with Kevin one more time to test the new skid in Alpine, Wyoming. Basically, if I didn’t like it he would take it back off was our agreement.
I felt pretty positive about the switch from our conversations, but like a favorite pair of shoes, the question in my head was, could this skid really be that great & that much of an improvement?
Well this picture below is one of the few times I parked the sled that day…….When asked what I thought of it my reply was, “I am sorry, but I am keeping this baby! It’s BEYOND incredible!”

I INSTANTLY LOVED IT! First off, DID NOT wheelie! In fact, I was only able to actually MAKE the sled “tail walk” on purpose twice! You can actually feel it forcing the front portion of the sled back down while the track portion begins to level off with the slope of the terrain causing an increased foot pattern, better floatation and control as the pitch of the terrain increases and actually feel the ‘sled hooking up’ and gaining speed in a climb (70MPH track speed & was gaining on a steep incline). This suspension seemed to excel in performance with increasing power and steeper terrain conditions.
Last, what really impressed me about this rear suspension, its handibility was not compromised for its stability. I was able to do downhill carving, u-turns, tight tree hooks, sustained side-hills while on full boost. I know side-hilling on boost is an oxy-moron, but I wanted to see if it was possible and just how precision like it would handle in this scenario. I could not ask for a straighter foot pattern line across a hillside while on a steep incline!
The sled was able to pull technical steep climbs without getting out of my boost range and top out a climb with a 5 foot width mark at the top of 800+ vertical accents without trenching, wallowing, or any wheeling side effects. It felt like the sled was on rails connected to where I wanted to go every climb!

What a confidence builder! I found myself feeling more and more aggressive and confident as I rode this set up and checking my fuel more often from the continual use of WOT that I had never been able to experience until the KMOD Gen II was installed!
Installing the KMOD suspension was that night and day difference that the Twisted Mini Panther needed.
When I returned from Utah, Budd disassembled the rear skid. I then took it into Spectrum Powder Coating in Hayden, Idaho and they powder coated it to match the sled while I waited. The next Day I went to Revolstoke with it.

Laird took this picture recently in Revolstoke, BC.

I now have almost 400 miles on my KMOD in various terrain and snow conditions from Utah, Wyoming, Idaho, and Canada. I have had absolutely no complaints in durability through out this period! The air shocks have held the pressure nicely and there is no sign of wear to bushings, or rubbing and binding in geometry.
Those people that I have come across on the hill with a KMOD say the EXACT same thing & many tried other aftermarket suspensions before they made the KMOD switch.
Feel free to give Kevin Bolinder a call & pick his brain if you have any more questions that I have not answered 208-681-0348.
Or check out his website:
http://www.kmodsnowmobileparts.com/
Thank you! Kevin Bolinder at KMOD!
Last edited:
L
Lank
Member
Bumping this thread. It was a pleasure to meet you at the Denver snow show Amber.
You folks are a sponsors dream. You have completed an incredible project and have certianly given credit where credit is due. I will be checking out some of your sponsors products and let them know it was because of your recommendations.
Well done.
You folks are a sponsors dream. You have completed an incredible project and have certianly given credit where credit is due. I will be checking out some of your sponsors products and let them know it was because of your recommendations.
Well done.
WOW! Thank you Lank!
I have been very fortunate to have great sponsors. That exact greatness carries down into their pride and integrity in what they manufacture as well. So representing them is a pleasure and a privilege for me!
I'll have the sled in my Backcountry Basics booth at the SLC show this weekend. It has a new look so come check it out! HTR Designs out of Castelgar, BC incorporated their artistic flair over the summer.
Similar threads
F
- Replies
- 8
- Views
- 2K
F
S
- Replies
- 18
- Views
- 3K

