I thought I'd post up some pix and install of my new Skid!!
I've been searching around for an upgrade for a while. The factors in making my choice were
I contacted Allen Mangum of Timbersled a while back to ask about his skid and the new improvements for 2010. He took the time to describe all the features of the skid and the evolution and upgrades he's made since the release of this suspension 3 years ago.
I pondered this for a while and compared the above factors to what other suspensions were on the market. For my type of riding (boondocking mostly) as well as deep snow climbing I chose the Timbersled Mtn. Tamer Suspension.
I had a lot of medical problems last season and was getting a late start on any build for my 900 project. I realized that I would not have this done for this season so a AWESOME friend helped me out and I got into a nice used 700 RMK.
I called Allen back in late Dec 2009 (this season) and placed my order for a 155" Mtn Tamer X. After hearing about my situation, to my supprise, Allen invited me up to his shop to install the new skid and "Get away" for some good riding with him and his crew.... An offer I couldn't refuse
After a two day drive, picking up my new-to-me 700 on the way up, I arrived in Sandpoint.
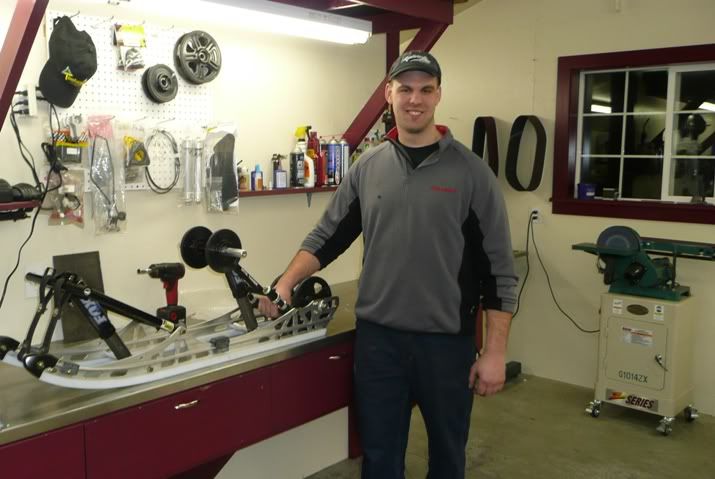
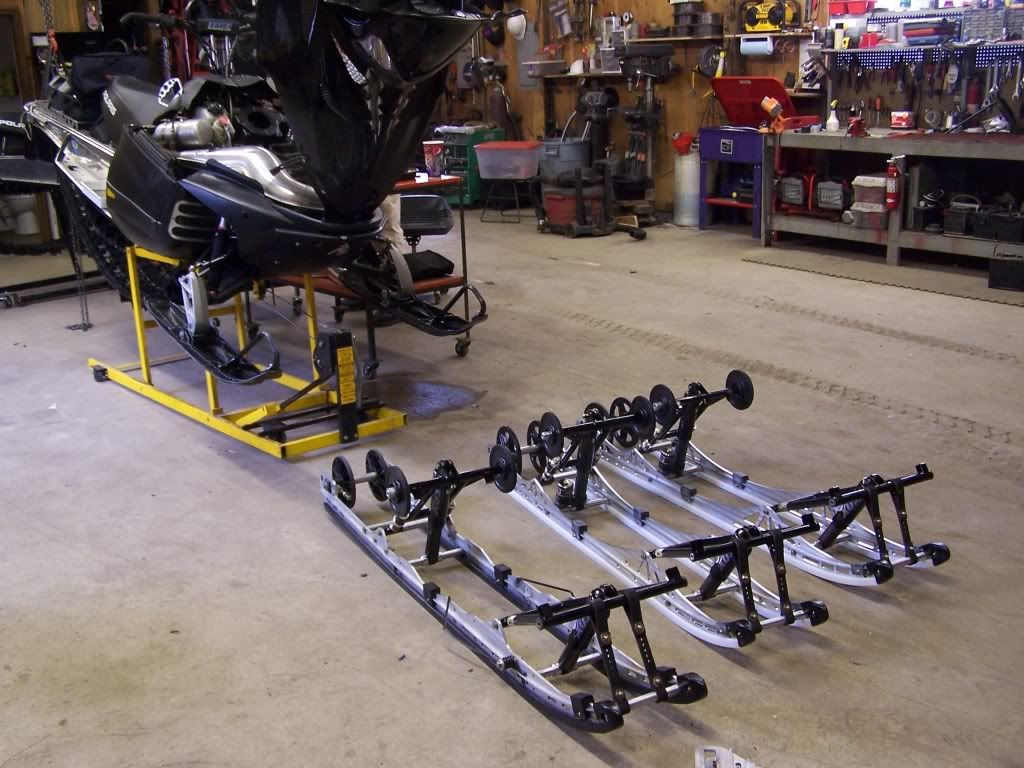
Allen's shop is an impressive sight. Super clean and equipped with all the tools and supplies I'd need to make short order of the install (and a great place to build my 900 project )
)
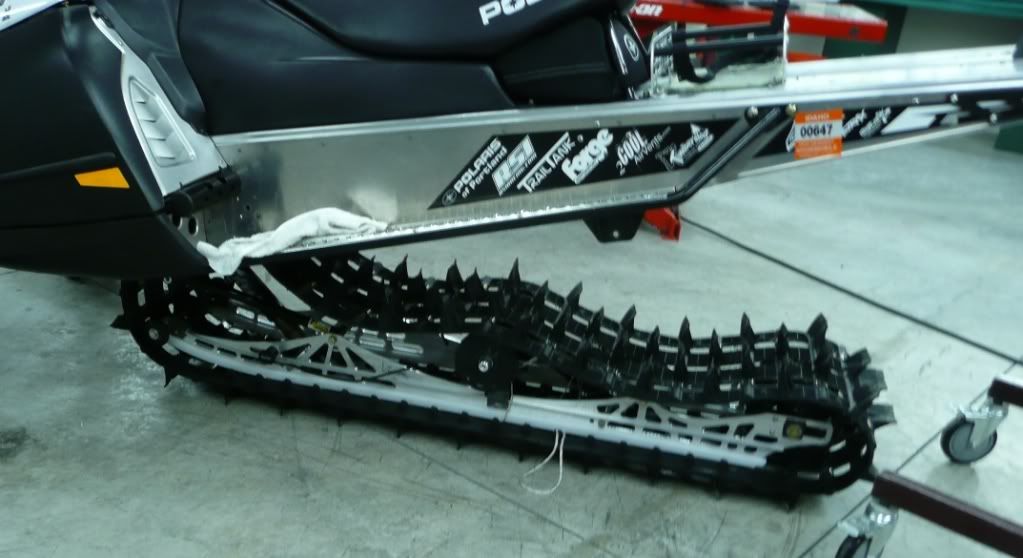
I did a bit of riding the first week there on the stock skid, playing with the different settings and getting a good idea of baseline riding.
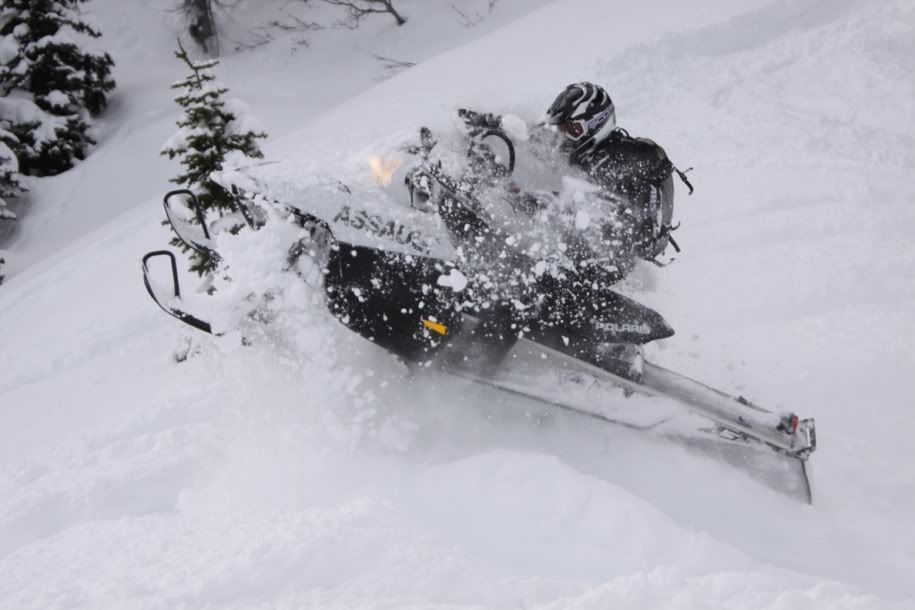
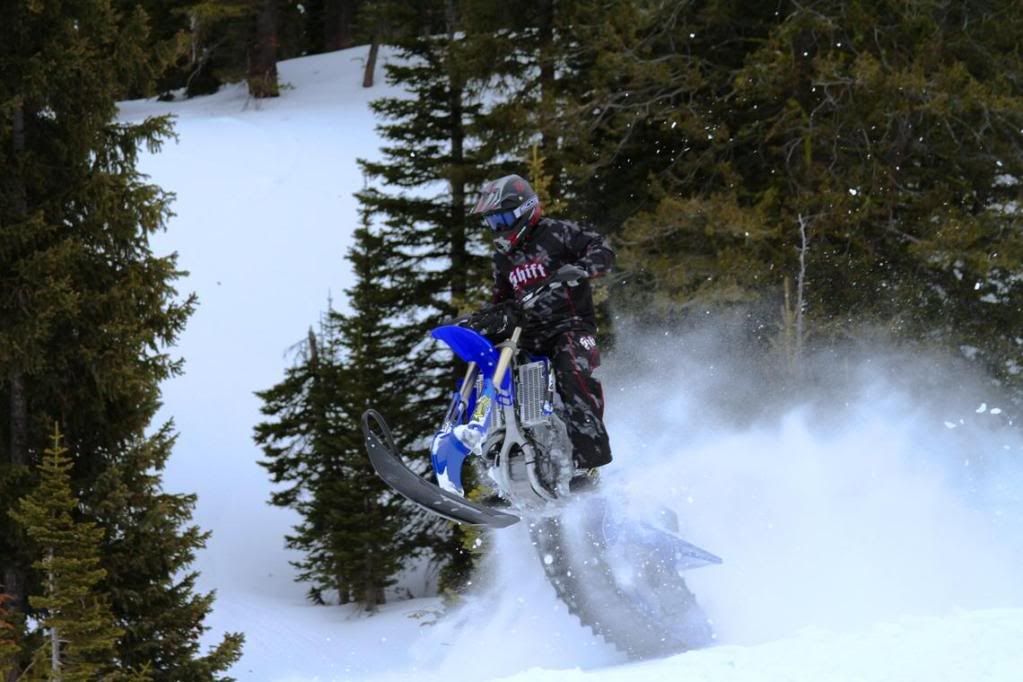
Not since I visited Burandt's BCA have I seen such intense, skillful tree riding. These guys were amazing and demanding of their equipment.
I knew at that point I was in the right place to learn to ride better and have a good time wrenching as wel !!
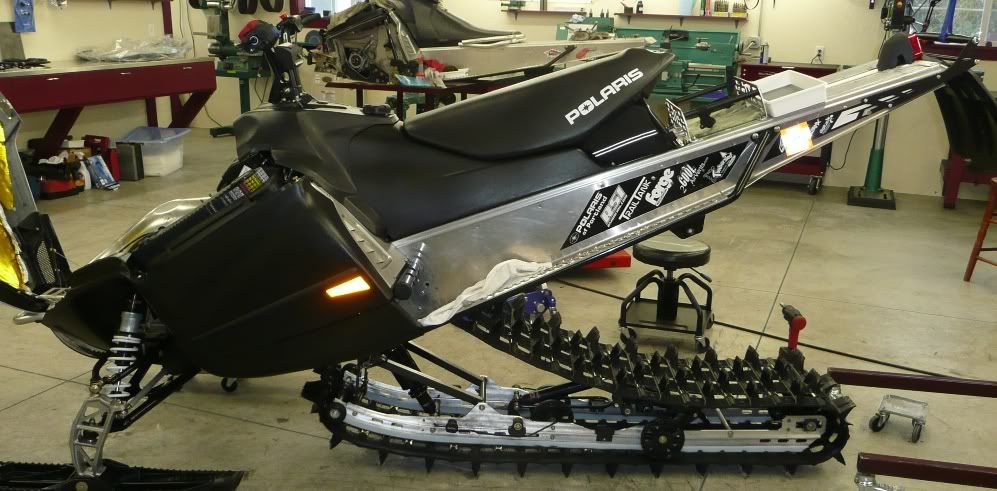
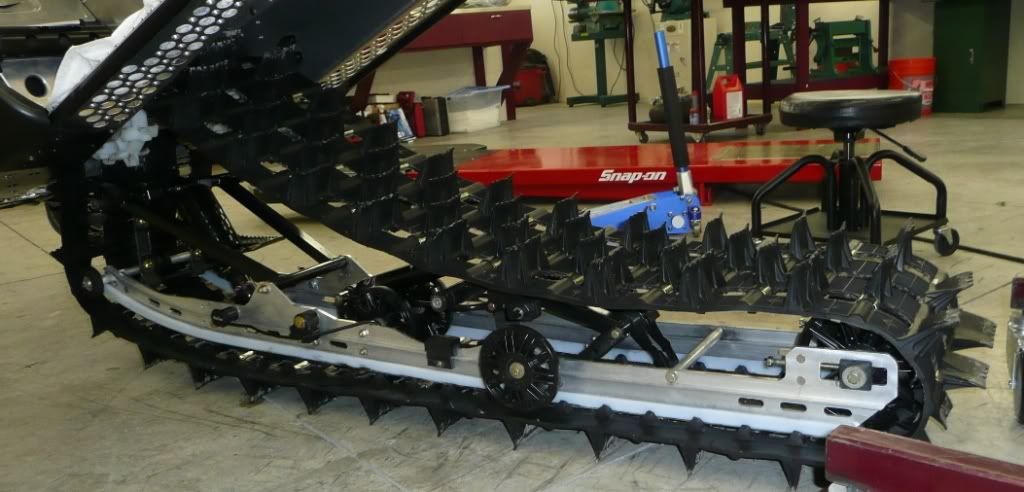
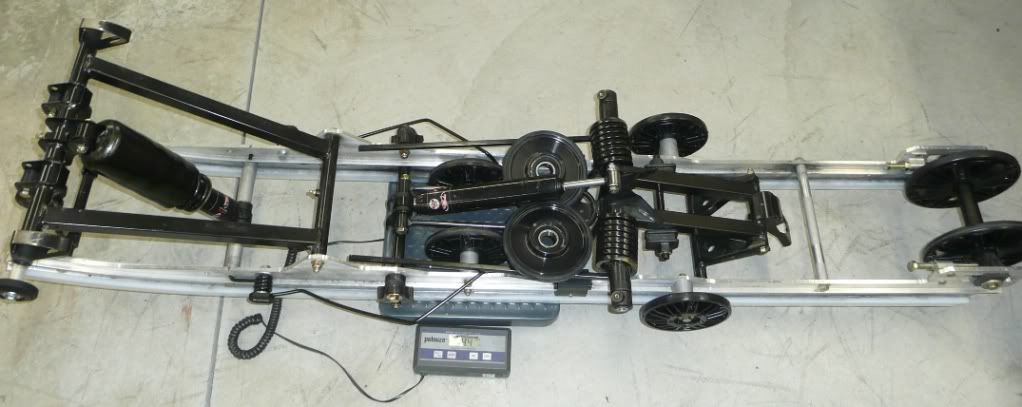
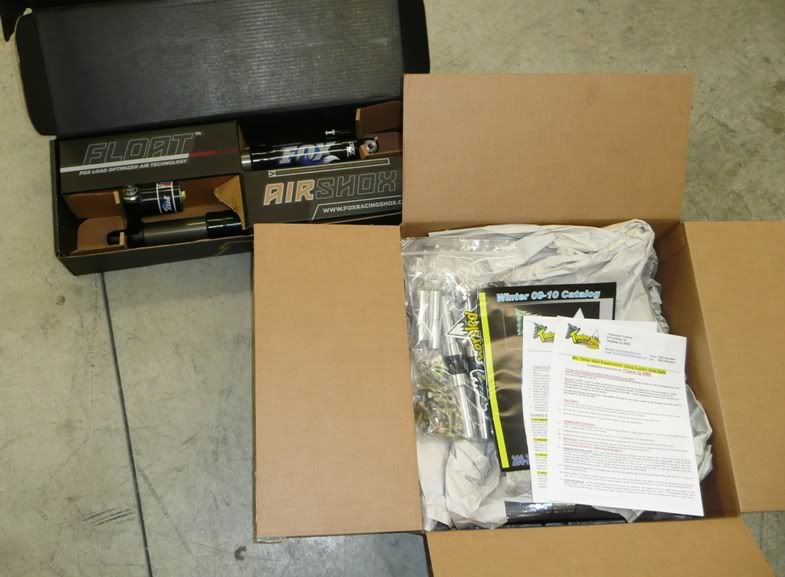
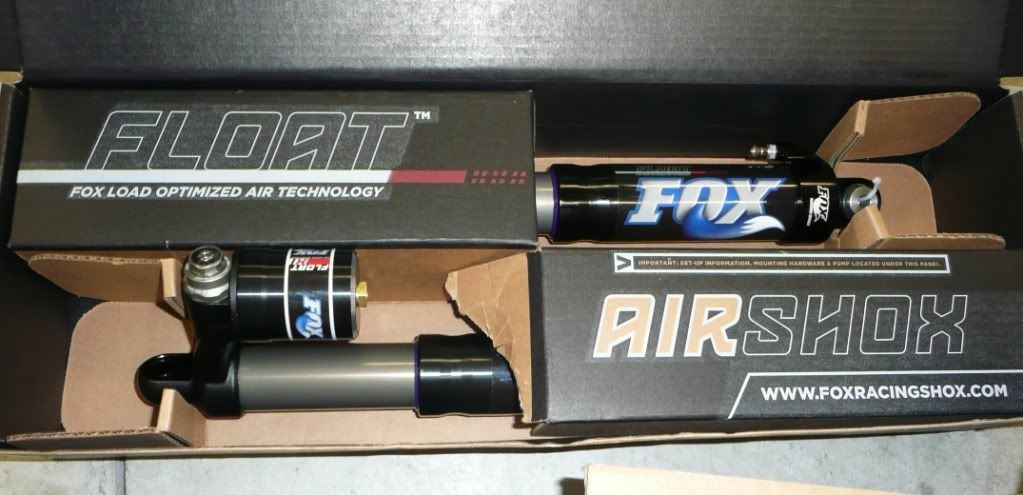
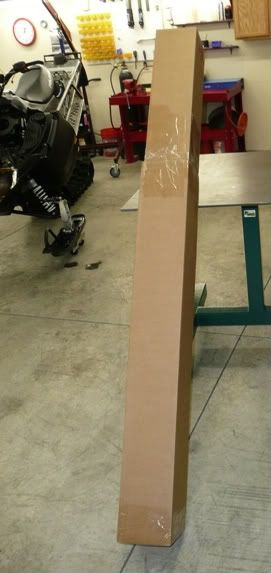
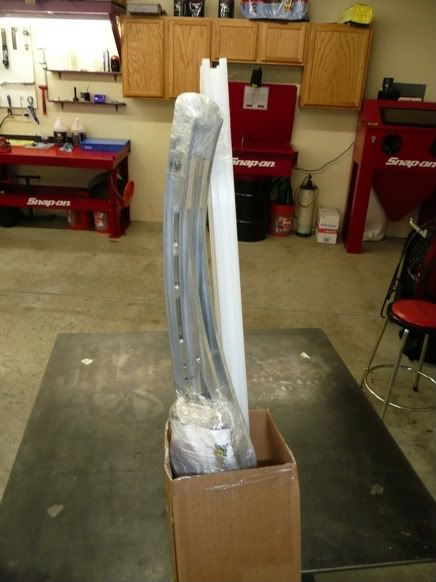
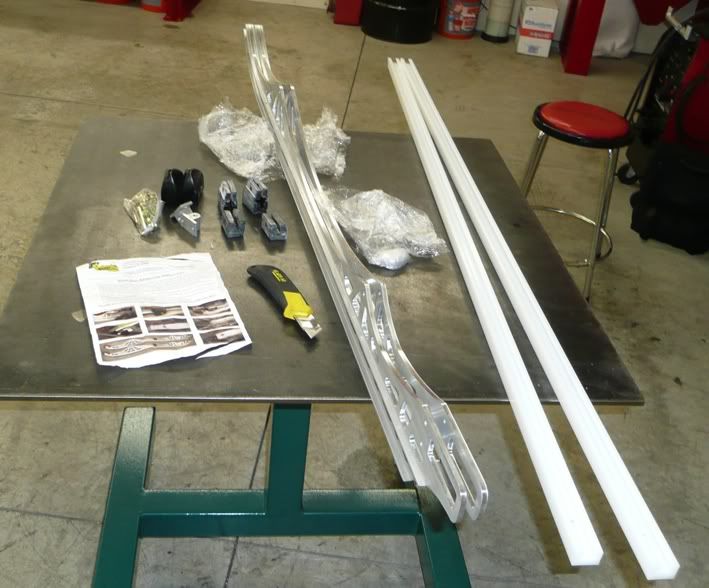
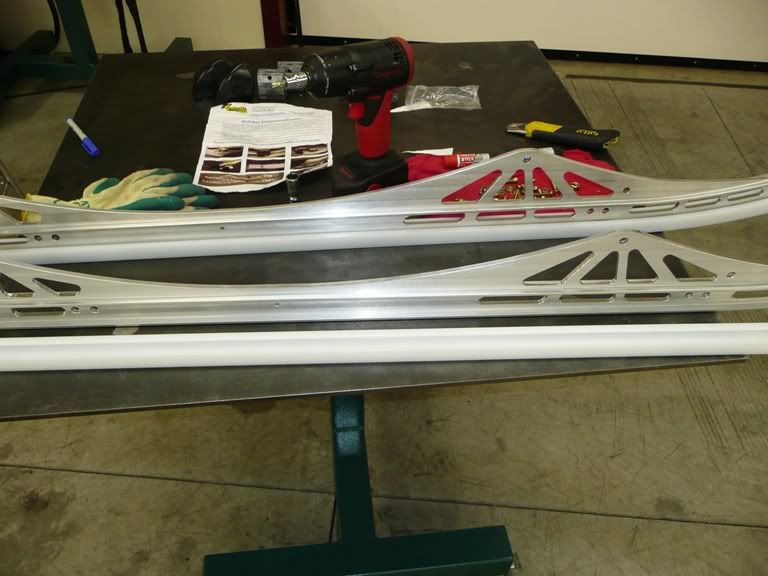
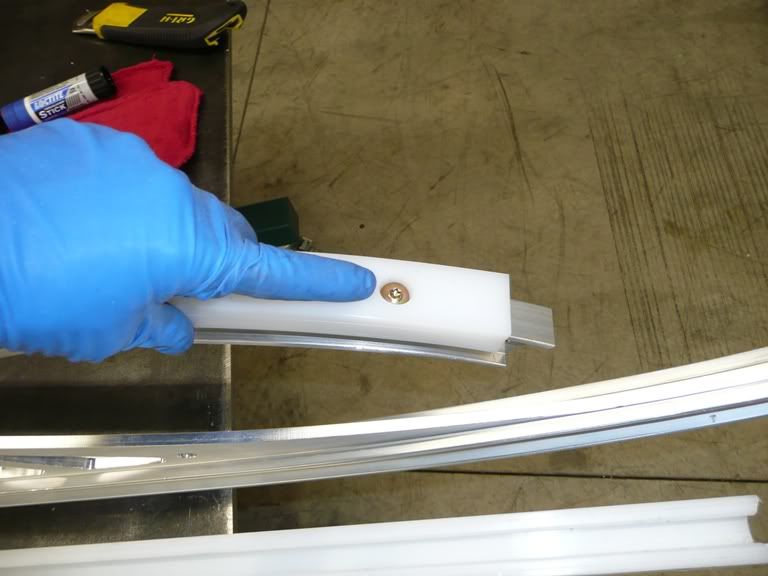
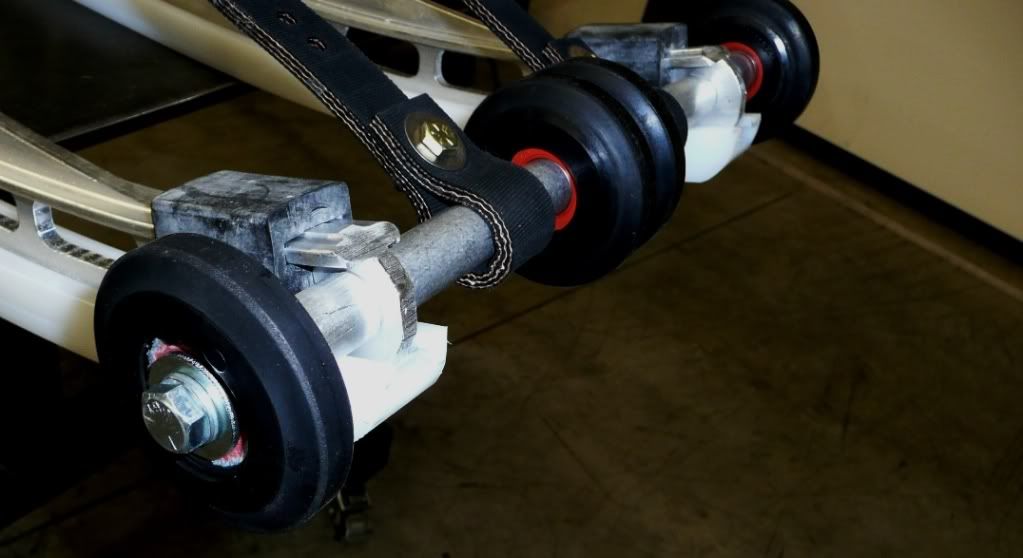
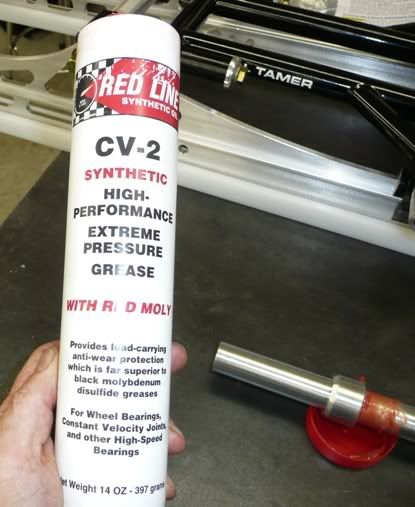
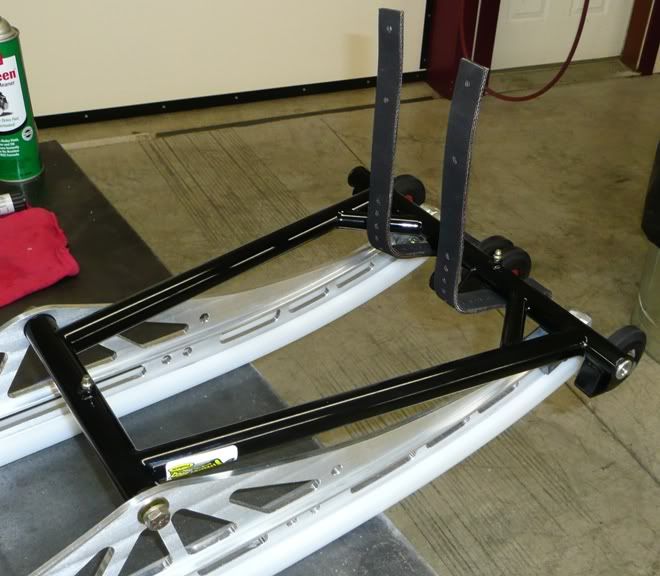
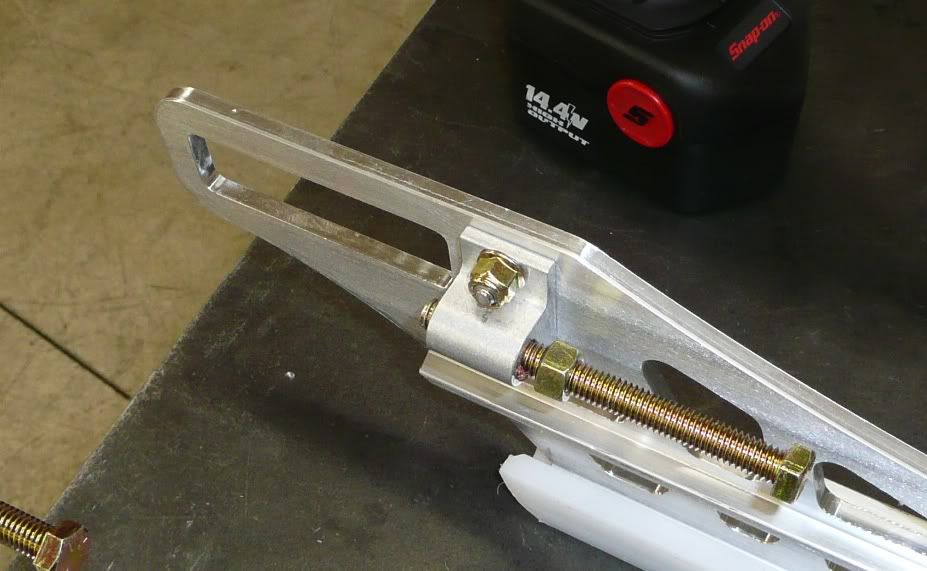
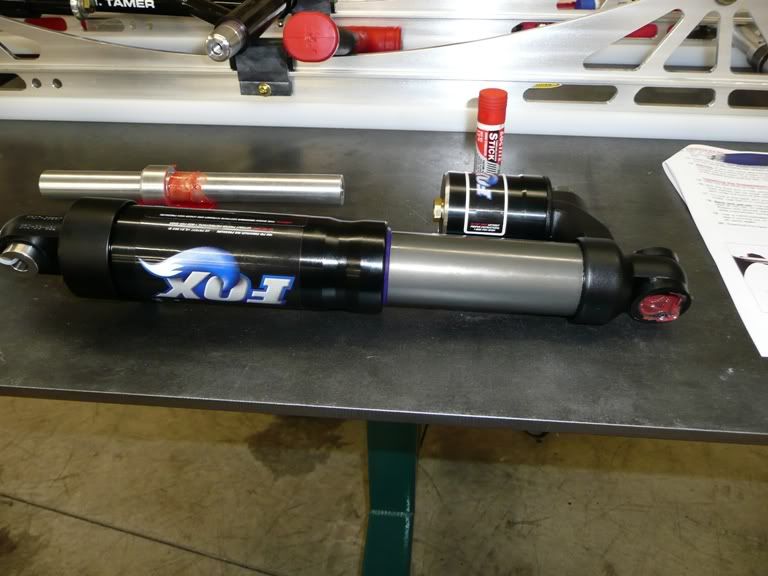
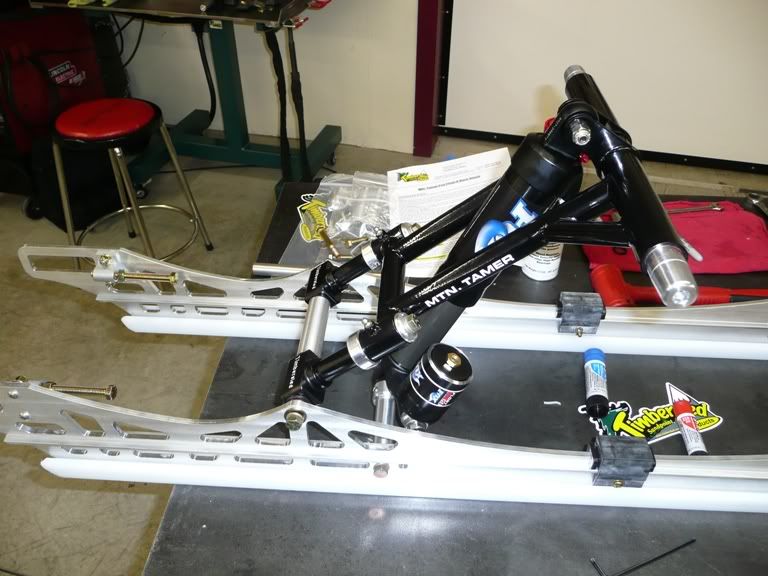
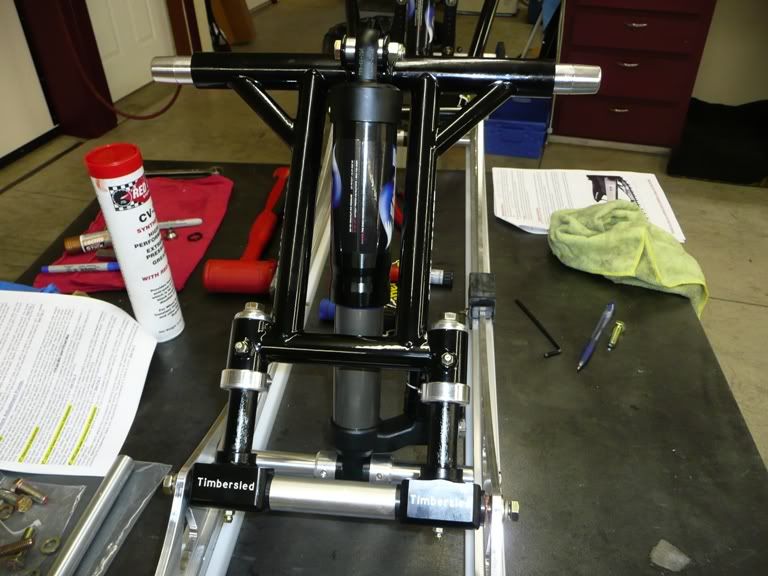
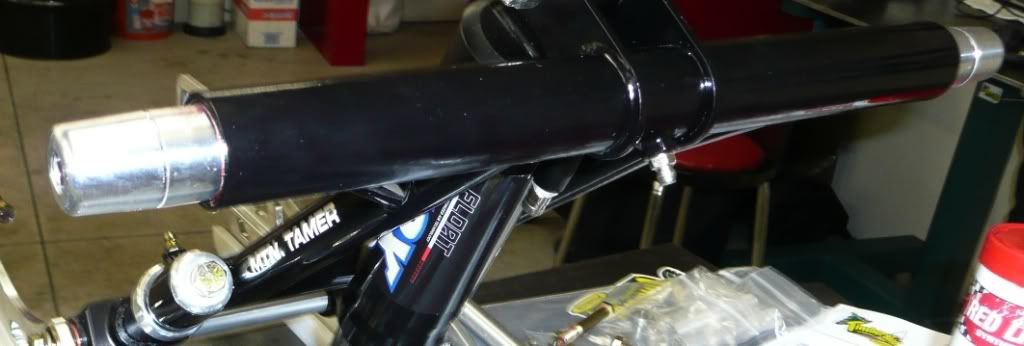
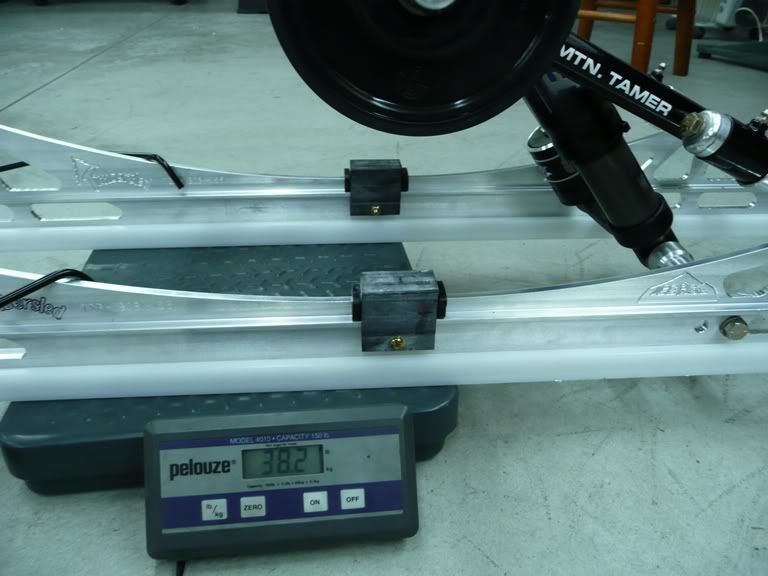
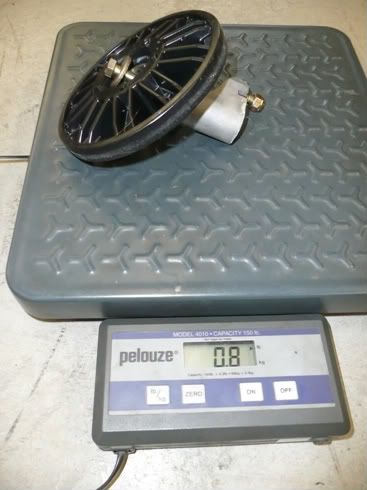
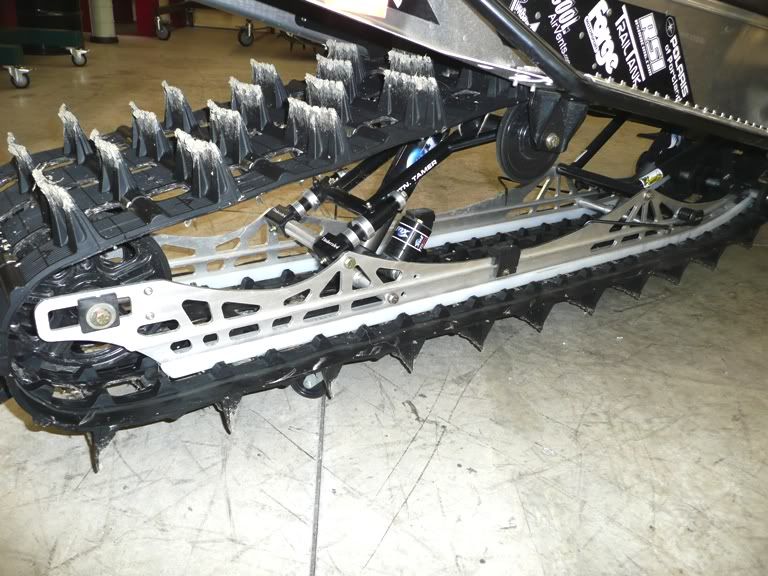
Here is a bit of a photo journal of my Timbersled Skid install.
I've been searching around for an upgrade for a while. The factors in making my choice were
- Performance
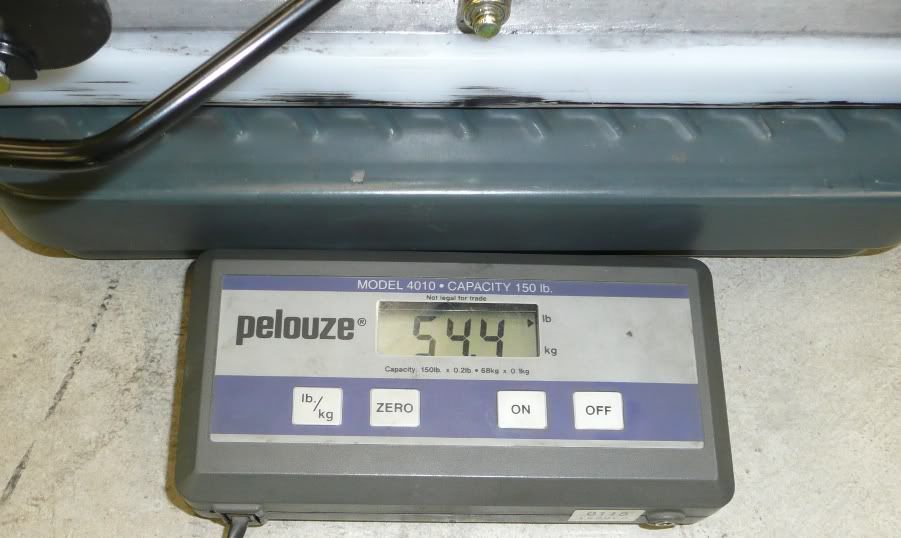
- Weight
- Adjustability
- Cost
- Looks
I contacted Allen Mangum of Timbersled a while back to ask about his skid and the new improvements for 2010. He took the time to describe all the features of the skid and the evolution and upgrades he's made since the release of this suspension 3 years ago.
I pondered this for a while and compared the above factors to what other suspensions were on the market. For my type of riding (boondocking mostly) as well as deep snow climbing I chose the Timbersled Mtn. Tamer Suspension.
I had a lot of medical problems last season and was getting a late start on any build for my 900 project. I realized that I would not have this done for this season so a AWESOME friend helped me out and I got into a nice used 700 RMK.
I called Allen back in late Dec 2009 (this season) and placed my order for a 155" Mtn Tamer X. After hearing about my situation, to my supprise, Allen invited me up to his shop to install the new skid and "Get away" for some good riding with him and his crew.... An offer I couldn't refuse
After a two day drive, picking up my new-to-me 700 on the way up, I arrived in Sandpoint.
Allen's shop is an impressive sight. Super clean and equipped with all the tools and supplies I'd need to make short order of the install (and a great place to build my 900 project
I did a bit of riding the first week there on the stock skid, playing with the different settings and getting a good idea of baseline riding.
Not since I visited Burandt's BCA have I seen such intense, skillful tree riding. These guys were amazing and demanding of their equipment.
I knew at that point I was in the right place to learn to ride better and have a good time wrenching as wel !!
Here is a bit of a photo journal of my Timbersled Skid install.