Install the app
How to install the app on iOS
Follow along with the video below to see how to install our site as a web app on your home screen.
Note: This feature may not be available in some browsers.
You are using an out of date browser. It may not display this or other websites correctly.
You should upgrade or use an alternative browser.
You should upgrade or use an alternative browser.
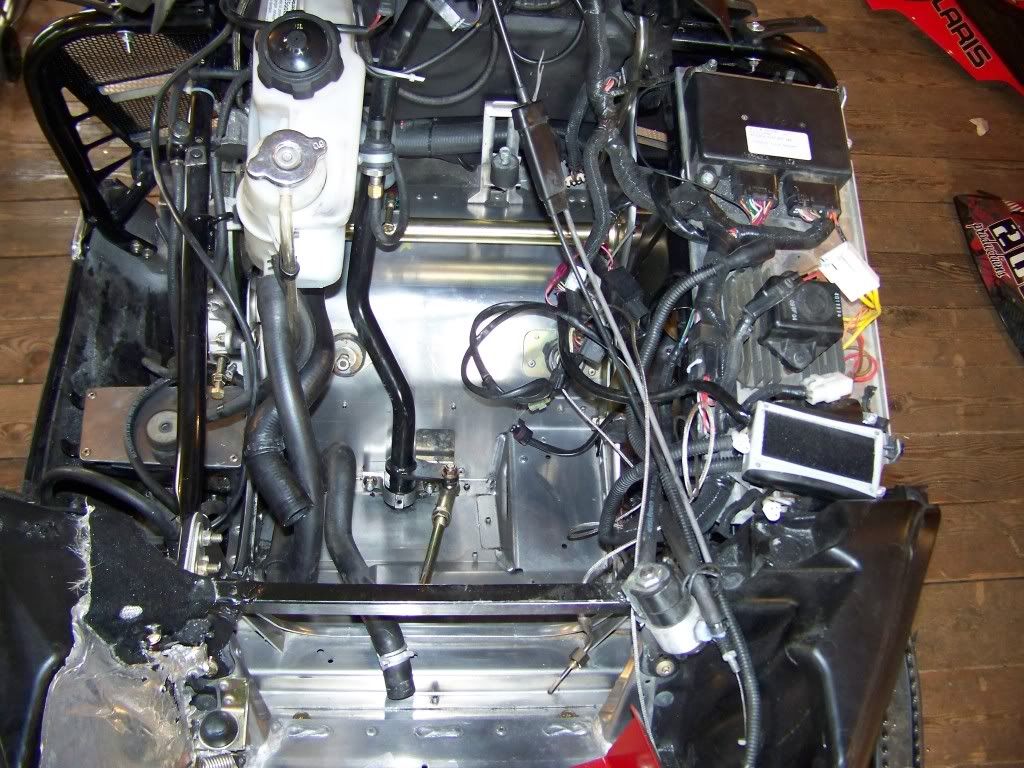
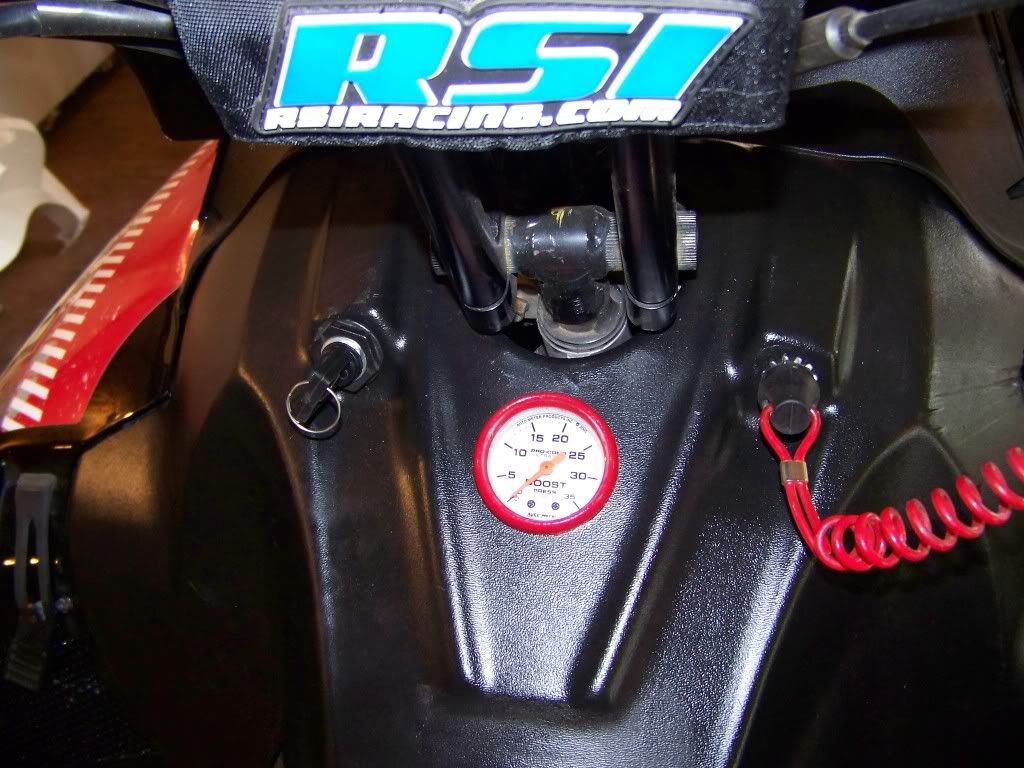
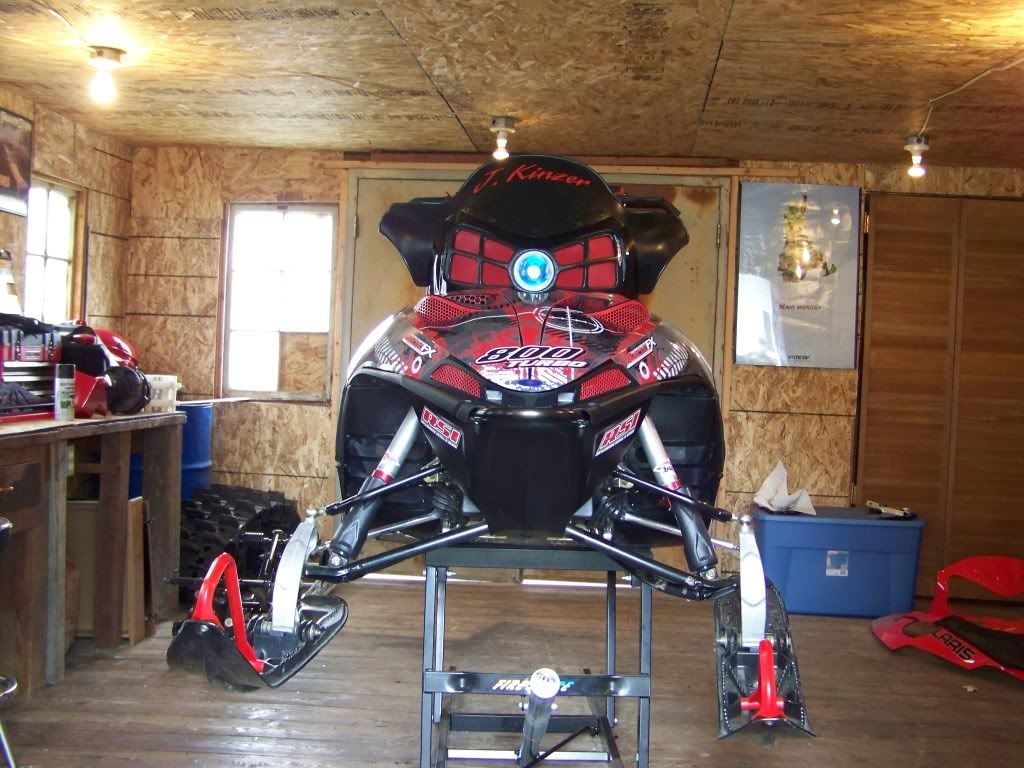
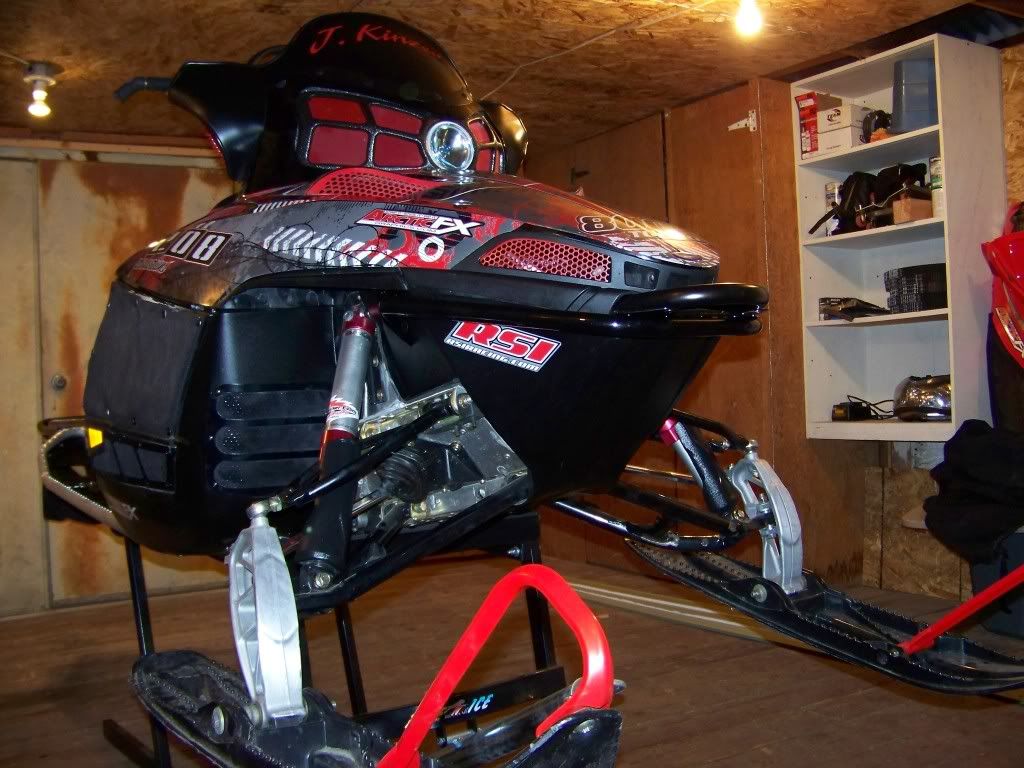
My summer project is finally coming around
- Thread starter Jkinzer
- Start date
- Thread Rating
- 5.00 star(s)
did you paint the metal frames on the FNI vents?
cause they only come in aluminum finish correct..
Great looking seld BTW
cause they only come in aluminum finish correct..
Great looking seld BTW
J
jhurkot
Well-known member
nice looking machine. i hope you weren't running that thing out of fuel + jerry cans when it was stock. i have 2000 miles on my 700 and have only ran it out of fuel one time and that was a stupid deep day and i was 200 yards from the truck on the way home. you'll have to let us know how many miles you can put on that thing w/ the larger tank.
W
whittaker727
Well-known member
Paul (fire n ice) powder coated all the frames satin black for me
It would be nice if that were an option upon ordering vents
J
Jkinzer
Well-known member
nice looking machine. i hope you weren't running that thing out of fuel + jerry cans when it was stock. i have 2000 miles on my 700 and have only ran it out of fuel one time and that was a stupid deep day and i was 200 yards from the truck on the way home. you'll have to let us know how many miles you can put on that thing w/ the larger tank.
i've never rode it stock, she was boosted out of the crate
Lookin' good J....hope to see it in person on visit to McCall...
It would be nice if that were an option upon ordering vents
Im a dealer for FnI. I can get any vent's you would like powder coated. Send me a PM if interested.
-Nolan
S
SilverGriz
Well-known member
Wow Jeremy!! That thing keeps getting better and better. Very nice work. See ya at the film festival.
J
Jkinzer
Well-known member
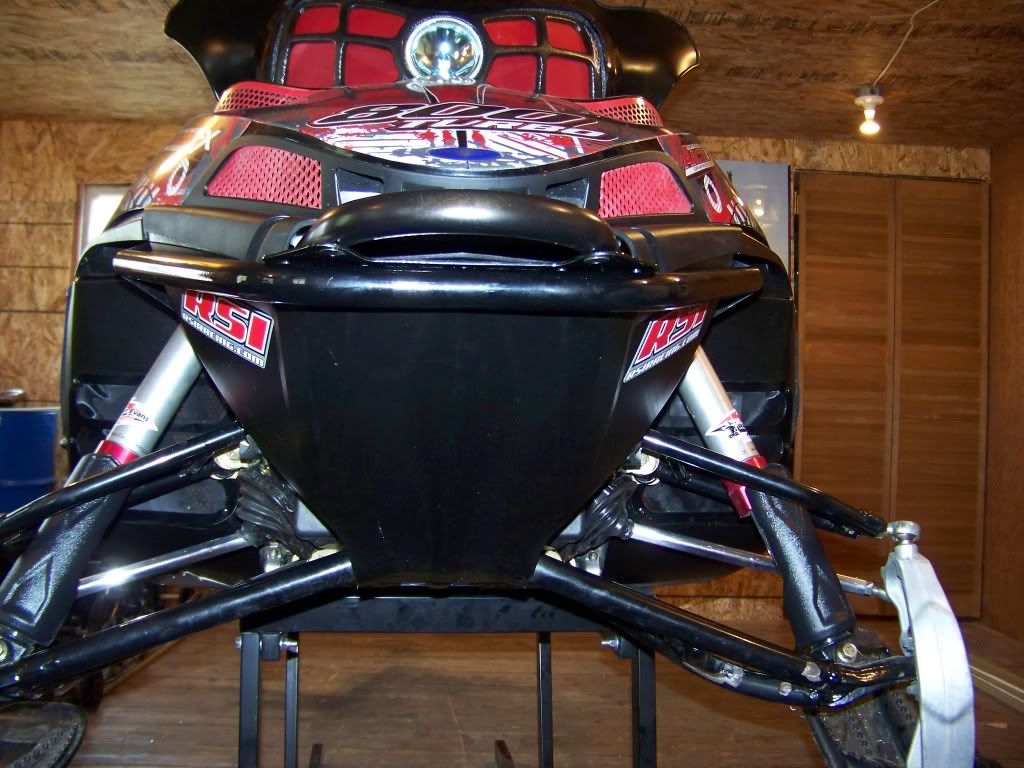
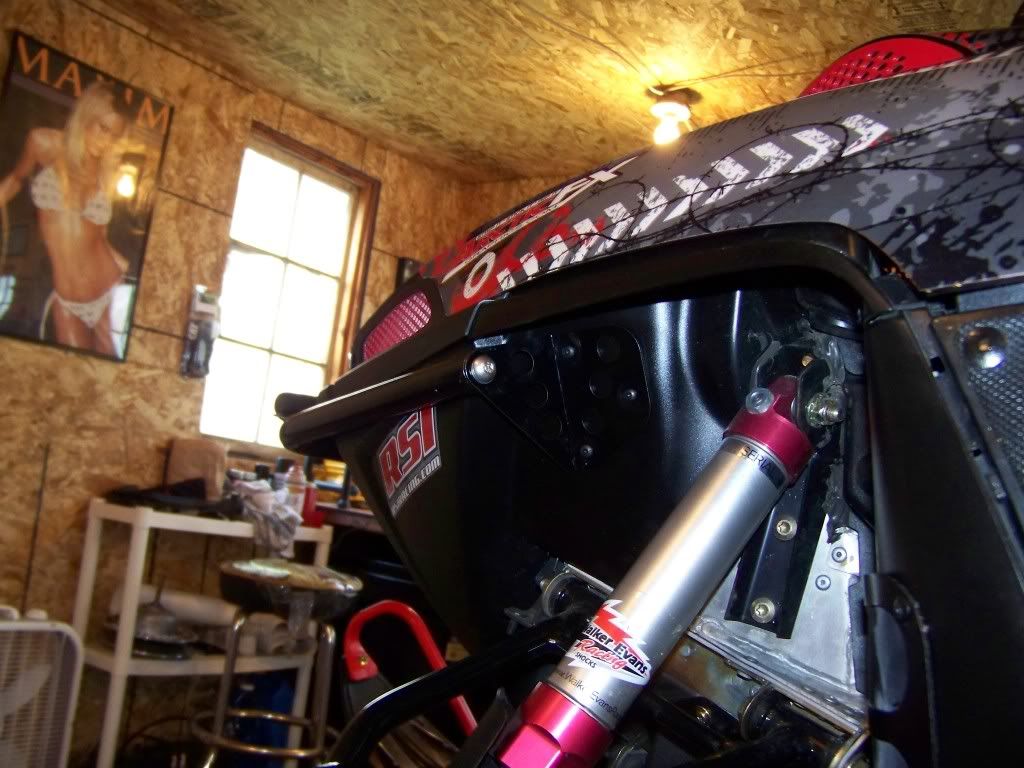
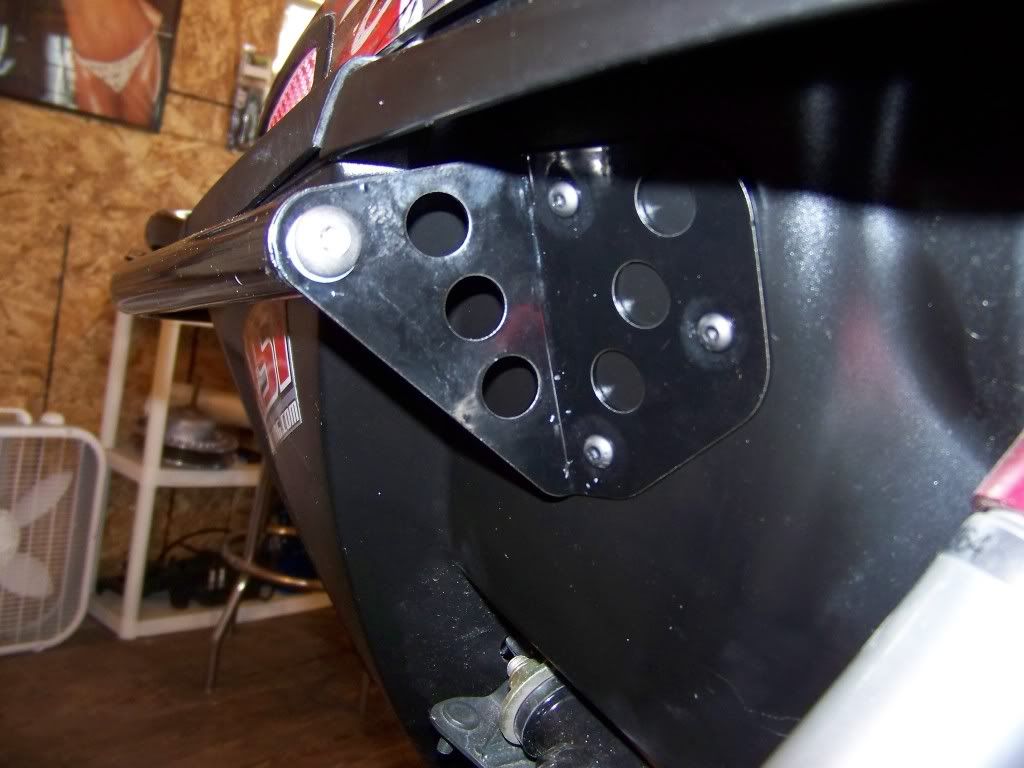
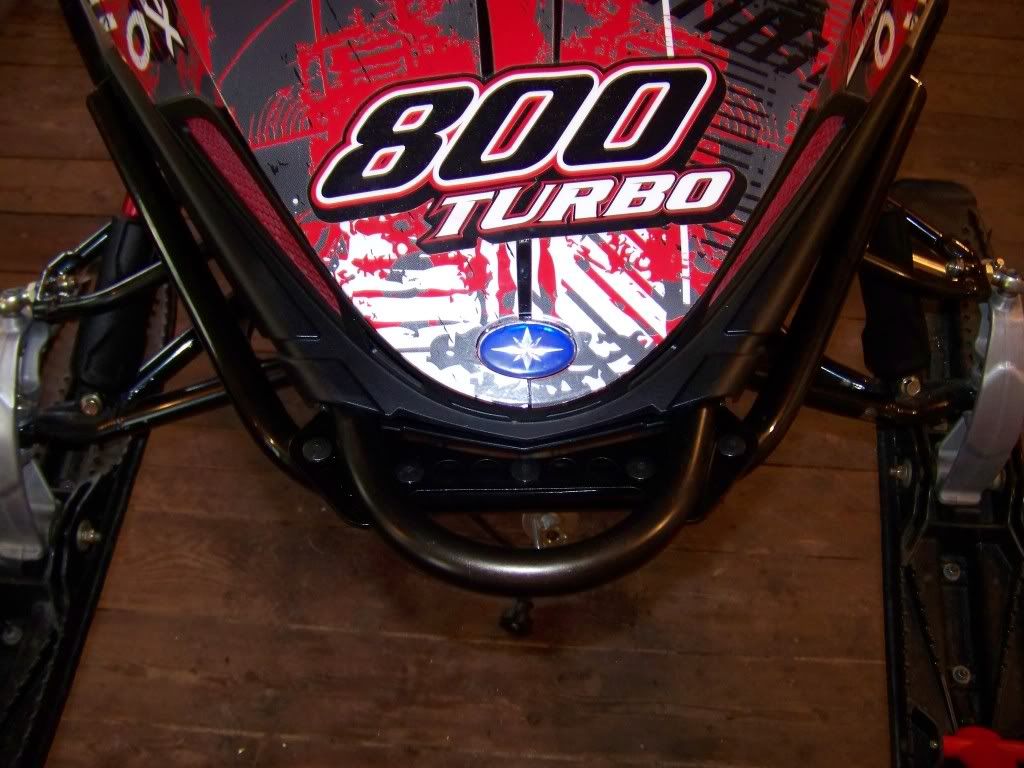
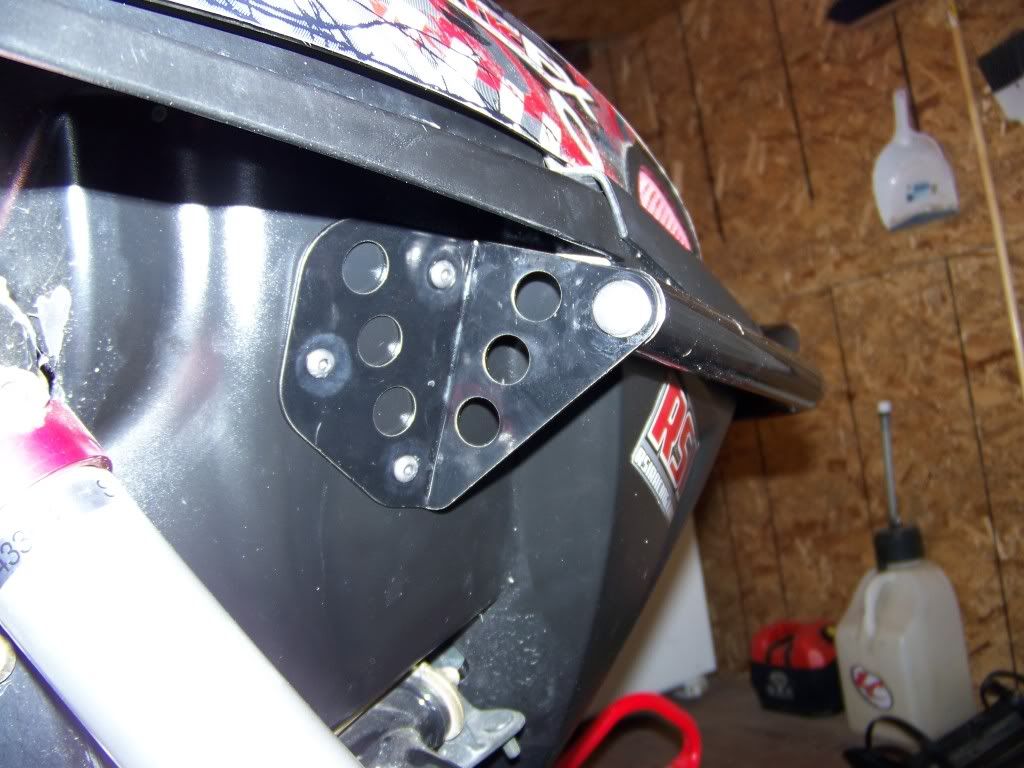
this bumper is not designed to take head on impactcs all that much better than the stock bumper... testing had shown that with the stouter set up bumper the bulk head was taking the abuse and actually bending and i dont know about you but i'd rather replace a $300 bumper than a bulk head. this bumper will work great for me for the fact that it comes all the way around to the shock tower on both sides protecting the hood and the belly pan plastics. when riding tight tree's i can now take on a 3-4" "traction tree" and not worry about damaging my plastics
this bumper is not designed to take head on impactcs all that much better than the stock bumper... testing had shown that with the stouter set up bumper the bulk head was taking the abuse and actually bending and i dont know about you but i'd rather replace a $300 bumper than a bulk head. this bumper will work great for me for the fact that it comes all the way around to the shock tower on both sides protecting the hood and the belly pan plastics. when riding tight tree's i can now take on a 3-4" "traction tree" and not worry about damaging my plastics
It looks to me like the way the bumper brackets bolt on the side of the nosepan, that any impact will rip the brackets off the nosepan.
A
akrevrider
Well-known member
Track, driver & TS skid install pics?
Jeremy,
Can you please post up a couple of pics of the track & rear skid install?
You sled is looking awesome. Appreciate the hard work and keeping us posted on the progress.
Thanks.
akrevrider
Jeremy,
Can you please post up a couple of pics of the track & rear skid install?
You sled is looking awesome. Appreciate the hard work and keeping us posted on the progress.

Thanks.
akrevrider
Last edited:
J
Jkinzer
Well-known member
It looks to me like the way the bumper brackets bolt on the side of the nosepan, that any impact will rip the brackets off the nosepan.
the brackets to me seem to just mainly be for looks and to tie the whole bumper together... the main strength point of the bumper is up where it connects to the stock bumper by 4 mounting points... from the looks of it to me it should hold up very well.
Last edited:
J
Jkinzer
Well-known member
Jeremy,
Can you please post up a couple of pics of the track & rear skid install?
You sled is looking awesome. Appreciate the hard work and keeping us posted on the progress.
Thanks.
akrevrider
i will be removing the front cooler tomorrow, and reinstalling the drive shaft and track... the suspension i will hopefully be doing this weekend, will post some more pics as i get these things installed
Last edited:
A
akrevrider
Well-known member
i will be removing the front cooler tomarrow, and reinstalling the drive shaft and track... the suspension i will hopefully be doing this weekend, will post some more pics as i get these things installed
Jeremy,
Did you cut the old drivers off and how did you press the new ones on?
It looks like the Avid driver with internal splines goes on the clutch side.
Pics of the install process and how you lined it up on the PC track would be appreciated.
akrevrider
J
Jkinzer
Well-known member
my old drivers are being pressed off right now as we speak, and the new ones are being pressed on. I have a buddy that owns a local mod shop and has a press so he is doing this part of it for me... its pretty simple install though just check mearsurments center to center on the track and make sure the drivers line up as you are pressing them on... is helpful to have the track right next to you so you can go back and forth the whole time to make sure everything will line up. will post up some more info and pics tomarrow of the install
Similar threads
H
- Replies
- 22
- Views
- 4K
- Replies
- 34
- Views
- 8K
D
M
- Replies
- 6
- Views
- 3K
S
R
- Replies
- 8
- Views
- 6K


