Install the app
How to install the app on iOS

Follow along with the video below to see how to install our site as a web app on your home screen.

Note: This feature may not be available in some browsers.

  • Don't miss out on all the fun! Register on our forums to post and have added features! Membership levels include a FREE membership tier.

Mountain fit hood

I ordered a new air box for sixty two more dollars and this craps going in the dumpster.
So whats the damage
Two weeks of stress on my only vacation
Many trips to town to get glue, silicone, rivets, weather stripping, and a long drill bit.
I bet I'm into this for six or seven hundred just wasted how nice
 
Last edited:
Going with a silicon intake tube like a turbo would have saved a lot of headache. I just finished mine and even with the turbo piping it doesn't fit as well as OEM.

20201227_150626.jpg
 
Man, I applaud you for your effort!?
I'm amazed how complex the project has turned out to be, wow, that's a lot of work and you've put it in??

Keep us posted.
 
I was going to do that filter unit u have on but decided to do this instead. I had tons of stock intake leakage.
<a href='' title=''><img src='' alt='' title='Hosted by imgur.com' /></a>

<a href='' title=''><img src='' alt='' title='Hosted by imgur.com' /></a>

<a href='' title=''><img src='' alt='' title='Hosted by imgur.com' /></a>
 
I went out and re assembled the oe hood. Minus the butchered air box.
Scraped all the foam out of the middle air box. It looked loose and certainly was going through, took forever.
Man it felt so heavy I regained some want to.
Cut the light hood apart a-friggin-gain. Dammit I'm a sucker.
Peeled back the vents and tore the screen off one

The dang glue was still wet in the deep spots. Got that everywhere. Cut the thick of the dry stuff off with a full knife the rest took aggressive scraping with my fingernail. Also took forever.
Cut the front and rear wing mounts loose. Left the center locater screw in
With everything else clean and separate, pushed on the air box by itself. Slid the hood over it. Bolted the main center bolt. Pulled back on the assembly and there it was. The dang pins lined up and twisted in. Side panels on and it's not perfect but I can live with it. Maby I can cheat it with that rear rivet.
New old problem
How do I drill the holes and rivet it in place. Still needs glue. Can't really see where I need to drill no room to rivet
 
Well to drill new rivet holes I had to tear off all the sticky vents, mtn fit said he'd ship me some new ones for all my trouble. So that's good.
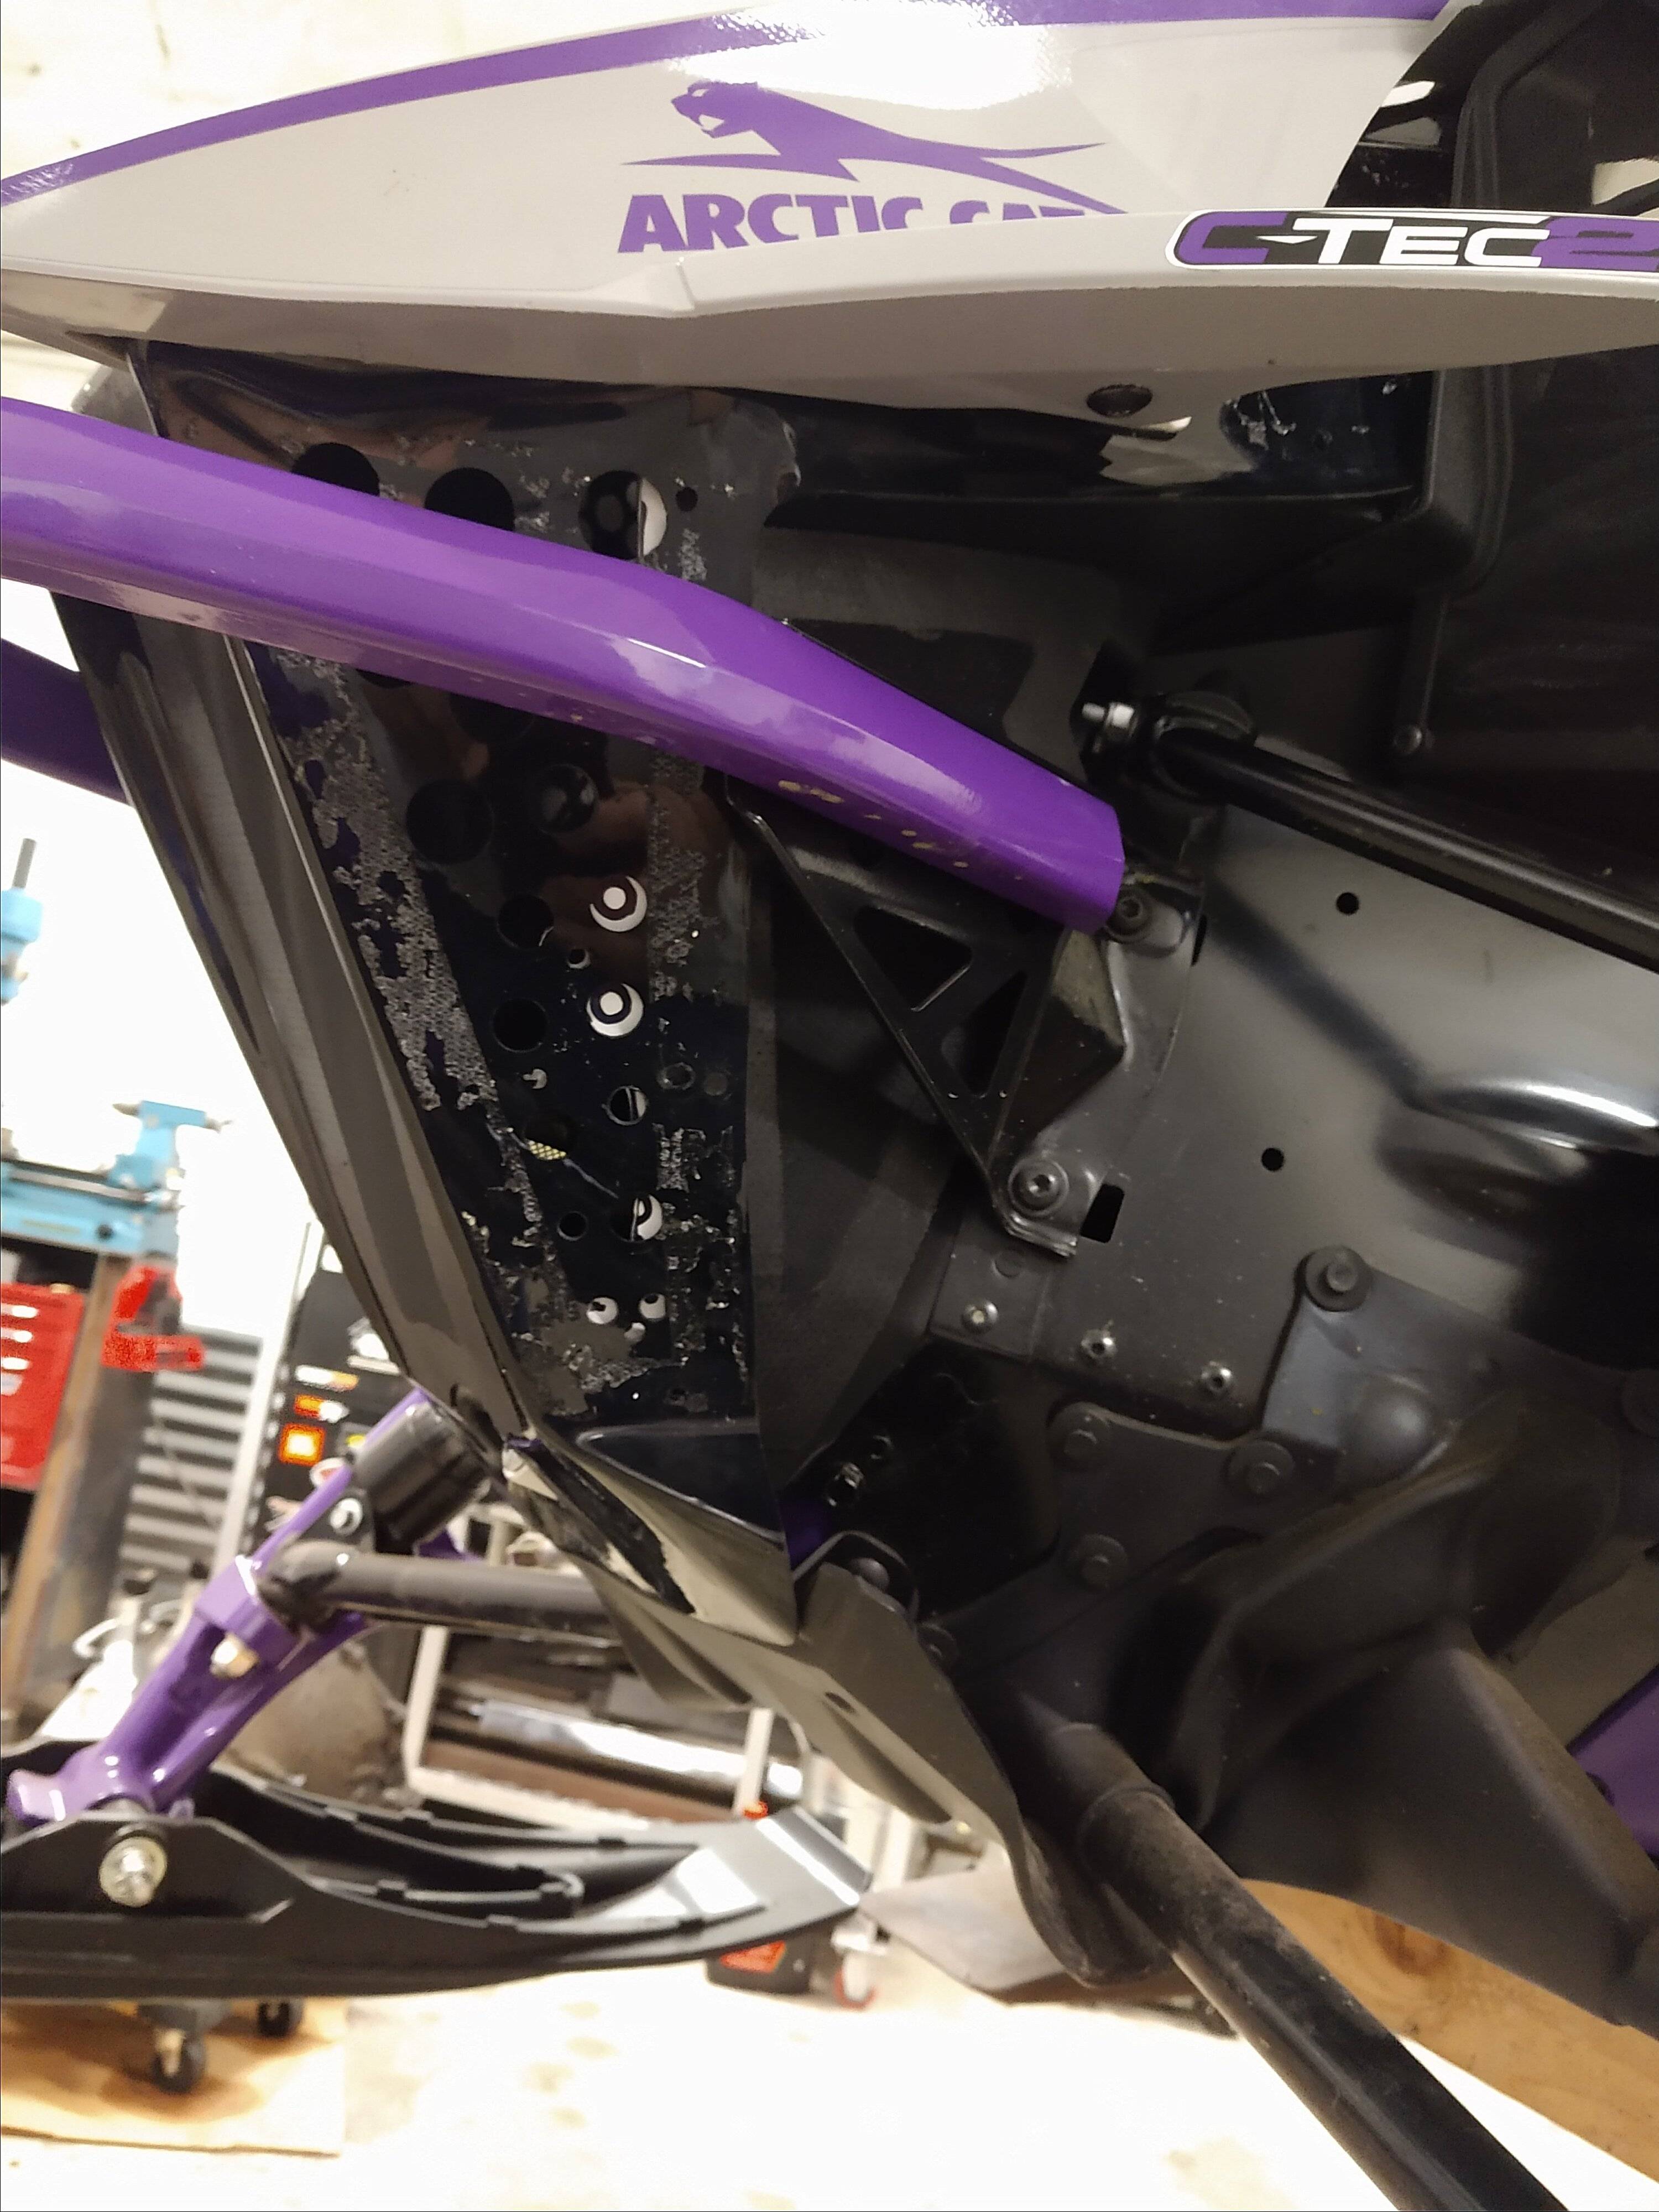
Well now I figure that the white pieces are to broaden the edge so you can get a rivet in? There still isn't alot holding those pieces on. On the front, You can get a good rivet in the top and bottom. However the middle ends up with a gap so you need 1/8" rivets to pull that in.
I didn't use the white pieces on the top cause there is enough meat allready.
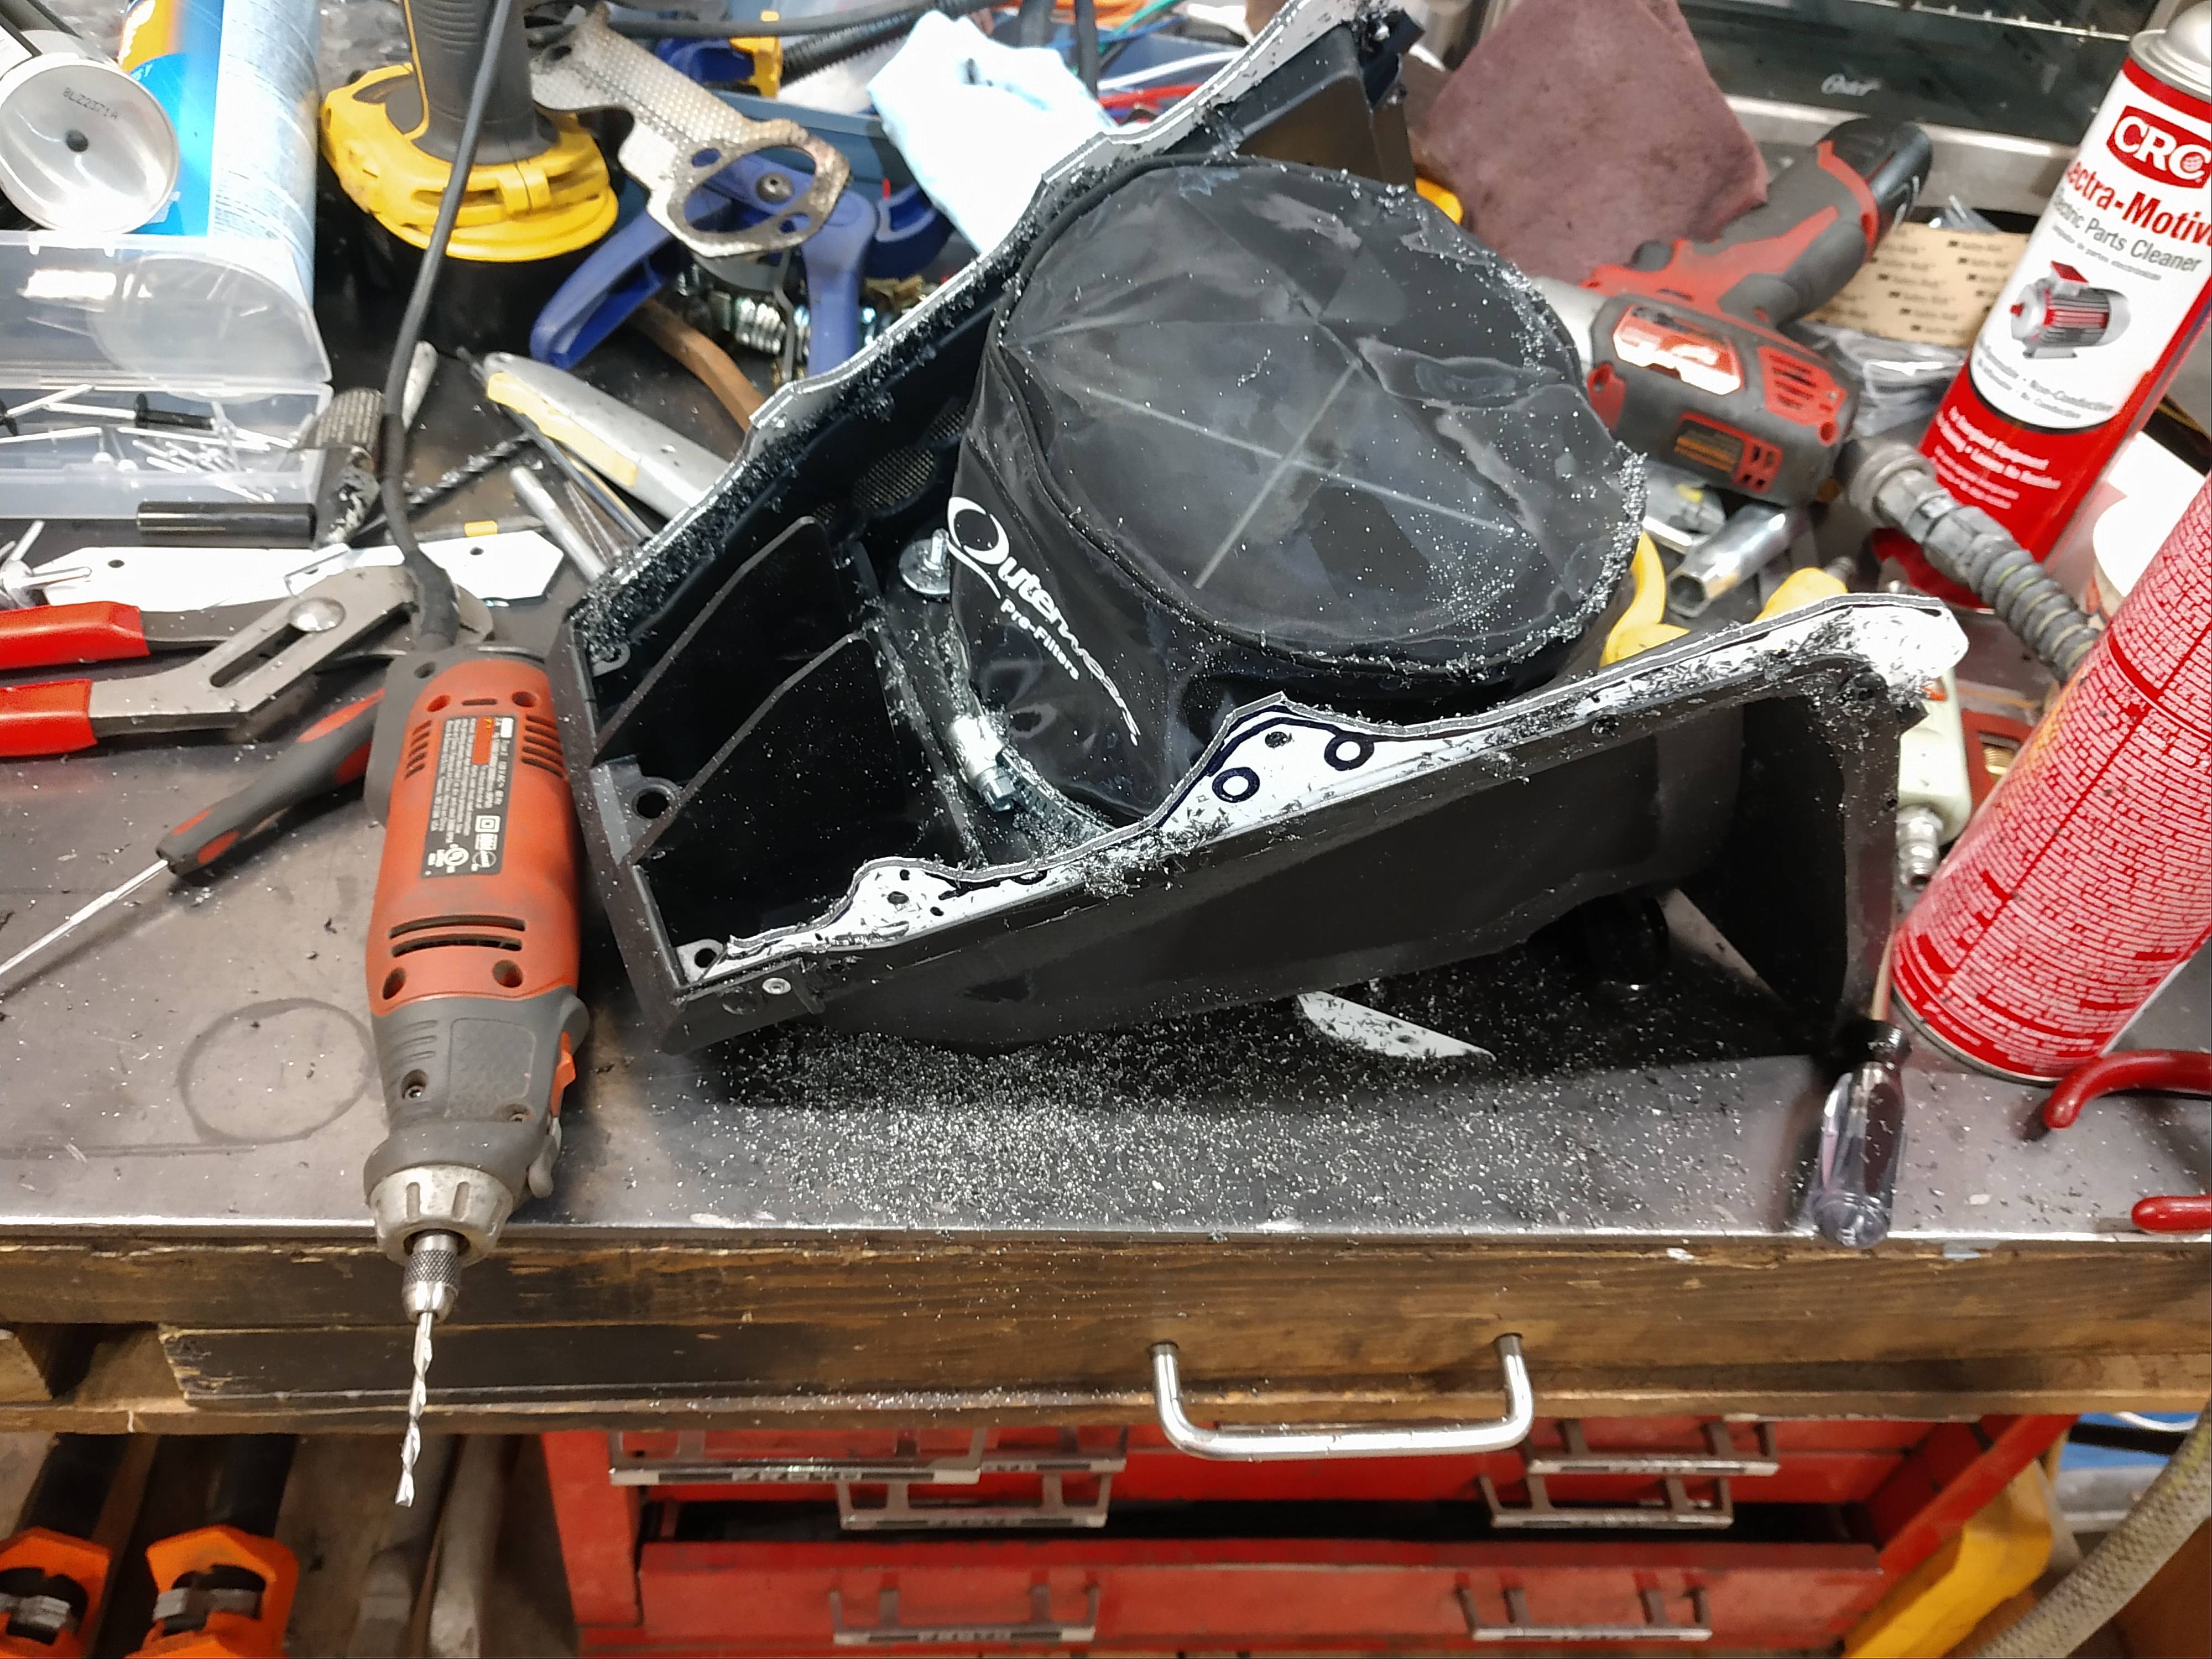
As everything was pinned in place on the sled, I noticed the top of the air box wasnt tight. So I had to loosen the bottom bolt and I could reach inside and push the box into the throttle bodies while I drilled the holes through the white piece. It was hard being I had allready cut the vent holes out.
A guy could cut the nose holes out and push from there then that would determine how many holes you need on the sides for your vents.
With everything pushed up I also could reach in the side to drill a hole in the top rear through that triangular window.
full

Pulled it all back off again and trimmed the white pieces down around the new rivet holes for more flow. Got the glue back out and bolted it back up.
full

Went to riveting but the holes didn't line up now so I had to cheat them a bit. Then some of the wide head rivets wouldn't fit so I had to trim them down.
Got all the front in and the one in the rear then pulled it back off again, took the wings off and drilled the two more holes I needed in the box and riveted them.
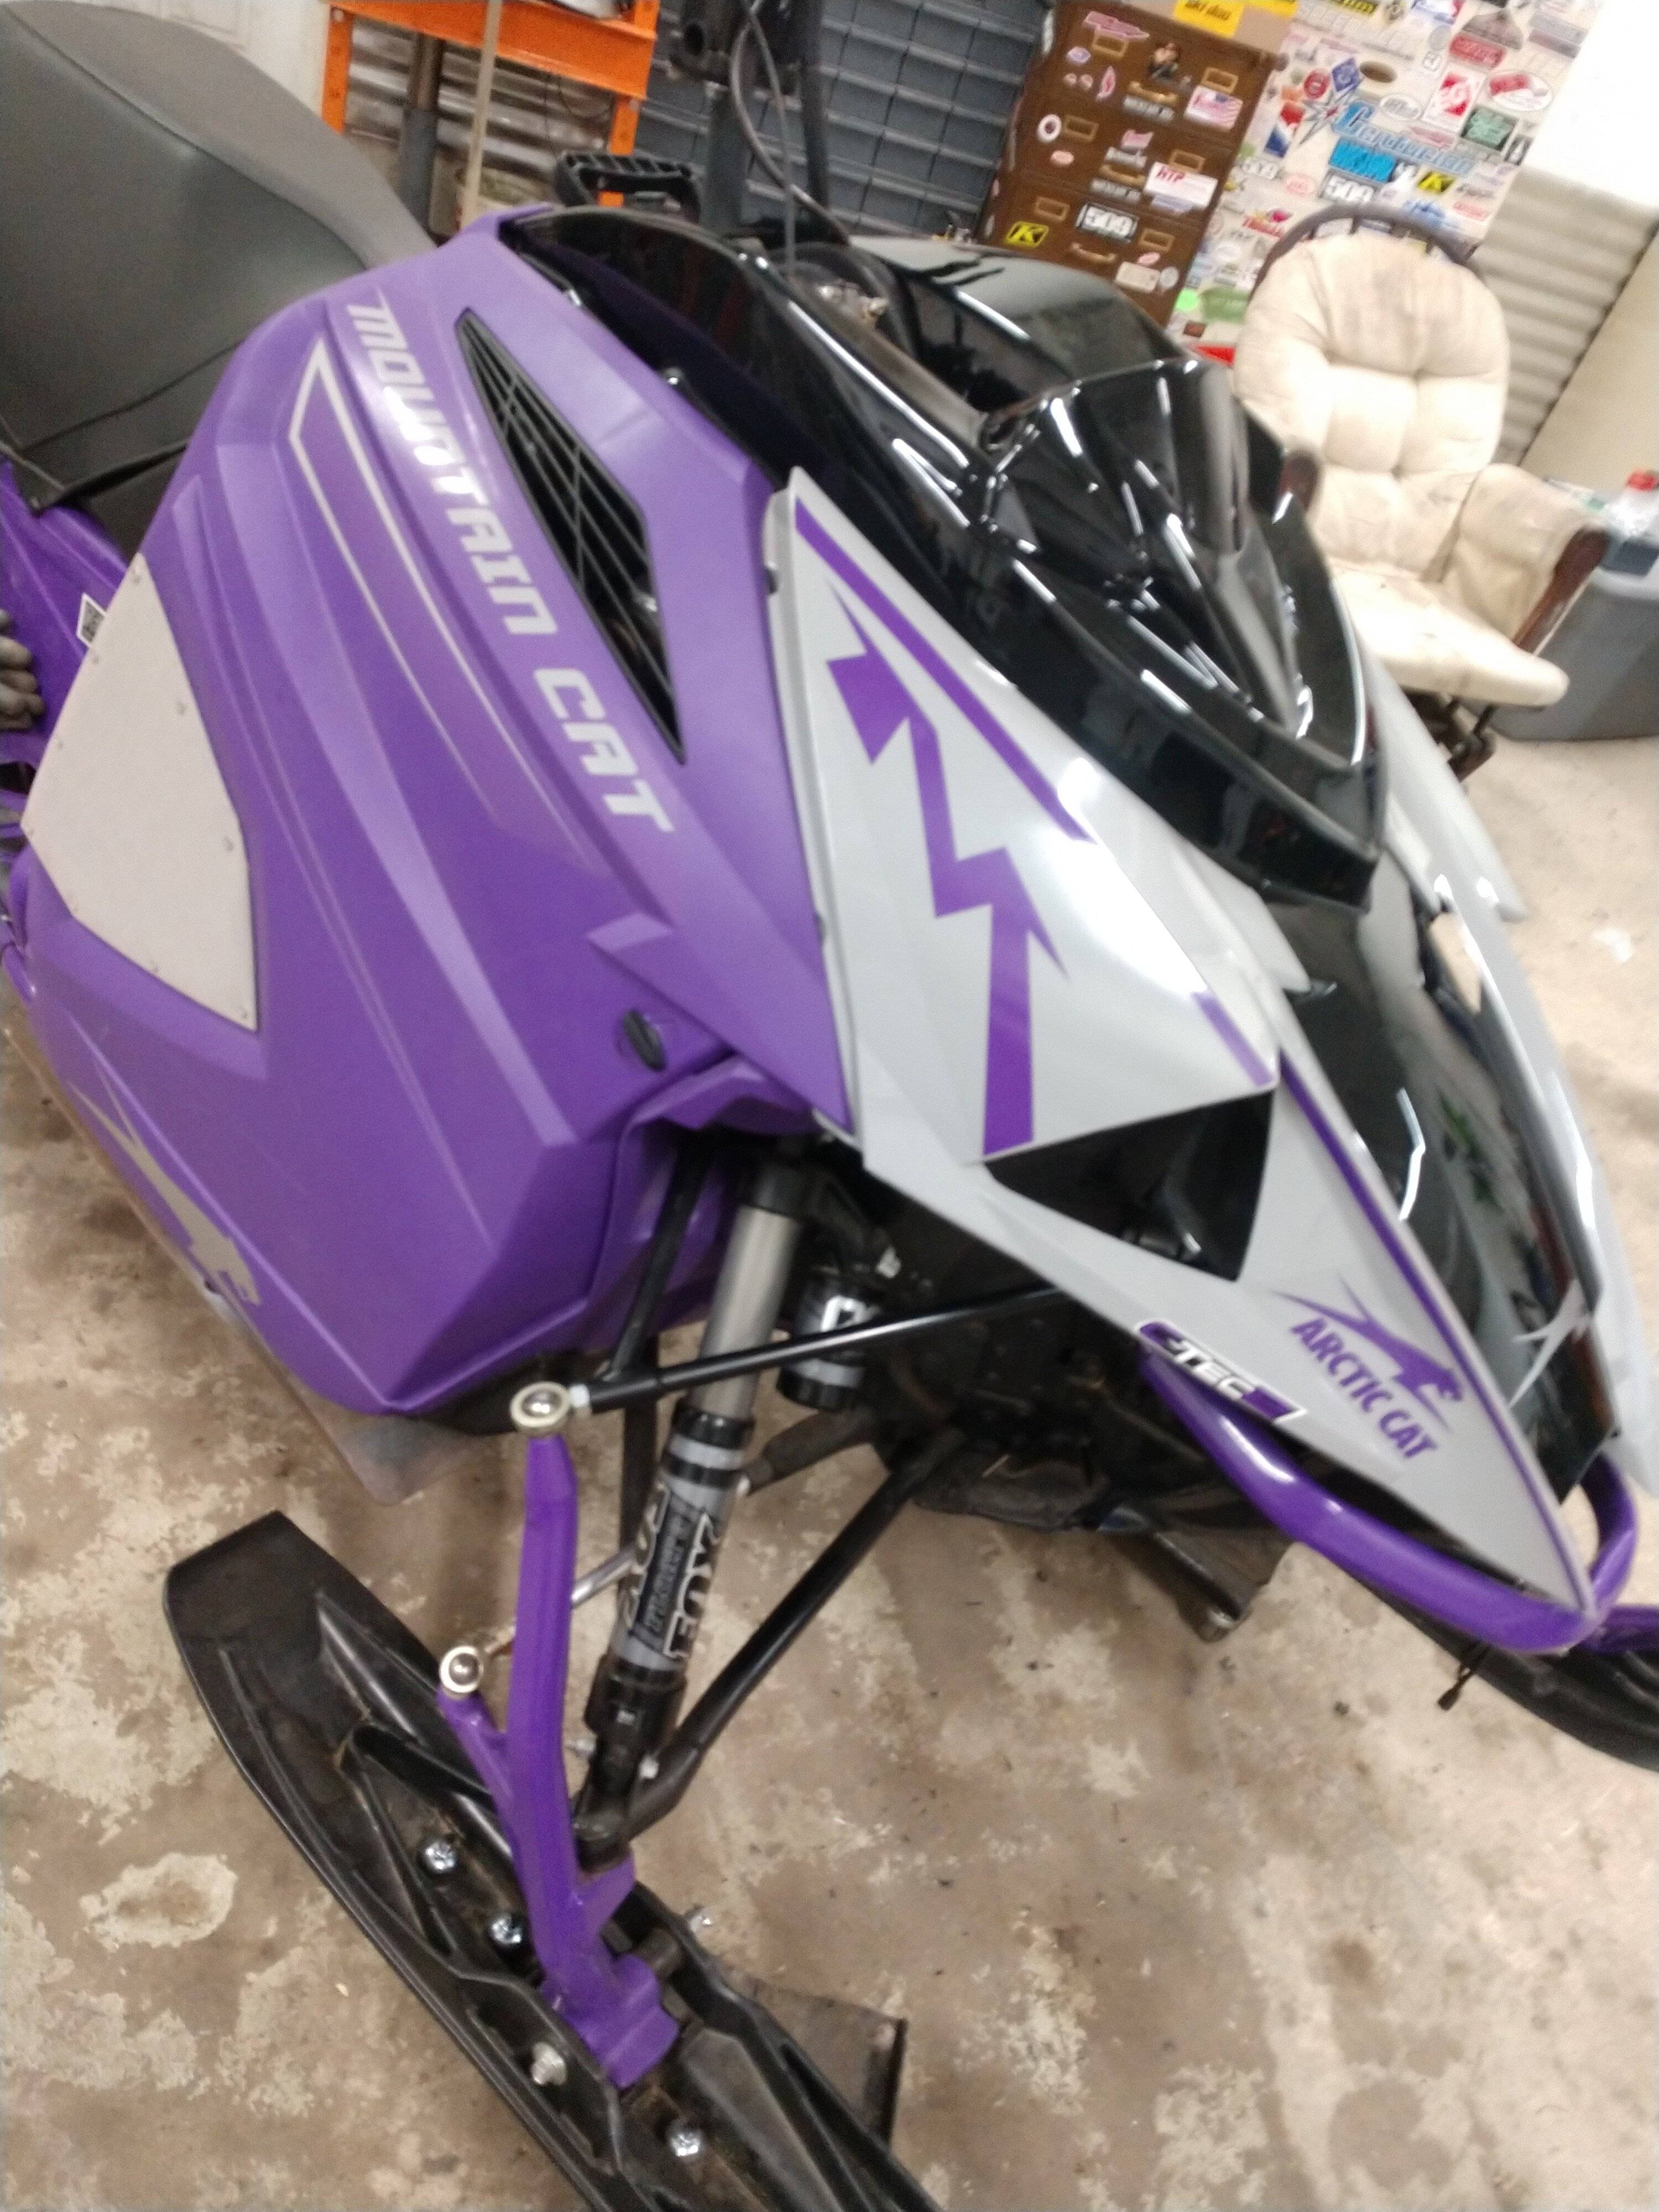
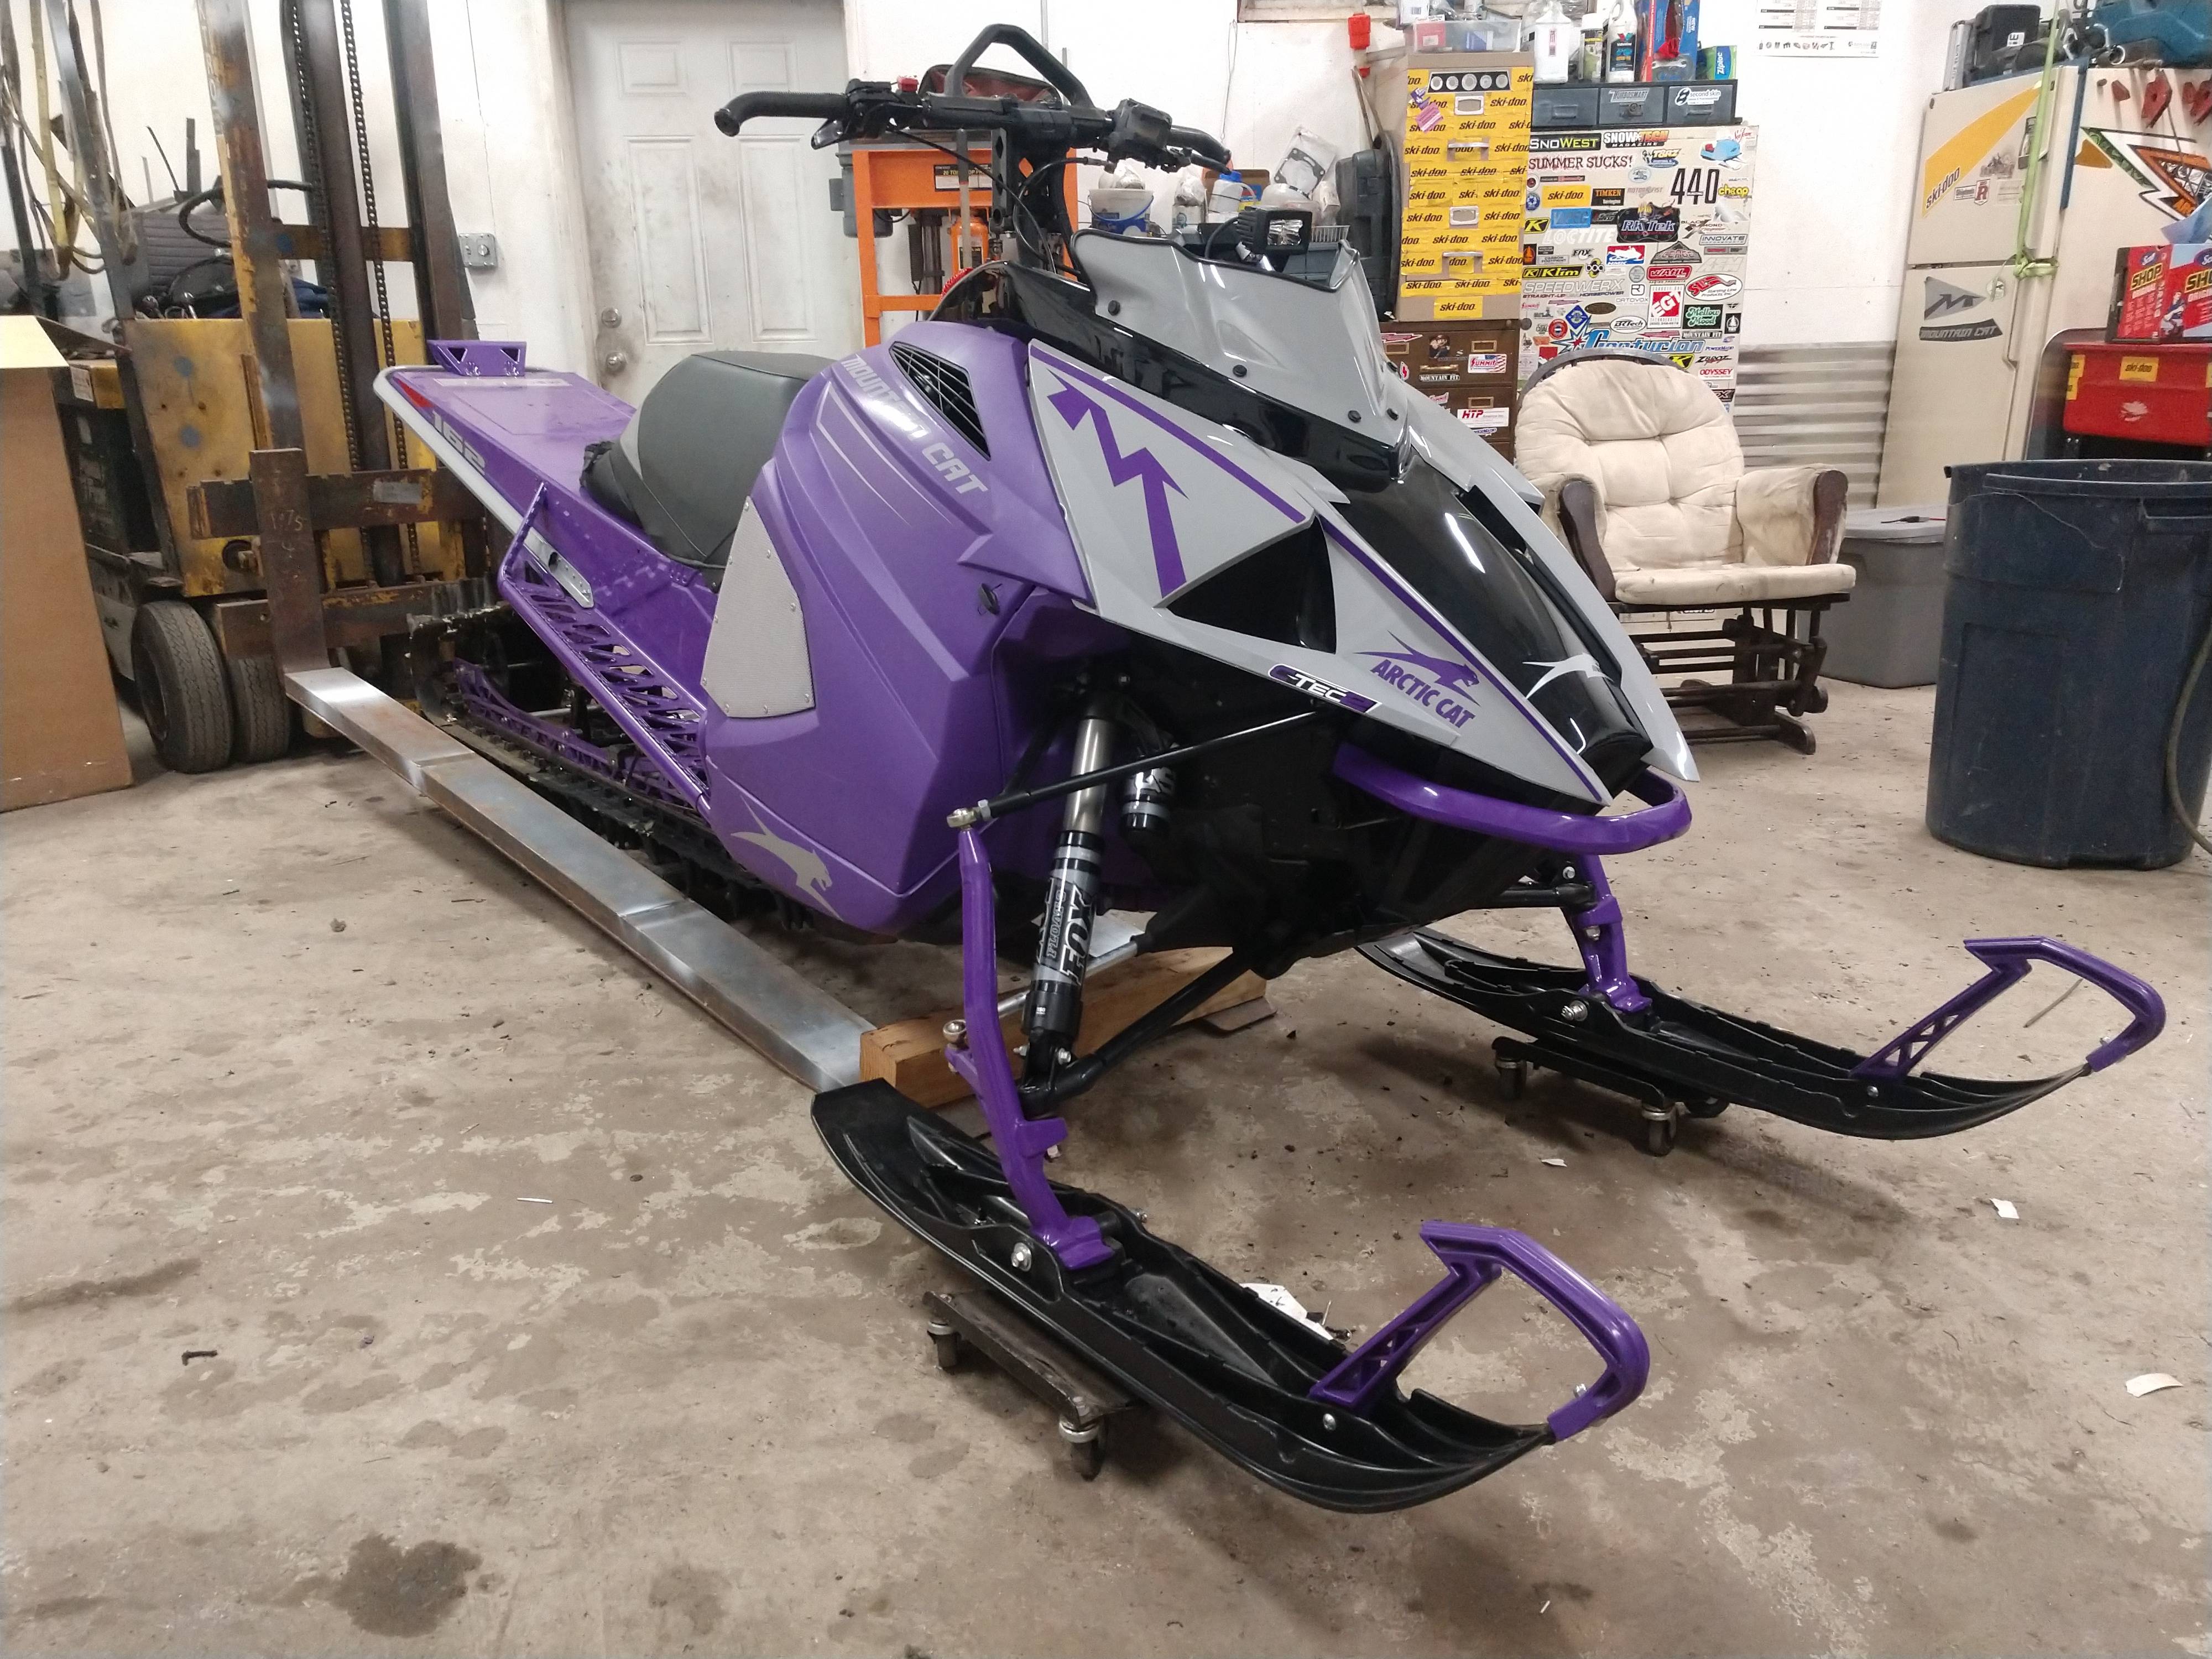
Now it's back on and drying in the heat.
After all that, I forgot to line up the side panels and the wings, looks crappy but the air box fits and that's all that really matters.
full
 
Wow.
That's painful to read never mind doing all the work over and over.
I put one of theses hoods on my sled that has a turbo and a snorkel intake. It was easy compared to this.
 
That's why I'm showing all these pitfalls. I don't mind looking stupid.
To the guy that wants to do one you can see what not to do.
If there was a set of directions you'd only have to take it apart a couple times.
In the end I think it's worth it. I almost went back to the stock hood but it's so heavy it changed my mind.

The led ight that comes with, do I wire it to the ac headlight power or the dc aux power?
 
Figured it out, it's not like older sleds with ac headlights this has dc less factory. There is only dc up there and the cig lighter is just piggy backed off the power to the headlight so I just needed spade connectors.
full
 
Just need to pay attention to it when a guy lines up the front air box
Kinda wondering if I should have trimmed the fins in the nose of the air box and gained a bit there, well next time
 
Premium Features


Back
Top