Attach the small spring tab for the silencer by using a chaincase bolt. If installing the Competition Silencer, us the bolt on the left side near the chaincase. If installing the standard silencer, use the bolt on the right side. Before you begin to install the new silencer, apply the heat tape to protect air box.
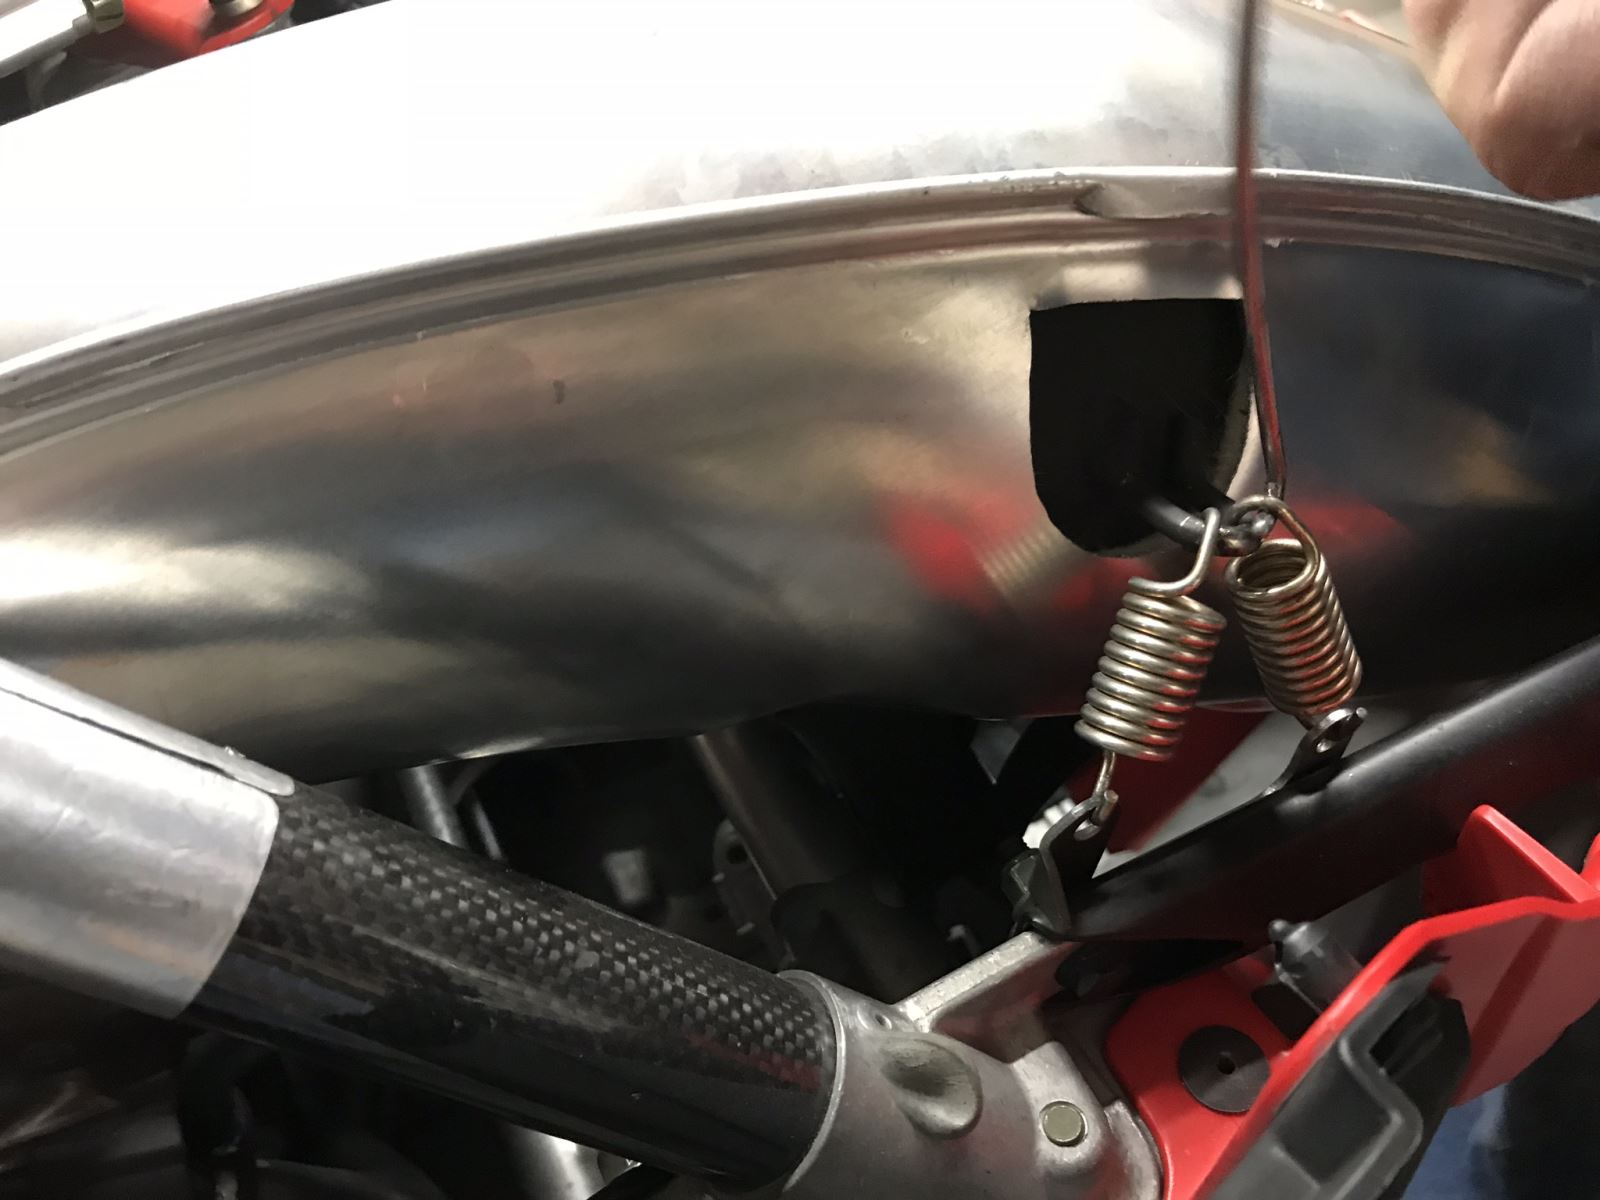
Re-install the stock pipe. Attach your temperature sensor using some Anti-Seize on the threads of the sensor. Tighten the sensor to 13-ft. lbs. (barely beyond snug). The three darker-colored springs belong on the Y-pipe-to-pipe connection (they are more durable). Install the triangulated pipe springs that will keep the pipe in the neutral position.
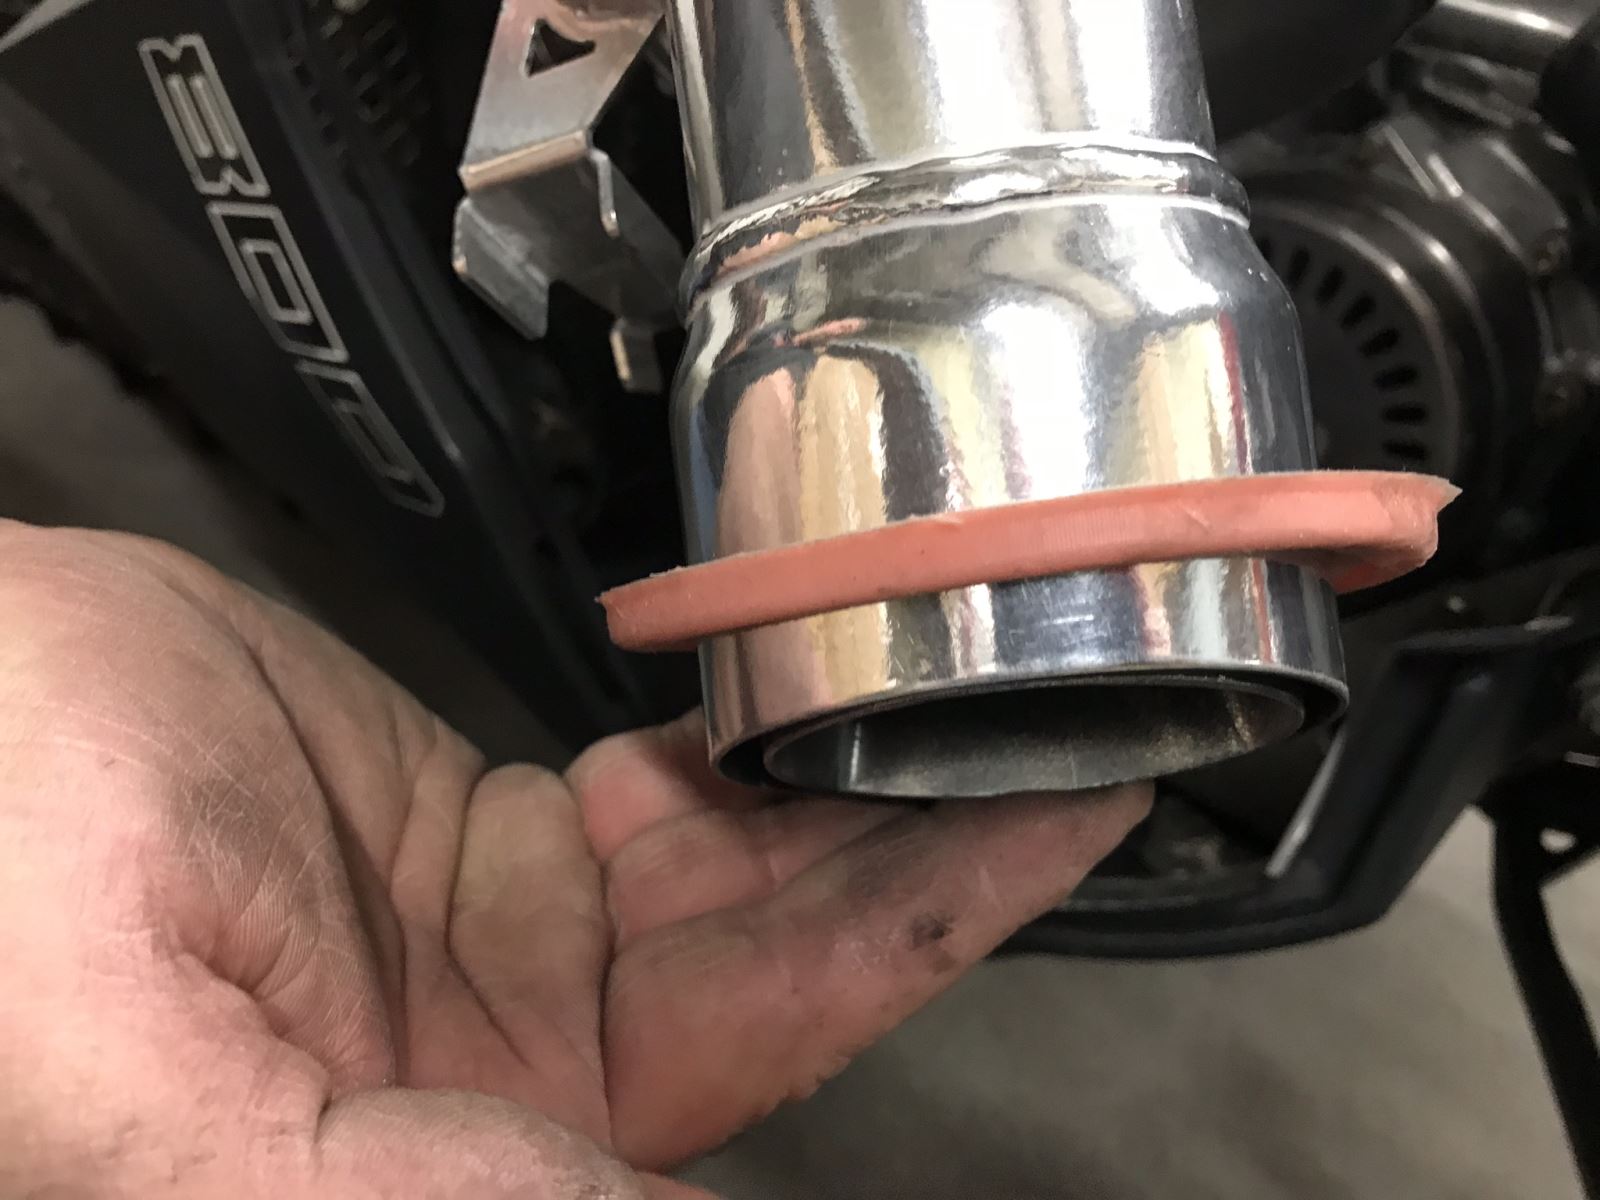
Install the new silencer. Make sure the isolators are attached to the bulk head. Install the silicone seal on the silencer with the rounded side down and the narrow side to the back. It is suggested that after you decide how the pipe needs to fit, you put a thin bead of black silicone around it to keep it permanently in place on the pipe.