Install the app
How to install the app on iOS
Follow along with the video below to see how to install our site as a web app on your home screen.
Note: This feature may not be available in some browsers.
You are using an out of date browser. It may not display this or other websites correctly.
You should upgrade or use an alternative browser.
You should upgrade or use an alternative browser.
Visi's Mod Shop
- Thread starter Visi
- Start date
YES
I LOVE IT!!!!!!!!!!!!!!!! DONT BE GRINDING THAT!!!! FRANKINWELD!!!
I tend to get myself in those situations as well!!
I LOVE IT!!!!!!!!!!!!!!!! DONT BE GRINDING THAT!!!! FRANKINWELD!!!
I tend to get myself in those situations as well!!
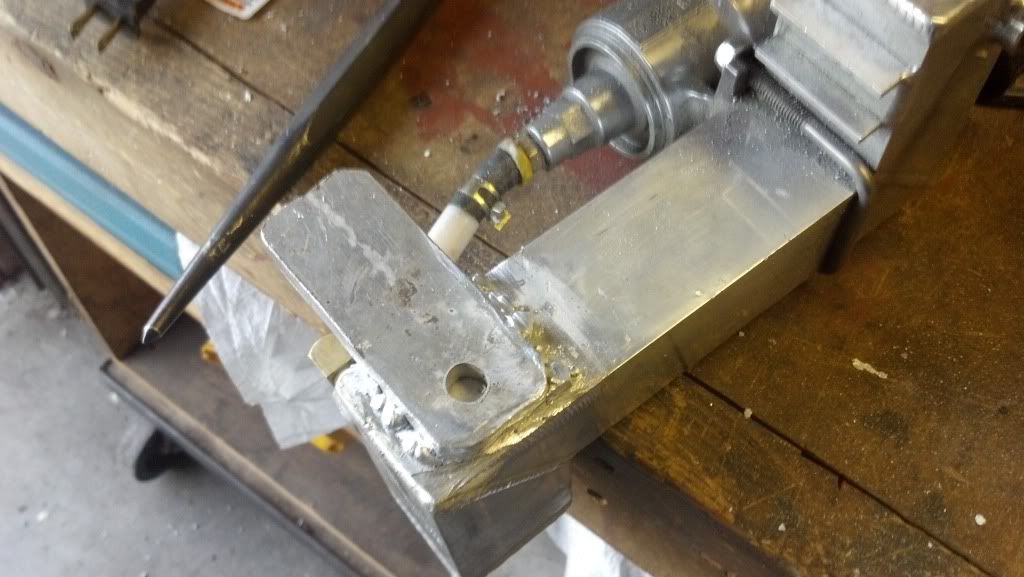
gotta do what you gotta do! especially when you dont have a tig


Last edited:
i hear ya im savin up for the lincoln 225
http://www.ebay.com/itm/LINCOLN-PRE...K-/140505889902?forcev4exp=true&forceRpt=true
And more recently as in two minutes ago

VVVVVVVVVVVV im building an edge wc 16? first two pics from my tpro, third is iqr 12 wc, four is edge bulkhead VVVVVVVVVVVVV
http://www.ebay.com/itm/LINCOLN-PRE...K-/140505889902?forcev4exp=true&forceRpt=true
And more recently as in two minutes ago

VVVVVVVVVVVV im building an edge wc 16? first two pics from my tpro, third is iqr 12 wc, four is edge bulkhead VVVVVVVVVVVVV
Last edited:
Got some time and some parts this last week to get some work done.
Pipe pressure line with black stainless steel line and -4AN fittings
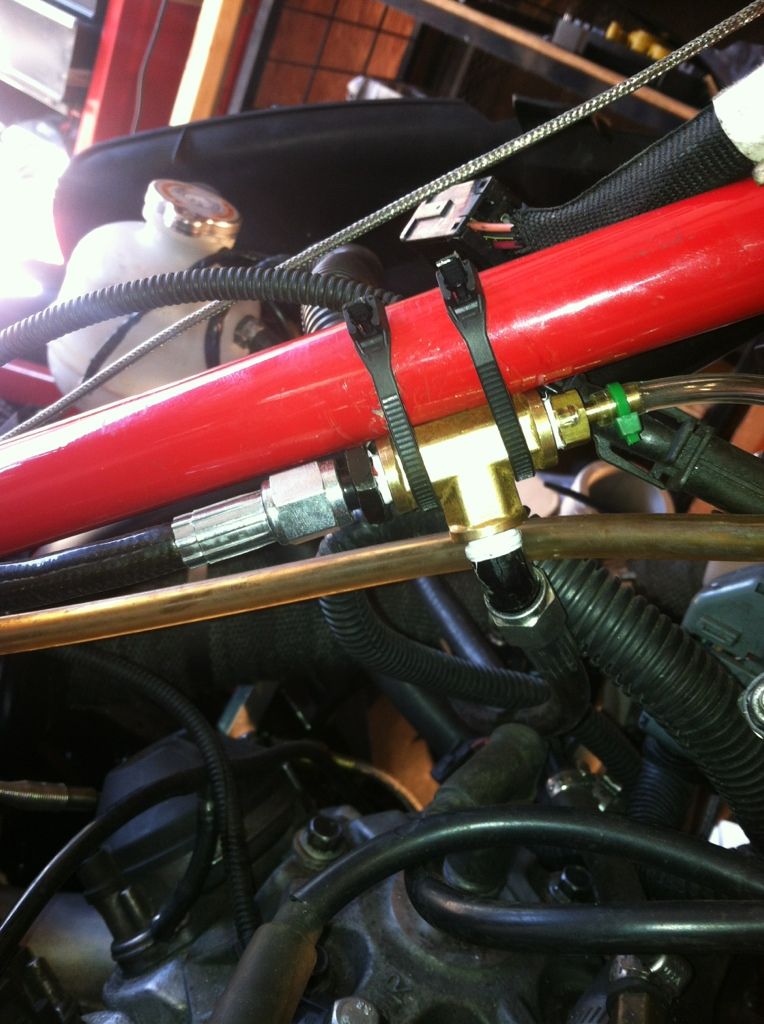
Pipe pressure tee. Used 1/8" brass tee and two -4AN x 1/8" and an 1/8" x 1/4" barb fitting.
2 mm boost line feeding the fuel regulator reference from the pipe pressure tee.
Pipe pressure line with black stainless steel line and -4AN fittings

Pipe pressure tee. Used 1/8" brass tee and two -4AN x 1/8" and an 1/8" x 1/4" barb fitting.

2 mm boost line feeding the fuel regulator reference from the pipe pressure tee.

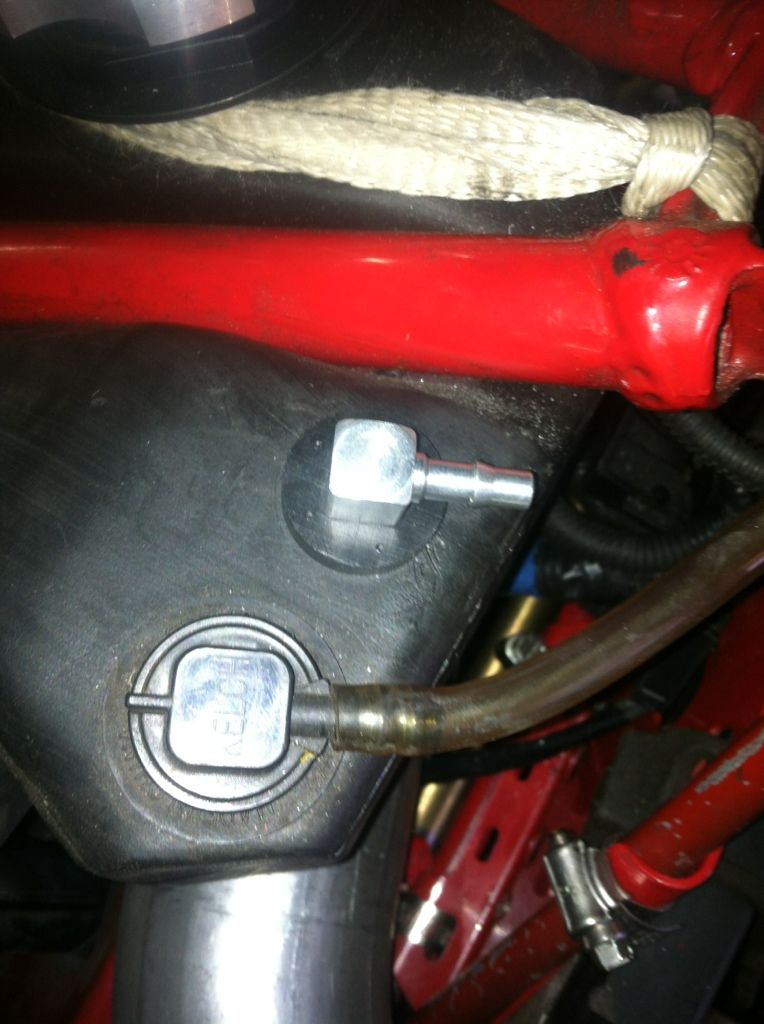
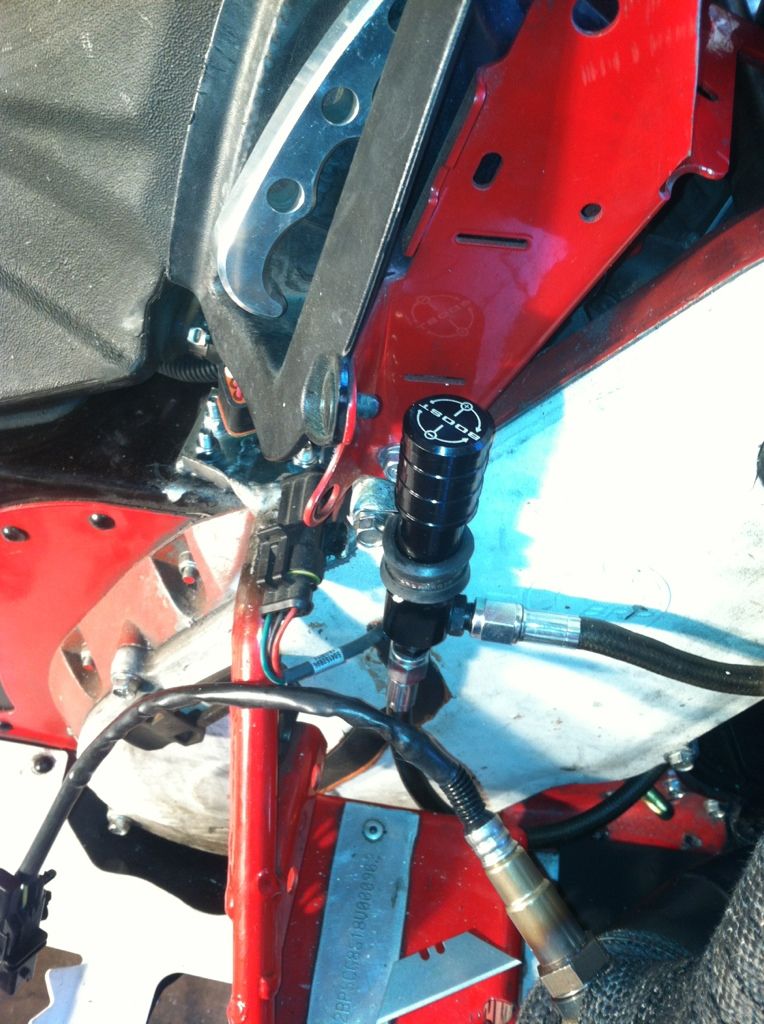
Manual boost controller fed by stainless steel coming from the pipe pressure reference tee.
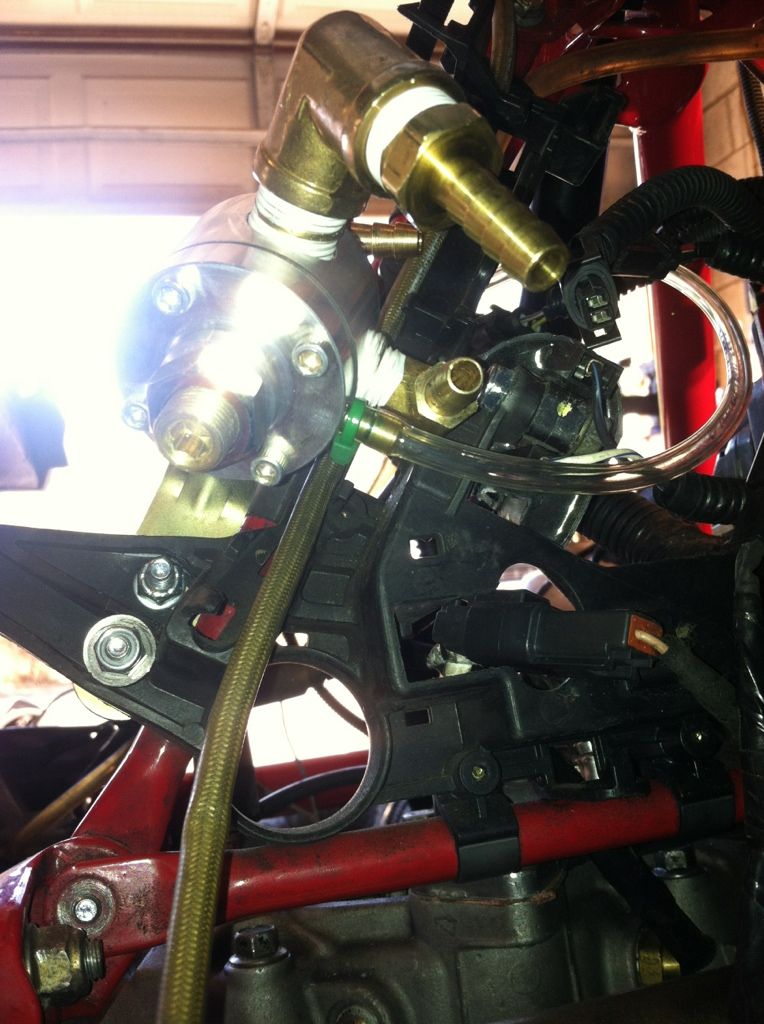
Used a NOS 1/16" NPT x -4AN fitting for one blow off valve and on the other side a NOS 1/16" male NPT x female 1/8" NPT and then a 1/8" x -4AN elbow to get the stainless steel line in to the carbs.
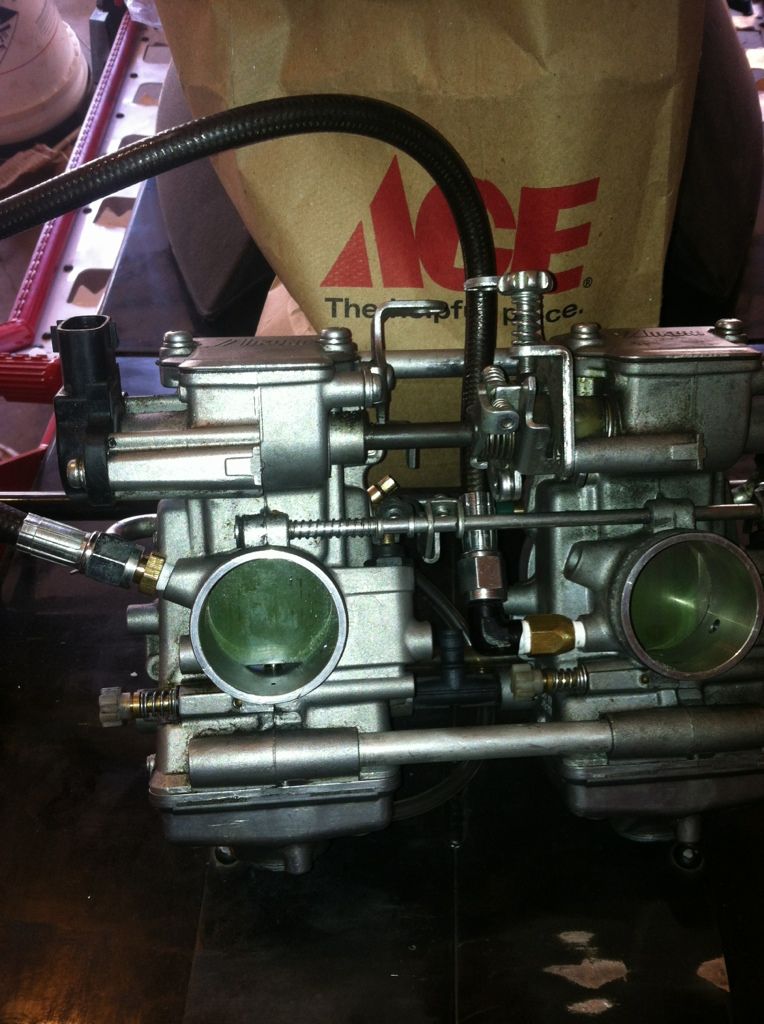
Power jets. Tapped the float bowl and installed the power jet infront of the slide. Each 1/4 turn on the power jet is the equivalent to a main jet size.
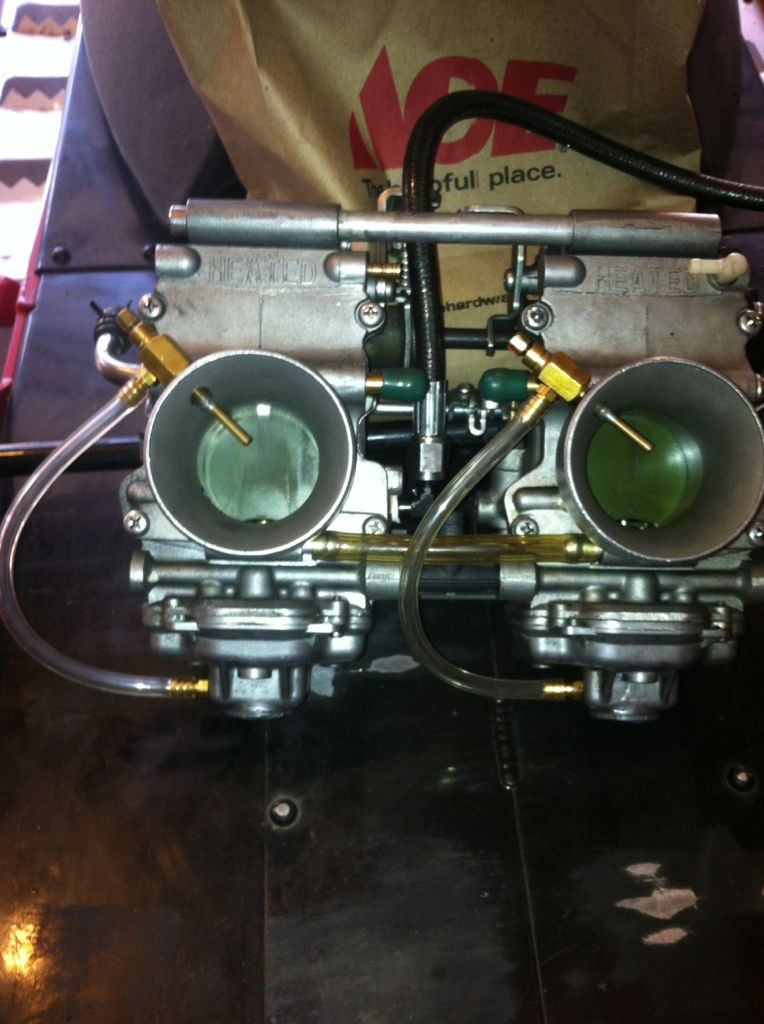

Used a NOS 1/16" NPT x -4AN fitting for one blow off valve and on the other side a NOS 1/16" male NPT x female 1/8" NPT and then a 1/8" x -4AN elbow to get the stainless steel line in to the carbs.

Power jets. Tapped the float bowl and installed the power jet infront of the slide. Each 1/4 turn on the power jet is the equivalent to a main jet size.

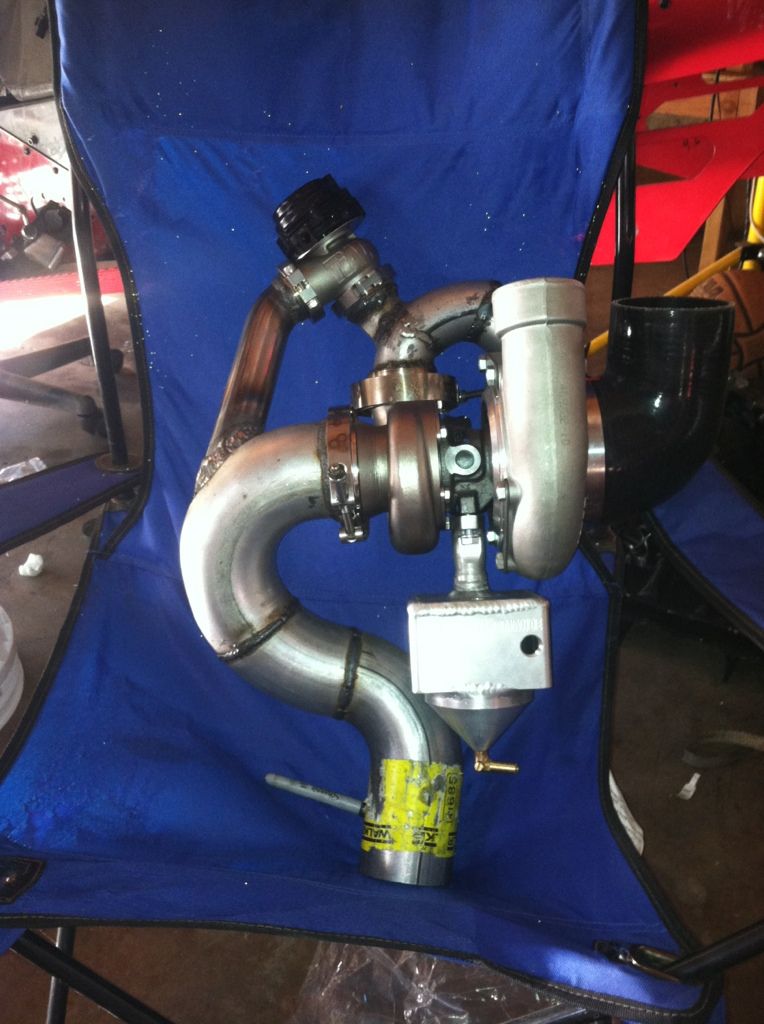
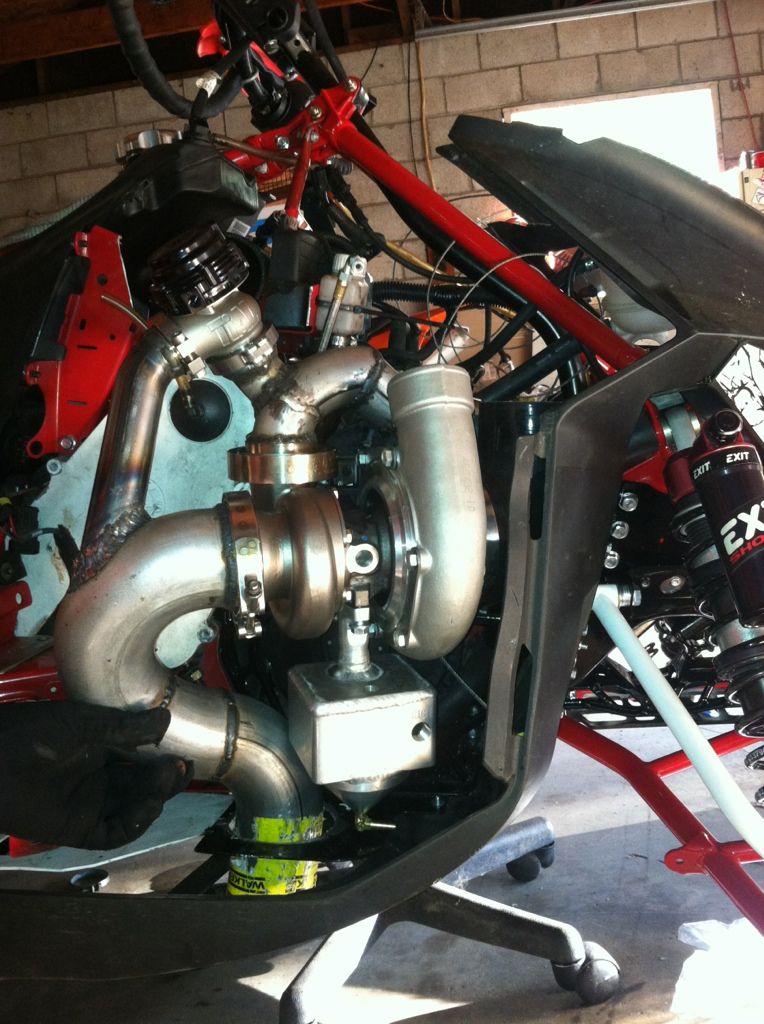
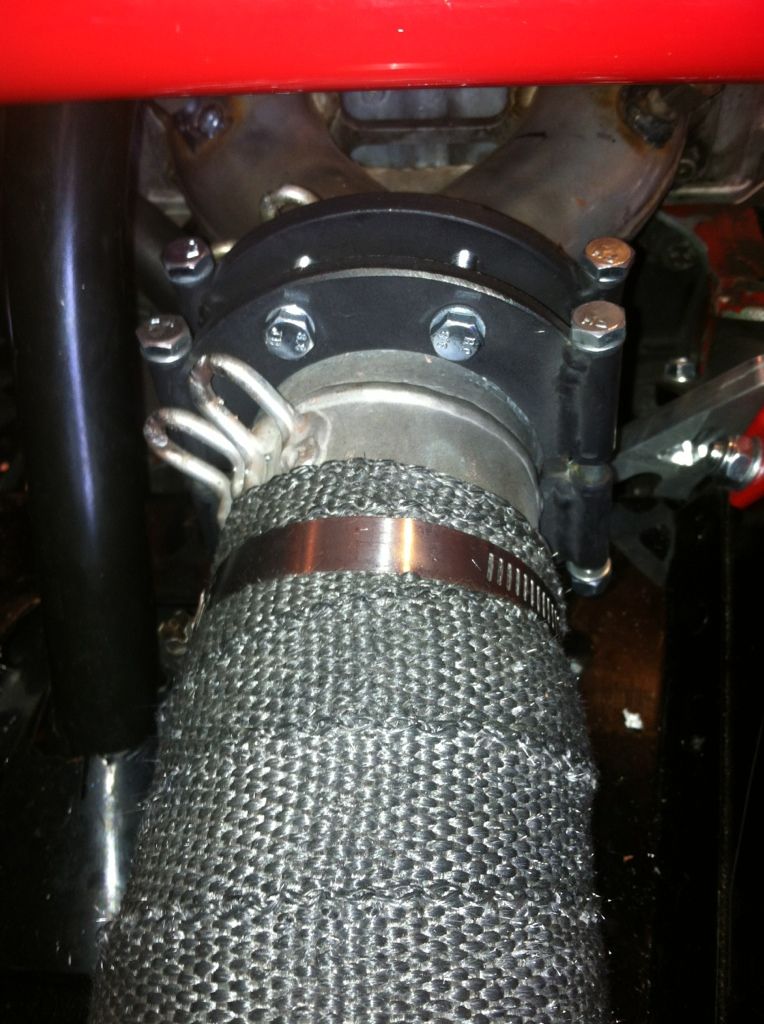
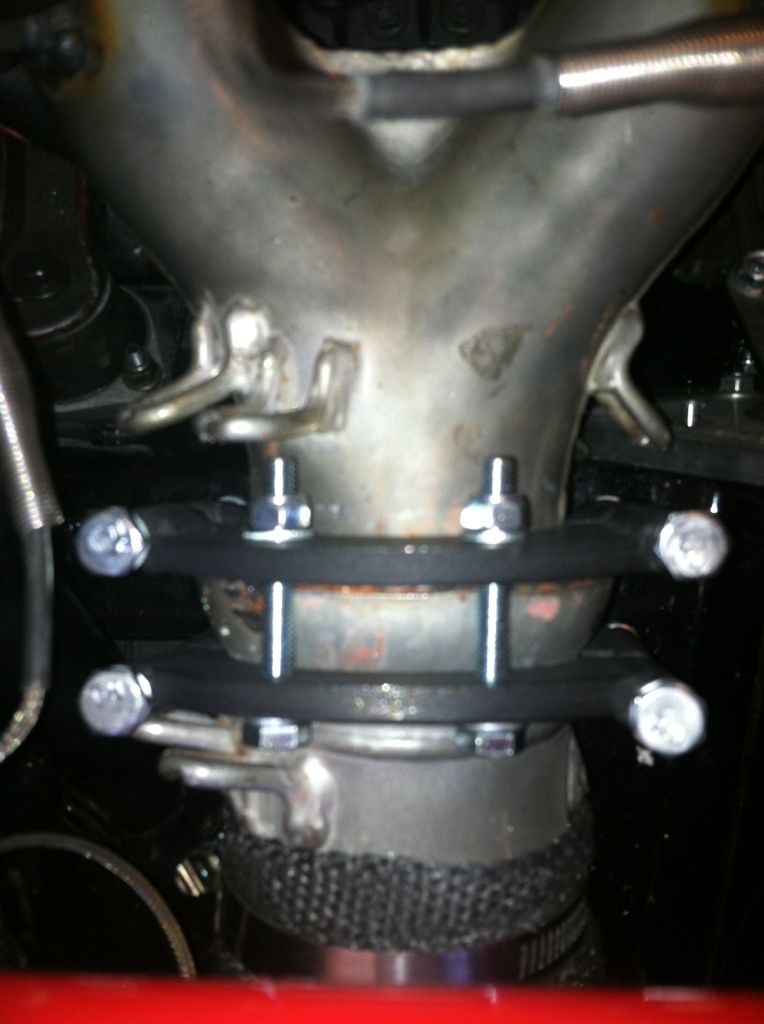
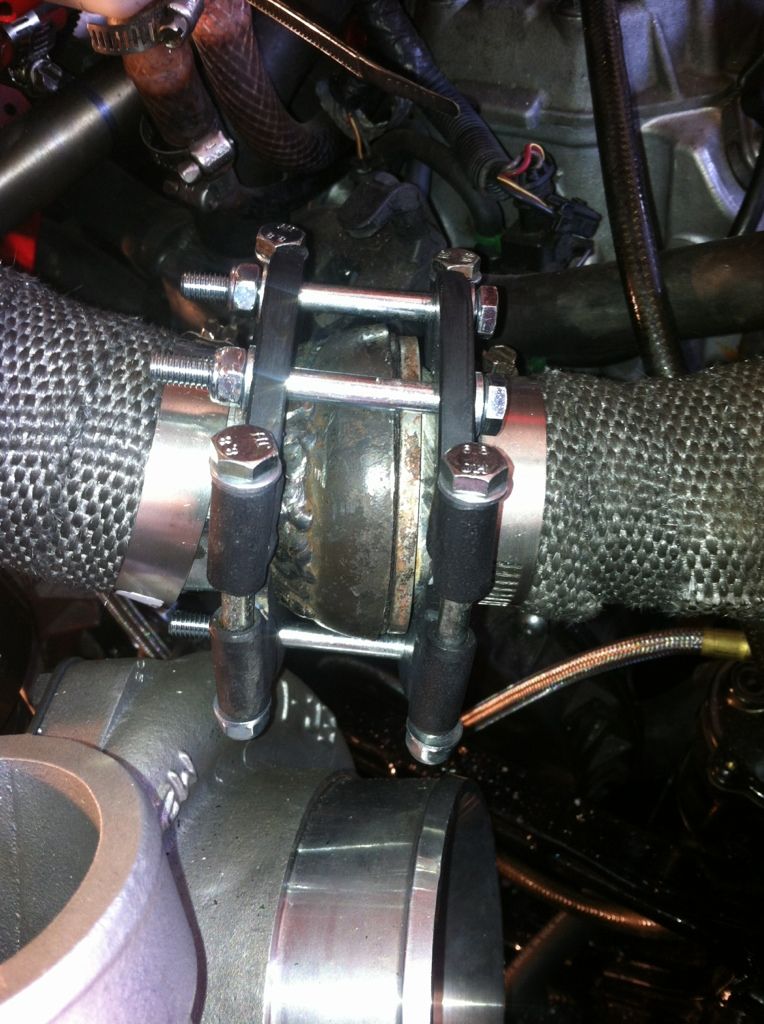
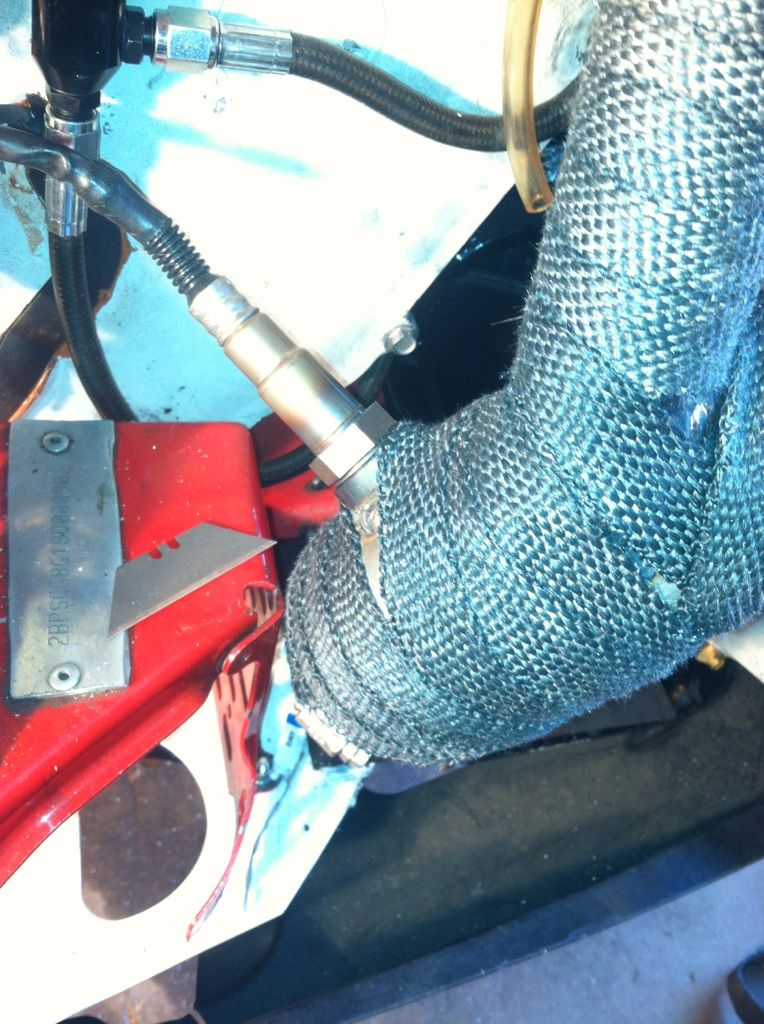
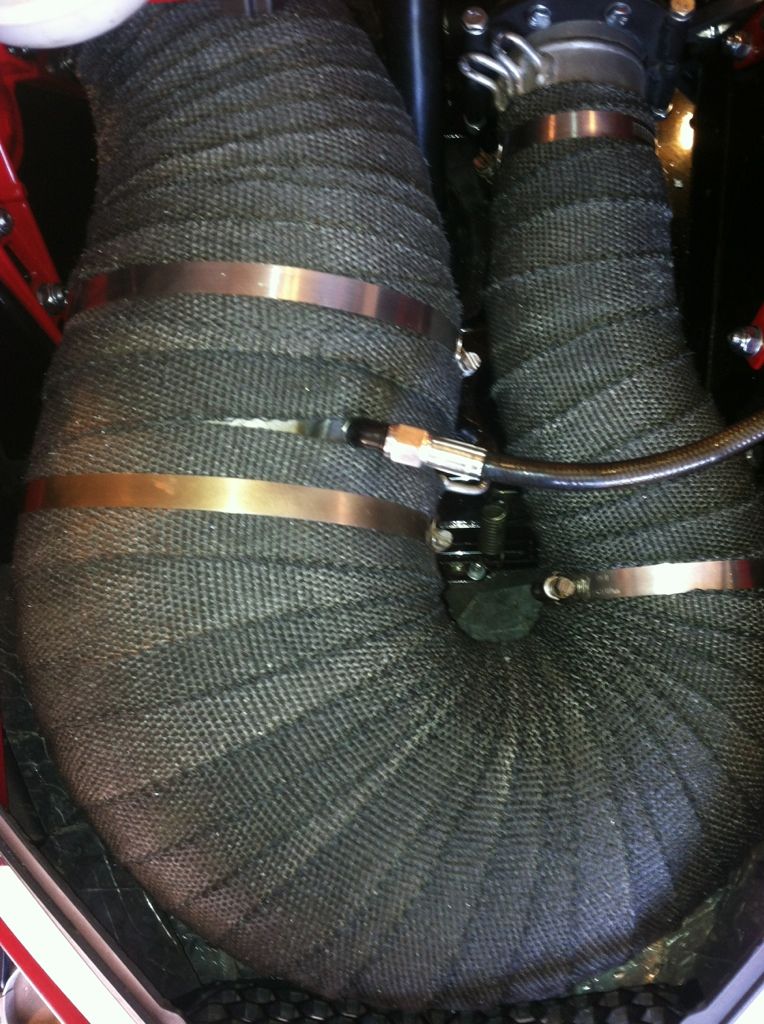
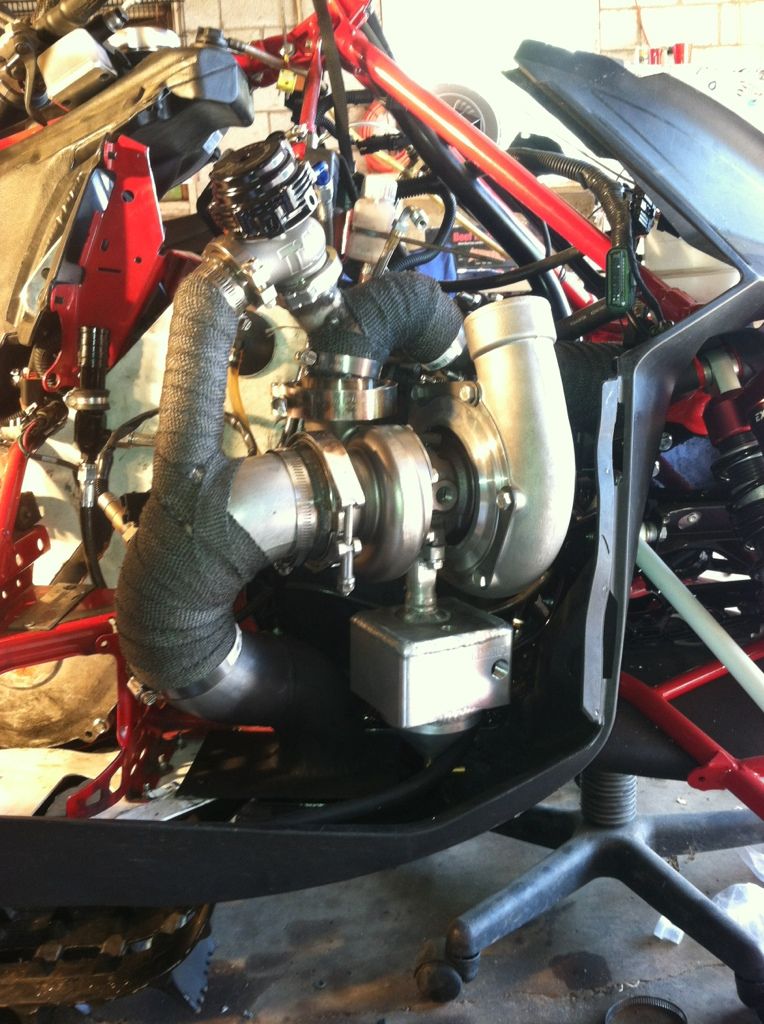
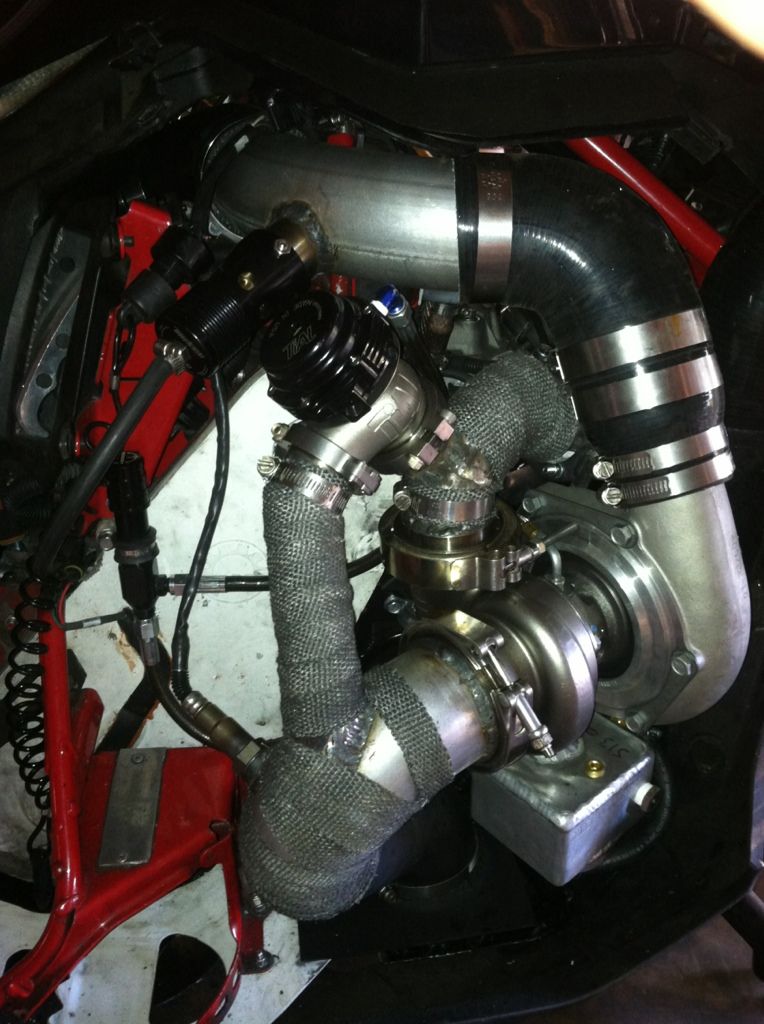
Wrapped the exhaust, wastegate pipe, and up pipeand got the turbo mounted. Need to finish the charge tube, cold air intake, intake manifold fittings, weld on the charge tube for the blow off valve, finish wiring, and finish the fuel lines. If it rains I will have it started mid week, if not next weekend.

looking good! nice work putting it all together. should be a fun sled for you.
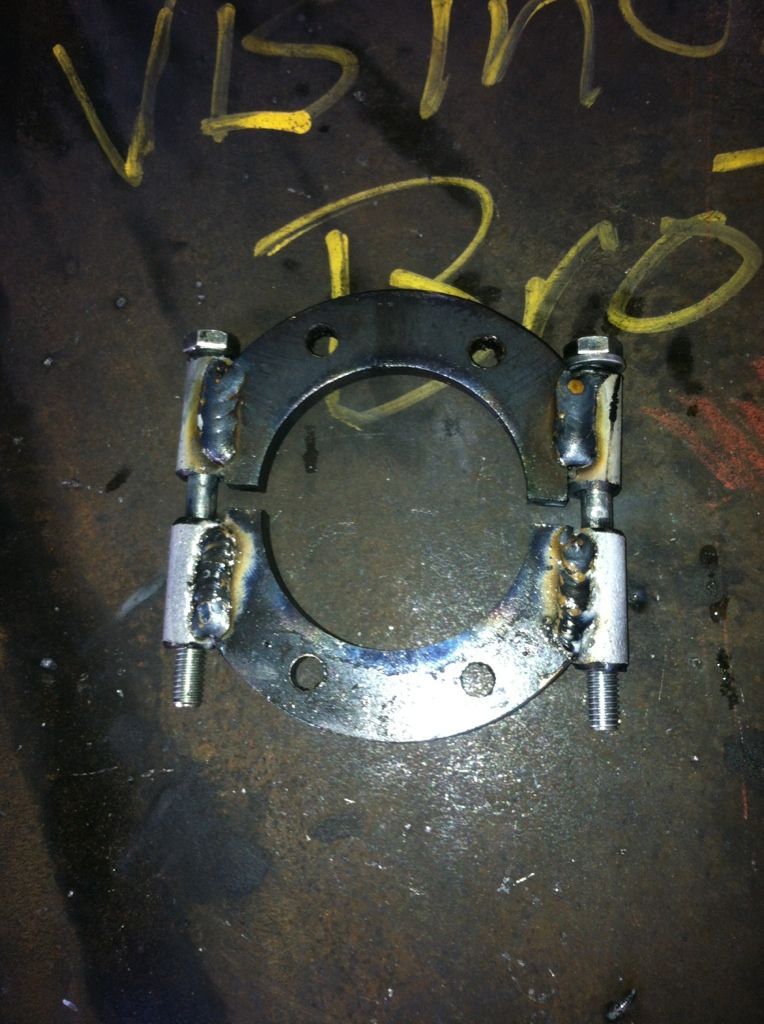
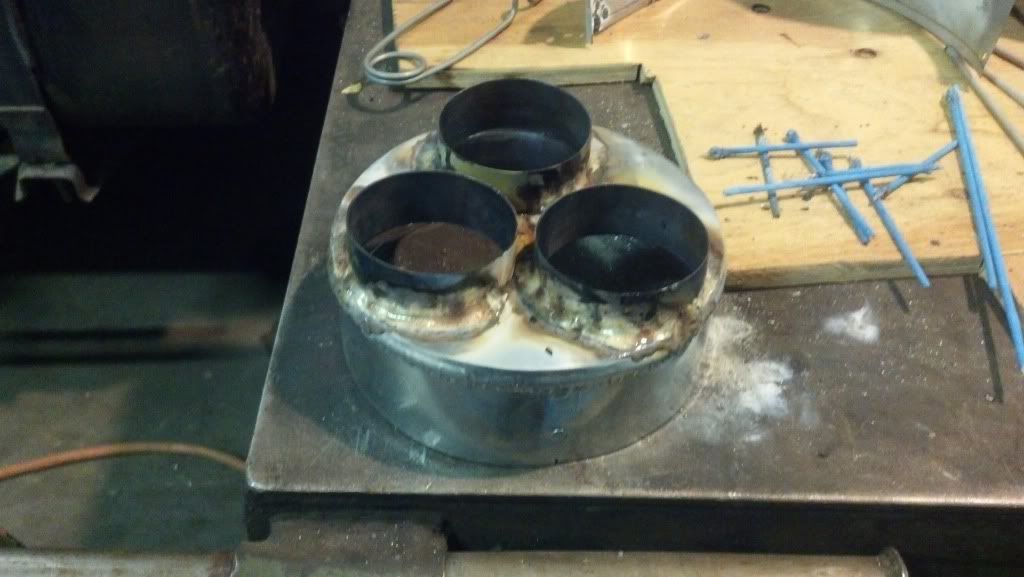
I hope it's like learning to ride a sled again. Can't wait to ride it. Those flanges took alot longer than expected to make. They sure made everything stout though.
Wow so how do you know how to build this turbo? wikipedia?
Wow so how do you know how to build this turbo? wikipedia?
Between reading Gus's carbed turbo thread and talking to Gus, Ski-dooin it, Tonysno, Swerv, and Bryce at Turbo Performance was how I learned the majority. Did a few things different and added some other things I wanted to try.
Between reading Gus's carbed turbo thread and talking to Gus, Ski-dooin it, Tonysno, Swerv, and Bryce at Turbo Performance was how I learned the majority. Did a few things different and added some other things I wanted to try.
Alright ... just filling time till the body heals.
Did you go as far as to calculate on paper what gains you'll end up with?
How about cost?
Been a while since I've given an update. I've got a little burned out on this build in the last 10 days or so. I did get the engine going at the end of last week! Really stoked. Had to use an air compressor to prime the float bowls because of the electric fuel pump by blowing air into the vent of the gas tank with the cap on. Watched the fuel come up the power jet hose and I knew I was good. (Thanks Tony) Started on the first pull after that. I am taking my choke out and installing a manual primer. Just tee into the line from the gas tank to the fuel pump then the primer and then tee it back into the line from the fuel regulator to the carbs. I have a few engine adjustments to do before i'm happy with it. I ordered my new skid last week. A 154 Timbersled with custom Exits from racing. Going to try a BR Tech headlight delete hood and run a single pod Cyclops headlight between my handlebar risers.
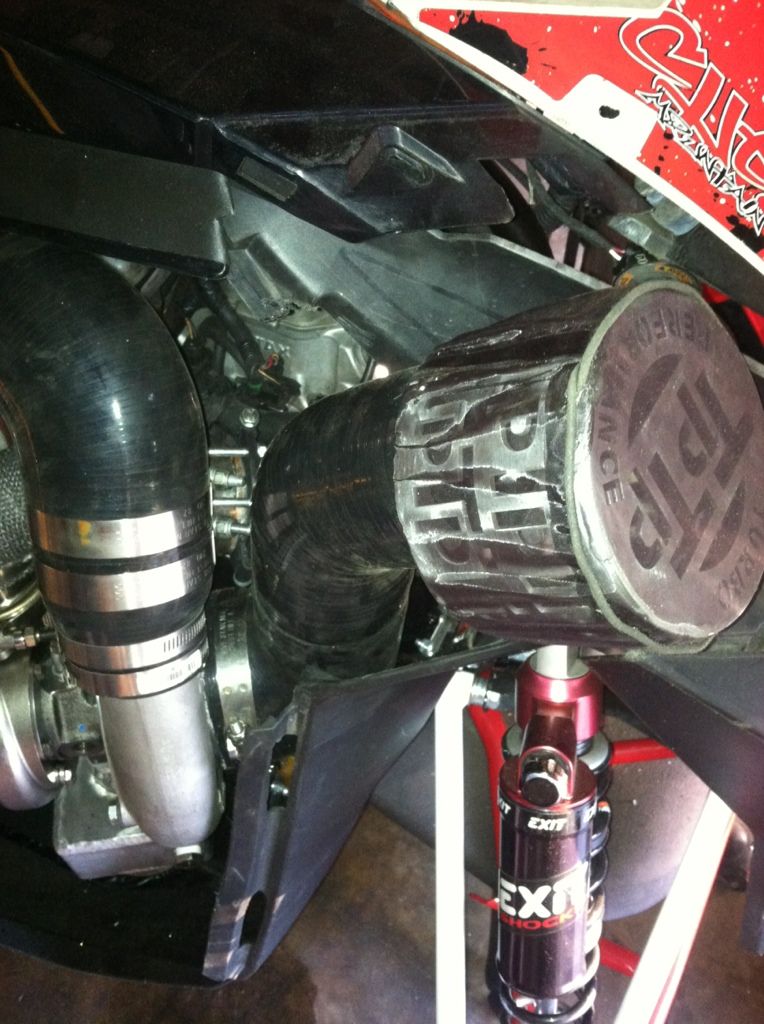
Not much room in there with the 3" charge tube.
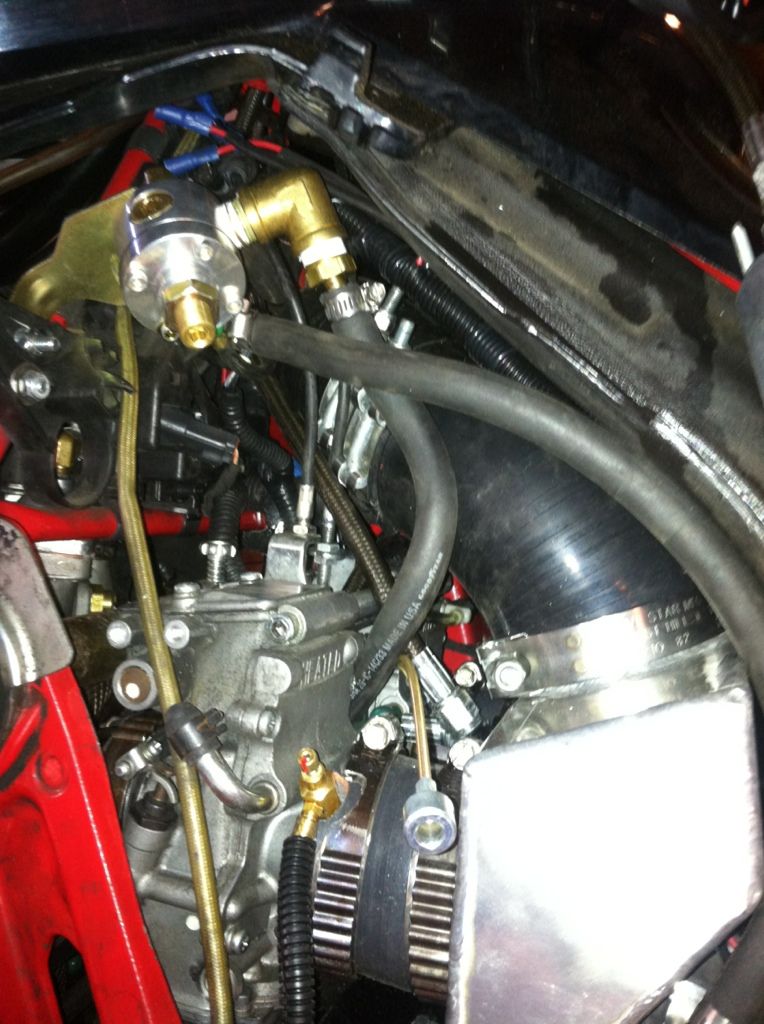
I cut my plastics a little bit and am going to cut my side pannel to alow the cold air intake to work.
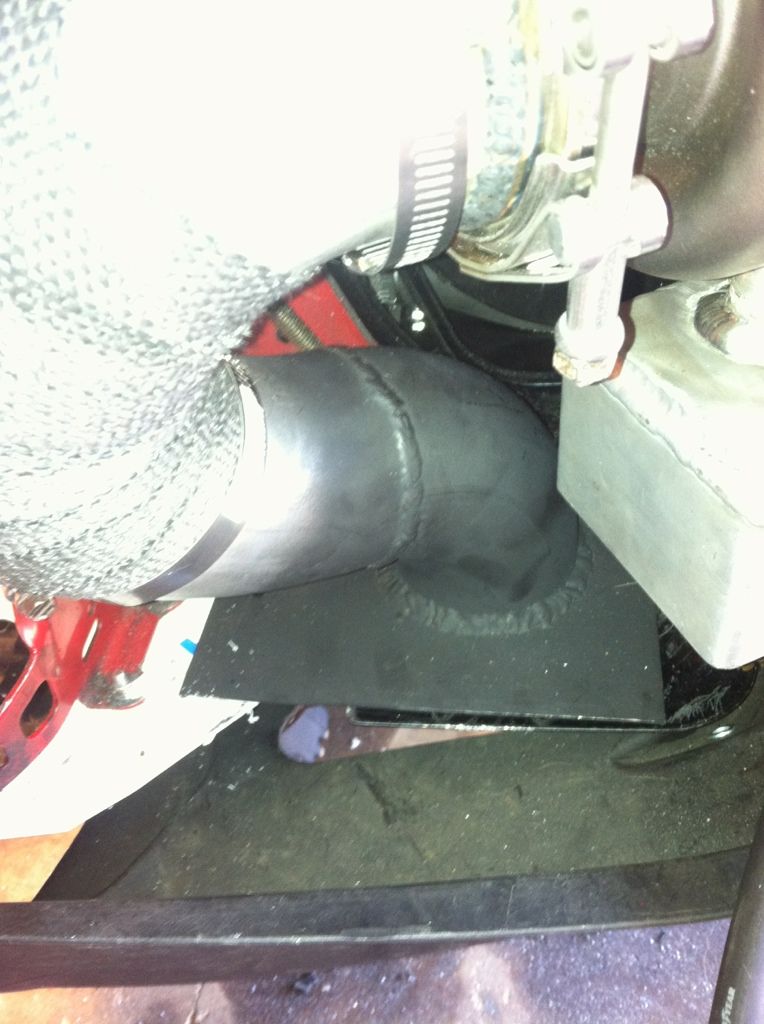
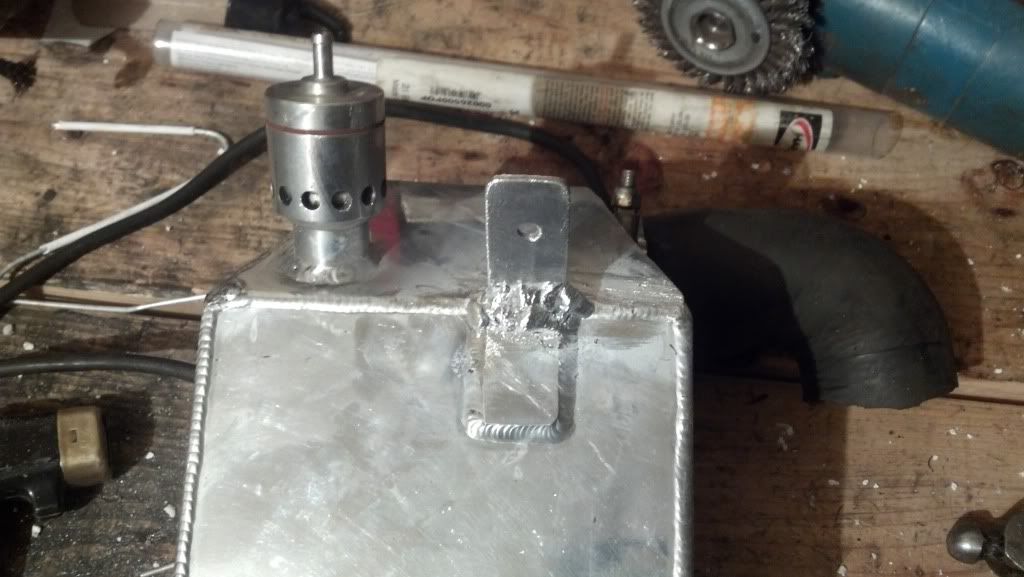
Charge tube with the blow off valve welded in.
Not much room in there with the 3" charge tube.

I cut my plastics a little bit and am going to cut my side pannel to alow the cold air intake to work.

Charge tube with the blow off valve welded in.

Similar threads
- Replies
- 0
- Views
- 308
- Replies
- 2
- Views
- 198


