
Got busy installing my Superglides today!
Pictures or it didn't happen.

Follow along with the video below to see how to install our site as a web app on your home screen.
Note: This feature may not be available in some browsers.
Got busy installing my Superglides today!


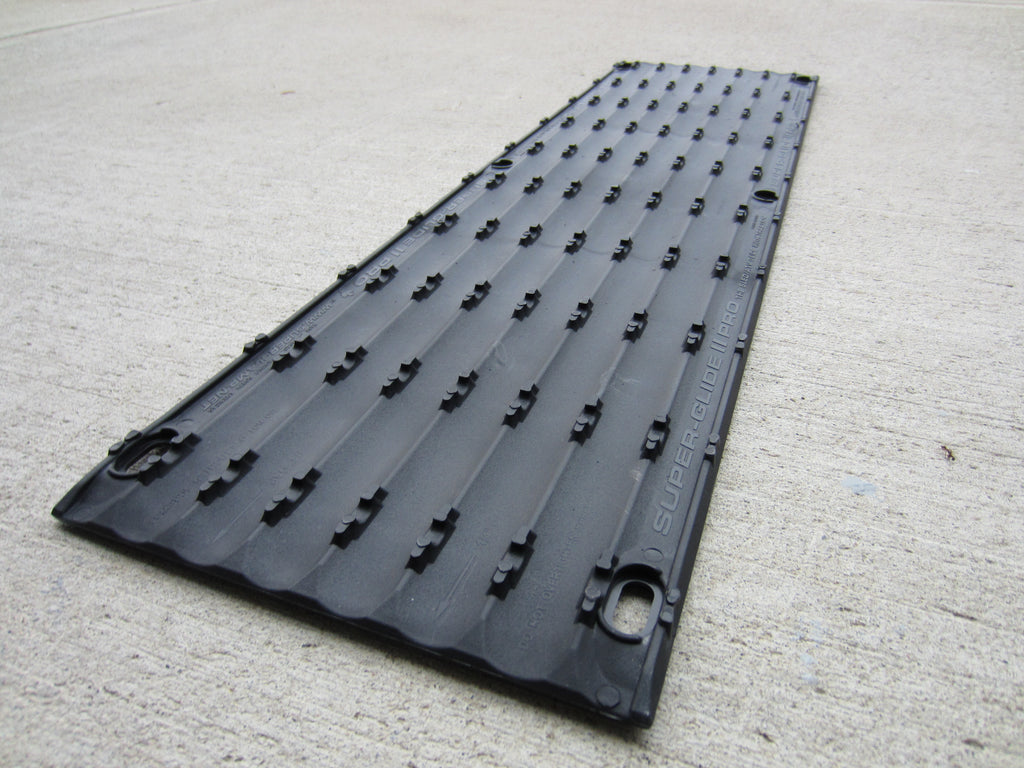


One MAJOR CHANGE this year for the trailer portion will be the inclusion of Superclamps new EDGE RAIL TRIM. This is something I did NOT try last time around but I wanted to test out this time.
At this point the jury is out on this.
Honestly don't have any idea if I will love it or hate and just not care.
But I will know soon enough!
I want to know more about this....I'm considering this edging for the glides on my flatbed.
(Actually, my flatbed was supplied with the other brand of guides...but I think the edging is similar)
Question about the edge trim. Does it do more then just finish off the edge of the slide? Is there another benefit to it? On their website that is about all they say on the edge trim?
that is what it APPEARS to be to me.I'd say you just screw down the edge trim and then slide the guides in. Is that right?
You don't really have to anchor the guides themselves, except for the ends.
Is that correct?


