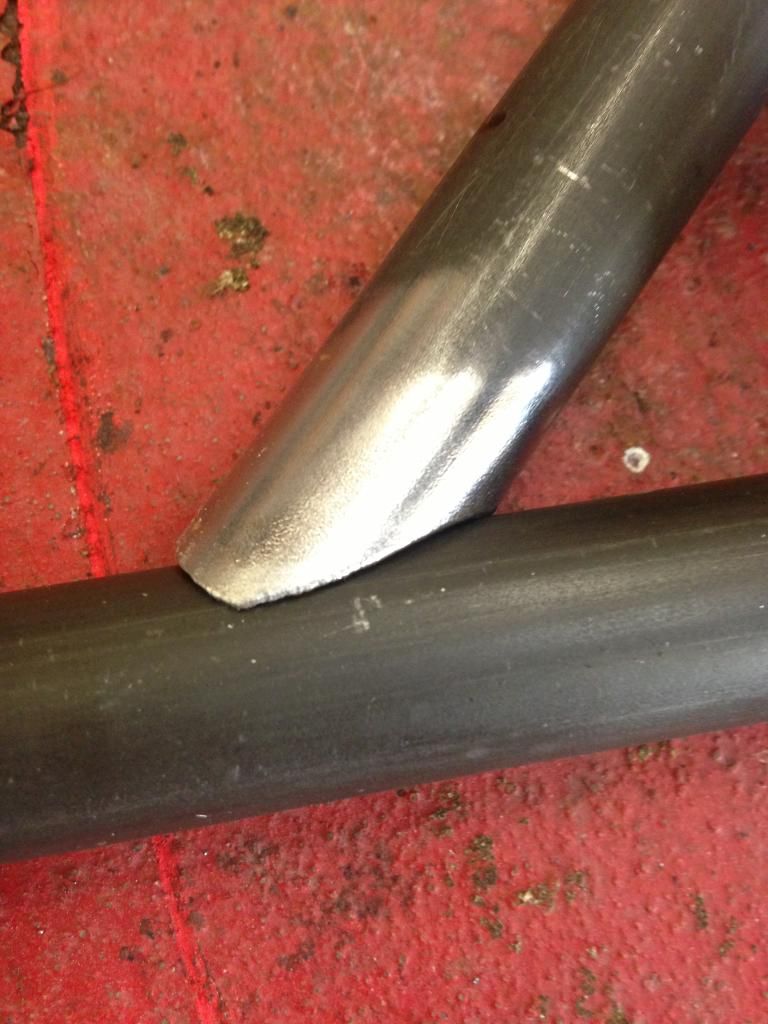
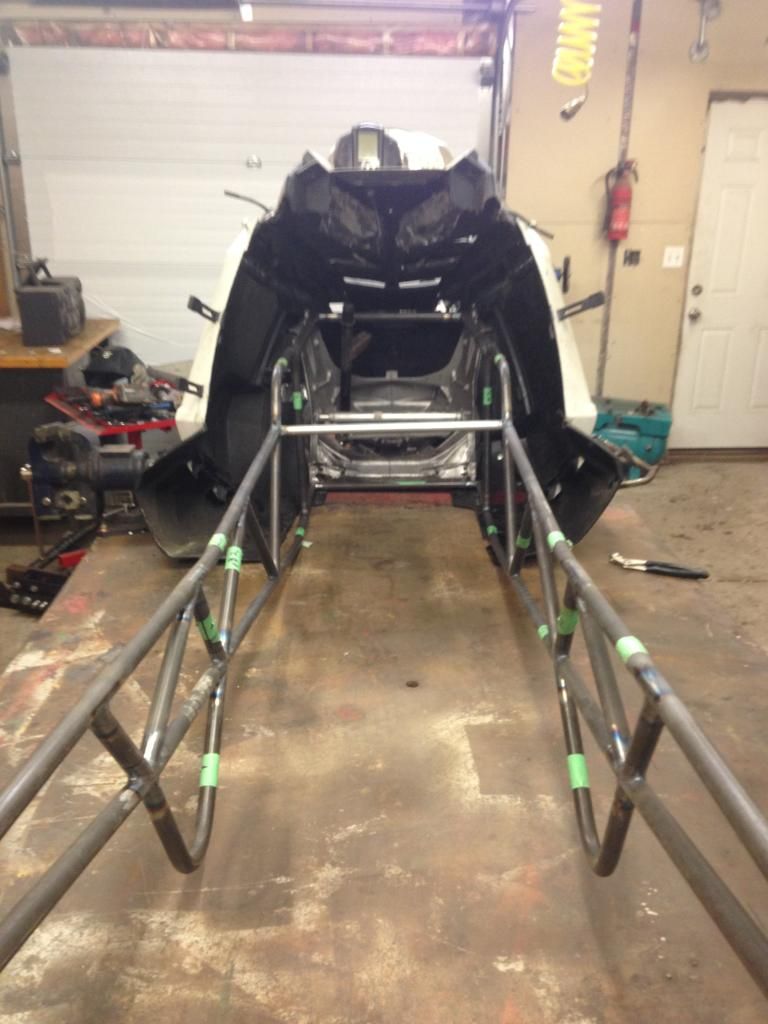
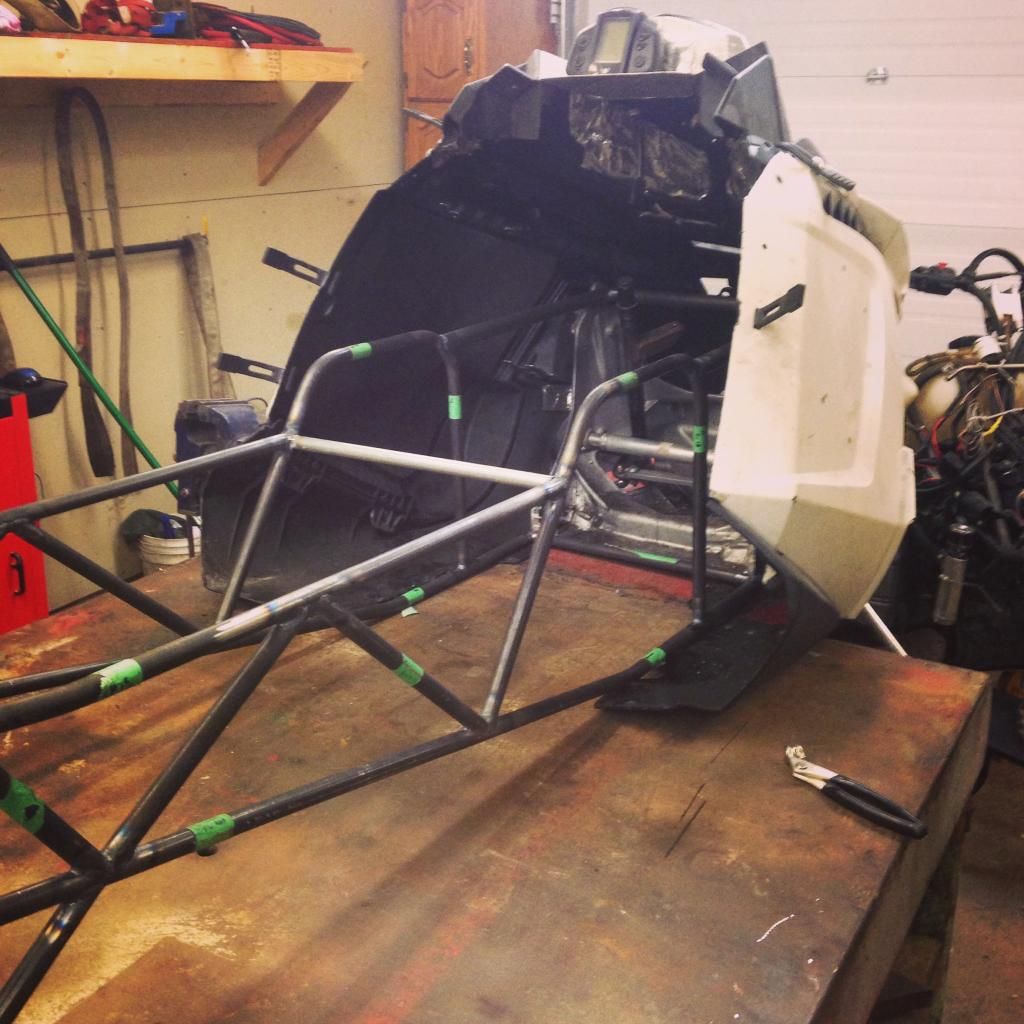
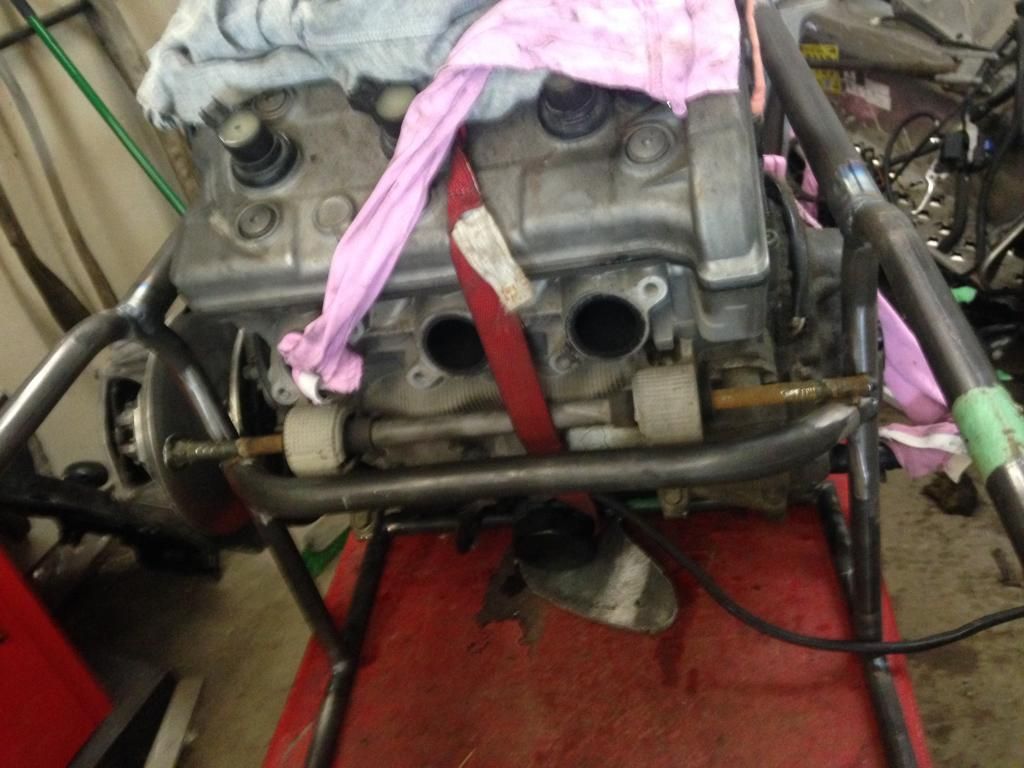
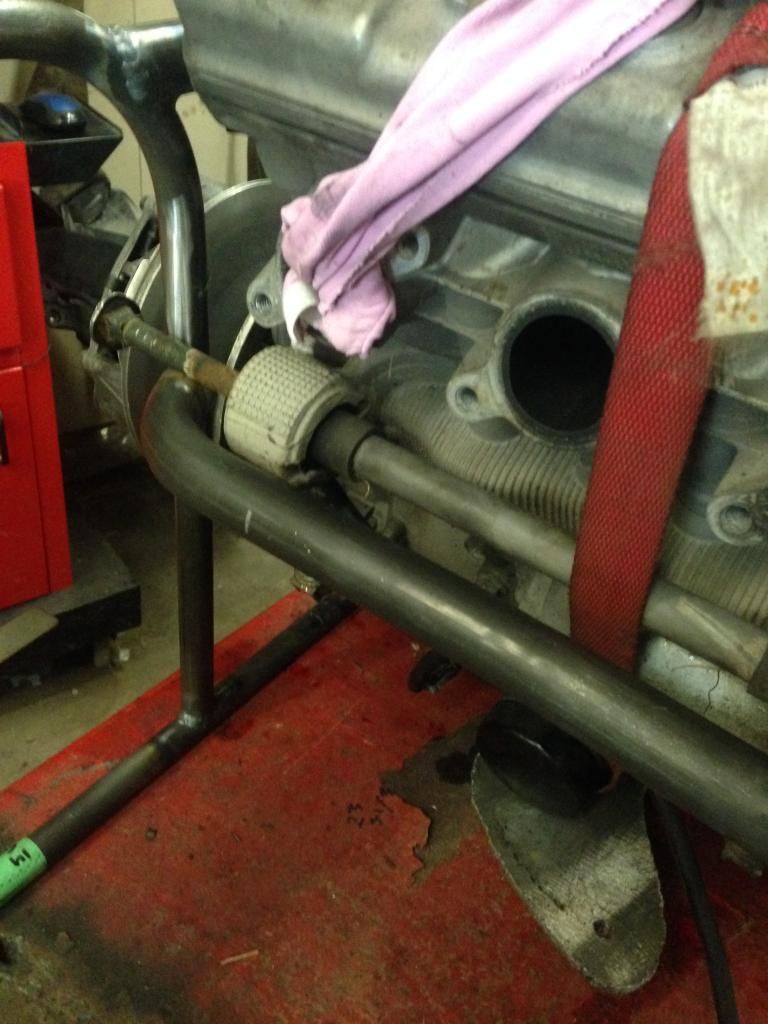
You will be quite pissy when it comes time to make that weld. Getting a good weld around the corner where the tubes start to separate can be a real CS.
Install the app
How to install the app on iOS
Follow along with the video below to see how to install our site as a web app on your home screen.
Note: This feature may not be available in some browsers.
You are using an out of date browser. It may not display this or other websites correctly.
You should upgrade or use an alternative browser.
You should upgrade or use an alternative browser.
ProNytro V2
- Thread starter Kennyspec
- Start date
K
Kennyspec
Member
I have pro. Get pro. If you get anything less u will be upgrading very soon. It's a little bit of a steep learning curve at first. But once you do catch on it can do so much stuff for you. Perfect notches and tube bends, lengths. Every time. I find that the hardest part isn't drawing it in bend tech. But actually measuring the sled and getting the right numbers to use.
K
Kennyspec
Member
To truly make it effective you will also need a real bender  I use a JD2 model 3. I believe it's the most commonly used bender in North America. If you have access to a water jet/lazer I have plans to make the bender arms. Then all you need is a die.
And if you do get bend tech. I'd be more than happy to share files, help you along.
And if you do get bend tech. I'd be more than happy to share files, help you along.
K
Kennyspec
Member
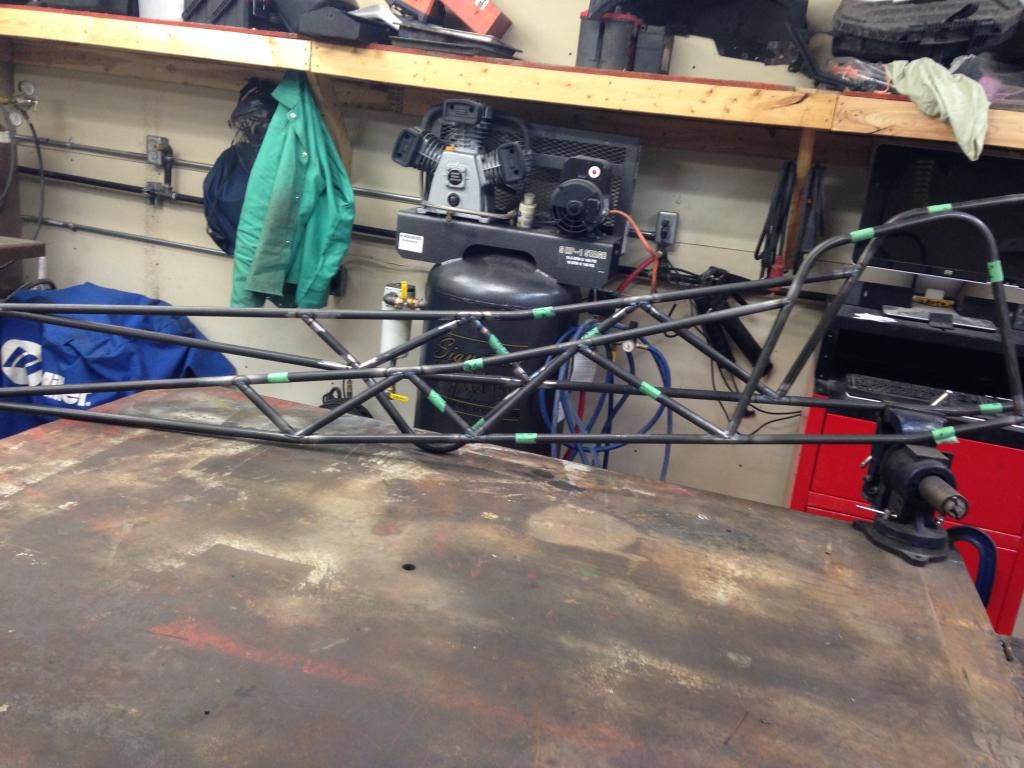
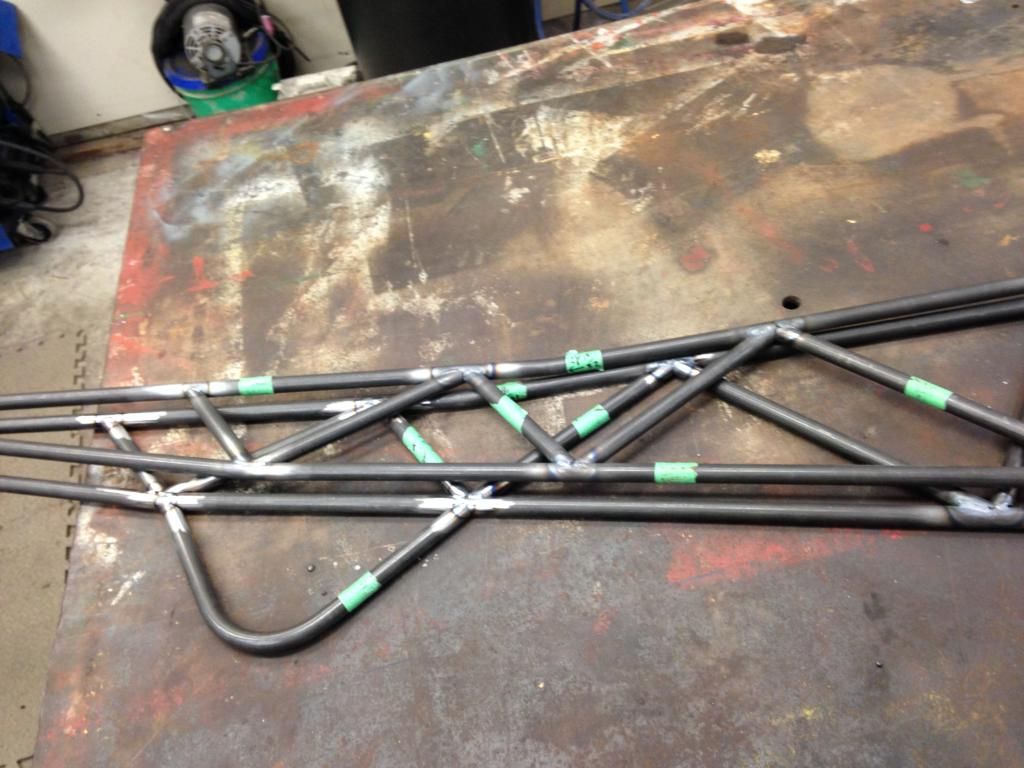
Got my 3/4" die in today for my bender. bent up two of the right side stringers and the engine hoop. so far the fit up seems to be awesome. I compared it against the nytro just to make sure I had my cad dimensions correct. so far it looks good!!!
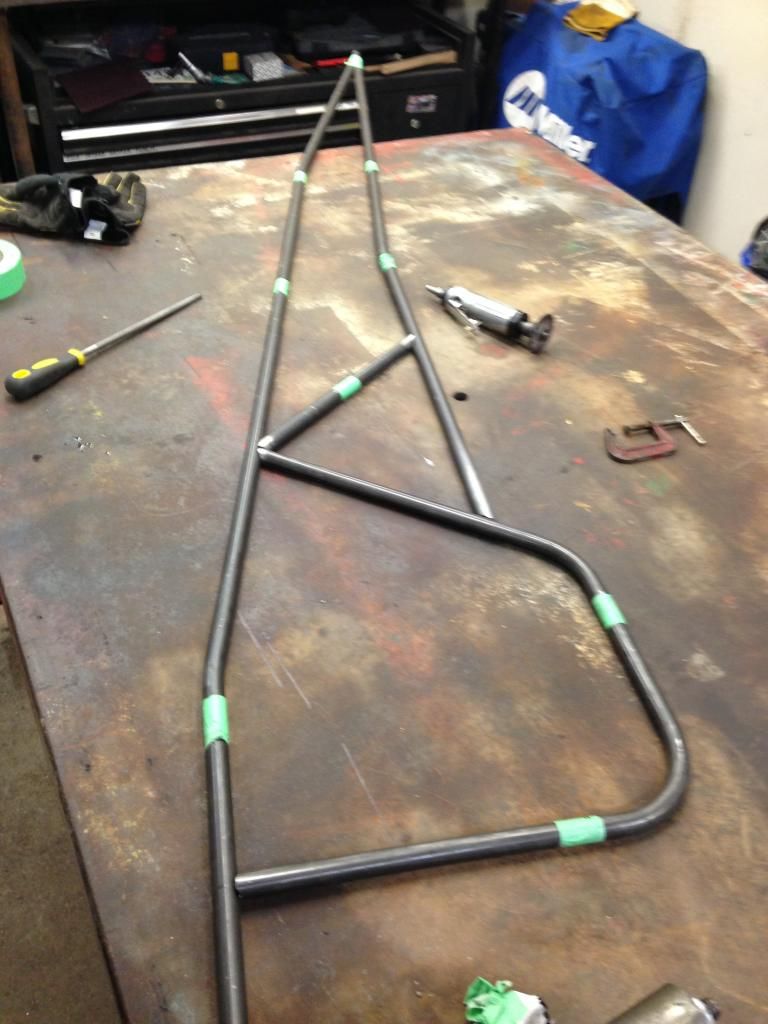
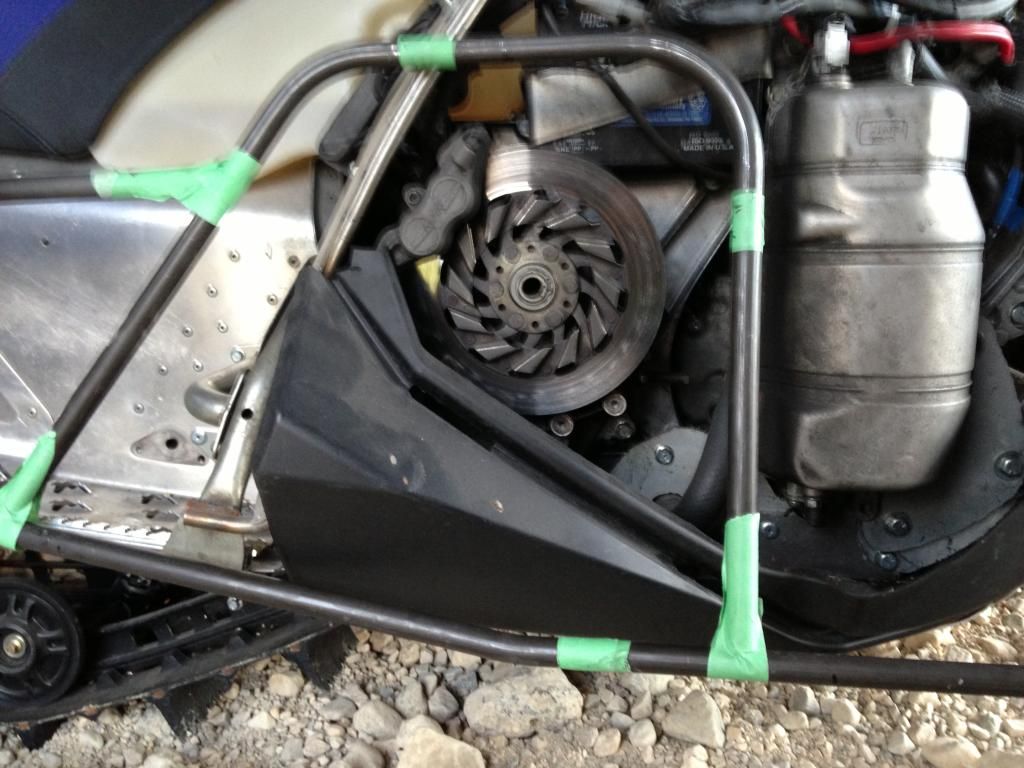
of course this isn't the exact location in relation to the nytro, just there for a rough idea.
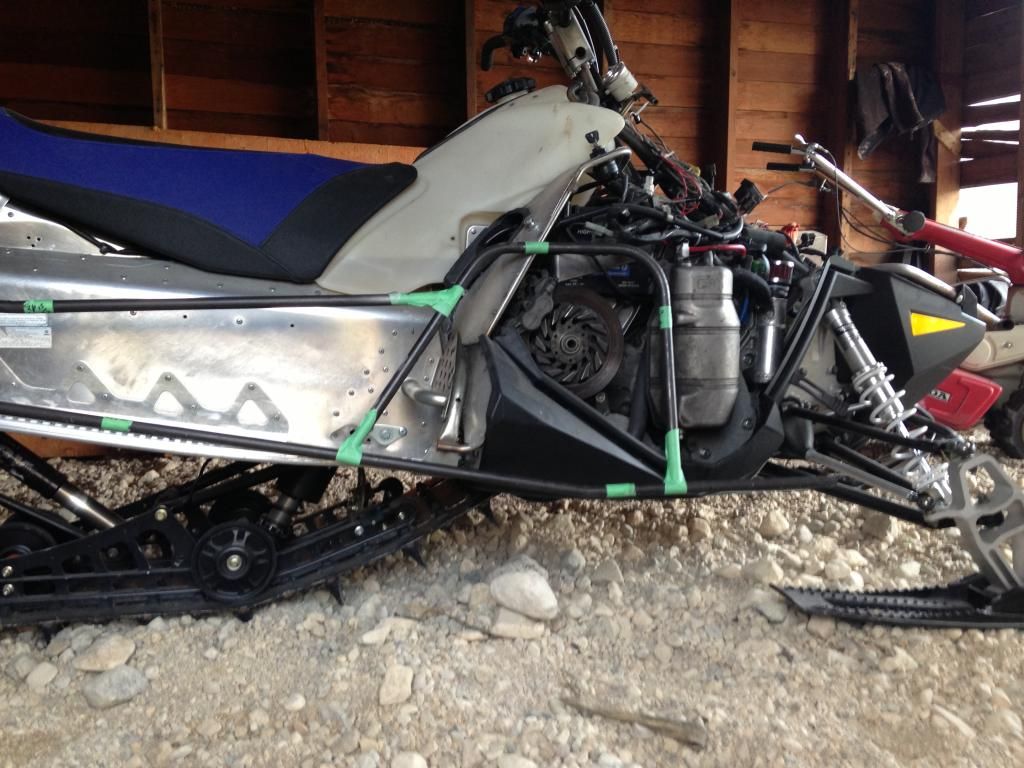
I think I am going to tack this side of the sled together and then try to replicate the other side of the sled using this side as a template. I think that should yield the best results.
some joint fit up pics.
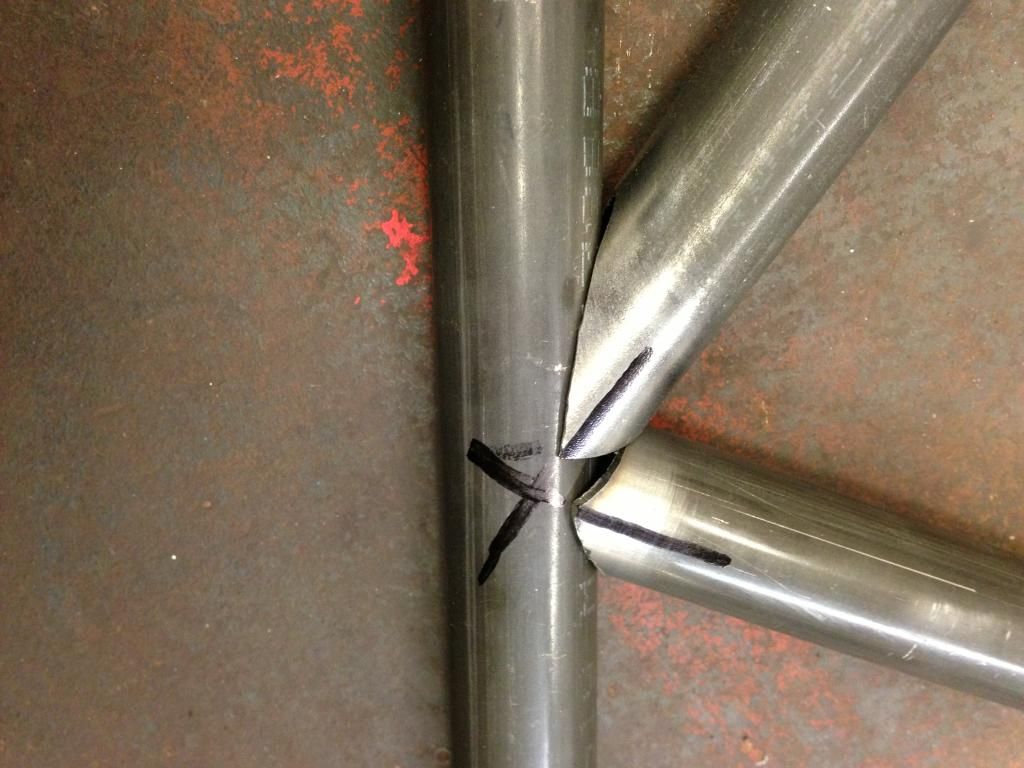

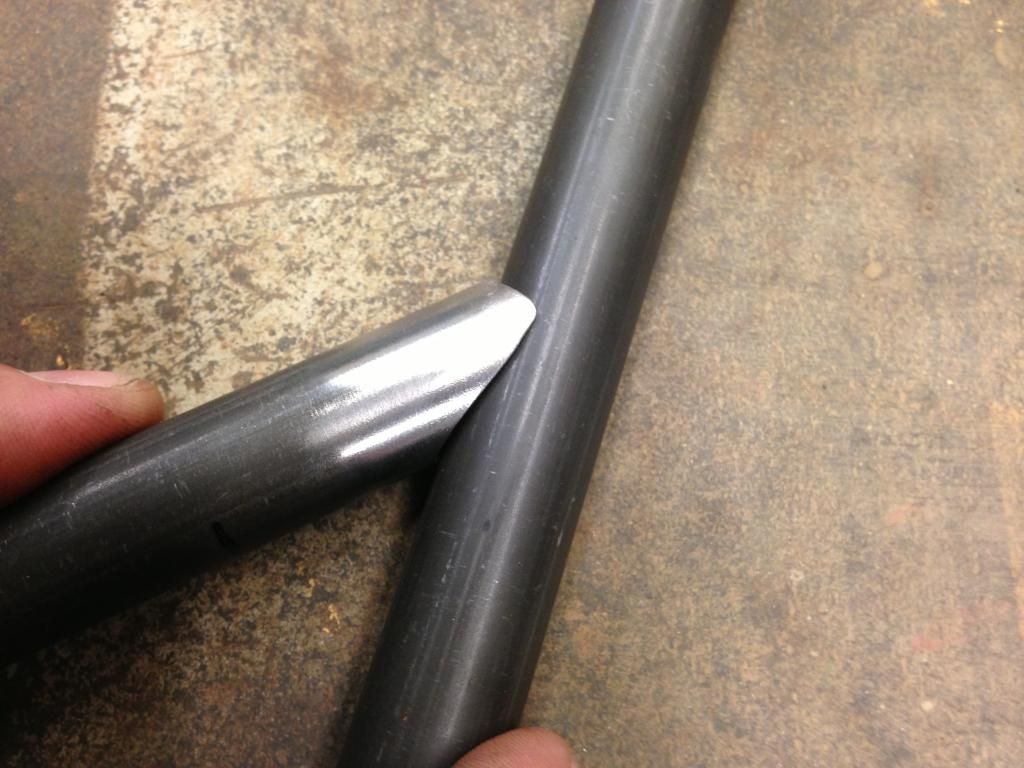


of course this isn't the exact location in relation to the nytro, just there for a rough idea.

I think I am going to tack this side of the sled together and then try to replicate the other side of the sled using this side as a template. I think that should yield the best results.
some joint fit up pics.


K
Kennyspec
Member
More progress today!!
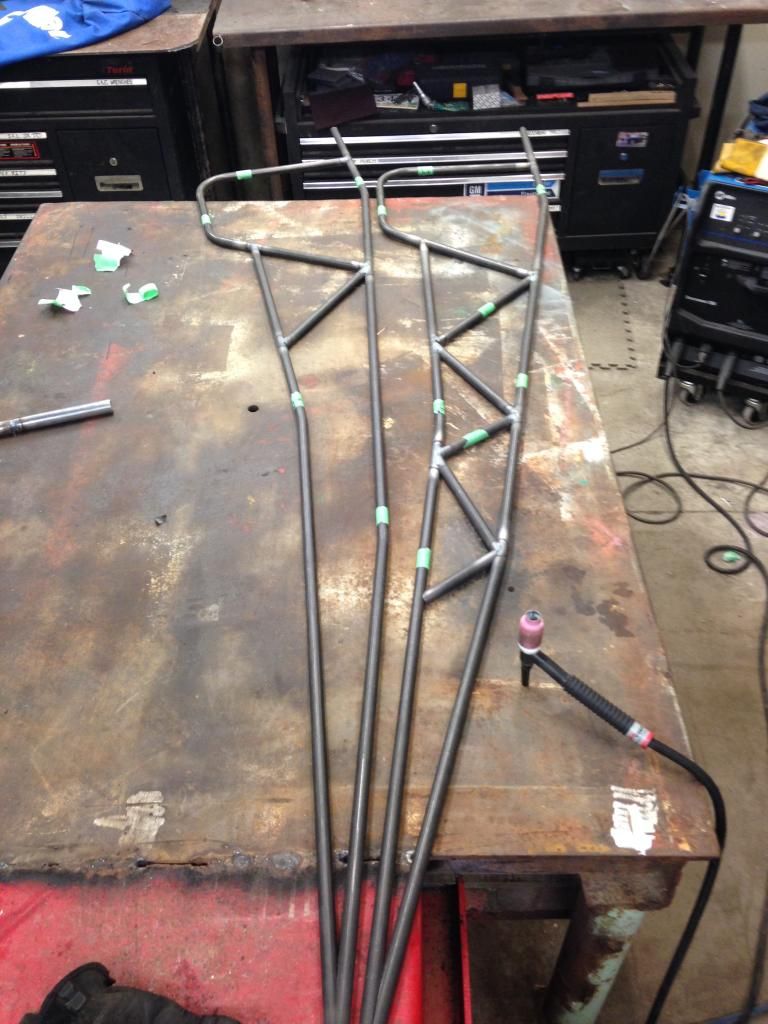
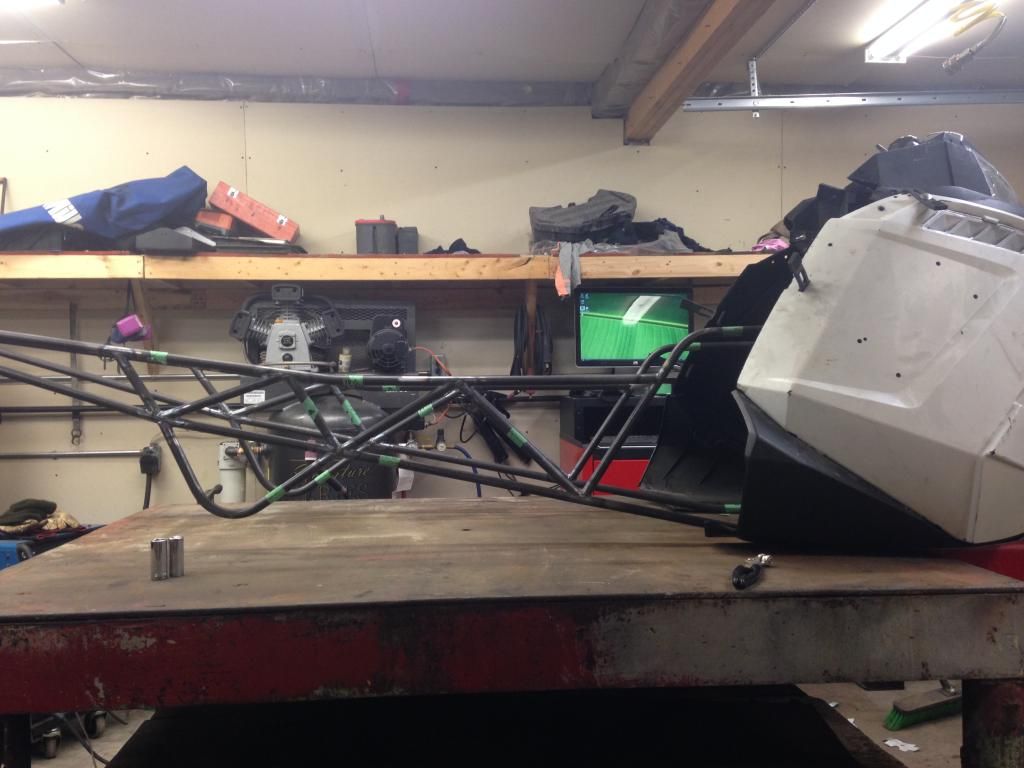
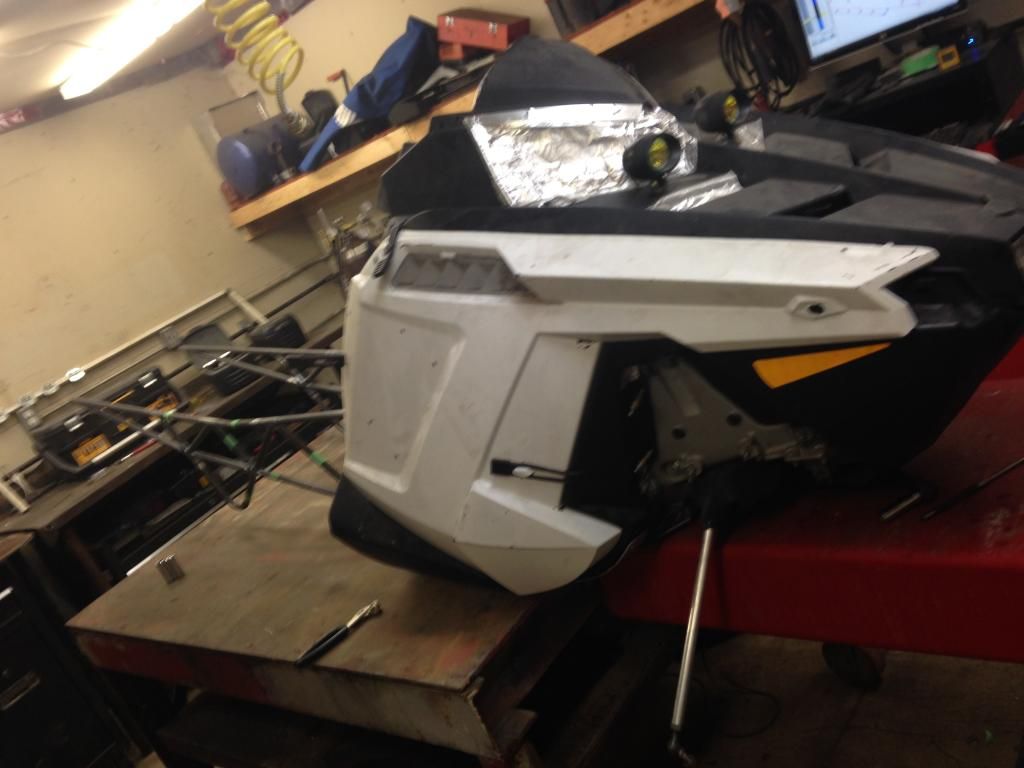
Here is a pic of it against my wife's nytro. It's not at the correct angle, it's just how it sat on the running boards. The .035 is a PITA to weld with it being so thin. At first I thought it was going to be too weak as well. But I can stand on the truss for the tunnel and there is zero movement. It seems way stiffer than a alum tunnel so far.
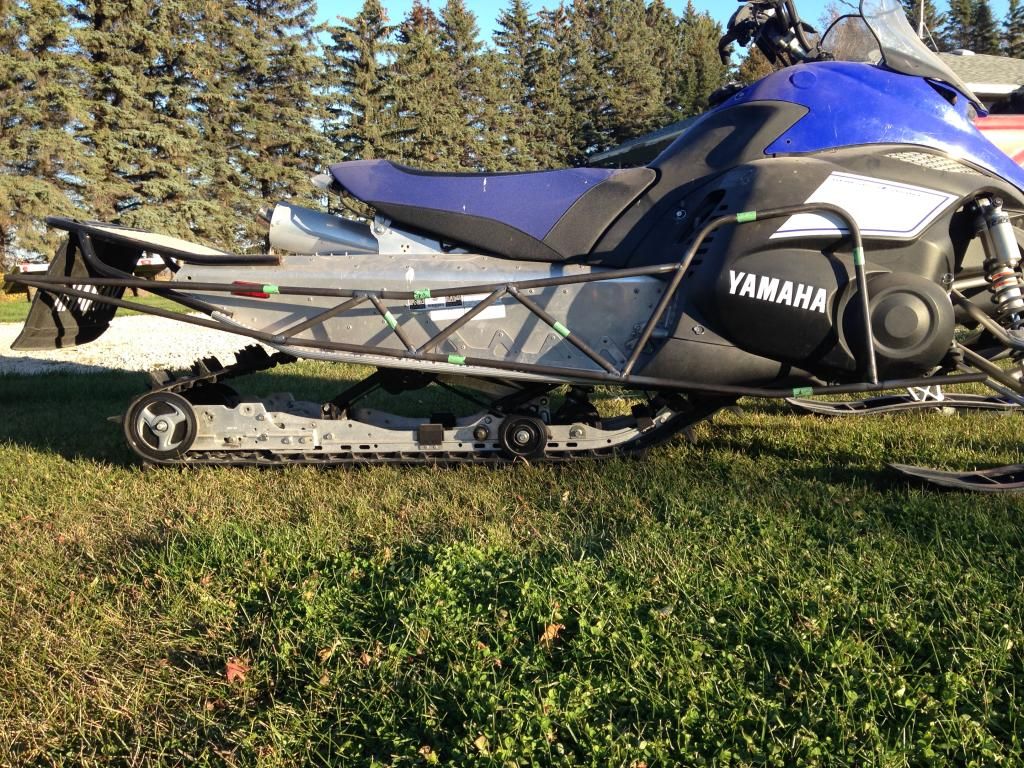

Here is a pic of it against my wife's nytro. It's not at the correct angle, it's just how it sat on the running boards. The .035 is a PITA to weld with it being so thin. At first I thought it was going to be too weak as well. But I can stand on the truss for the tunnel and there is zero movement. It seems way stiffer than a alum tunnel so far.

Nice.
0.035 requires anal fitup for weld heat control.
.010 to 0.000 gap fitup
Overheating and filling causes embrittlement of the heat affected zone.
Slip a socket inside the tube and clamping for endmill notching is improved.
Er70s-6 will turn out cleaner than er70s-2 and will flow into the puddle easier.
I like .040 tungsten for 0.035 tube.
Nice.
0.035 requires anal fitup for weld heat control.
.010 to 0.000 gap fitup
Overheating and filling causes embrittlement of the heat affected zone.
Slip a socket inside the tube and clamping for endmill notching is improved.
Er70s-6 will turn out cleaner than er70s-2 and will flow into the puddle easier.
I like .040 tungsten for 0.035 tube.
All good points, one should always spend the extra time needed to perfect the fit up. Also clean the mill scale off of both tubes at least an inch back from the weld location, and wipe with acetone to get all the manufacturing oils and preservatives off before trying to weld it. When you do the welding portion is a cake walk.
Additionally, If not post weld heat treating, Stainless steel filler will flow / wet in easier, and is a very common practice in car / cart chassis shops. FWIW
J
jskattum606
Well-known member
sure wish i would have gotten this advice years ago. I have learned all of this info the hard way and must say it is very good info.
Thanks guys(a few years late though )
)
Thanks guys(a few years late though
K
Kennyspec
Member
Awesome info guys, all my notches are done by hand with a die grinder. I think some of the welding issues also come from the tubes getting super thinn near the end of the notches. I try to keep the grinding square to the end of the tube so that right at the ends of the tubes you still have the full thickness to weld to. Would it be beneficial toake a second wider bead overtop of the first one? Or would making the haz bigger this way make the joint more brittle?
With that thin of tube a second pass should not be needed. Like posted above, tight fitment, remove the scale finish from the welded area and clean clean clean tube. Contaminants can make your welding a nightmare. Stainless rod will aid in a lot of this ( has more silica content than ER70 rod and will make contaminants float to the top of the weld pool much easier). I would invest in a tube notcher as well. Fitment will be much easier that way. Also make sure your tungsten is ground nice and sharp (like a needle almost for thin tube) and use a dedicated grinding wheel or belt for just tungsten. Most people dont think it but .035 tube in small diameters is a tedious job to weld and very time consuming to prep for.
S
sportsterdanne
Well-known member
Nice !
Keep it up and post lots of Pictures !
Keep it up and post lots of Pictures !
J
jskattum606
Well-known member
You gonna have this ready for riding this winter?
J
jskattum606
Well-known member
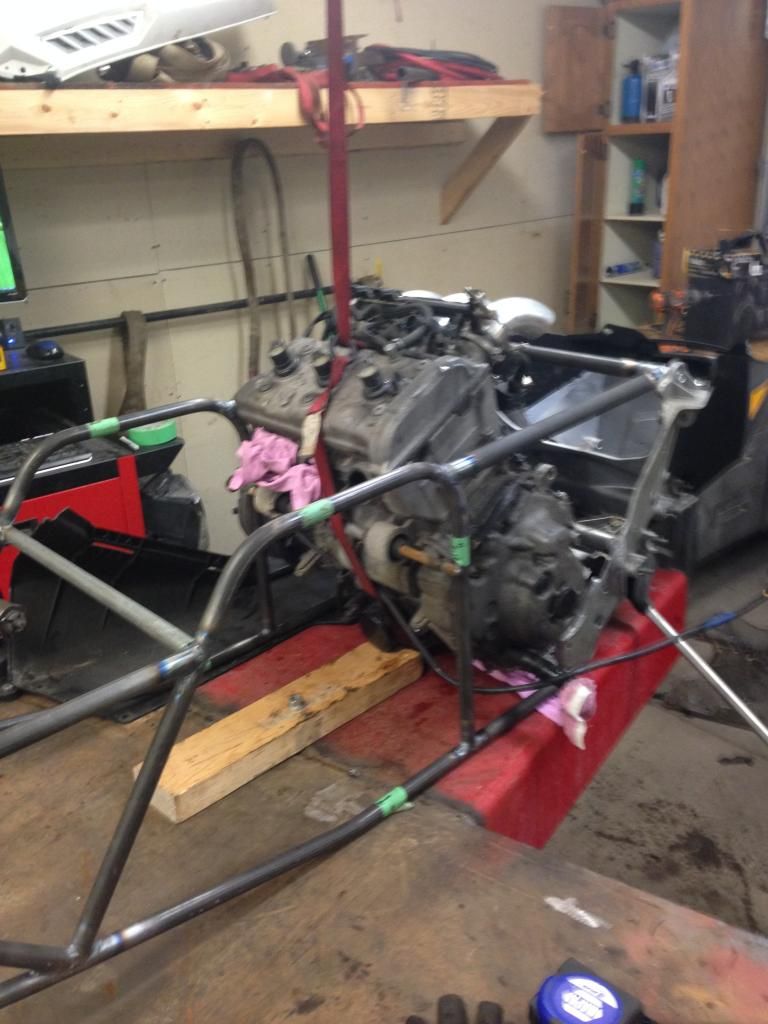
I'm pretty close to parallel . I set the primary set forward a hair so when it flexes back under hard load it will put the clutches perfect. I used a clutch alignment tool and polaris spec has it set up to have a 15 thou difference between front and back between tool and secondary. I went with about 05 thou because these motor are soo much stiffer than two stroke motor mounts. Not sure those # are correct off hand though
S
sportsterdanne
Well-known member
Nice progress !
Similar threads
H
- Replies
- 22
- Views
- 3K


