Install the app
How to install the app on iOS

Follow along with the video below to see how to install our site as a web app on your home screen.

Note: This feature may not be available in some browsers.

  • Don't miss out on all the fun! Register on our forums to post and have added features! Membership levels include a FREE membership tier.

My Timbersled Mountain Tamer Rear Suspension Install into a Dragon With Pix

mountainhorse

Well-known member
Lifetime Membership
Premium Member
I thought I'd post up some pix and install of my new Skid!!:bounce:

I've been searching around for an upgrade for a while. The factors in making my choice were
  • Performance
  • Weight
  • Adjustability
  • Cost
  • Looks

I contacted Allen Mangum of Timbersled a while back to ask about his skid and the new improvements for 2010. He took the time to describe all the features of the skid and the evolution and upgrades he's made since the release of this suspension 3 years ago.

I pondered this for a while and compared the above factors to what other suspensions were on the market. For my type of riding (boondocking mostly) as well as deep snow climbing I chose the Timbersled Mtn. Tamer Suspension.

I had a lot of medical problems last season and was getting a late start on any build for my 900 project. I realized that I would not have this done for this season so a AWESOME friend helped me out and I got into a nice used 700 RMK.

I called Allen back in late Dec 2009 (this season) and placed my order for a 155" Mtn Tamer X. After hearing about my situation, to my supprise, Allen invited me up to his shop to install the new skid and "Get away" for some good riding with him and his crew.... An offer I couldn't refuse:face-icon-small-hap :face-icon-small-hap:face-icon-small-hap

After a two day drive, picking up my new-to-me 700 on the way up, I arrived in Sandpoint.

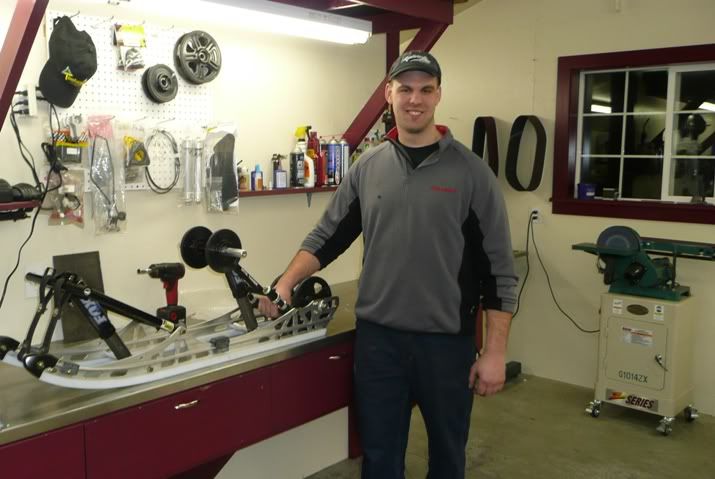
Allen's shop is an impressive sight. Super clean and equipped with all the tools and supplies I'd need to make short order of the install (and a great place to build my 900 project :face-icon-small-win)

I did a bit of riding the first week there on the stock skid, playing with the different settings and getting a good idea of baseline riding.

Not since I visited Burandt's BCA have I seen such intense, skillful tree riding. These guys were amazing and demanding of their equipment.

I knew at that point I was in the right place to learn to ride better and have a good time wrenching as wel !!:face-icon-small-coo

Here is a bit of a photo journal of my Timbersled Skid install.
 
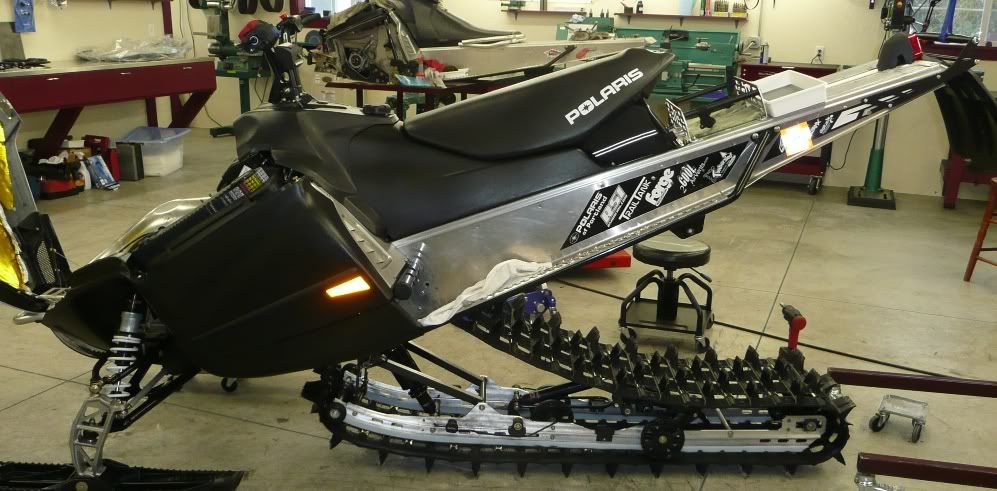
The before Pic of the 700 Dragon.

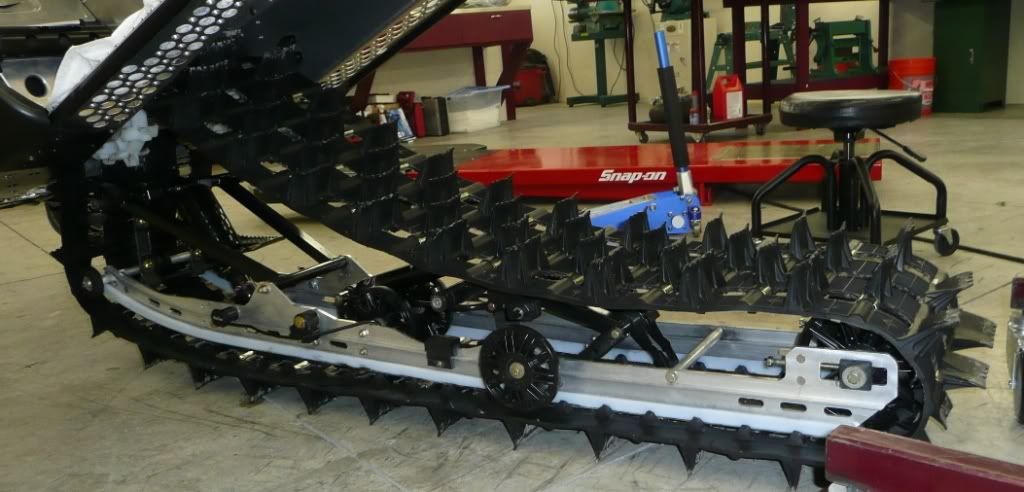
Out with the OLD!!


outwiththeold.jpg

outwiththeold2.jpg


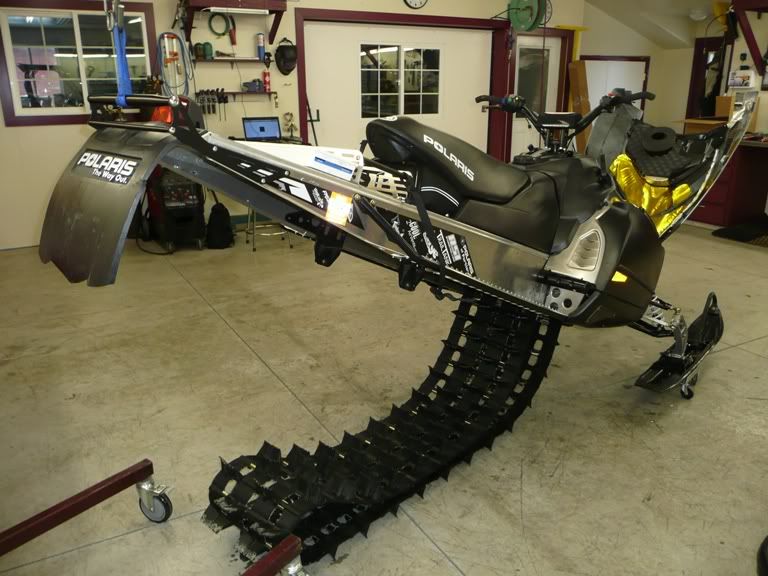
Setting the stage for the new skid

watingforanewsetoflegs.jpg
 
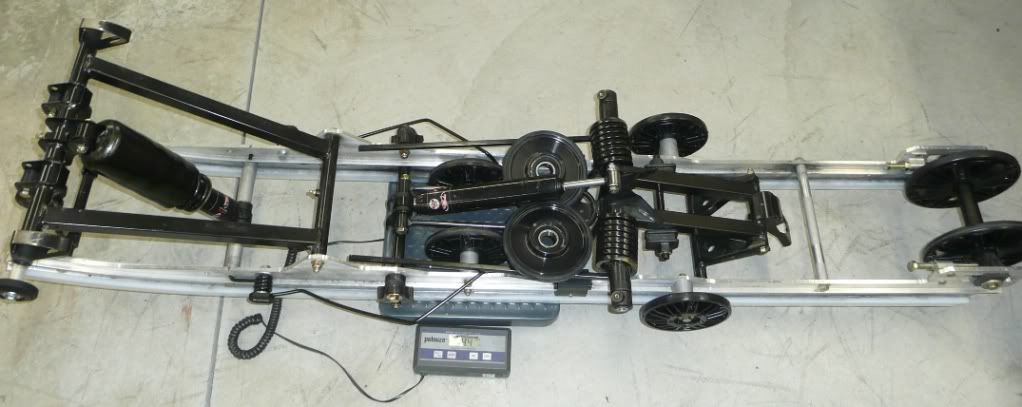
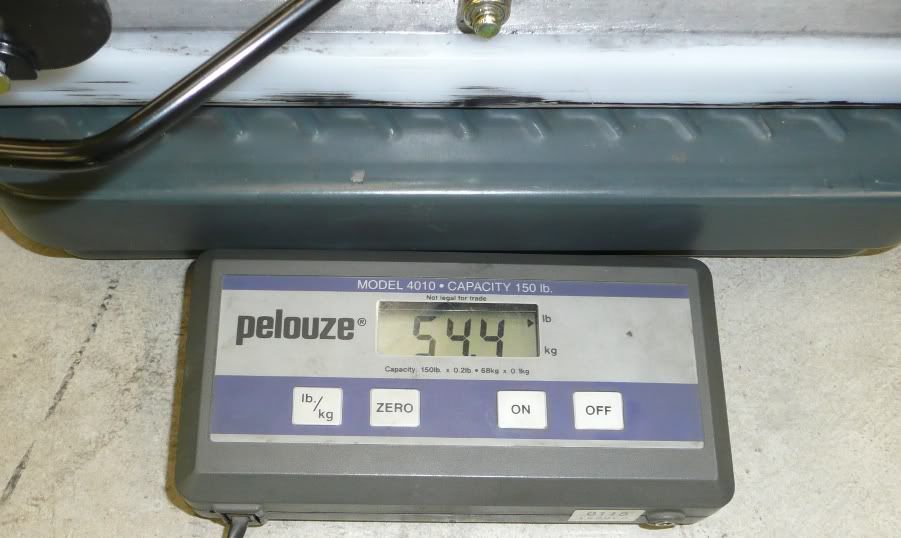
The old skid sitting on the scale...54.4 lbs... OUCH!! :face-icon-small-sho

The difference with the Anti stab kit with the rails/hyfax trimmed and the stock rails with tips and cross-shaft was only 1.22 lbs


Oldweight544lbs.jpg

oldweight2.jpg
 
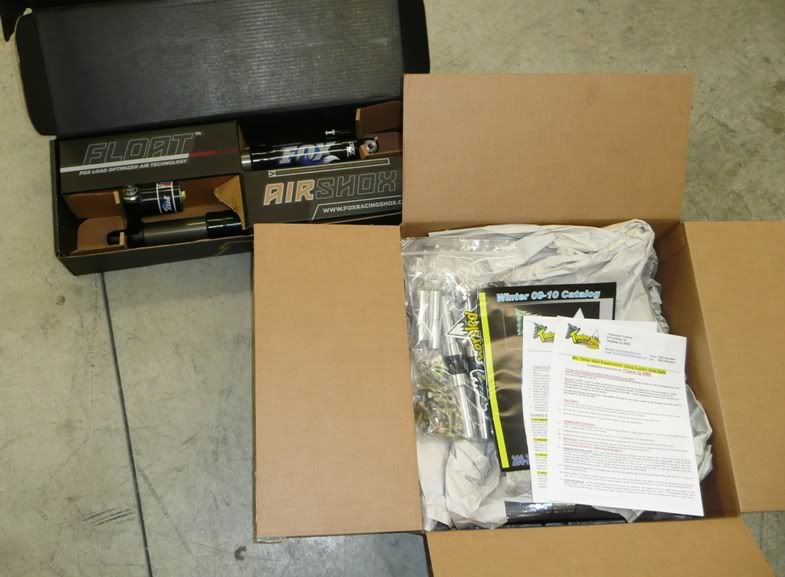
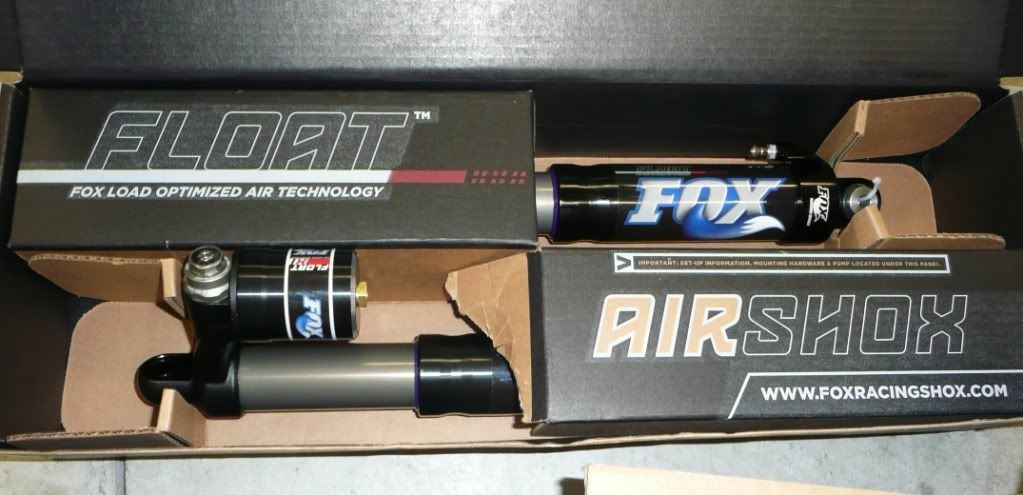
The Timbersled Mountain Tamer-X kit comes boxed very well in U-Line boxes with the Fox Floats topping it off.

MountainTamernicelyboxedup.jpg


FloatXpackageWooHoo.jpg


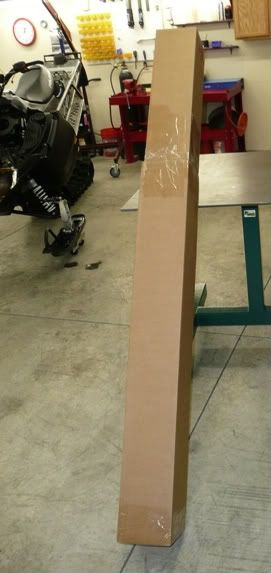
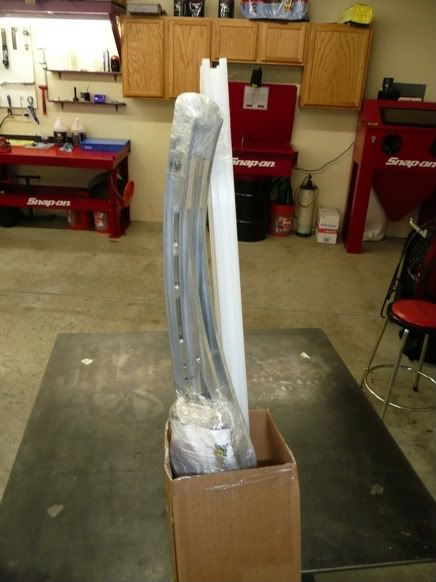
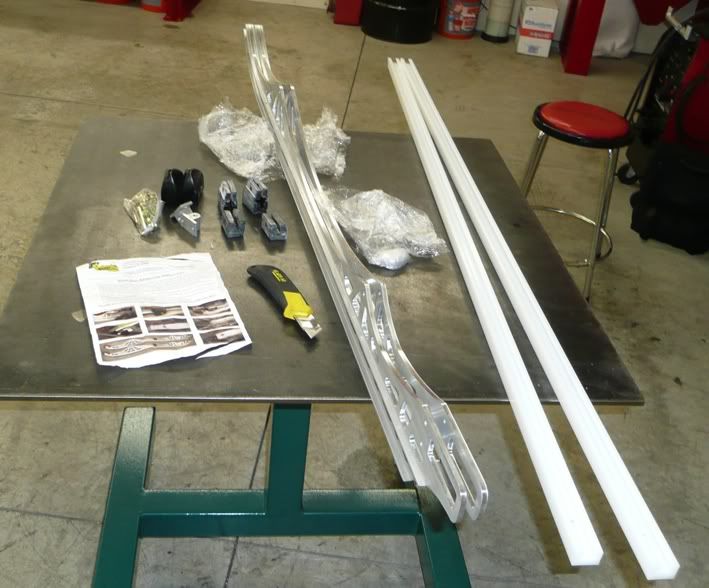
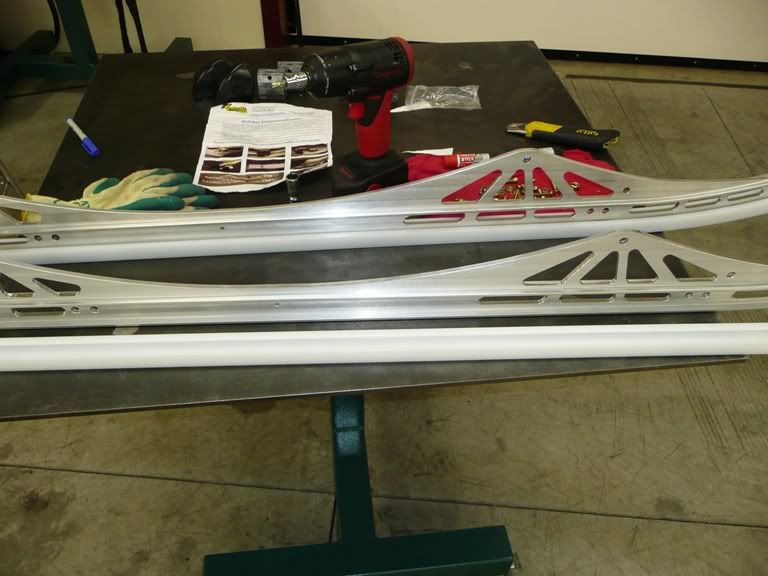
I chose to go with brand new, non-tipped up rails. I wanted a the updated look, strength and performance character of a non-tipped-up (straight rail, like the new PRO-RMK 155's). The Rails are well boxed and include Hyfax, instructions and all brand new rail related hardware. Again, boxed in heavy duty boxes and packaged very well.

railsnicelyboxed1.jpg


railsnicelyboxedwithHyfaxhardwarean.jpg


contentsofRailpix.jpg


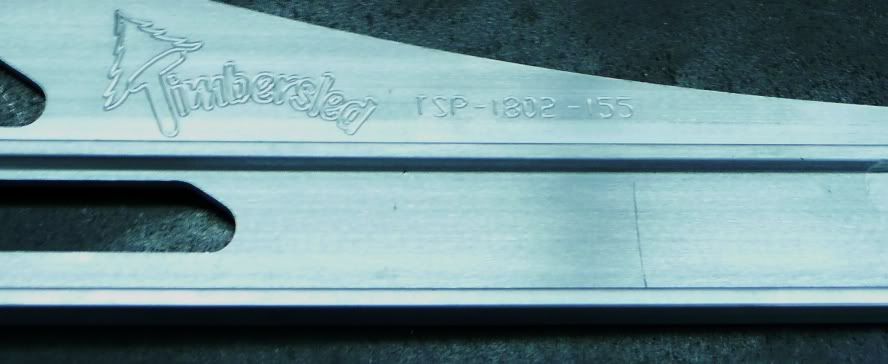
railpartnumber.jpg


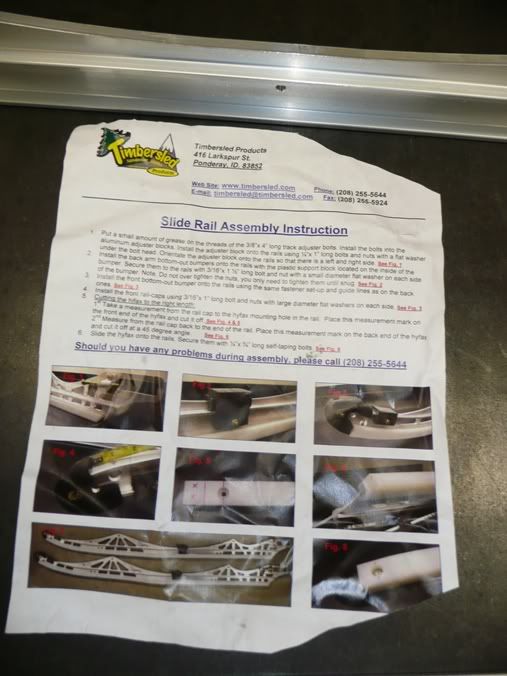
Nice Color Instructions too.
Colorinstructions.jpg
 
Last edited:
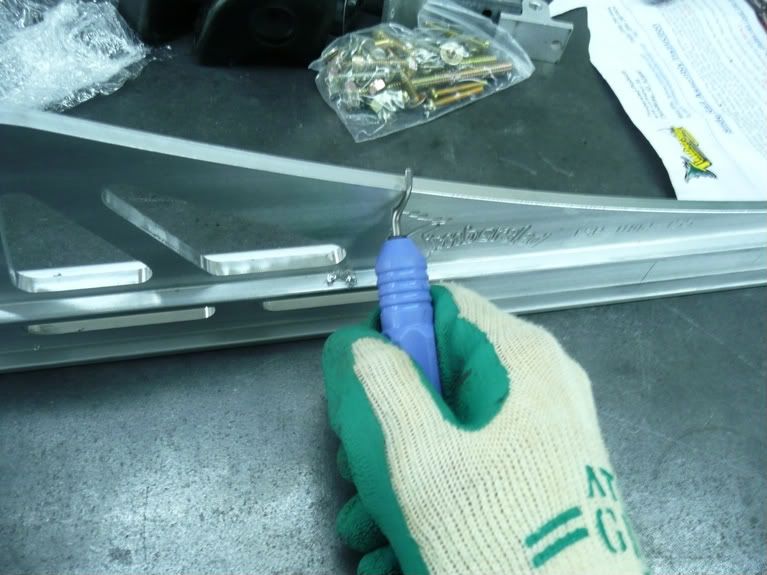
My first step, after unpacking the rail kit box... was to use a deburring tool to take off all the sharp edges from the rails... I do this to all new rails, stock or otherwise so that I don't cut my gloves up when hooking on my scratchers or working on the rails in general.

abitofdeburring.jpg
 
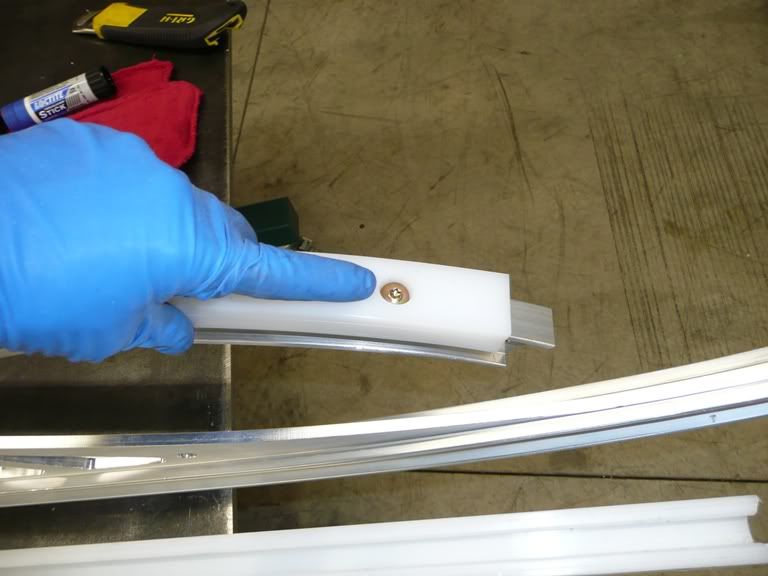
Then Install the Hyfax which is included in the kit.

mountthehyfax.jpg


Don't forget the Hyfax retaining screws on the bottom side!

Dontforgettheretainerscrews.jpg
 
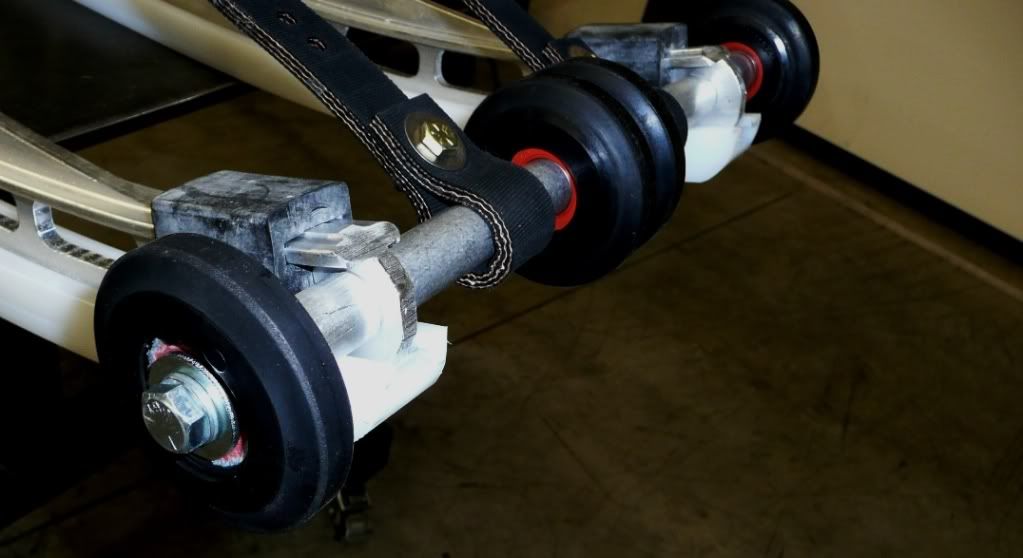
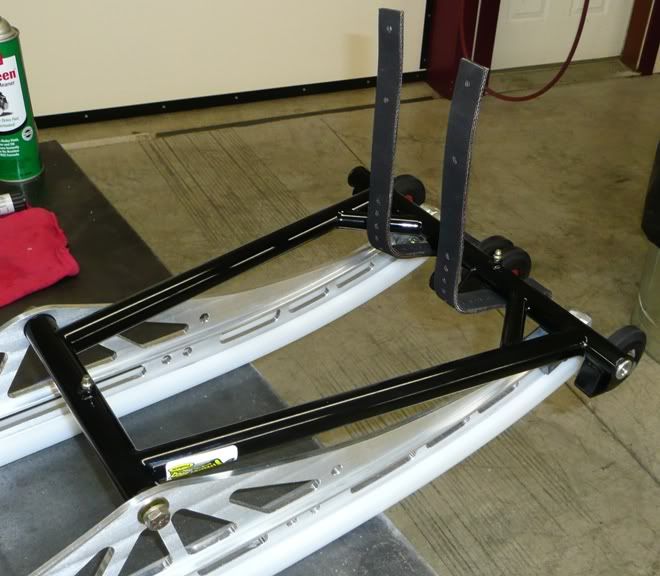
Since the sled came anti Ratchet drivers, I trimmed the rail tips and installed an Anti-stab wheel kit. Since you are removing weight by trimming the rails, not installing rail tips and substituting the limiter strap cross-bar with the anti-stab... the weight gain is minimal. The anti stab kit also decreases rolling resistance at the tip of the rail during suspension motion... PLUS gives you some peace of mind. An easy job with a band saw or jig saw with a metal cutting blade.

Trimmed rail tips with anti stab kit, rail bumpers, hyfax and limiter straps installed.

TrimmedforCombodriversandantistabs.jpg
 
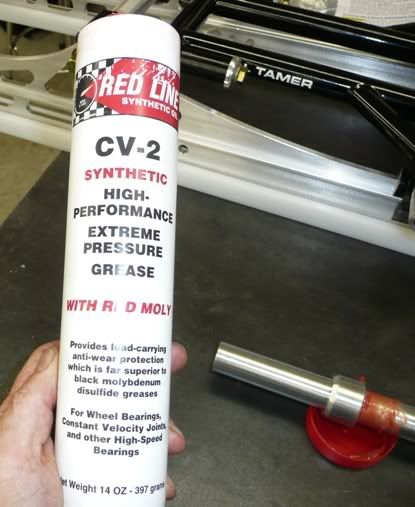
Next was the install of the Front swing arm... I pulled the shafts and used my favorite grease, Redline, on the shafts and pumped the grease zircs before installing, spinning the shafts with a bolt to make sure it was silky smooth. :face-icon-small-hap.

The CV-2 grease is one of the best on the market, holds up to Severe pressures, sheds water, and does not thicken up in the cold. A lot of greases CAN thicken in the cold and this slows down the action of the suspension.:face-icon-small-fro


Grease.jpg


frontarmandantistabsinstalled.jpg
 
Then onto the rear..

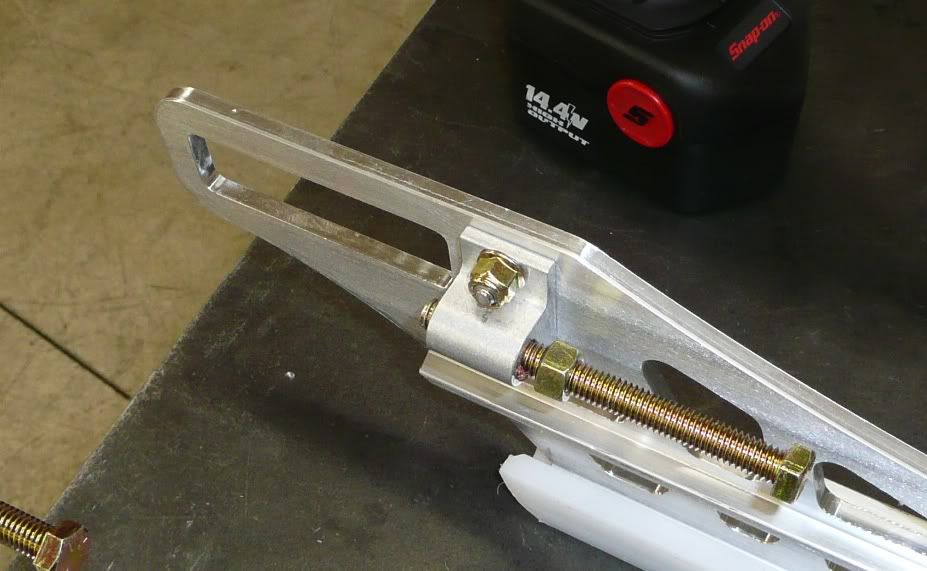
First install the tensioner brackets which are included in the rail kit. A very simple bolt on job with the provided grade-8 fasteners.


installtheidleradjusters.jpg


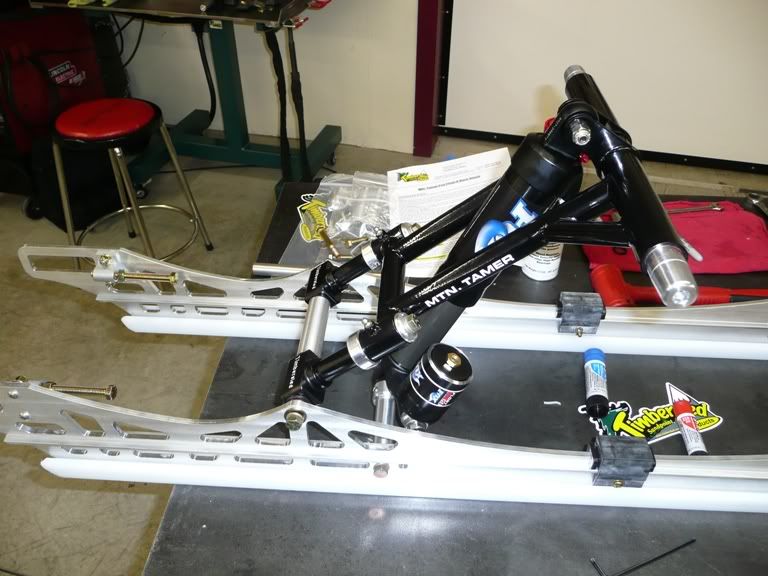
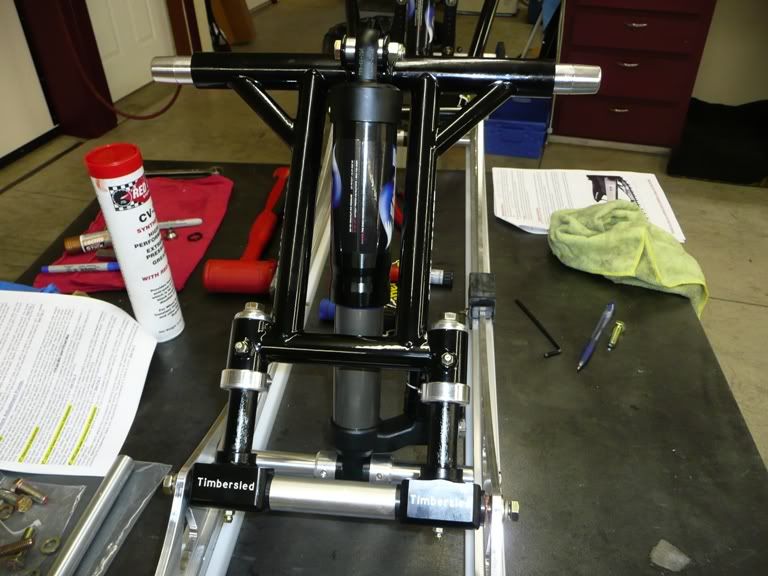
Then.... install the rear arm/slider assembly with the proper amount of spacers for the type of riding and HP of the motor. This is all laid out very well in the instructions.

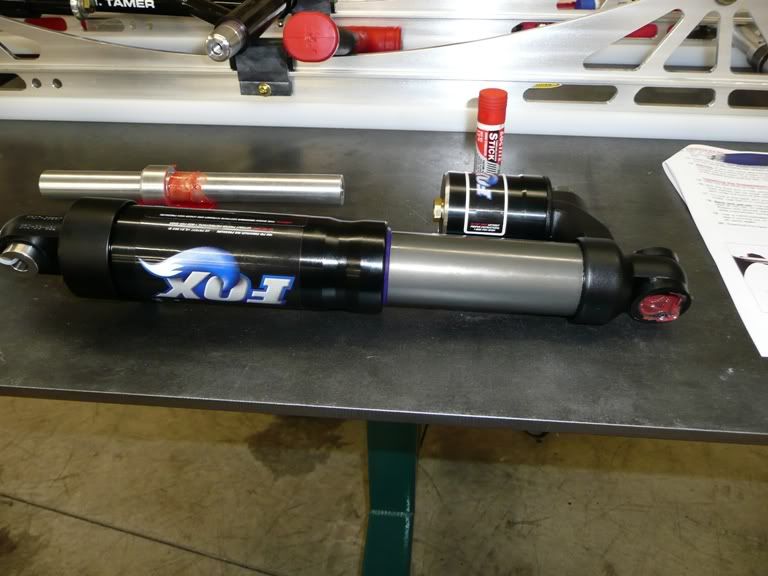
This is where the Rear shock is also installed on the lower shock shaft (lubed up of course before assy).

All the necessary hardware is included in the kit...nothing is needed to be robbed from the original suspension, which is a very nice feature... You can sell your stocker or keep it to swap this new high performance skid into your new sled. T-sled will be offering an update kit for those that will be getting into a new Pro-Chassis this year and want to transfer over the Mountain Tamer to the new chassis... a definate plus for those with "turbo-expectactions" as this will control the sled much better than the new coil spring suspension with double the HP from the turbo.


greasedup.jpg


The mid rail bumpers get installed at this point too.

RearArmsliderandshocksinstalled.jpg


reararm2.jpg


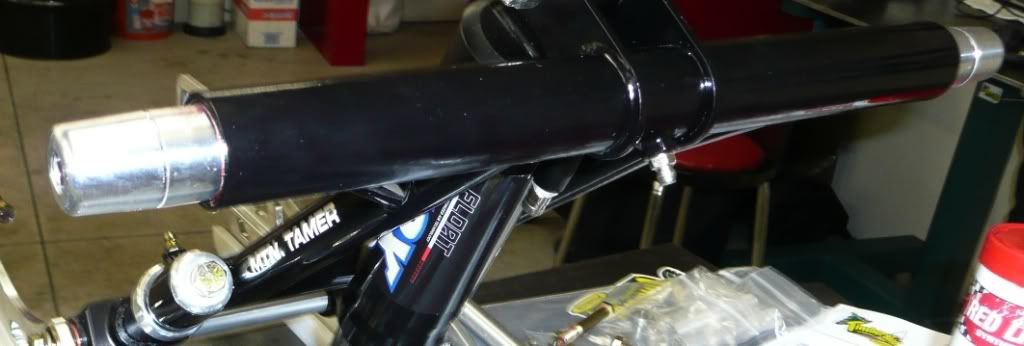
The 2010 Upper Cross shaft is a burly 1" diameter... Installed and Pre-lubed into the rear arm (luvin that CV-2!)

beefy1rearcrossshaft.jpg
 
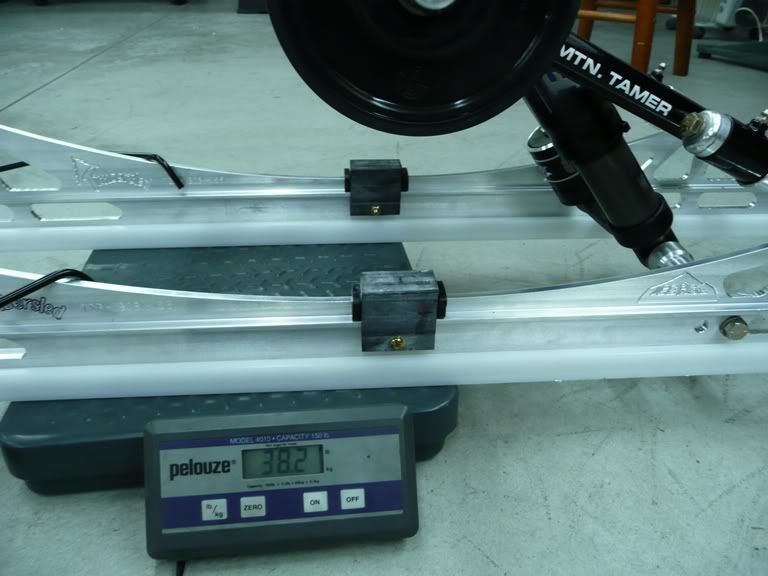
The assembled skid, with stock rear axle, Cat 8" rear idlers, scratchers, stock upper idlers, Float-X-DSC shock, lots of grease (wet weight) and anti stab kit... 38.2 lbs ....READY TO INSTALL!!

The standard skid with fit kit, standard float, no scratchers or anti stab... about 3 lbs lighter.


Tamerweight.jpg


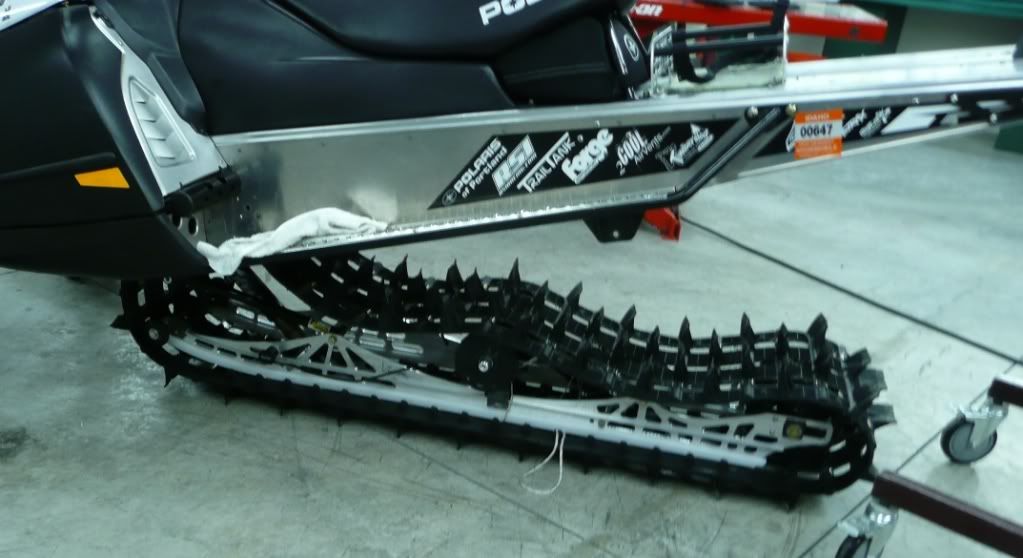
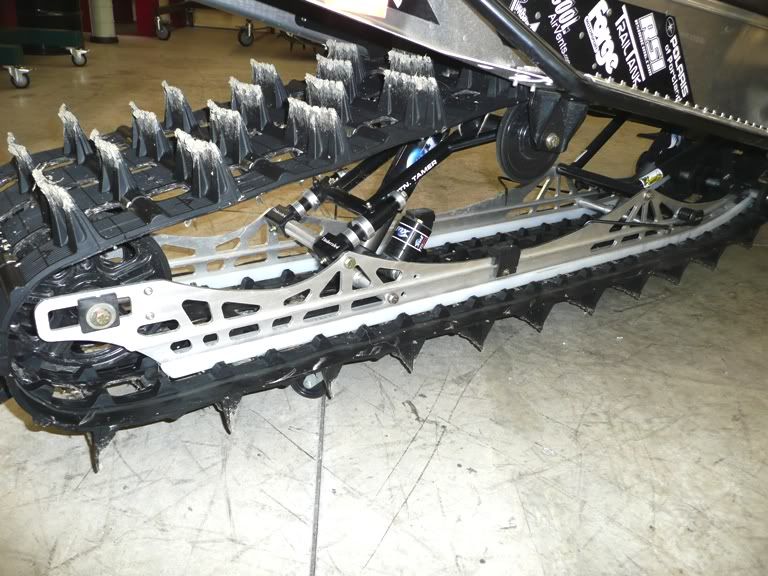
Profile of the skid... ain't she pretty :face-icon-small-win

profile-2.jpg


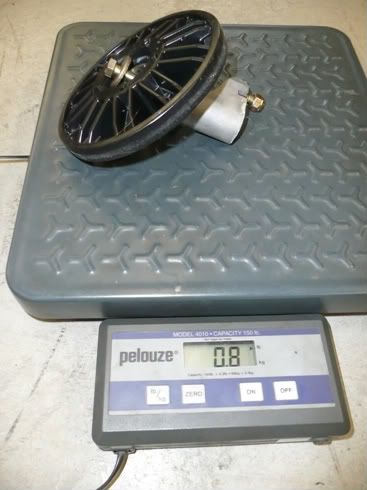
The weight of an individual bogie wheel assembly, bolts and brackets... 0.8 lbs each.
idlerassemblyweight.jpg
 
Well, I'm typing this from the Hotel room in Alpine Wyoming... about 400 miles after I've installed the skid... lots of hard riding, trees, climbing, deep snow, hard pack, whooped out trails, REALLY g'd out bumps, creek crossings, bad stump hits, rut riding behind turbo sleds and just plain fun.

I'm worn out and taking the day off after a hard day of riding with Dan Adams and the T-sled crew (Tyler and Allen) after a full week at the JH Hillclimbs.

The report on the Timbersled.

It took a bit of time to get all of the adjustments dialed in. Limiter straps, air pressures, Hi speed and Lo speed compression adjustments and Rebound adjustments. I'm a smaller lighter rider than the normal 200 lb rider, so I'm very happy that these adjustments were there to allow me to custom tailor the settings.

The skid delivered for me. I instantly noticed better climbing ability as the Mtn Tamer couples (this is adjustable as well) and keeps the skis down and the entire track engaged with the snow. Especially shining in the deep fluffy stuff.

In stutter bumps, nasty sharp edged whoops on the frozen trail... that is where the DSC (Dual Speed Control for compression) really comes in handy. It will allow the shock to comply with the sharp compression spike (hi speed) while not making the normal ride compression control of the Low speed spongy NOR needing high pressures to take the beating.

Once set for my riding style, I found that I didn't need to touch the adjustments again... except for the air pressures which I like to check before each ride at temperature. For boondocking I like to soften up the rear track shock pressure a bit to allow me to put a bit more body-English into the sled to initiate uphill maneuvers (takes 2 min with the included pump)... If I'm not going to beat the tar out of the skid or to lots of heavy climbing.. I'll keep the shock at that pressure all day. A VERY nice feature for sure
 
A Huge "THANK YOU " to Allen and the Crew at Timbersled for all the help and shop time given to me... Definitely made my season!!

You guys ROCK!!


TimberLogo2.JPG


BigThanks.jpg


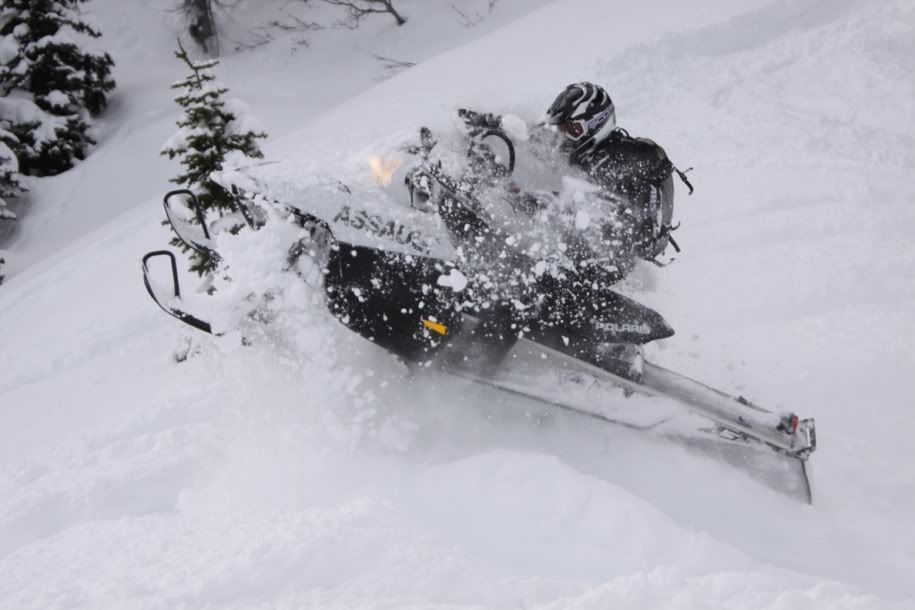
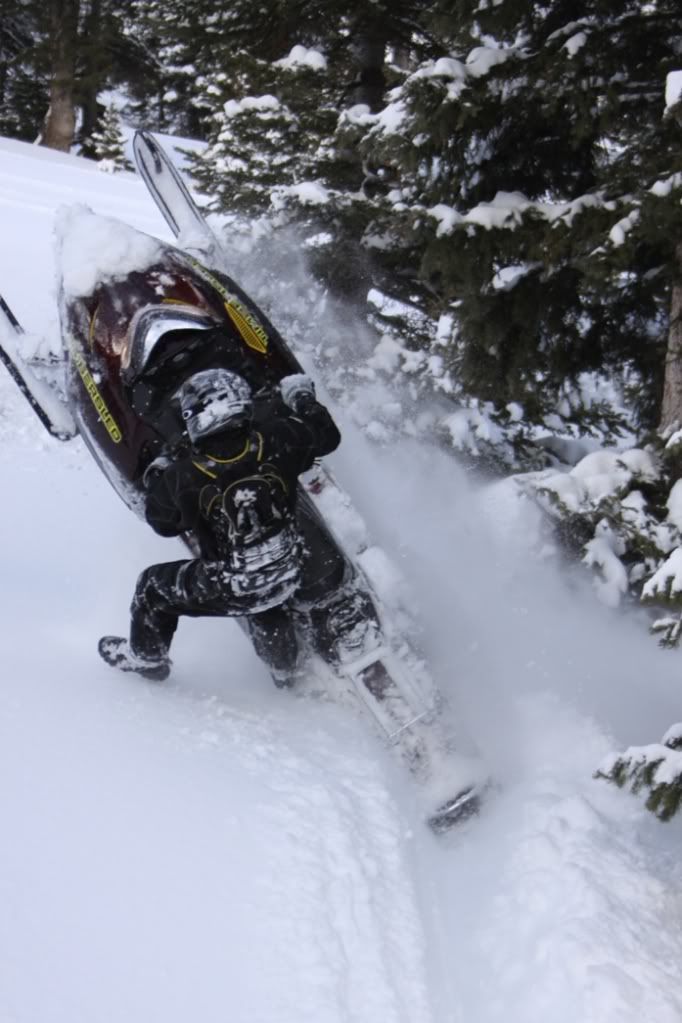
BTW... This Guy can ride!

ridingwithallen.jpg
 
I have had great luck with the Mountain tamer. Some pretty scary climbs in spring time "hero" snow... the skid keeps me under control, skis down and gives me great traction/hook-up.

I have nothing but good things to say about this rear Suspension and it kept delivering for me till the last day 2 weeks ago. Even better in the fluff in Feb/March!!

Life is good.
 
Premium Features


Back
Top