Install the app
How to install the app on iOS

Follow along with the video below to see how to install our site as a web app on your home screen.

Note: This feature may not be available in some browsers.

  • Don't miss out on all the fun! Register on our forums to post and have added features! Membership levels include a FREE membership tier.

My 2006 RMK 900 Build

Dont get all excited though...

LOTS of prep work with alumimum.

Sandblast is the best prep with a very thorough degrease and solvent wash.

If not sandblast.... 120 grit sanding with an orbital and get into every crevice to be painted.

Can be sprayed...you must use their solvent for that.

I dont believe that Guidos entire tunnel is painted... Isn't some of it VE pow coat still Sean?

The "toughness" is there with the product... the prep is super important...
Pow coat, when done with proper prep(see some of F-Bombs posts) is still superior.

Aluminum has very specific needs to prep for painting

90% of the work is in the prep.
 
Last edited:
I dont believe that Guidos entire tunnel is painted... Isn't some of it VE pow coat still Sean?

i was gonna powder coat the foot well boards but didnt cause i got lazy, and unfortunately, i got lazy on the prep work for the boards as well...the tunnel i spent the required time on, and the foot boards i didnt and WOW what a diff...they...to be honest, look like CHIT up close, but thats what you get for bad prep work, but luckliy thats are were my feet go, if you do POR15..DO IT RIGHT...or you will regret it and it and it will look like BUT, lol..honestly...

the only think thats POR'd on my tunnel is the tunnel itself...the rear section of the tunnel and the foot wells...everything else with ANY color on the sled is powder coat ;)
 
Last edited:
Dont get all excited though...

LOTS of prep work with alumimum.

Sandblast is the best prep with a very thorough degrease and solvent wash.

If not sandblast.... 120 grit sanding with an orbital and get into every crevice to be painted.

Can be sprayed...you must use their solvent for that.

I dont believe that Guidos entire tunnel is painted... Isn't some of it VE pow coat still Sean?

The "toughness" is there with the product... the prep is super important...
Pow coat, when done with proper prep(see some of F-Bombs posts) is still superior.

Aluminum has very specific needs to prep for painting

90% of the work is in the prep.

HAHA Eric if I want to get excited I will! :cheer2: I know what you are saying though, and I'm not scared to do the required prep. I was scared how ever to strip the sled down 100% for powder coat. This is still a lot less work, so I'm still excited. :) Thanks for the info!
 
i was gonna powder coat the foot well boards but didnt cause i got lazy, and unfortunately, i got lazy on the prep work for the boards as well...the tunnel i spent the required time on, and the foot boards i didnt and WOW what a diff...they...to be honest, look like CHIT up close, but thats what you get for bad prep work, but luckliy thats are were my feet go, if you do POR15..DO IT RIGHT...or you will regret it and it and it will look like BUT, lol..honestly...

the only think thats POR'd on my tunnel is the tunnel itself...the rear section of the tunnel and the foot wells...everything else with ANY color on the sled is powder coat ;)

honestly...after we wreck it who cares what it looked like before?:lol:

p.s. butt sh!tt
 
Por15 turns grey in the sun. :( My jeep frame USED to be nice and black. Now its just grey. :(

Yeh its sensitive to UV light..if not left in sunlight constantly it wont fade..if its left out they have a topcoat product that will protect it..

Good thing is u can add the topcoat anytime over por15 ;)
 
Yeh its sensitive to UV light..if not left in sunlight constantly it wont fade..if its left out they have a topcoat product that will protect it..

Good thing is u can add the topcoat anytime over por15 ;)
Still looks better than the rust thats under it. :D
 
Went to the powder coaters the other day, and his compressor went down, so the tunnel and rails are still waiting to get done...checked back again today...no progress...starting to get VERY irrated :argue:

hoping to have the engine and wiring installed within 2 weeks...will be picking up the billet front crossmember from a friend at the Puyallup Snow Show this weekend...and motor can be installed...along with some wiring to test fitment/routing issues...

got bored so messed with some stuff today..

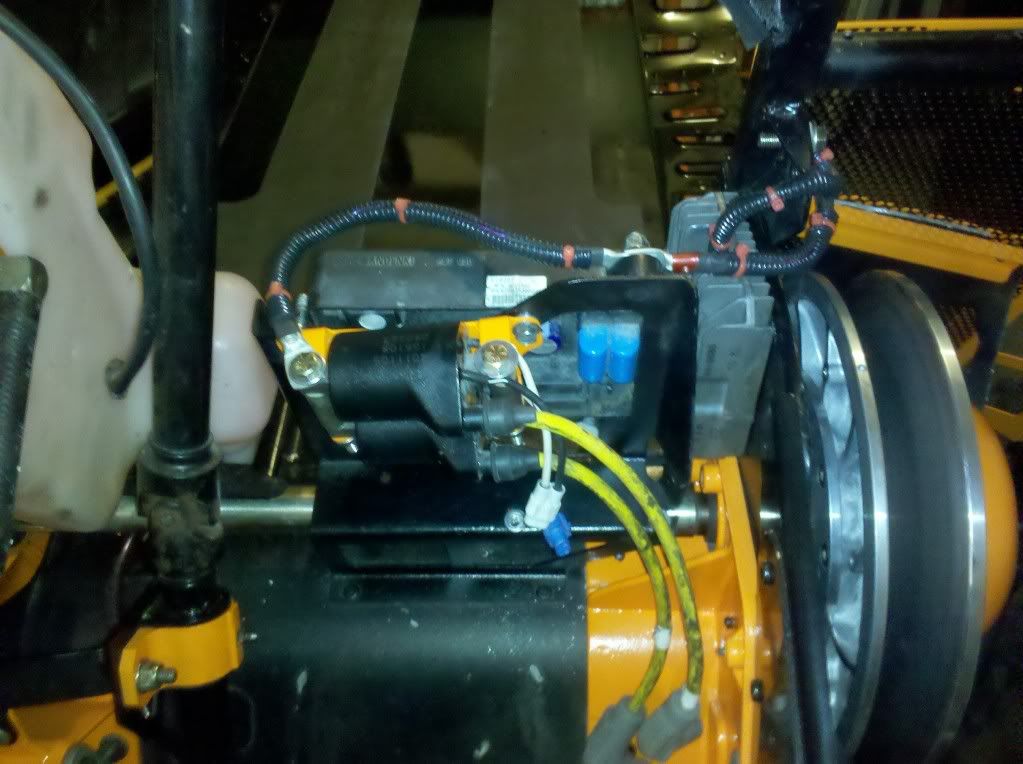
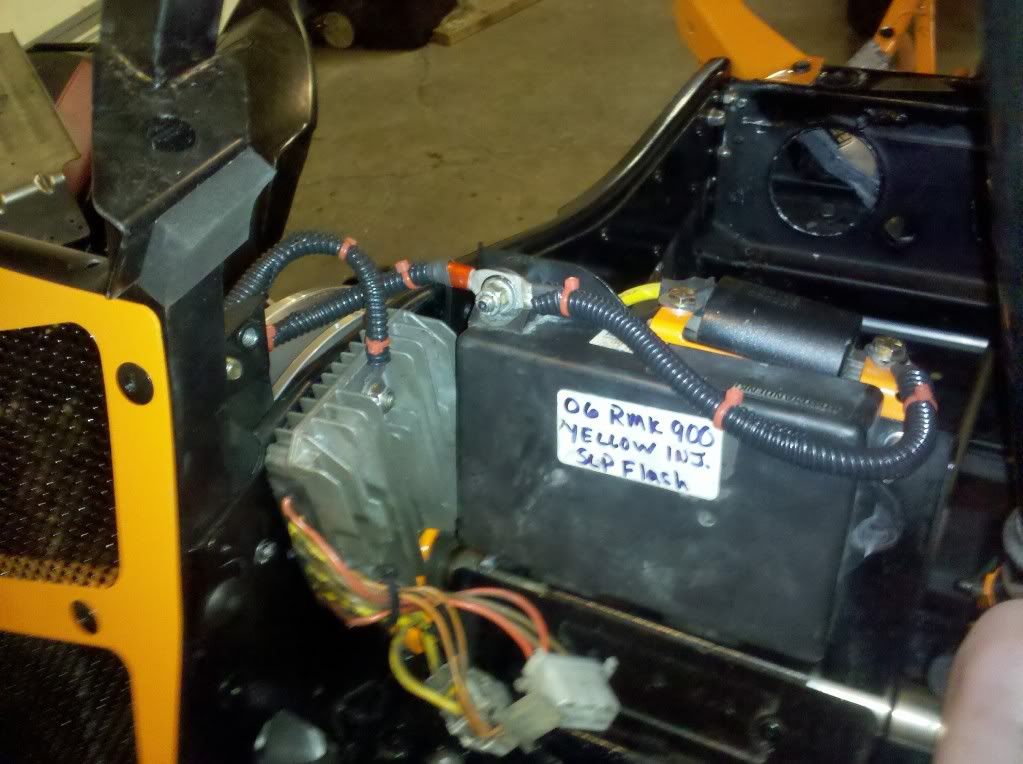
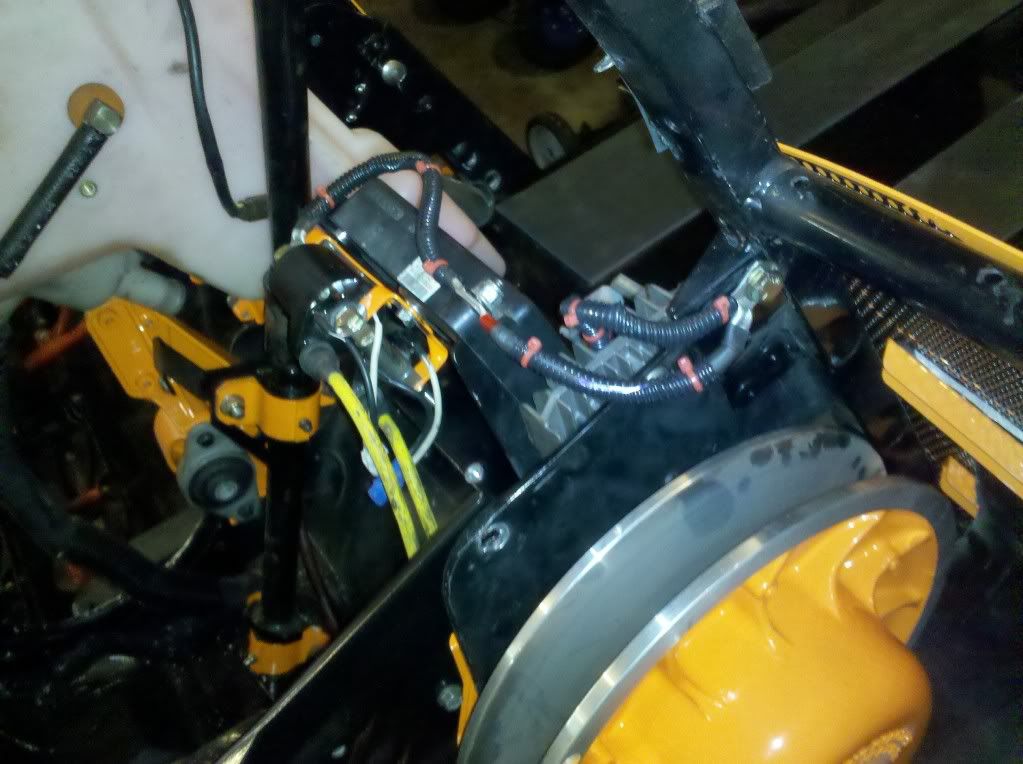
installed the coils on the ECU bracket since the RAW hoop doesnt have the holding bracket...this also lets me keep the shorter plug wires, and will still be able to reach the plugs no problem...removed the exhuast solenoid from the coil bracket, bring the coils closer together for a cleaner look...YES, i will keep the exhaust valve solenoid and it will be plugged in the harness and tucked away, as the ex. valve will be plugged on the engine as is my other 900..

i have a belt cover for the RAW chassis that i will be using, i will mount the Capacitor on that since i put the coils where the cap goes...

i also ran some ground wires from the coils, to the ECU, and from the ECU to the chassis, and a ground wire from the VR to the chassis...the dragons were having ground issues, and this seems to be a great idea anyways..so might as well hook it up to be safe...

****also note, those with the 06 700/900...the way the VR is mounted from the factory, the VR wires will rub againist the fuel tank, they are literally smahsed together...and will eventually rub through the insulation and cause a major issue...if you look at how i mounted my VR, i rotated the bottom of the VR FWD, and this put the VR straight up and down...drill a new bottom hole, and mount the VR there...it gives the wiring ALOT more room, and they are no longer pressed againist the tank****

IMG_20101012_181917.jpg

IMG_20101012_181942.jpg

IMG_20101012_181929.jpg


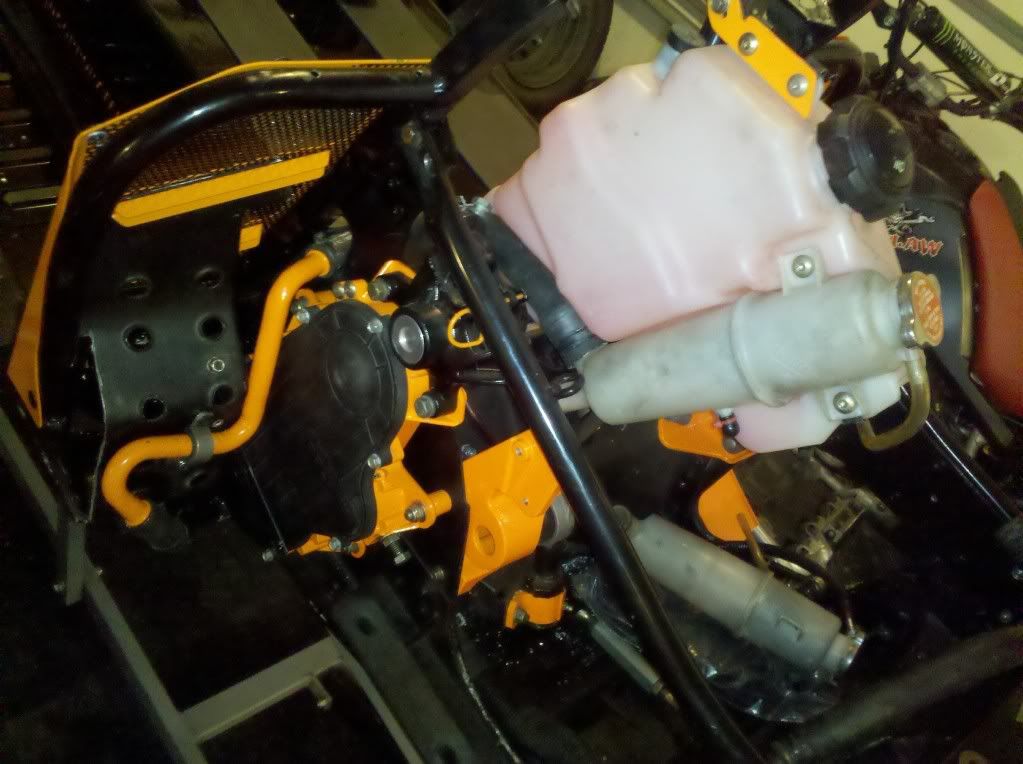
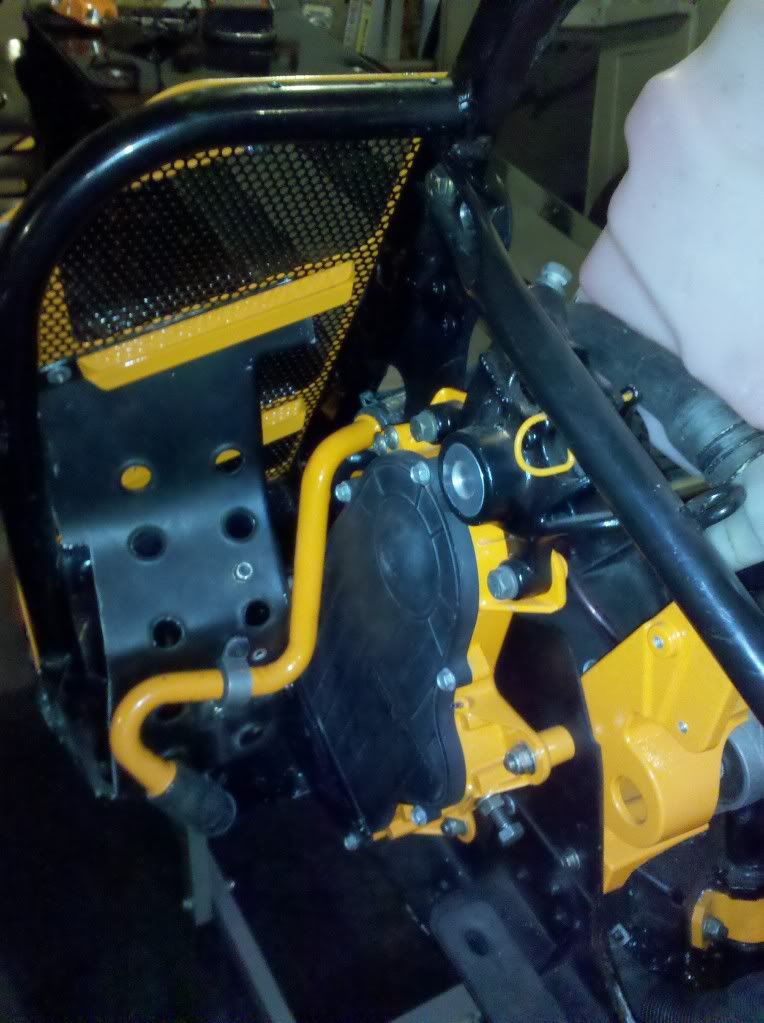
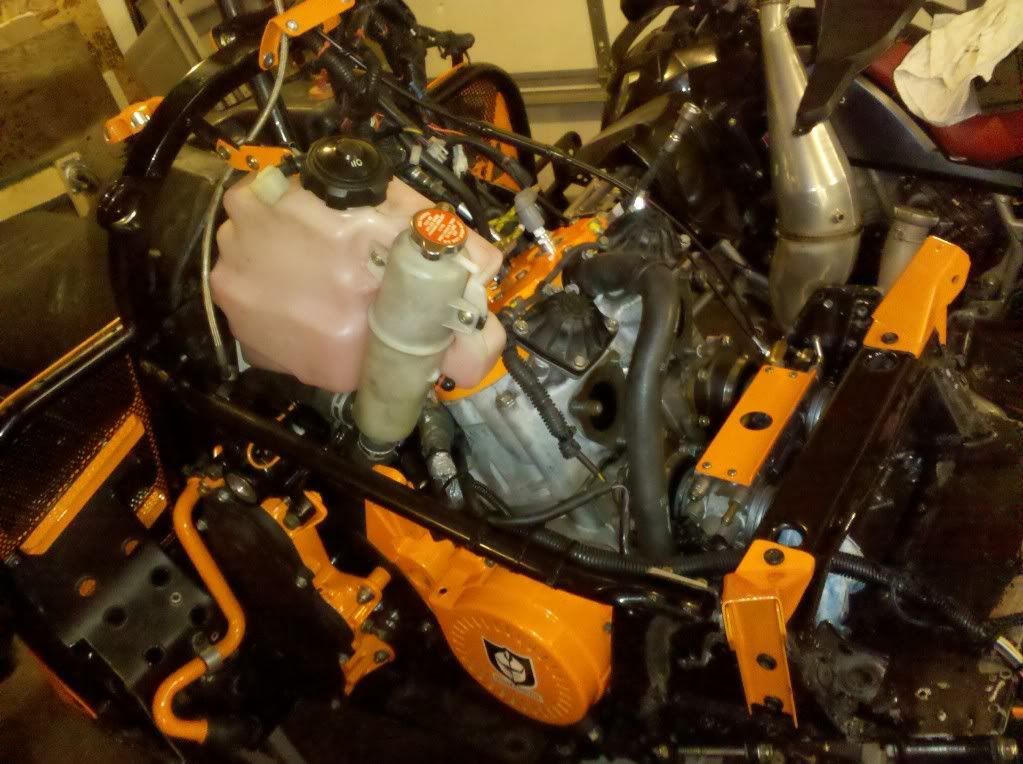
installed an 09 dragon coolant bottle to get rid of the "plug" you have to do when removing the front radiator...much cleaner ;)

also powder coated my MAG side running board cooling tube, and mounted it againist the modified footwell section...looks pretty slick i think...

IMG_20101012_182244.jpg

IMG_20101012_181950.jpg


not much of an update...but about all i can until i get the new bearing kit from WPS (All Ballz Bearings) for the jackshaft/chaincase/driveshaft, and install the engine, and rear tunnel section and skid...

then i will be able to set it down as a roller and mess with the front end, plastic and adjust any fitment issues from there on...
 
looks good guido!
i like the extra stuff in the motor compartment that you powdercoated, makes the sled stand out more i think.
i'm hoping to take mine up to the motor guru in 3 weeks for the turbo install. waitin on parts to finish being cut and powdercoated myself.
wish we could get together when done to put sleds side by side,would be fun

mike

THANKS MIKE..

yeh i probably wouldnt have powder coated so many "small" things, but waiting on the local powder coater for SOOO LONG leaves me with nothing to do, so i have been trying to stay busy, lol...

but he has seriously had the rear section of the VE tunnel and coolant tubes for, 3 MONTHS at least...and my Ice Age rails for a month now......its getting OLD real fast!!

it would be sweet to meet up...i would love to see that baby your building up close too...keep up the pics and great work...
 
STILL WAITING ON THE POWDER COATER FOR THE REAR TUNNEL, COOLING TUBES AND RAILS....but claims this weekend...yeh right...

so in the meantime....

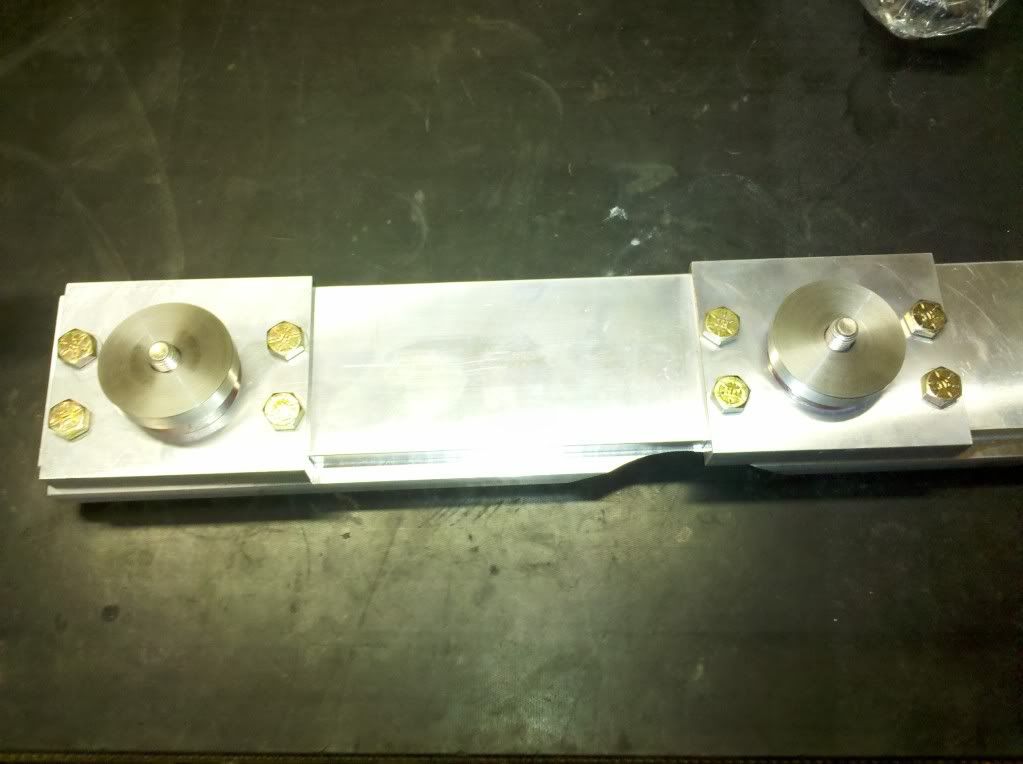
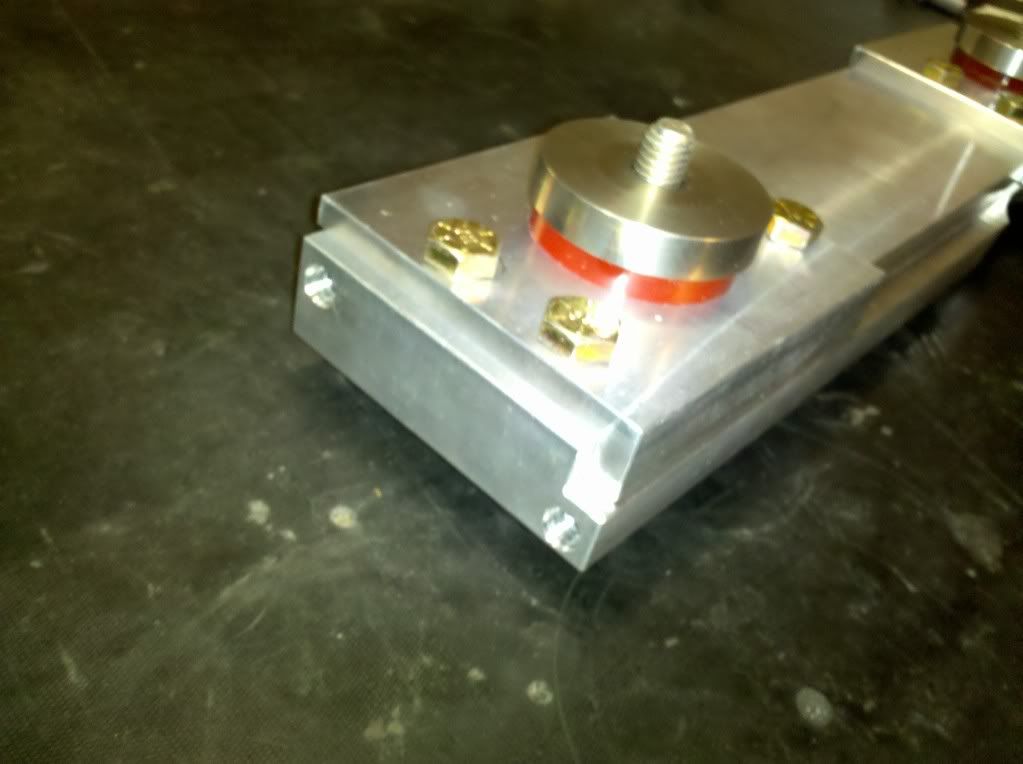
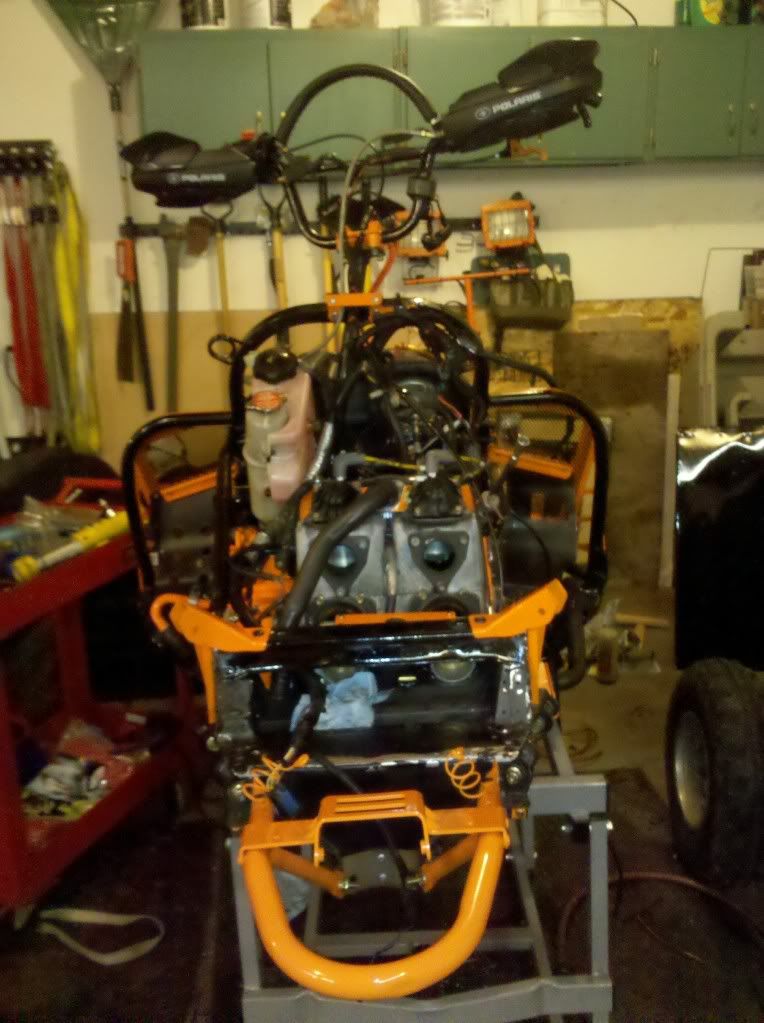
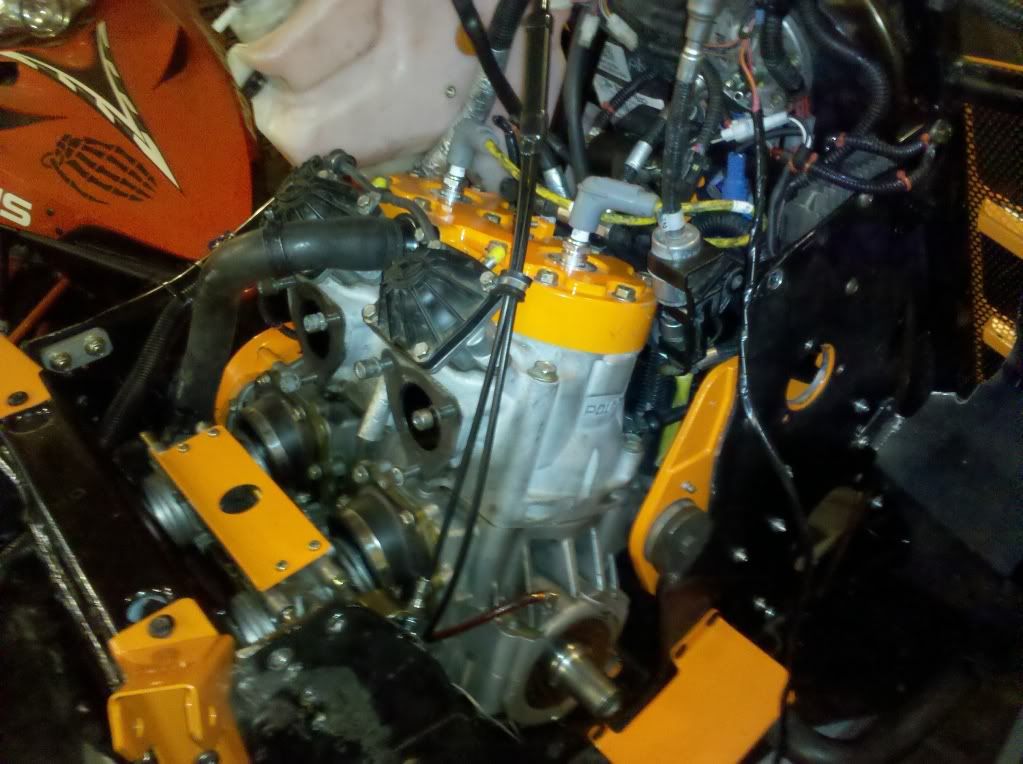
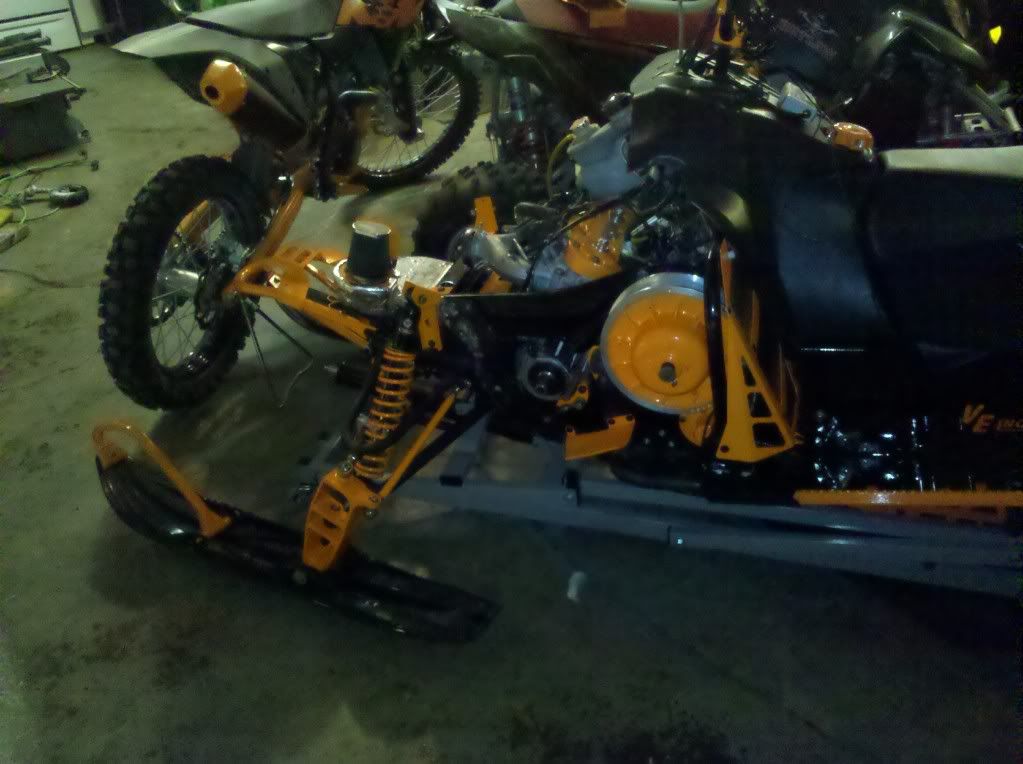
i got the billet front crossmember brace made up and installed the engine...

IMG_20101024_131129.jpg

IMG_20101024_131156.jpg


i powder coated the billet SLP cylinder head orange a while back, but think i did it WAY too thin...i was running out of powder and tried to finsih it anyways...it chips off pretty easy...so might have to pull this season and redue it if it gets ugly...but im not too worried about it till then..

engineinstalled2.jpg

engineinstalled3.jpg

engineinstalled.jpg


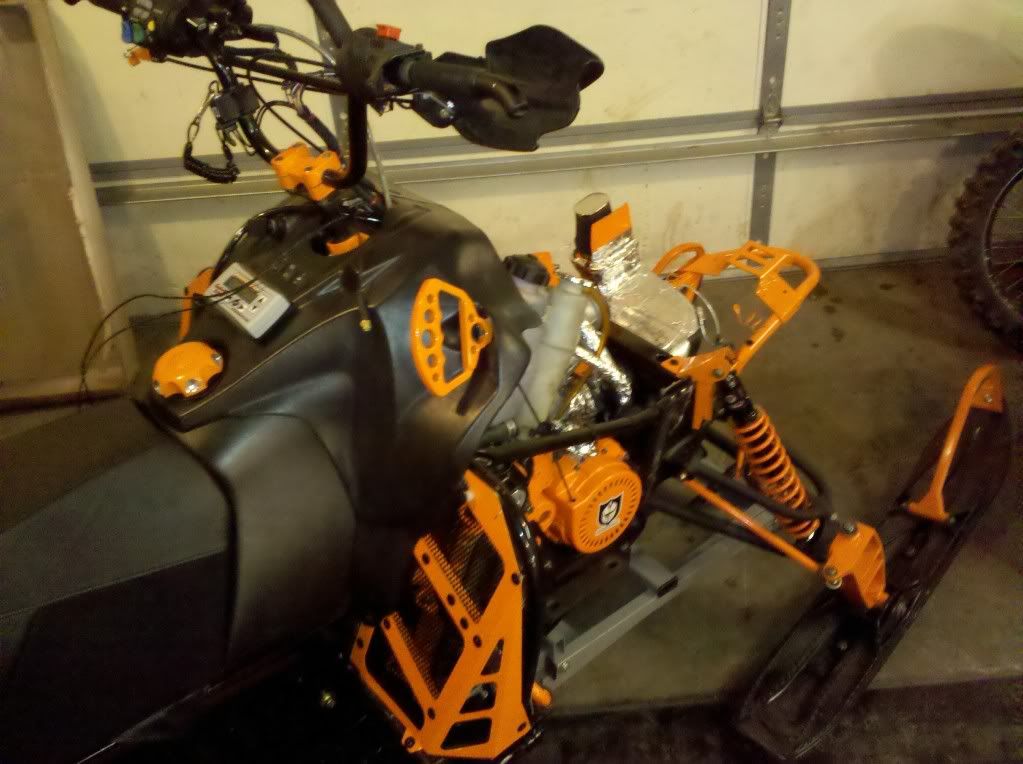
mouned the coils on the back of the ECU, capacitor will be on belt cover, wired up the handle bars with warmers, grip, tether, handgaurds and extended brake lever...just need to adjust goldfinger an clean up the wiring a little on the bars and adjust the throttle linkage..

got everything wired up minus the hood of coarse...the stock wiring harness of coarse is a mess already, so it looks pretty FUGLY with such an open area now with the RAW hoop conversion, but its nice to get access to everything like this, lol...i am even debating modifing ALL the wiring on the belt cover like the dragons...its alot easier, and would make it alot cleaner...but DANG thats alot of work...lol...maybe next summer, lol!!


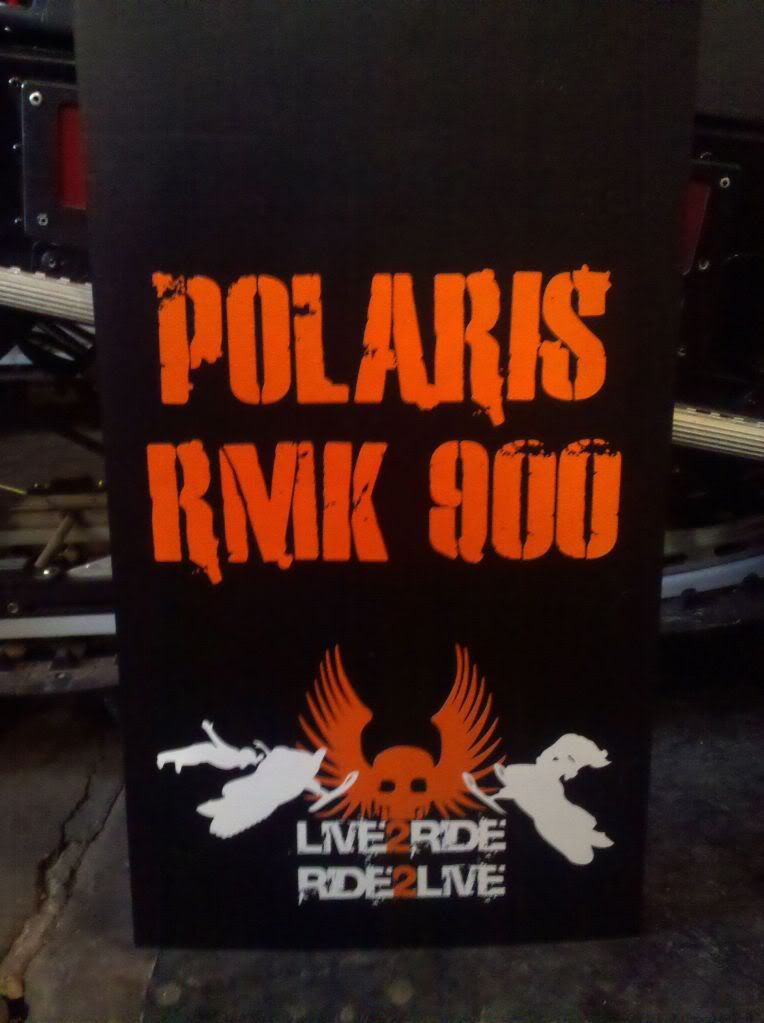
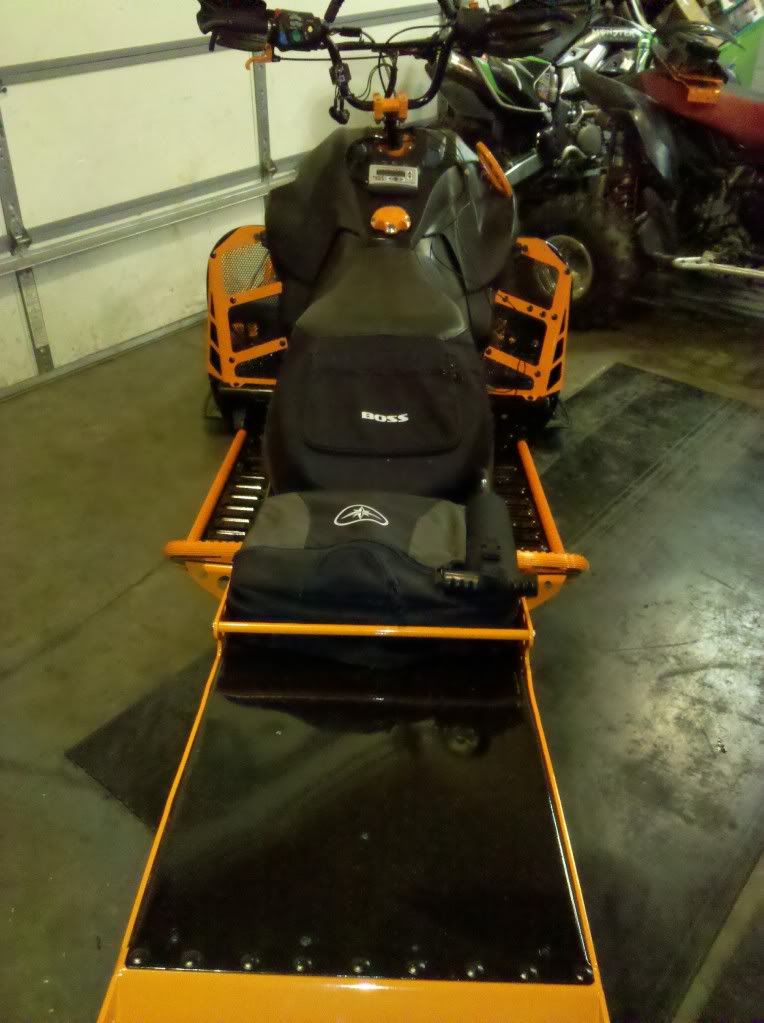
had a custom mud flap made for the VE tunnel... thanks to Matt @ http://greatlakesmudflaps.com/default.aspx he is a great guy and will do anything you can think of for the most part...his email is mattwilcox89@yahoo.com if you are interested in getting one..they are SICK..

PART_1287444415214.jpg


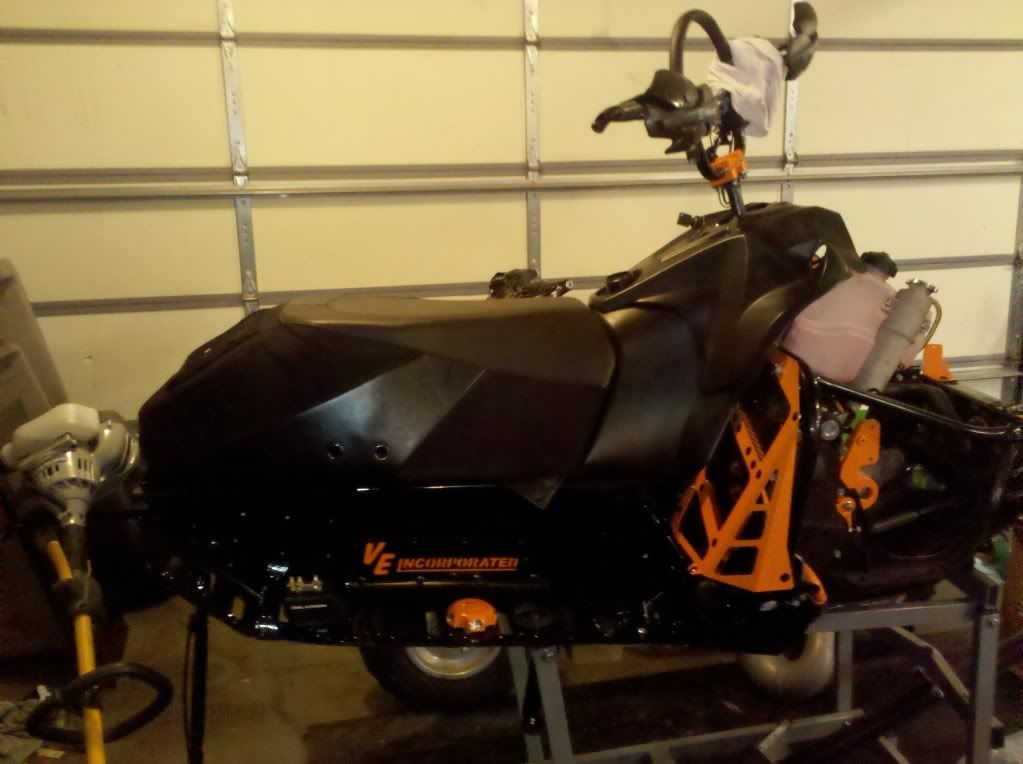
got a Boss Seat installed, love it...and it really looks nice with the look of the sled

IMG_20101018_175454.jpg
 
FINALLY!!

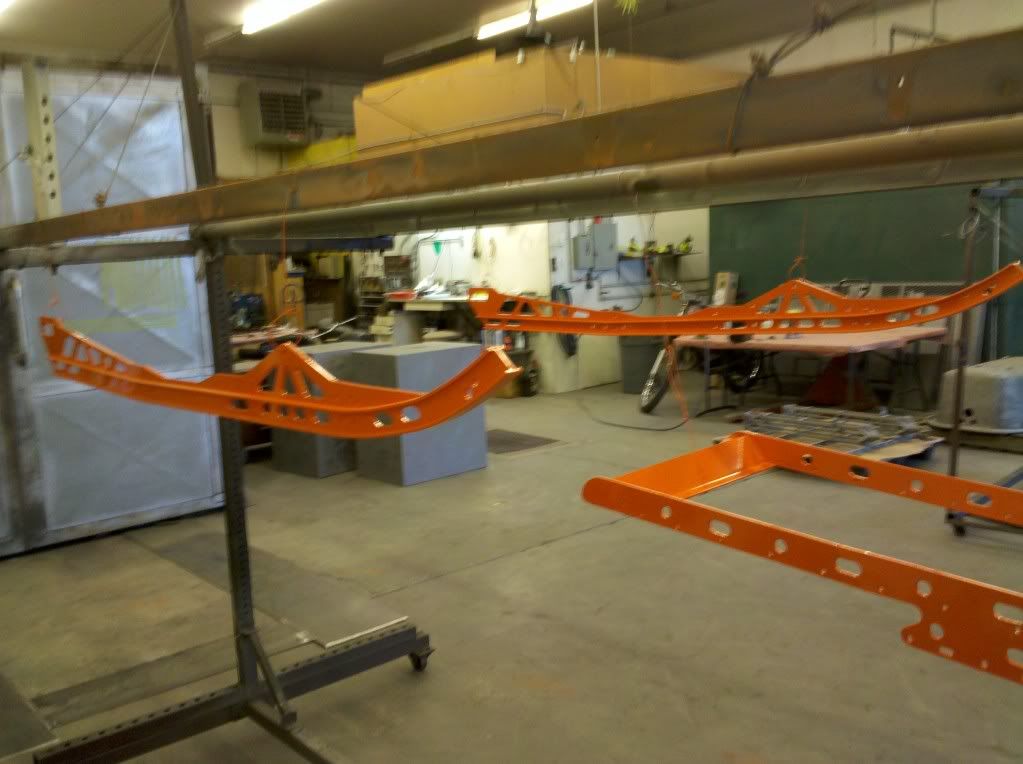
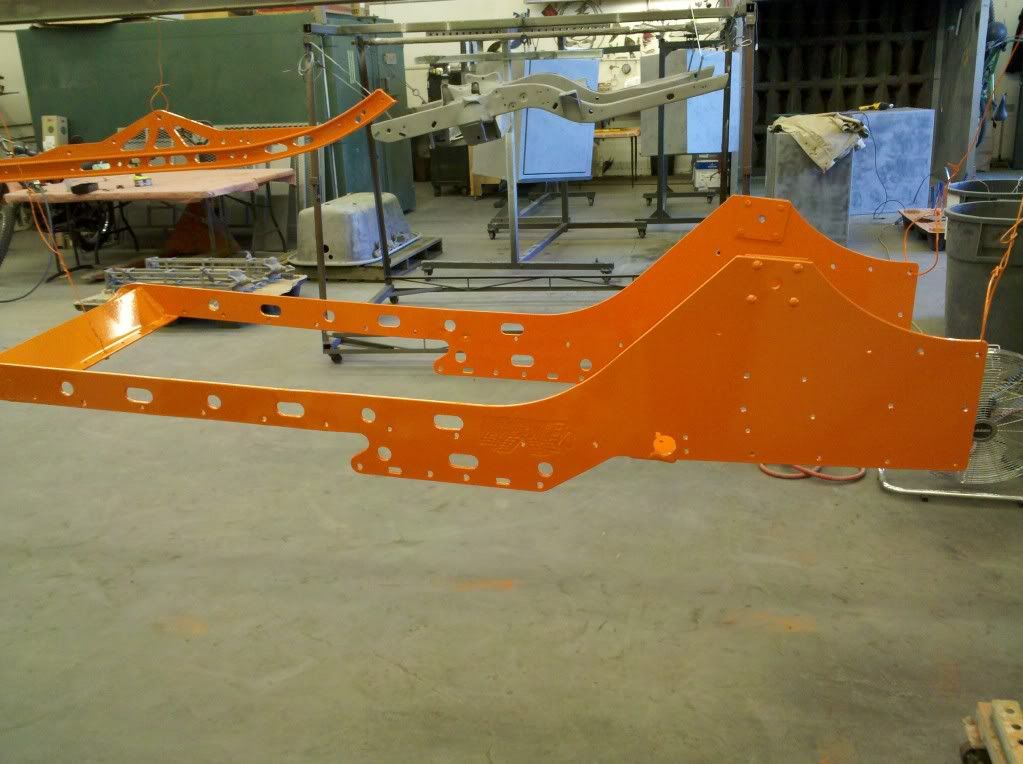
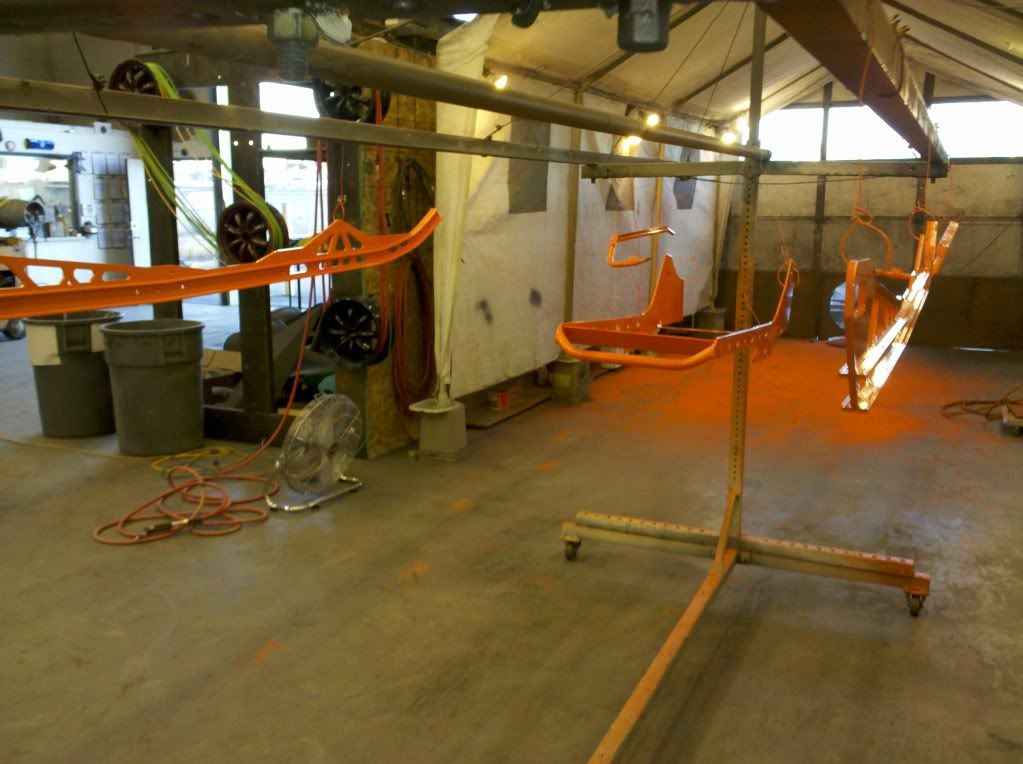
I powder coated my OWN PARTS at the local powder coaters...he walked me through his process, let me do it all, and even took some time and gave me some pointers, and some tricks you can do, even spot painting chips in powder coat..using Acetone and Powder Coat...pretty sweet if you ask me..

He said i am the only person he has EVER let use his equipment, use his shop, and do my own stuff...so i am extremely greatful...it was a blast, wish i could afford the equipment he has..


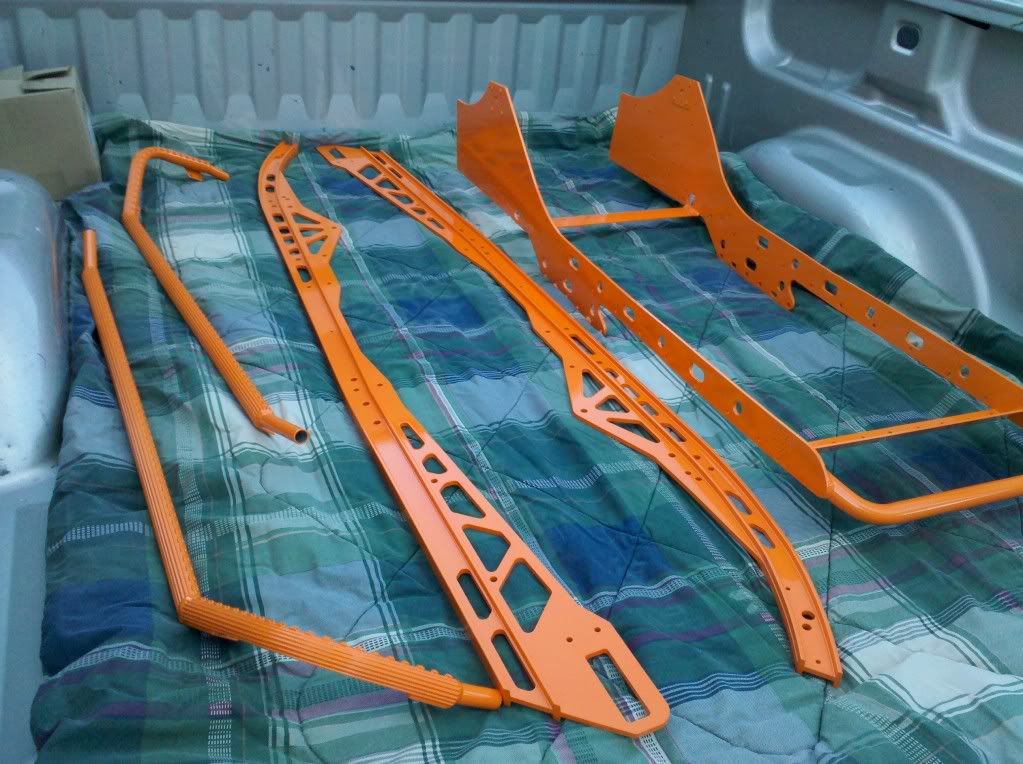
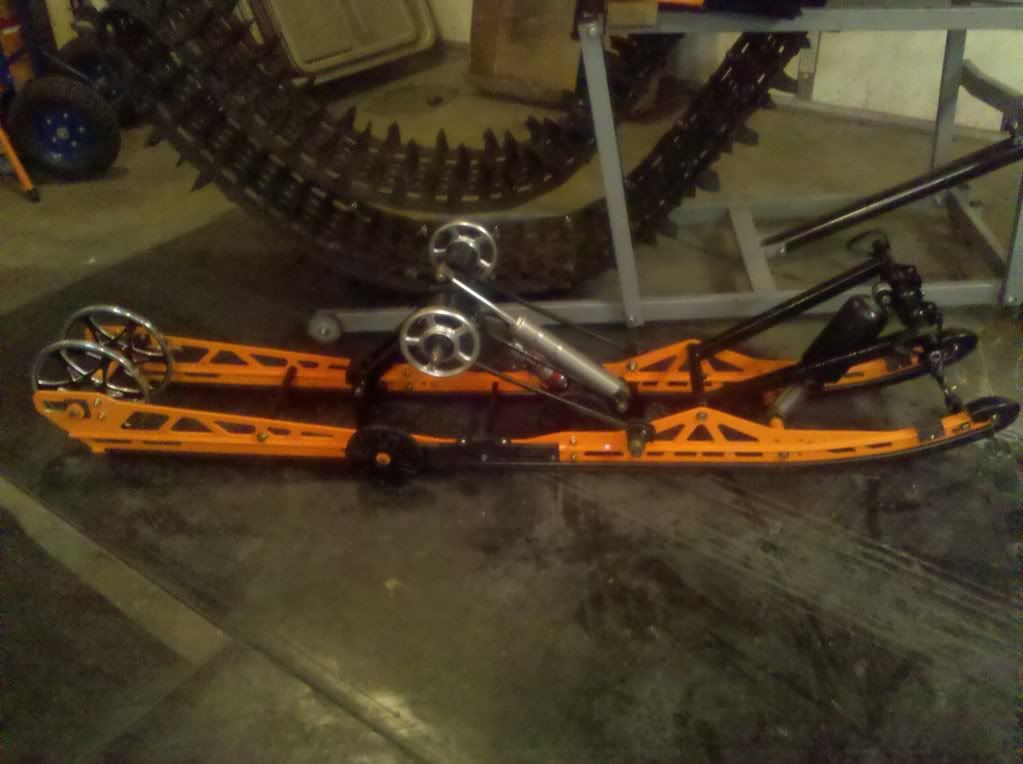
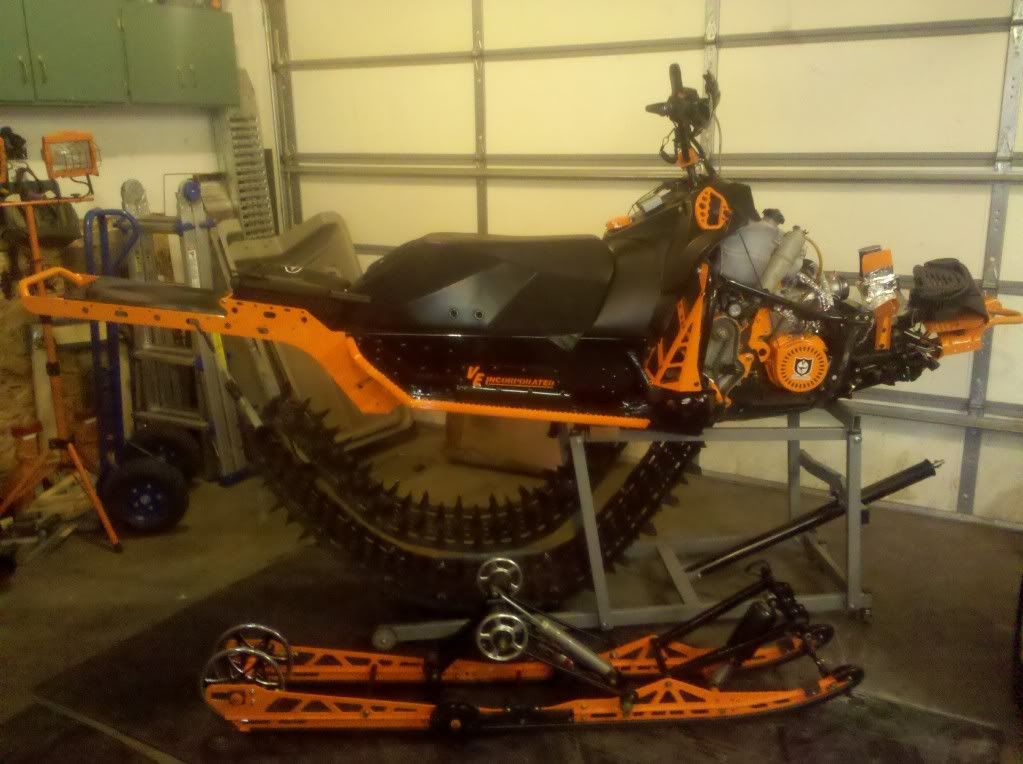
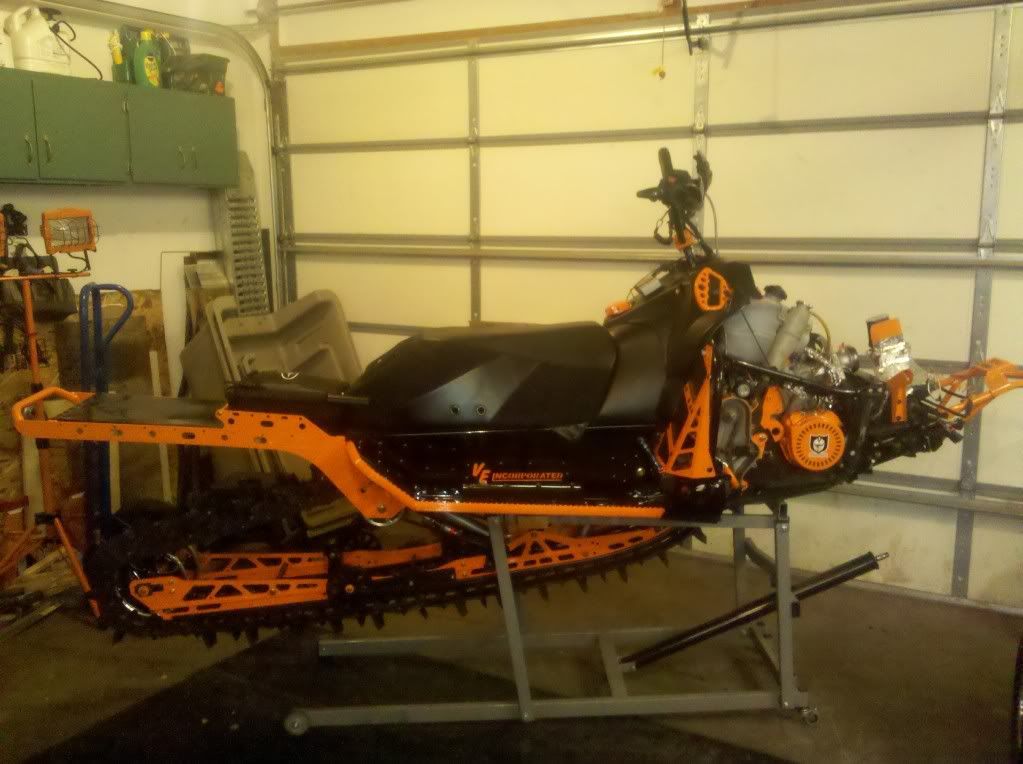
This is the last of the parts i needed to get powder coated (that i cant do myslef)..not the best lighting to show colors,but its SICK...

--VE rear tunnel section
--166 Ice Age Tipped Rails
--VE running board coolers

i also just got my ALL BALLS bearing kits for the jackshaft/driveshaft, so i can install the secondary, jackshaft, chaincase, driveshaft, speedo housing, and assemble the rear skid, and rear tunnel section and cooling tubes..

so hopefully i will get most of it going ASAP...set the sled as a roller and mock the gauges, lights, and stick some fuel in and make sure she runs great and doesnt throw any codes...

but unfortunately..i have been seeing ALOT of other sleds going to orange/black now..so kinda disappointed in that :(

IMG_20101030_1751121.jpg

IMG_20101030_1722041.jpg

IMG_20101030_1721301.jpg

IMG_20101030_1721221.jpg
 
damn... im going to have to step up my orange game to keep up with you...

I really like the mudflap! I might have to have something maid.
 
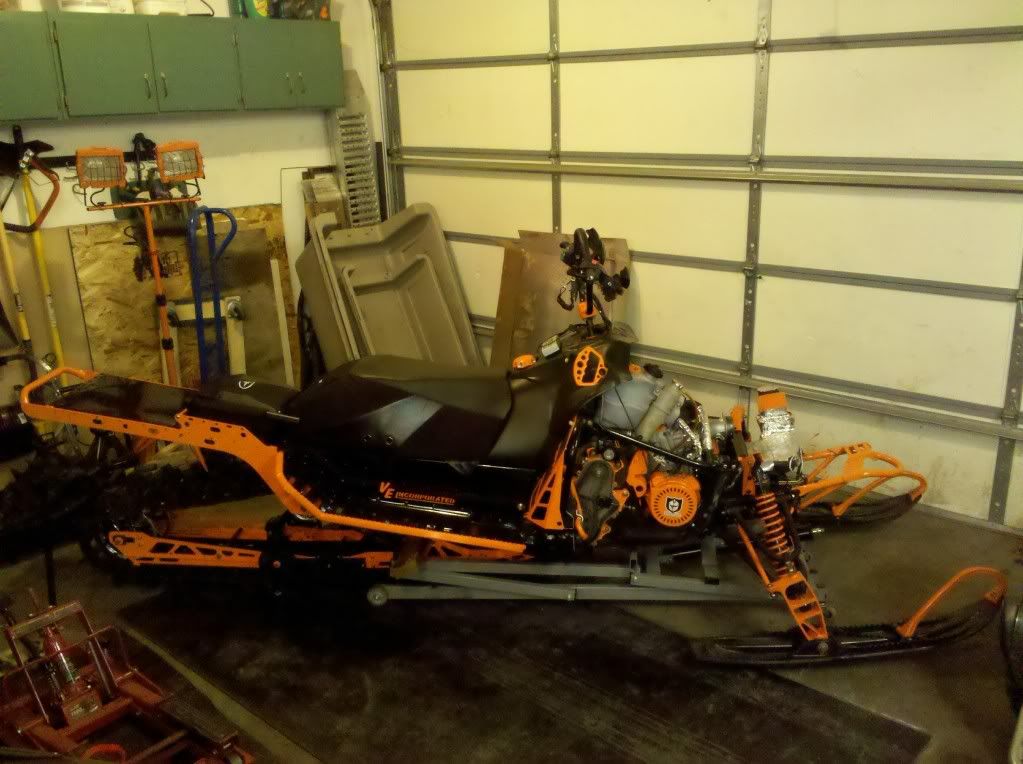
ok, got some good progress done on the sled the last few days...but also had some MAJOR ISSUES!!

issuses first..

1. the fox zero pro shocks i bought were suppose to be 17" in length, will they are 18"...i bought them in june or so..and never checked them, and ieven powder coated the springs orange...and now i cant use them...UGH!!!!!

so i had to use the stock ryde fx shocks (of coarse i have orange springs for them, lol) in the meantime until i figure out WTF i am gonna do now for shocks..

2. the U-Cooler hits the rivots i installed on the rear of the VE tunnel so i had to drill them out and the only way i can get clearence for the cooler is to use the actual solid rivots that VE uses on the entire tunnel, and they are $$ for them and the tools to install them.

3. need to get $$ to send my clutch to indydan for a balance and shim still.

4. apparently Polaris has 2 different size 09-up front sway bars...the plastic bushings that hold the arm to the bulkead are too big (or the bar is too small) i have another sway bar as a spare and its BIGGER then the one i have on there now...the issue is i already powder coated this one orange, so i either have to get smaller bushings or powder coat the other sway bar now.

Now for the parts i installed recently...

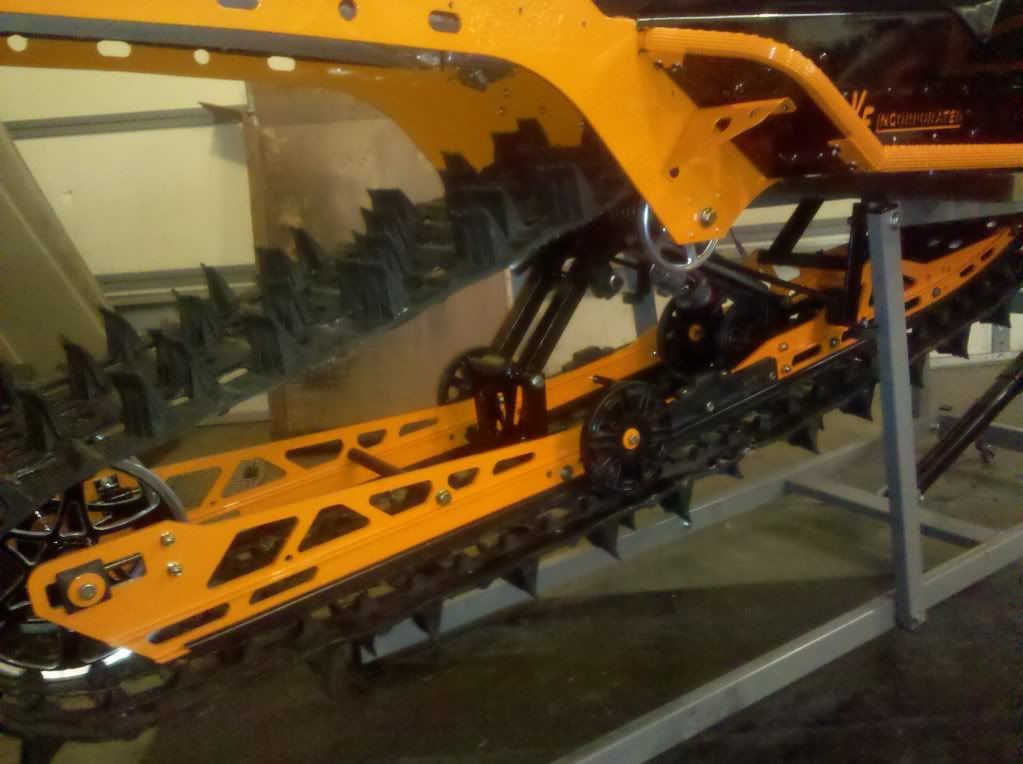
1. got the Ice Age rails installed in the Skid. LOVE the way it turned out...installed the skid.

2. took the zbroz 40" a-arms off my 05 900 (the 05 will get the Red 41" a-arms off the wifes sled and she will get the 09 stock RMK arms) ;)

3. installed the 09 sway bar and zbroz sway bar bracket on the a-arms

4. installed some stiffer rate fox zero pro springs on the stock shocks (same length as the stocker springs, so thats NICE, considering i have to use these stupid shocks now)

5. installed the holz spindles i powder coated.

6. installed the gripper skis with the orange loops.

7. installed the tie-rods i did orange as well, need to install the tie-rod boots still.

8. dont have access to the FNI intake i am suppose to get until AFTER xmas, so in the meantime i have to use the homemade Timbersled style intake i made.

9. powder coated the billet pull handle orange...WHY no, lol...

10. need to get the EGT gauge bracket from TurboBoyz still! so i can mount the Digatron Dual EGTS...wires are just hanging there.


but the MOST imporantant thing....its FINALLY ON THE GROUND...this sled has not touched the ground on its on, since....MARCH!!

IMG_20101119_145620.jpg

IMG_20101119_145641.jpg

IMG_20101119_154220.jpg

IMG_20101119_194201.jpg

IMG_20101119_154243.jpg

IMG_20101119_194252.jpg

IMG_20101119_200753.jpg

IMG_20101119_194229.jpg
 
The orange and black looks KILLER!!:jaw:

Now im considering tearing apart my VE boondock tunnel for some powder coating, looks WAY better than natural aluminium:face-icon-small-hap

Keep the pics coming!! (need inspiration;p)
 
Premium Features


Back
Top