Great build man, gonna be a beast with that turbo. Might wanna buy the wife somthing nice to off set the cost of that little add on lol  . Best of luck to ya have fun.
Install the app
How to install the app on iOS
Follow along with the video below to see how to install our site as a web app on your home screen.
Note: This feature may not be available in some browsers.
You are using an out of date browser. It may not display this or other websites correctly.
You should upgrade or use an alternative browser.
You should upgrade or use an alternative browser.
My 2006 RMK 900 Build
- Thread starter guidoxpress
- Start date
got a little progress today.
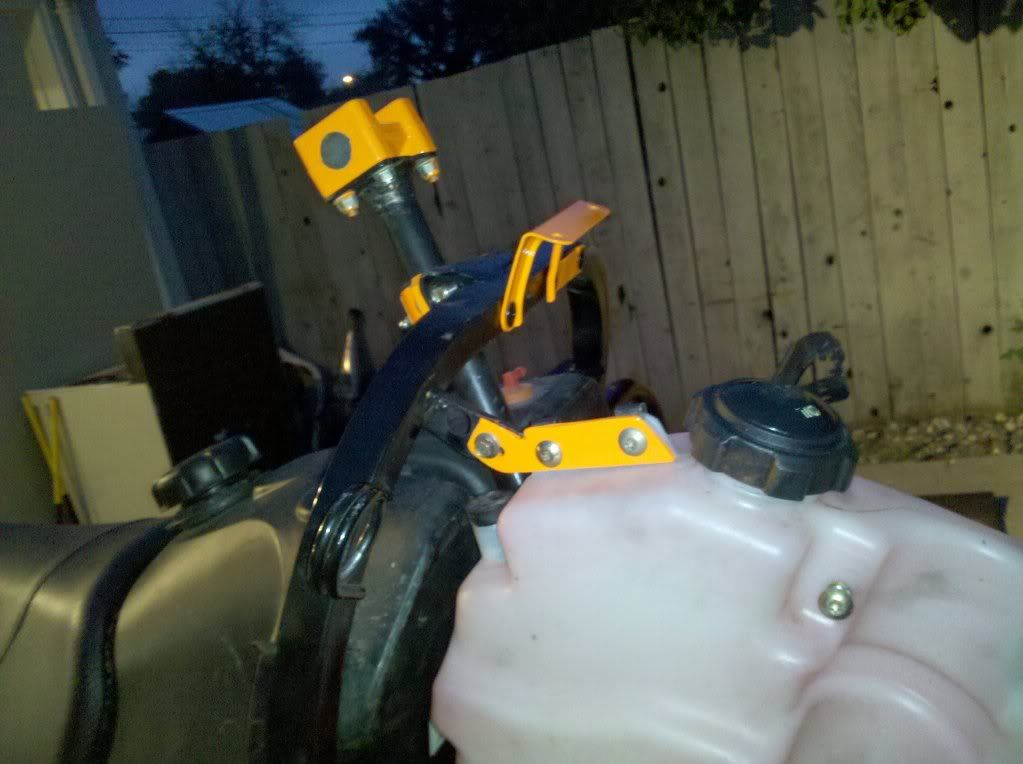
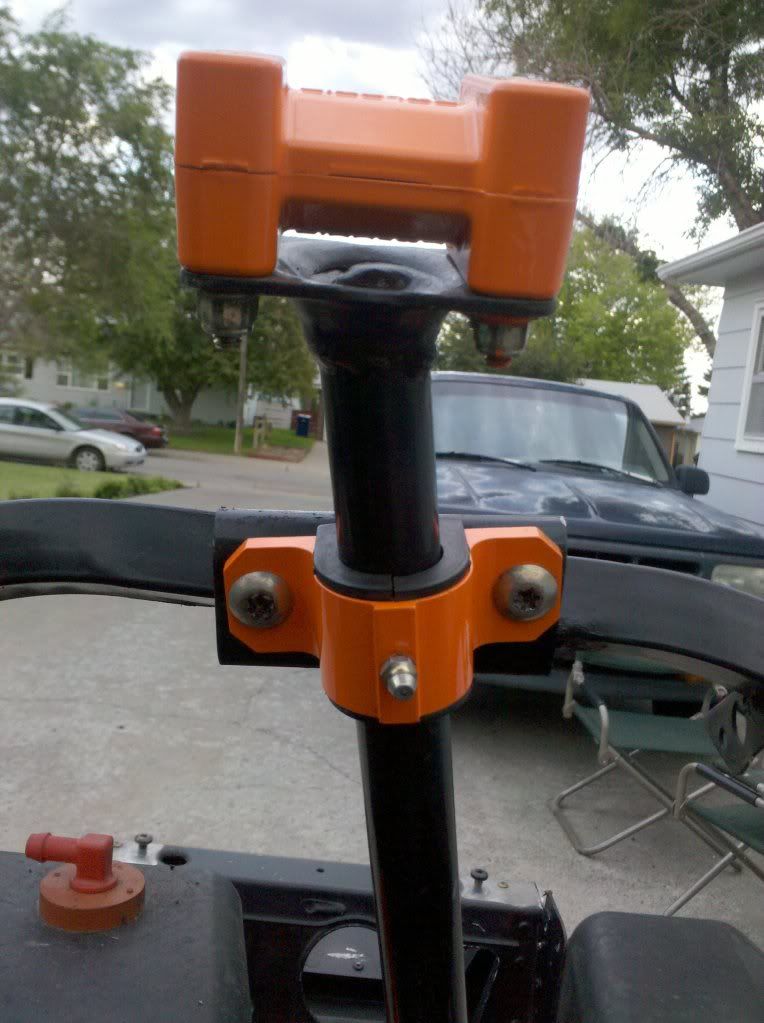
cut/welded the fuel tank brackets from the RAW hoop to fit the 06 fuel tank, cut/welded the steering column to work on the 06 column (angle is different then RAW) and i realized how CHITTY my welding skillls are, lol...tried to hide it with a grinder and some paint, lol..
cut and bent the side shield so i have a foot well , need to get the FNI vents before i can finish the footwell area so i know where they need to be mounted at...
did some powder coating on some parts, cut a little oil tank bracket and walla...lol..
slowly getting somewhere....
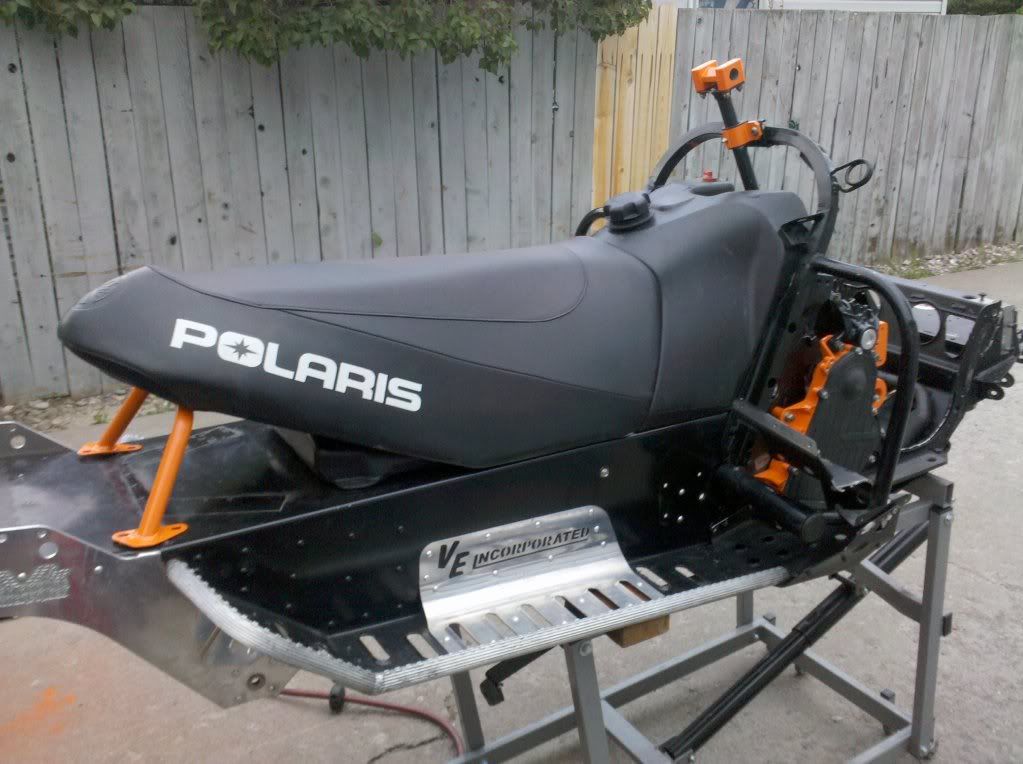
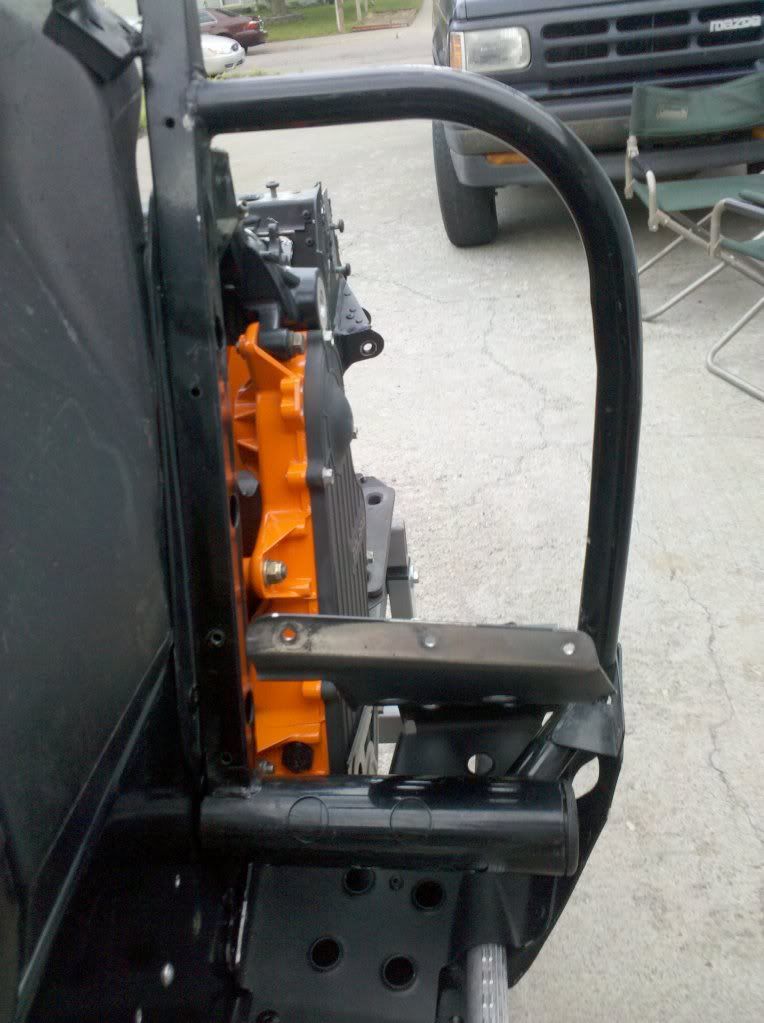
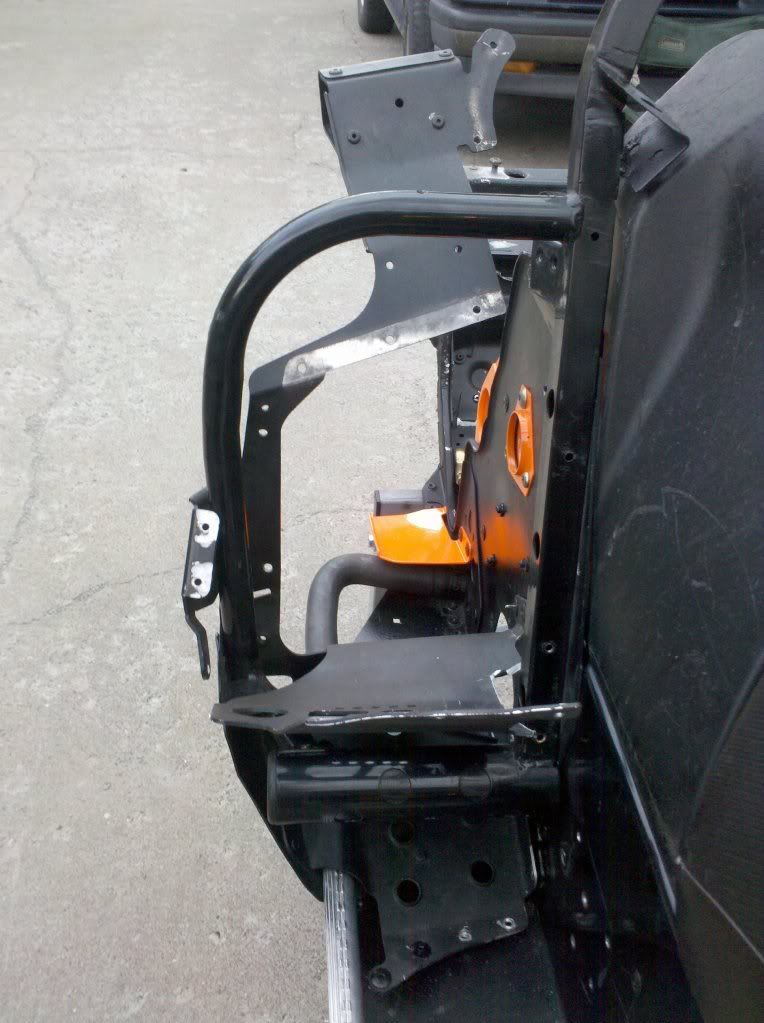
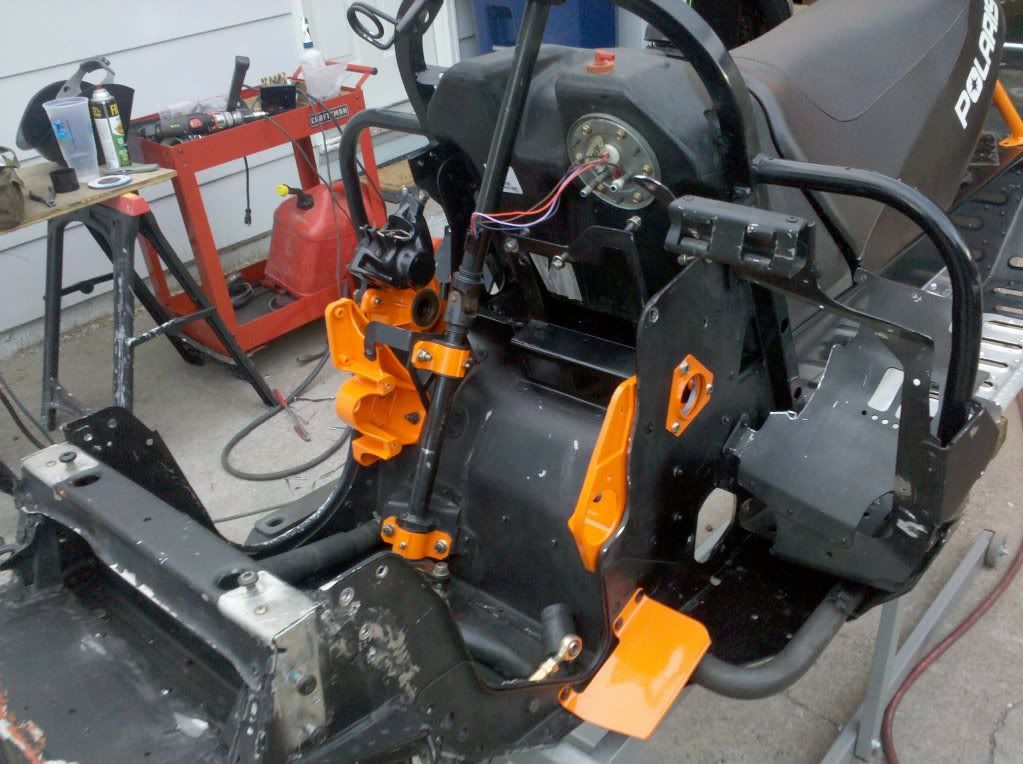


Well,
just ordered the FNI HiFlo Stirrup vents as pictured above for this RAW chassis hoop conversion..should be here within a week. But i still need to get a Dragon Center Console before i can finsih the "mock up" and mount that baby for good.
also, FNI website is down until Sept. so if you need something from him. email Paul Hurley (info@firenice.us)
FNI has some SICK summer prices on their vents...I will be getting some HiFlo Shock Tower Vents as well...for $55/set...!!!
he can also powder coat the frames for you any color for $20...
got the FNI stirrup vents mocked up, and eveything trimmed on the chassis hoop....going to powder coat the frames of the vents orange and then i will mount them and post some pics...got too dark to mess with it and the bugs were BAD...
still need to get a dragon center console before i can "finish" the chassis hoop install...but dont have one yet... hint hint..
will try and get the coated and mounted with pics thurs...going camping this weekend....
i will also be running the SKINZ MESH HOOD on this sled, with the Trail Tech lights.....hood will be in my hands in just over 3 weeks...
OK..
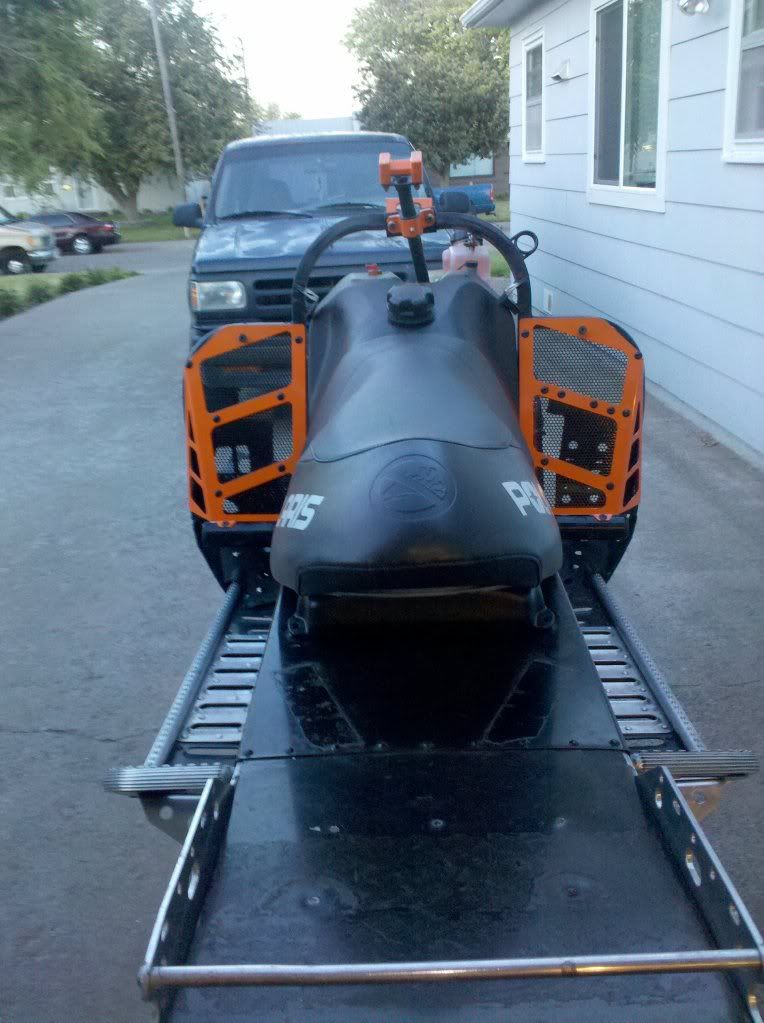
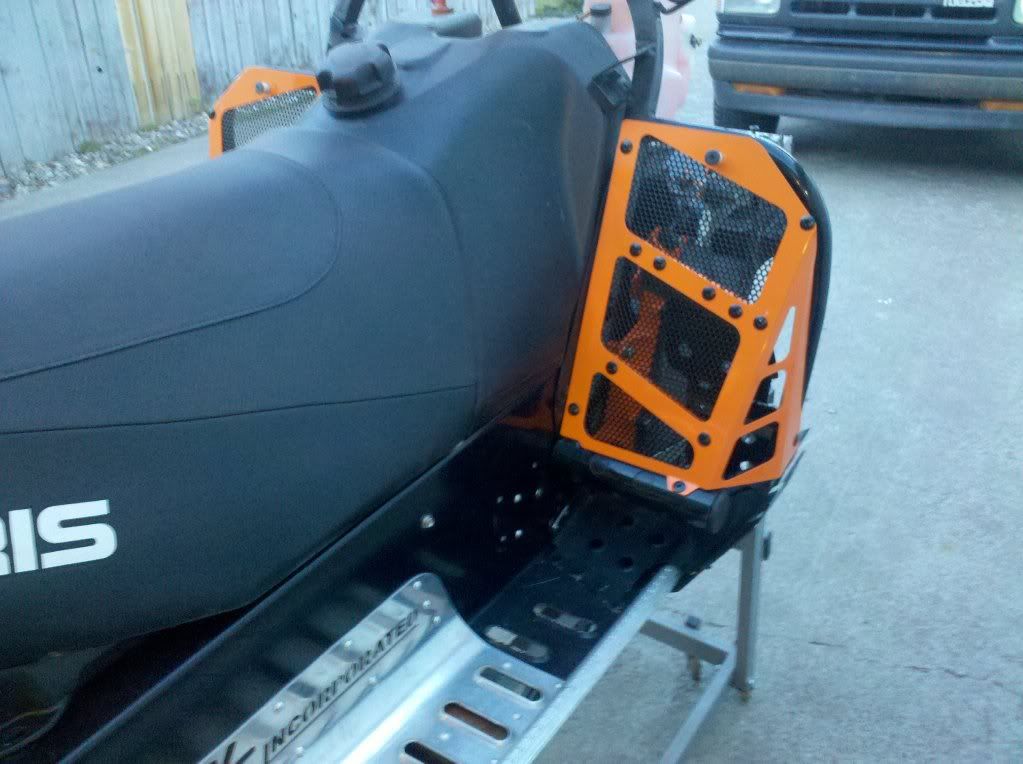
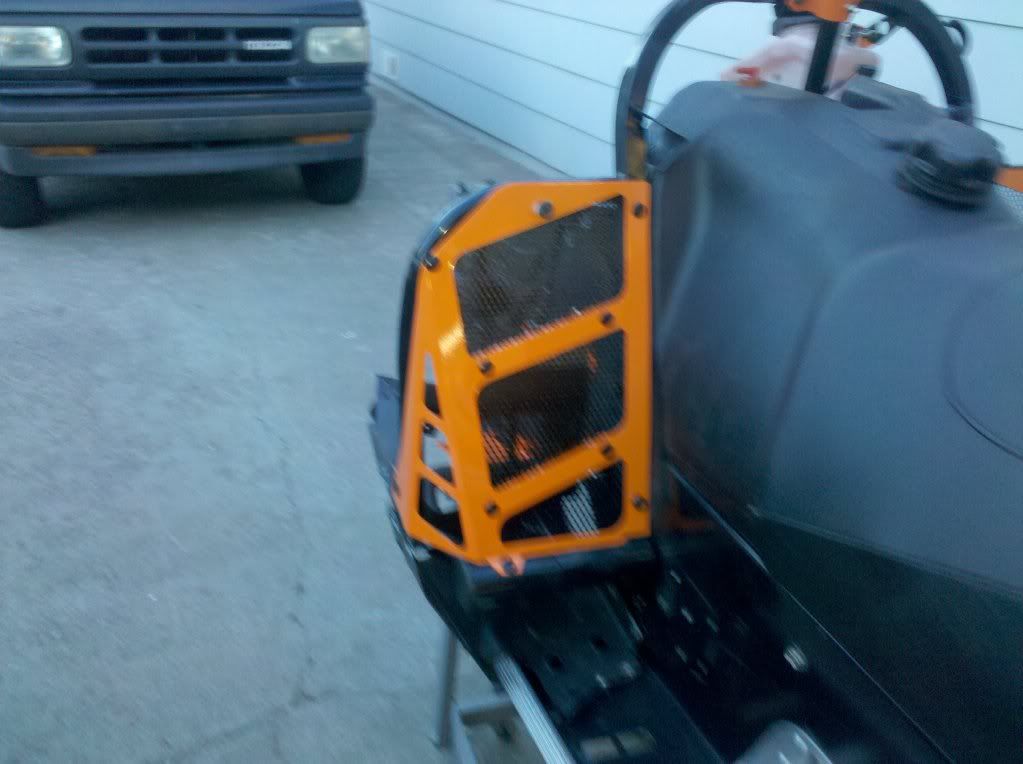
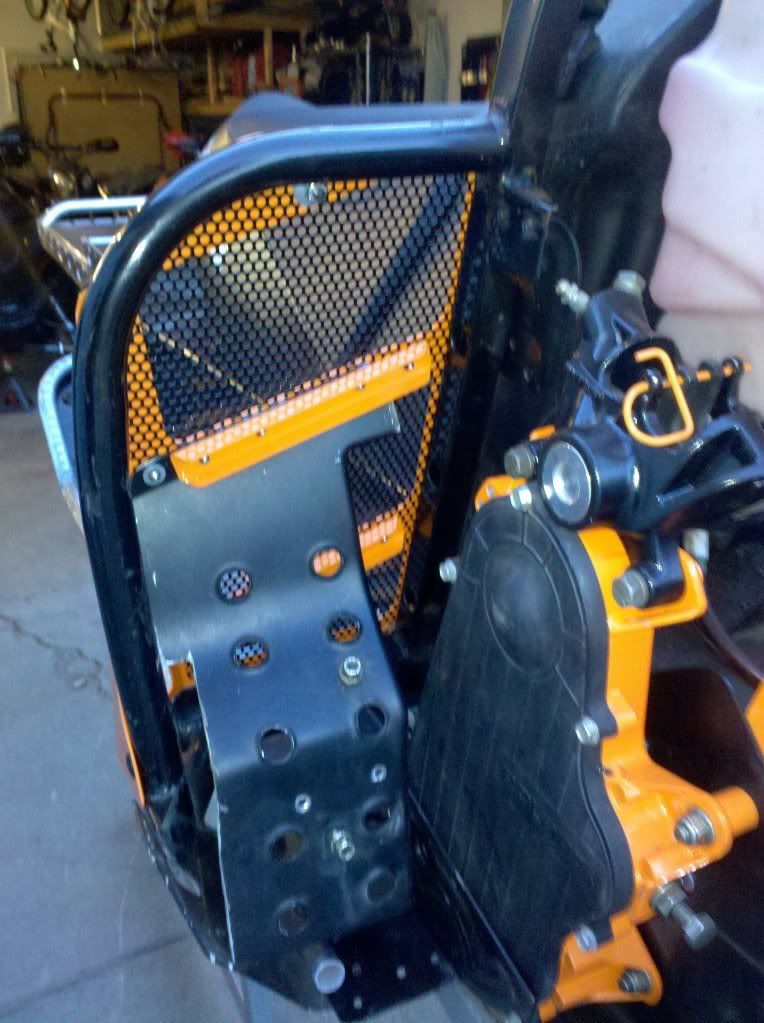
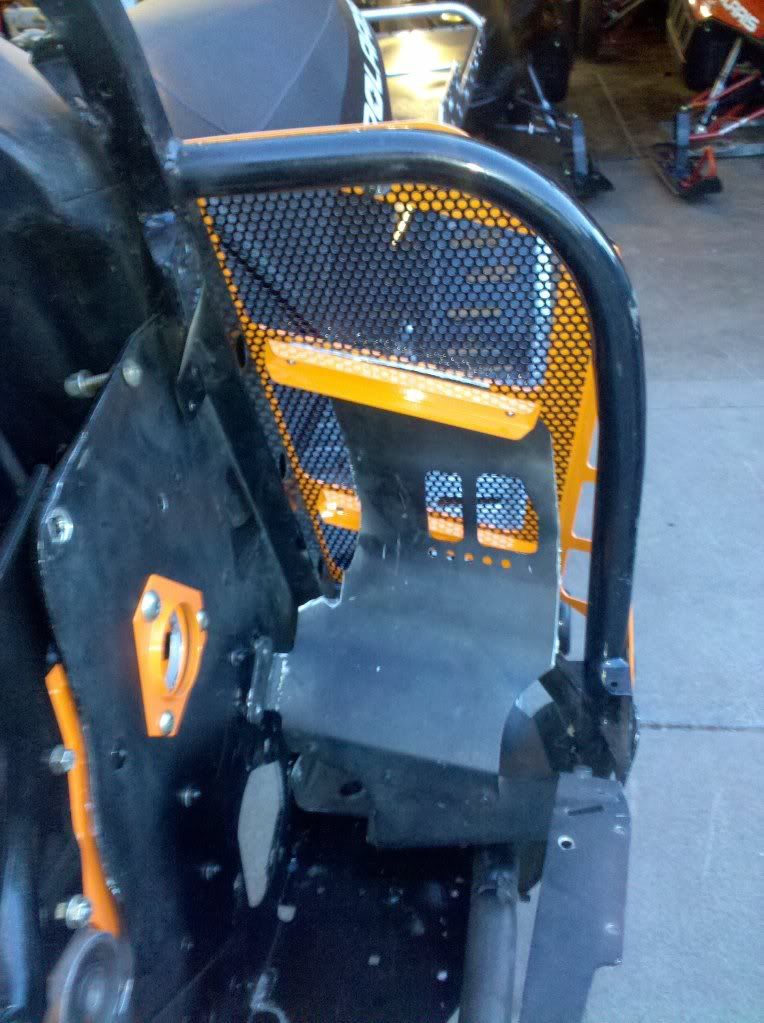
got some free time to mess with the FNI HiFlo Stirrup Vents...i had to trim the stock footwell area quite a bit...then i folded the outter framing back and rivoted it to the vent bracket..so the footwell was strong and the vent area had a good base...
it worked out pretty good, but the MAG side was a little more "loose" then the PTO side so i had to add a small bracket and some more rivots..so its not "Aestheticaly Pleasing" with the more rivots on one side, but it was pretty much a must...
i powder coated the framing to match the rest of the parts...
still waiting on a dragon center console to finish the install...
then i powder coated the small pin for the brake caliper and the pull cord bracket.
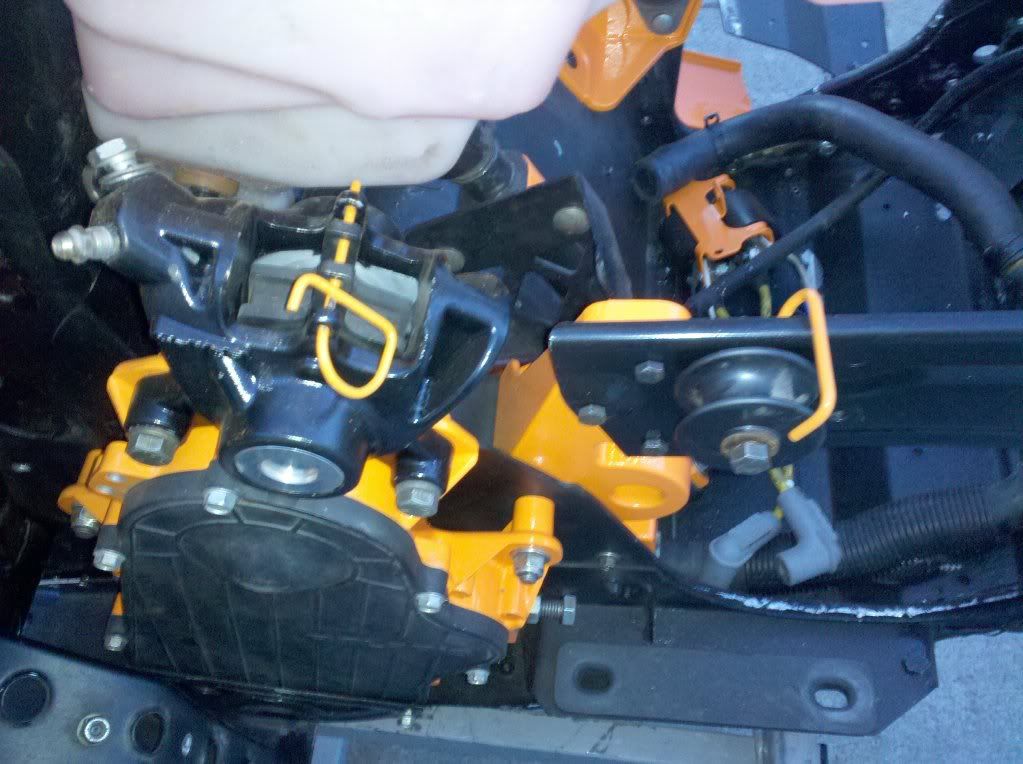
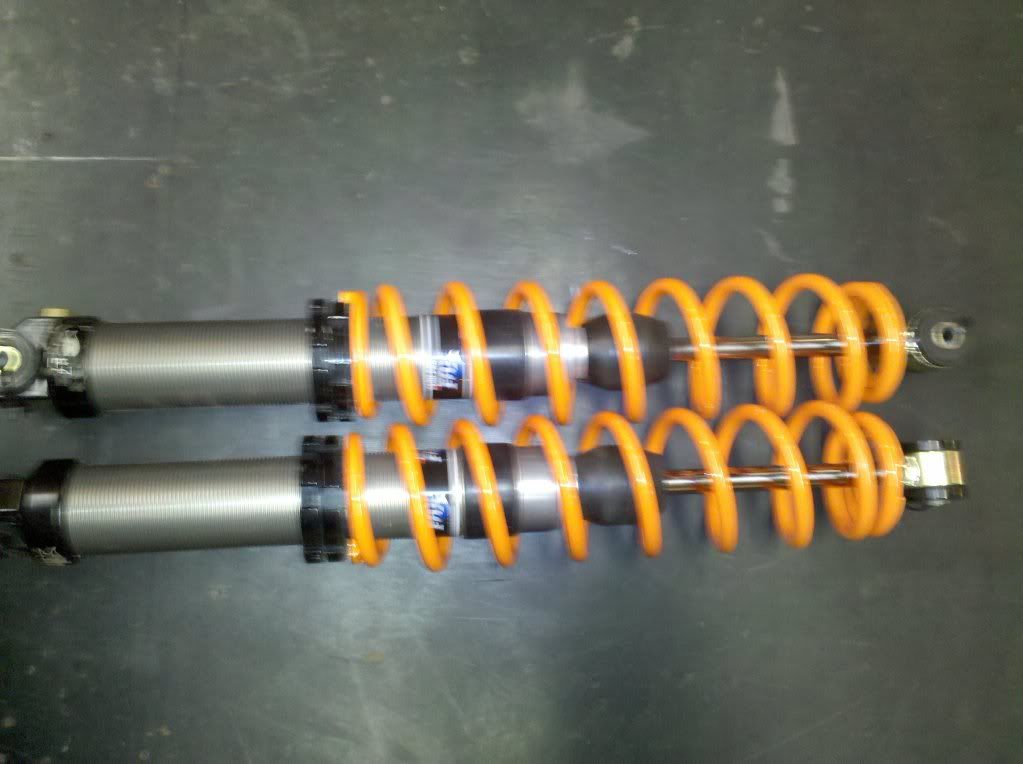
i also powder coated the springs on the Fox Zero Pros...looks pretty awesome...we will have to see how they hold up, lol..
got some free time to mess with the FNI HiFlo Stirrup Vents...i had to trim the stock footwell area quite a bit...then i folded the outter framing back and rivoted it to the vent bracket..so the footwell was strong and the vent area had a good base...
it worked out pretty good, but the MAG side was a little more "loose" then the PTO side so i had to add a small bracket and some more rivots..so its not "Aestheticaly Pleasing" with the more rivots on one side, but it was pretty much a must...
i powder coated the framing to match the rest of the parts...
still waiting on a dragon center console to finish the install...


then i powder coated the small pin for the brake caliper and the pull cord bracket.

i also powder coated the springs on the Fox Zero Pros...looks pretty awesome...we will have to see how they hold up, lol..

very slow progress lately..
got a line up on a center console from an 07 Dragon...once i get the money to buy it, i will be able to finish the RAW hoop install/aligment..
Got a sweet SKINZ hood from my best buddy Andrew...ordered some Orange vent panels from SKINZ for it...not quite the color i wanted, but its all they had, also have black ones if it looks too funny when assembled, lol..
hood has the Trail Tech lights on it...which ROCK!
going to order some ICE AGE tipped 166 rails (new style) once i get paid for my stock rails i sold..then off to the powder coaters...which is SWEET cause he is letting ME use his equipment and do everything myself to save some money since he is swamped and cant get to my stuff anytime soon
then just need to do some things to the motor
order some odds and ends here when i get some more money, and get this pig assembled...
gonna be SWEET!!
hope i dont wreck it...but i will..


she looks good on there, got it to fit pretty nice i see.
oh she looks beautiful on there, lol..
still have some issues with the front section where it meets the nose cone its not quite there...and has some small riples in the front but talked to SKINZ and they said it will stretch over time so i could tighten it down later on to get it to lay out more...
thanks buddy...i owe you big time...
bring on the white powder coated D8
put it on the wifes sled and let the sled warm up for about 20 minutes. that should help get it stretched out.
LOL...no chit right, lol..
but 2 reasons i cant do that..
1. she never rides her sled..
2. no more money in here sled...its all about me now
C
cowboymann02
Active member
sleds looks good so far, your right not as bright as mine but close. i like the other sled builds your working on also. there is only one thing missing for your wifes post, you keep saying she looks good riding it, well weres the pictures of her on it man??
keep the hammer down cause winters getting closer and that sleds not done yet...
keep the hammer down cause winters getting closer and that sleds not done yet...
sleds looks good so far, your right not as bright as mine but close. i like the other sled builds your working on also. there is only one thing missing for your wifes post, you keep saying she looks good riding it, well weres the pictures of her on it man??
keep the hammer down cause winters getting closer and that sleds not done yet...
LOL...yeh i have tried many times to get some "sweet" pics of her with the sled...but she knows what i would do with them
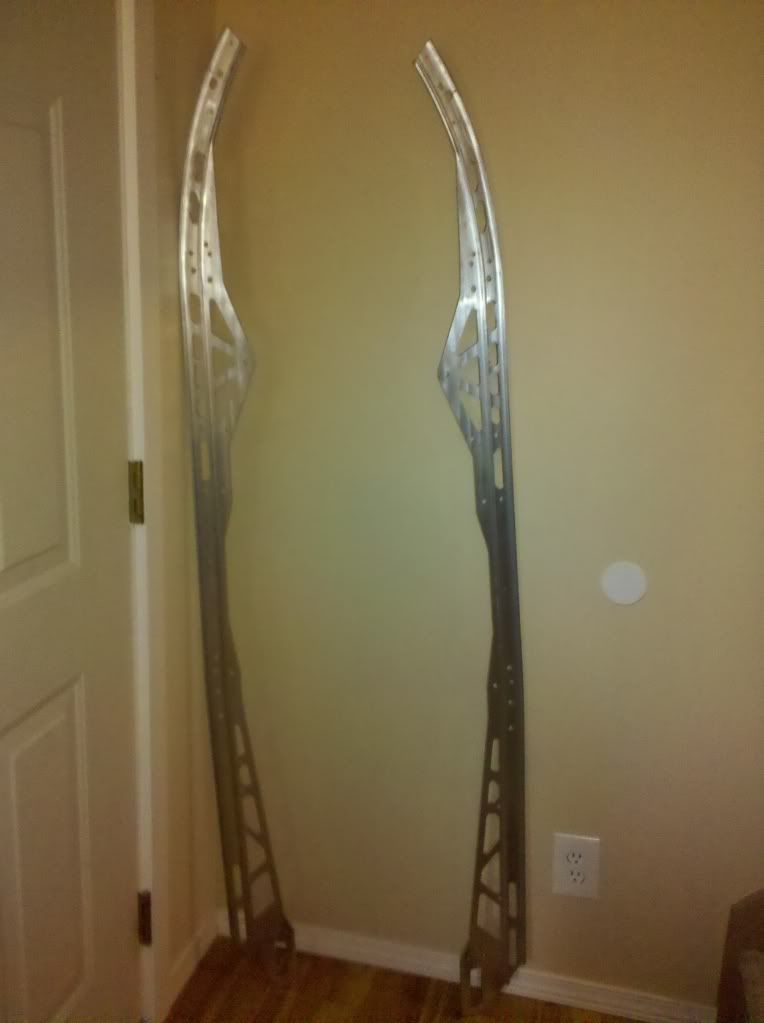
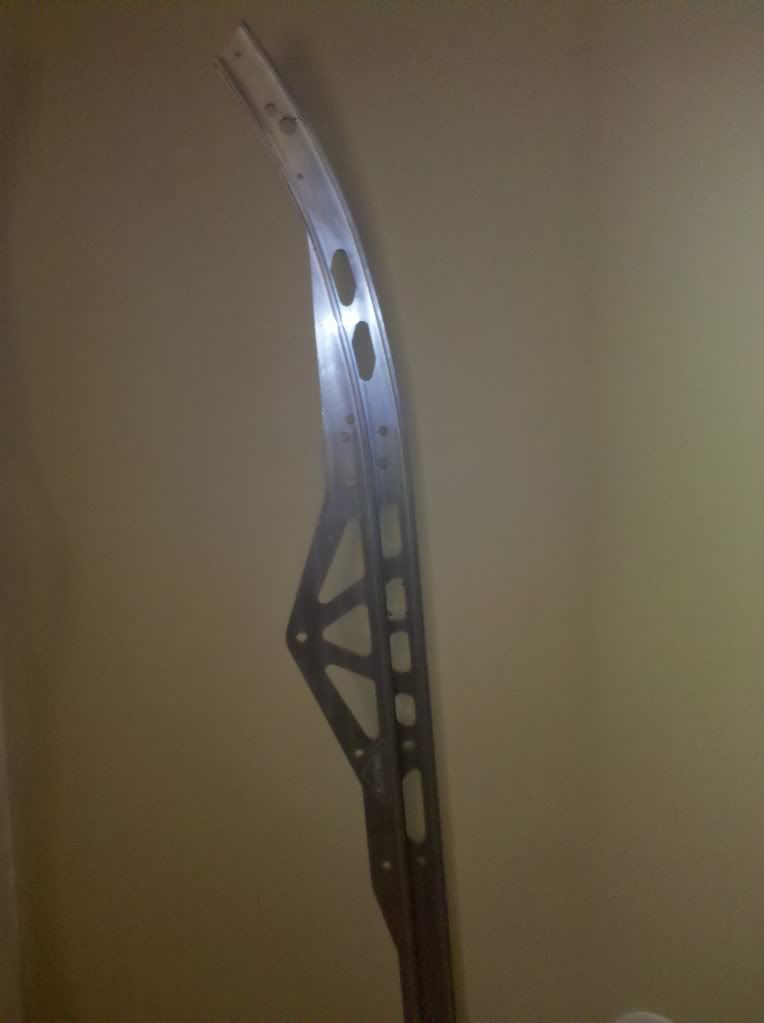
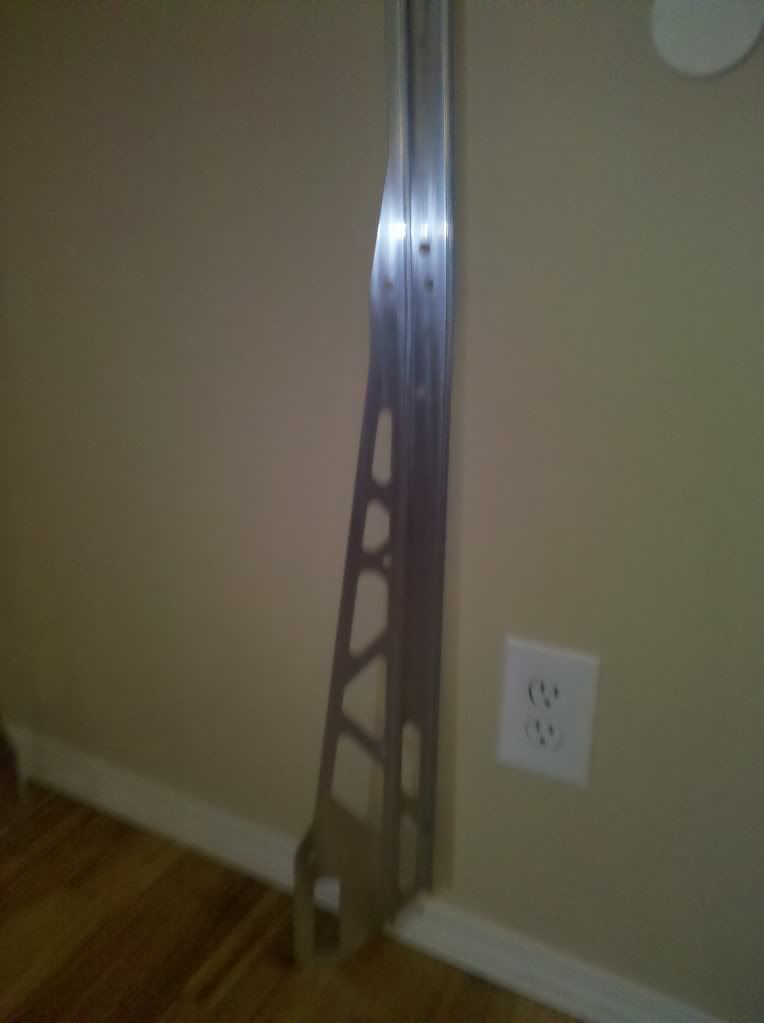
got the Ice Age rails in the mail today
was like a kid at Christmas..
i wanted to give a personal shout out to Jake @ Ice Age...he was SO helpful and went above and beyond to help me out, and even called me a few times to make sure everything was good and to help me out.
they are sick...very light, i weighed them @ ~5.5lbs each..my scale is not the best scale with precise measurements, but its close
also got a set of Billet 9" wheels from Ice Age that are pretty sweet and some ice scratchers..
rails are now at the powder coaters..will be sprayed orange to go along with my build theme, wheels i will powder coat black myself, scratchers are black of coarse, but i will coat the bushing orange too..
some pics, not the best cause i was in a hurry to get to the powder coaters, and the rails didnt wanna stand up very good, lol...
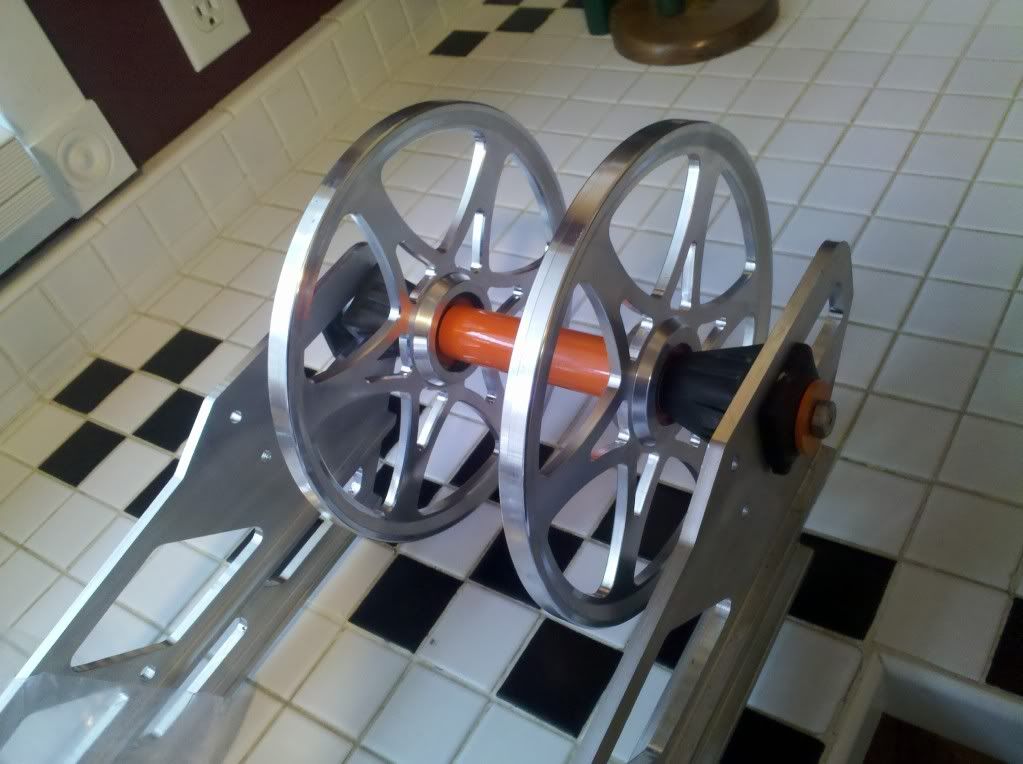
got some progress done this weekend..
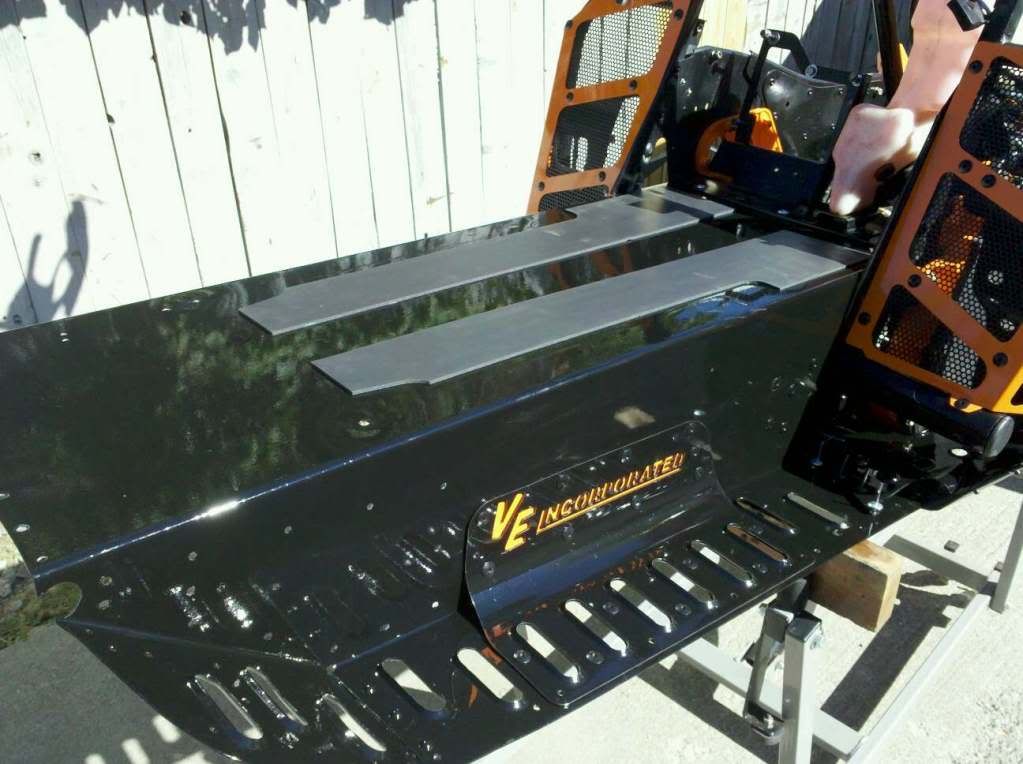
used POR-15 on the tunnel...its CRAZY TOUGH...wont crack, chick, peel...its like powder coat or bedliner but in a paint form....just brush or roll it on...but its VERY permanant too...so make sure you like the color, lol...
installed a thin piece of aluminum behind the foot boards and powder coated it orange to stand out..
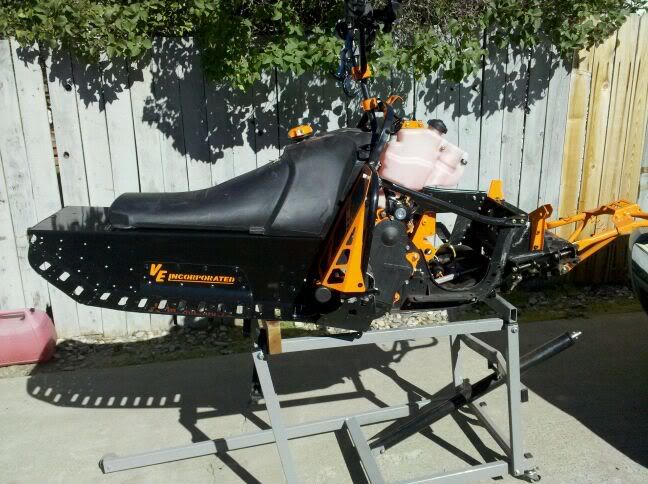
got the RAW chassis under tank foam to protect the shiny indestructable tunnel coating, lol..
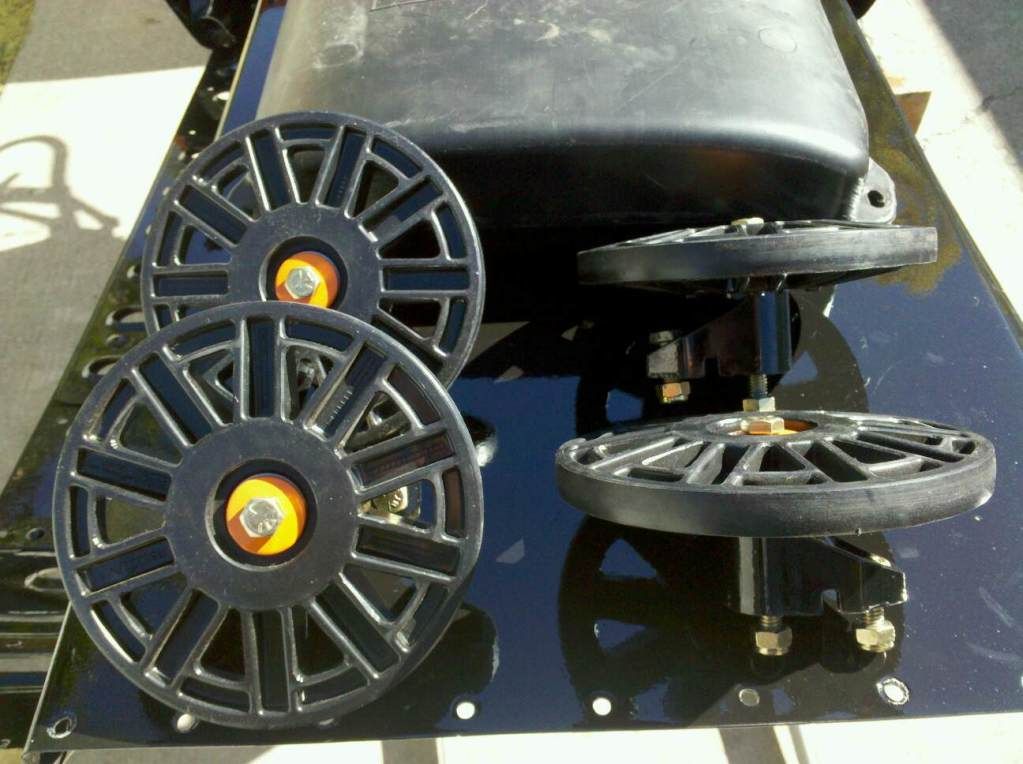
got some bogies from a dragon and powder coated the brackets black, and the washers orange to be cool...
installed some fabcraft handlebars..using the OEM polaris handgaurs and mounts and OF COARSE the BEST tether...AMORCORD
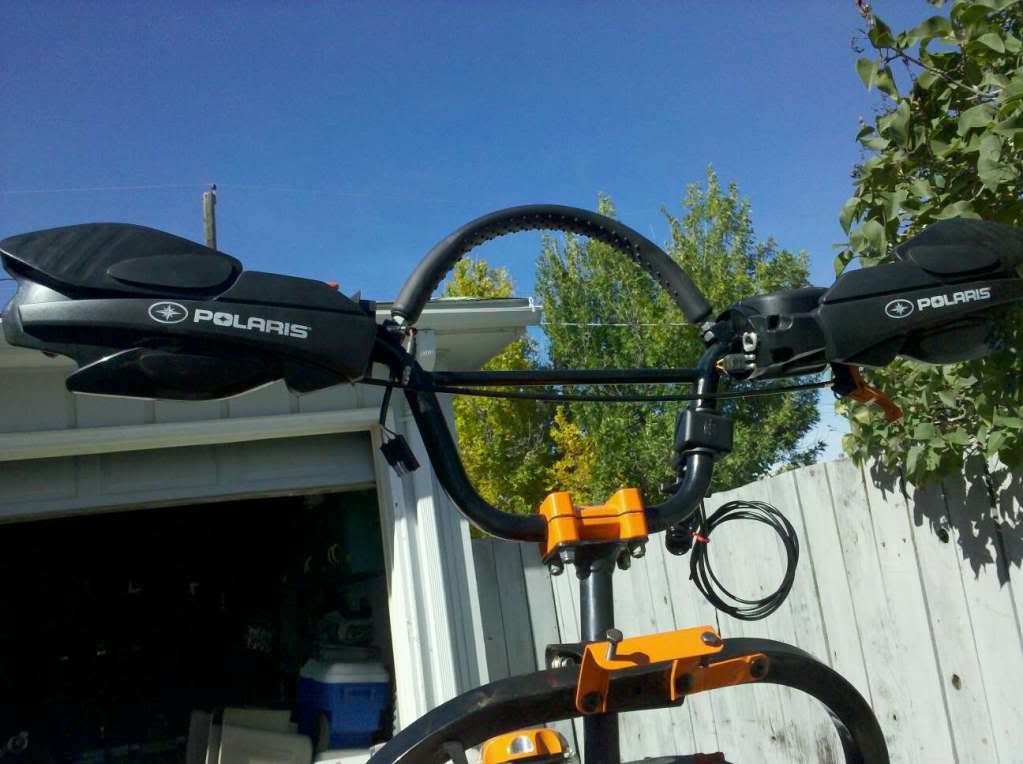
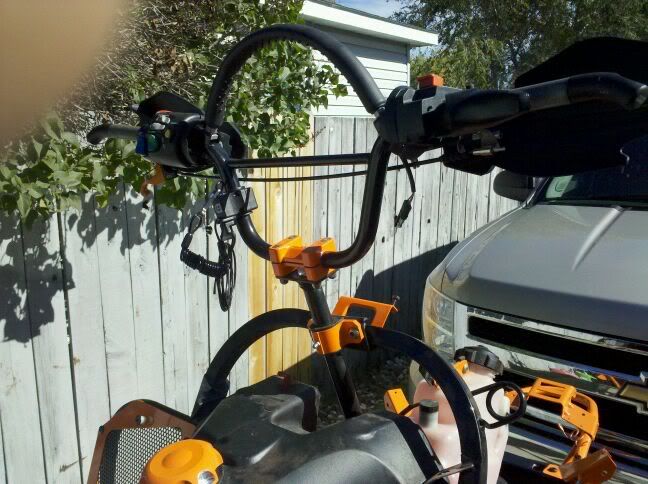
and finally powder coated the Ice Age 9" wheels black and trimmed the inside edges to show some shine....some minor flaws but came out pretty good i think...along with the OEM straight axle with...of coarse a nice orange center section and washers lol...

used POR-15 on the tunnel...its CRAZY TOUGH...wont crack, chick, peel...its like powder coat or bedliner but in a paint form....just brush or roll it on...but its VERY permanant too...so make sure you like the color, lol...
installed a thin piece of aluminum behind the foot boards and powder coated it orange to stand out..

got the RAW chassis under tank foam to protect the shiny indestructable tunnel coating, lol..

got some bogies from a dragon and powder coated the brackets black, and the washers orange to be cool...

installed some fabcraft handlebars..using the OEM polaris handgaurs and mounts and OF COARSE the BEST tether...AMORCORD


and finally powder coated the Ice Age 9" wheels black and trimmed the inside edges to show some shine....some minor flaws but came out pretty good i think...along with the OEM straight axle with...of coarse a nice orange center section and washers lol...

ALSO....
got the SWEET new SKINZ float plate for the 09-up body work in ORANGE....i along with MH have been talking to Tammy at SKINZ requesting the orange color on the float plates and she pulled through to help out...its awesome...they will make it for the new and old body style plastics...order them up
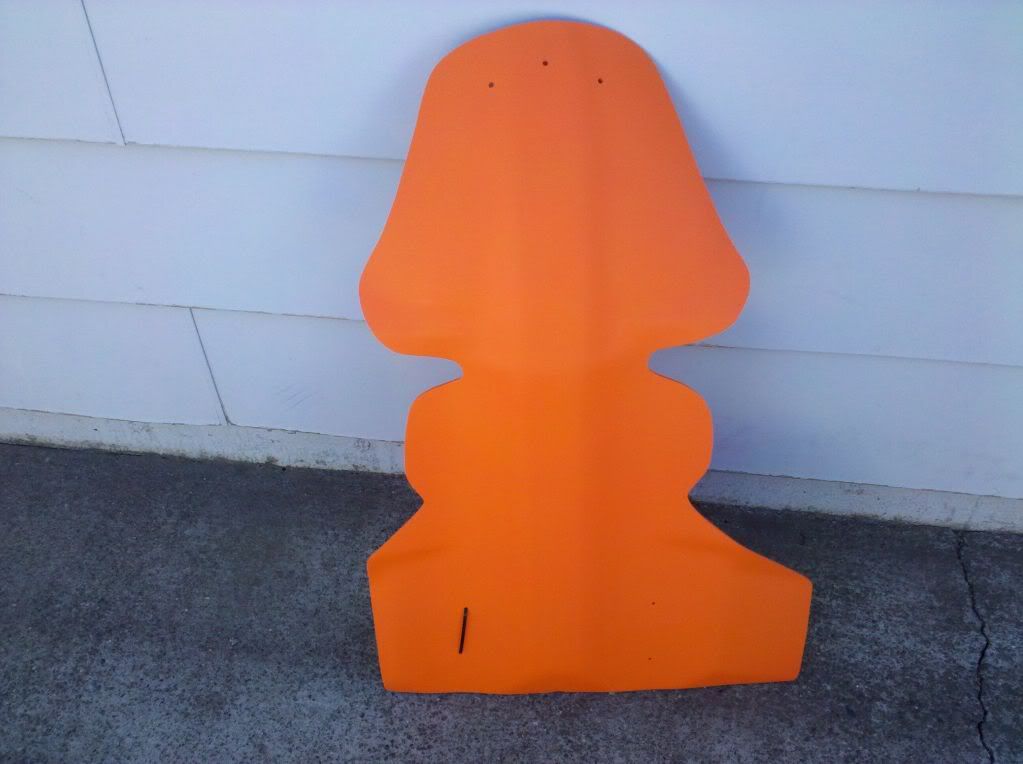
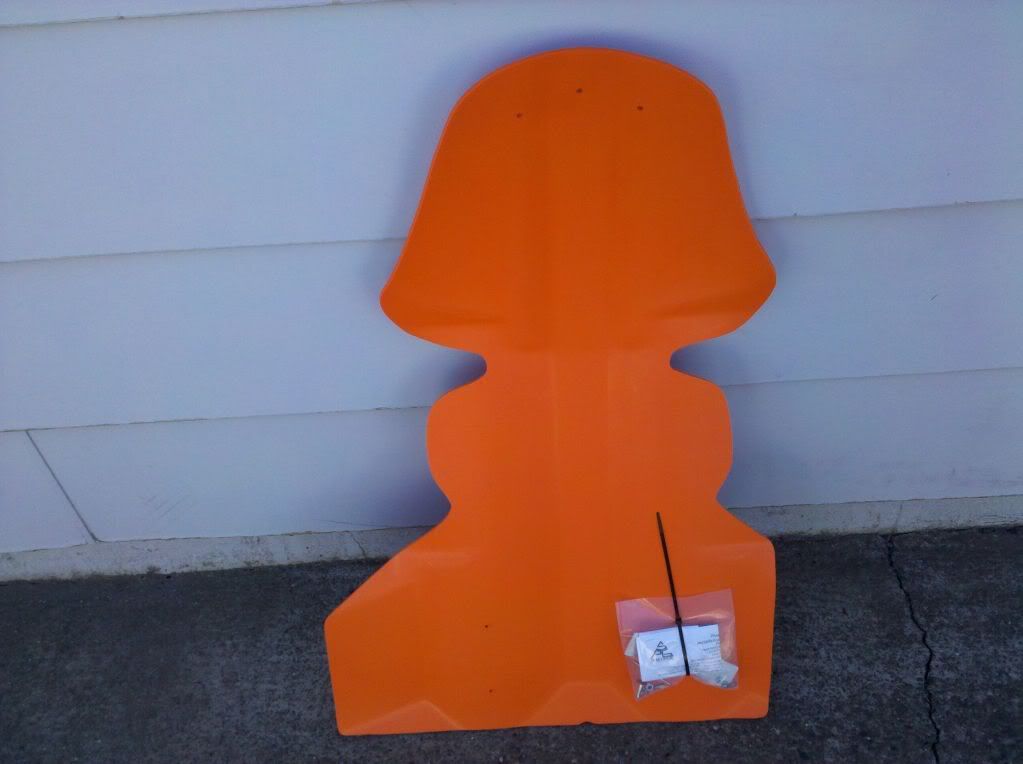
got the SWEET new SKINZ float plate for the 09-up body work in ORANGE....i along with MH have been talking to Tammy at SKINZ requesting the orange color on the float plates and she pulled through to help out...its awesome...they will make it for the new and old body style plastics...order them up


POR is basically a paint designed to go directly over rust for cars or whatever project your doing..
it looks great if you prep it right andget the surface clean and smooth..
i bought the stuff from ebay cause its cheaper...but check out the website for details..
get a pint of gloss black for your tunnel and whatever your using it on..and the marine clean to clean the surface and metal ready to etch the surface to prepare it for the POR..
its touch stuff and wont come off no matter what you do, lol...
http://www.por15.com/
...
POR-15... comes in black (matte and gloss), grey, siver, and clear
I was a doubter untill I got a freebie sample half-pint at a car show and used it... It sounded too good to be true.
No need for primer, just degrease and paint your sandblasted parts...
NO BS, this stuff rocks.
This stuff is as tough as 95% of the powdercoat out there and has held up on my Holz suspension for 2 seasons.. My A-arms are painted with this stuff and no chipping or peeling from heavy use in the bush (oops) and riding in west coast conditions...I have a freind with a Rock Crawler that runs the Rubicon all summer long that we painted the frame with this stuff... no peeling after 5 yrs of use and it is holiding up as well as the industrial powdercoated rear axle right next to it to the abuse...
The only downside is the lack of colors available.
I says that It may go matte, but it will not loose it pysical properties
I have POR-15 on my truck bumper, keep it waxed with the rest of the truck 2 x/year.... 8 yrs, still glossy... Plus, who leaves their sled out in the sun 24-7....
Plus, the wax also helps to shed snow and ice...
No wax on my A-Arms painted with POR-15... still glossy after 2 years, but I keep it covered and mostly indoors when I'm not riding it.
Better than imron or Kronar 2 part urethanes that I've used...
It holds up to brake cleaner and brake fluid without damage...
This is a 1 part paint, moisture catalized and can be brushed or sprayed... I did a brush job on the a-arms and they look sprayed... this stuff flows out excellent for a smooth finish...
Wear gloves when using this paint... the only thing that will remove it from your skin is time.
This stuff is NOT highly toxic and is relatively low in VOC's.
If you dont use the entire can, make sure to put some saran wrap, doubled over on the can before you hammer down the top.. Once opened and exposed to moisture, it will harden in the can...
If you are going to spray it, make sure to buy the spraying solvent that they sell...
POR products also makes one of the best paint strippers I've ever used, short of full industrial "aircraft stripper".
Order a couple of extra spray bottles if you get this stuff... they hold up well to the stripper and you cant use hardware store varieties of spray bottles. Rinse the spray bottle with water to help it last longer... The gallon kit is the way to go.
On my truck bumper, it is still glossy after 8 years of non garaged use.
In Canada
http://www.por15canada.com/can/preventrustpaint.asp
In the USA
http://www.thefinishedlook.com/PartsDetail.cfm?Product=3

These guys also have a great price on fuel stabilizer for summer storage..
If you need colors, Quality Marine urethanes are better than any paints out there...
Check out "Briteside" urethane paints at www.westmarine.com.
When you get into isocyanate based paints (urethane, catalized paints) you are dealing with some nasty chemicals that can put you into respiratory distress if you are not carefull...
THANKS ERIC...
your the man...!!
your the man...!!
Similar threads
F
- Replies
- 8
- Views
- 2K
F
- Replies
- 0
- Views
- 594

