S
Install the app
How to install the app on iOS
Follow along with the video below to see how to install our site as a web app on your home screen.
Note: This feature may not be available in some browsers.
You are using an out of date browser. It may not display this or other websites correctly.
You should upgrade or use an alternative browser.
You should upgrade or use an alternative browser.
Another NyPro Project
- Thread starter sportsterdanne
- Start date
S
sportsterdanne
Well-known member
S
sportsterdanne
Well-known member
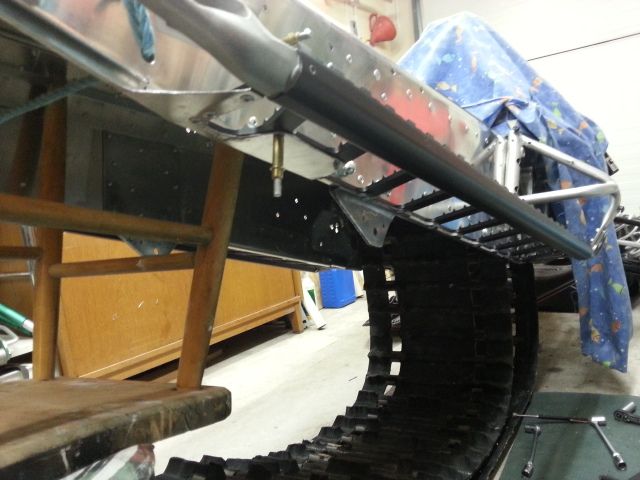
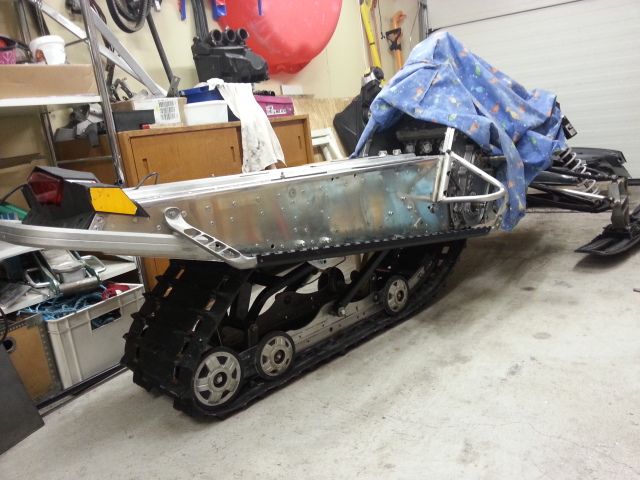
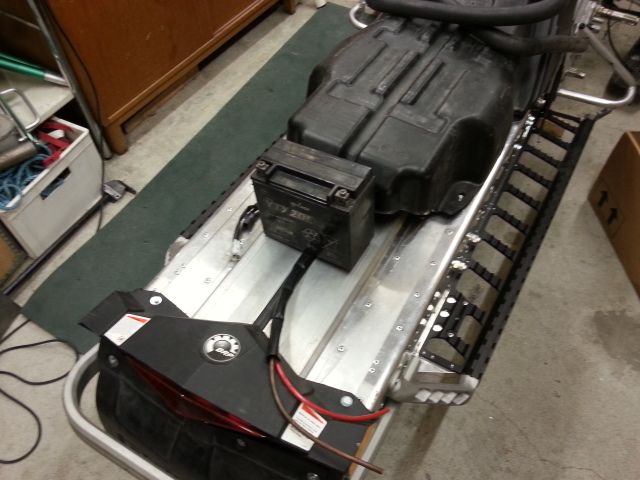
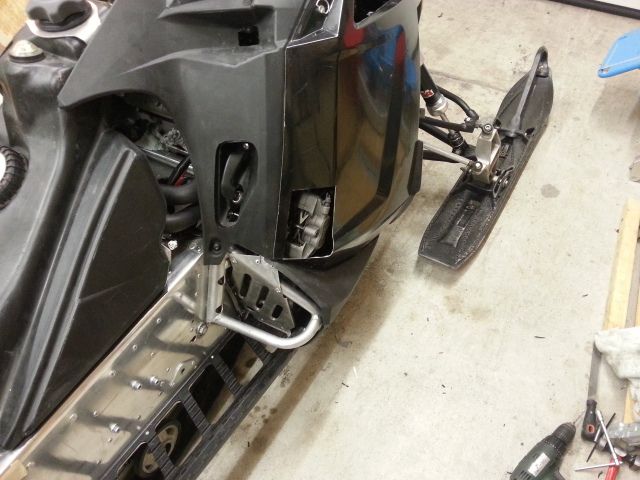
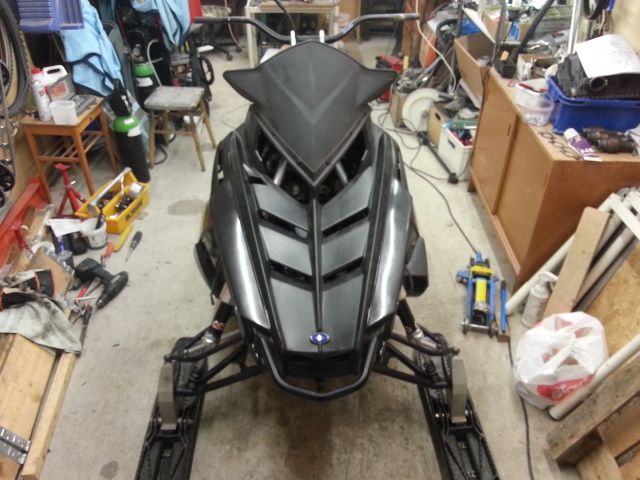
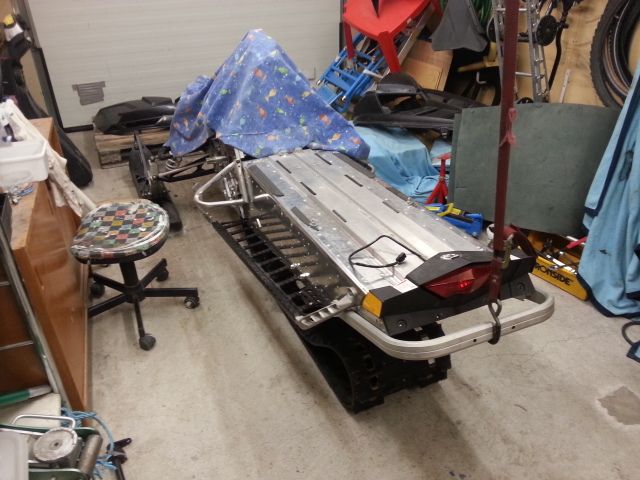
Installed the bumper and rear light. Im waiting with the snow flap until i have installed the skid.
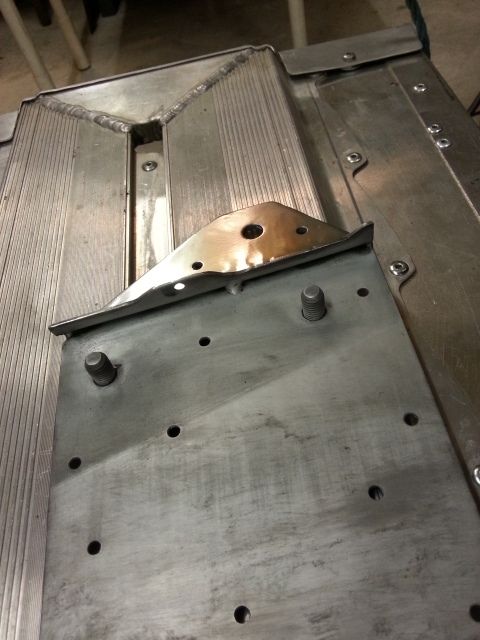
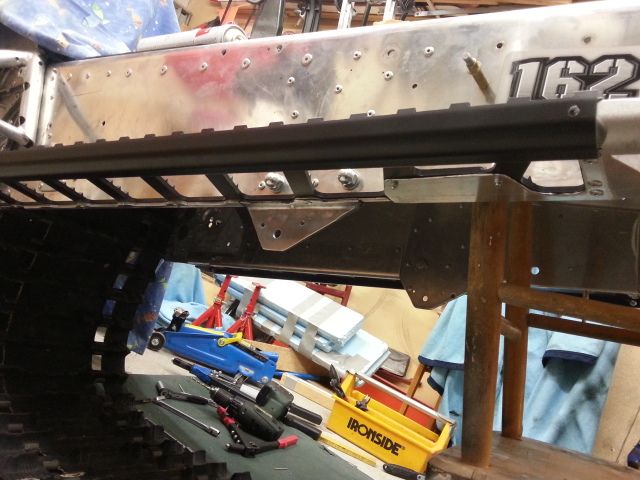
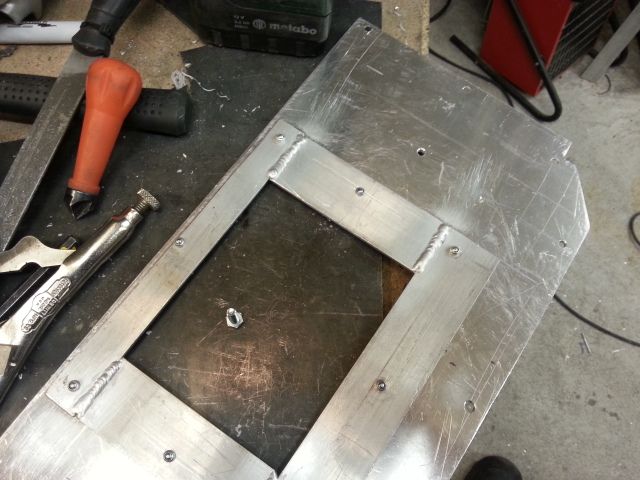
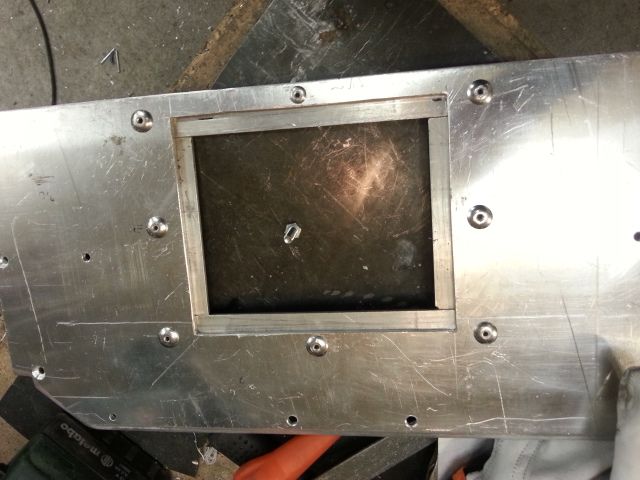
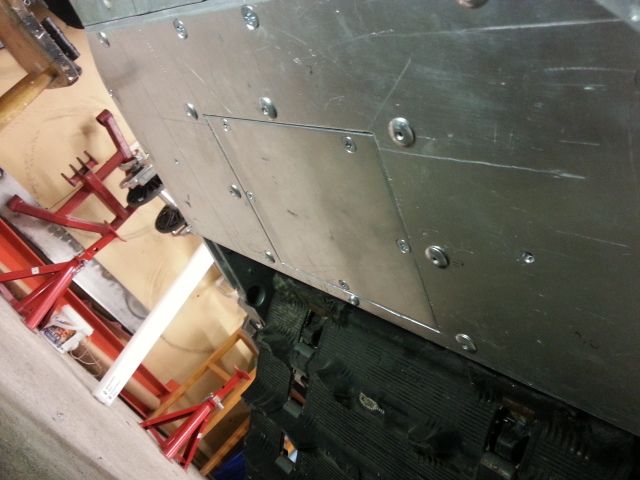
Tomorrow i will make some plates for the inside of the tunnel to fill up the gap since the Lynx has a narrower tunnel.
Tomorrow i will make some plates for the inside of the tunnel to fill up the gap since the Lynx has a narrower tunnel.

S
sportsterdanne
Well-known member
S
sportsterdanne
Well-known member
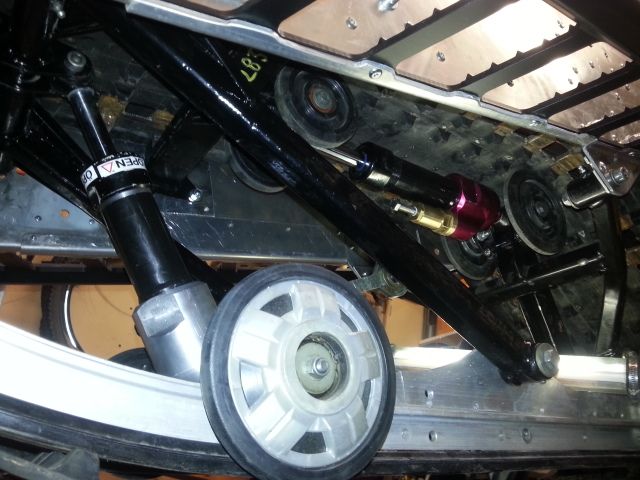
Had some work up north so i visited ASA suspension again, and assembled my own shocks. Really interesting and fun.
I have pictues of it in my camera but i can show you a before and after pic that i took with my phone.
Im really stoked to try them out !
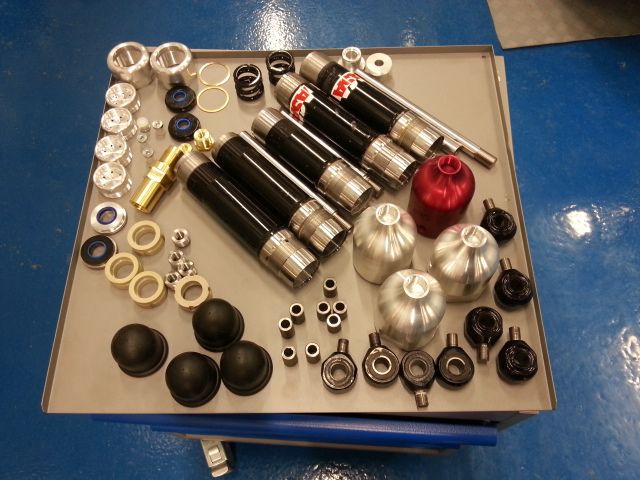
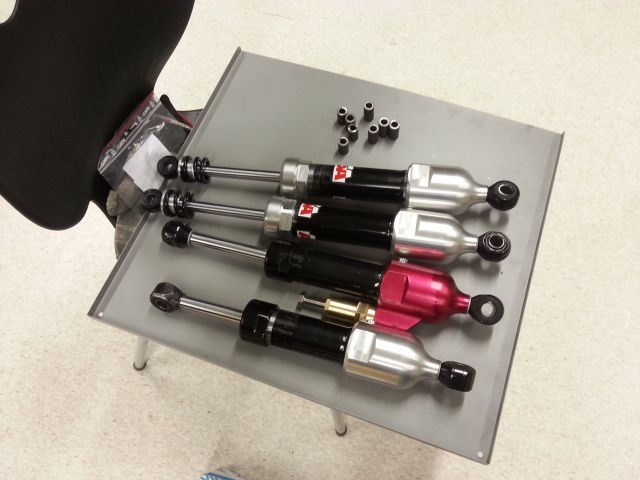
I have pictues of it in my camera but i can show you a before and after pic that i took with my phone.
Im really stoked to try them out !


S
sportsterdanne
Well-known member
Im waiting for some small parts before i can install my shocks but i had to try them in place.
I had the WE on the right side and a ASA on the left side and rocked the sled from side to side and the ASA responds instantly. Im really looking forward to try them out.
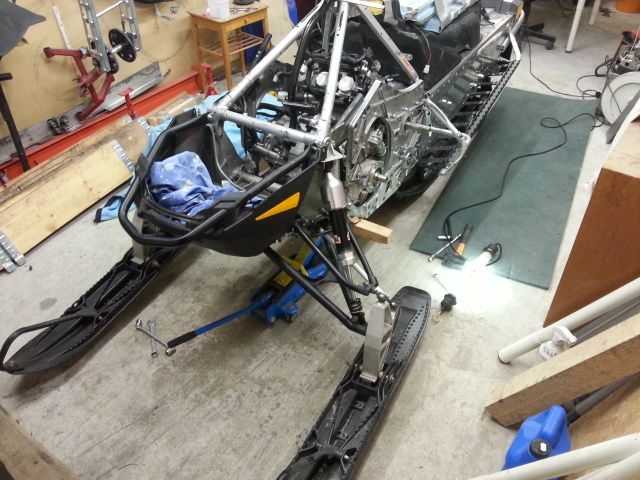
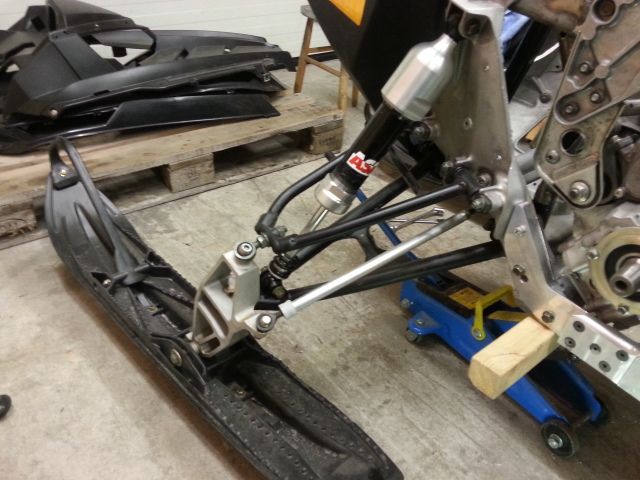
I had the WE on the right side and a ASA on the left side and rocked the sled from side to side and the ASA responds instantly. Im really looking forward to try them out.


S
sportsterdanne
Well-known member
S
sportsterdanne
Well-known member
S
sportsterdanne
Well-known member
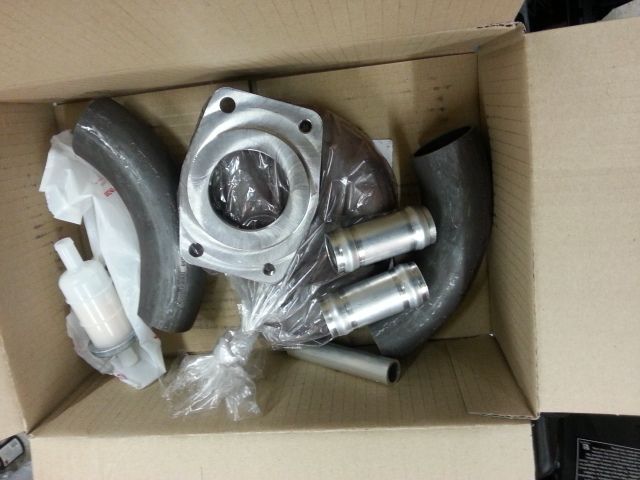
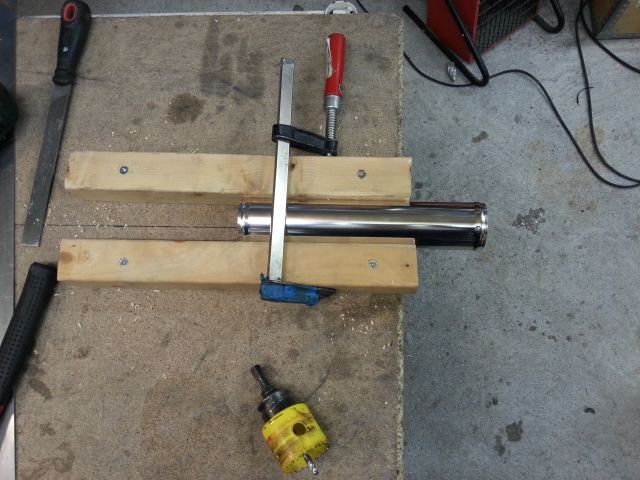
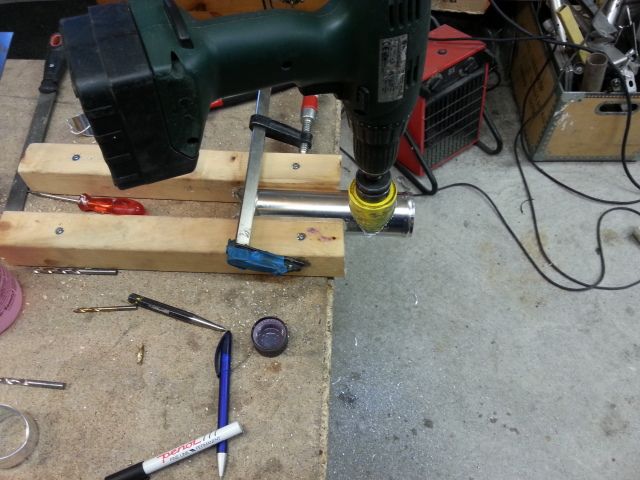
My friend called me today and said that my exhaust flange was made.
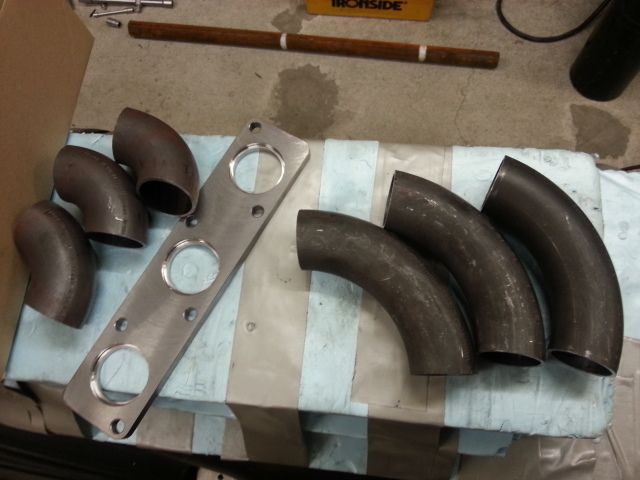
I had to try it in place.
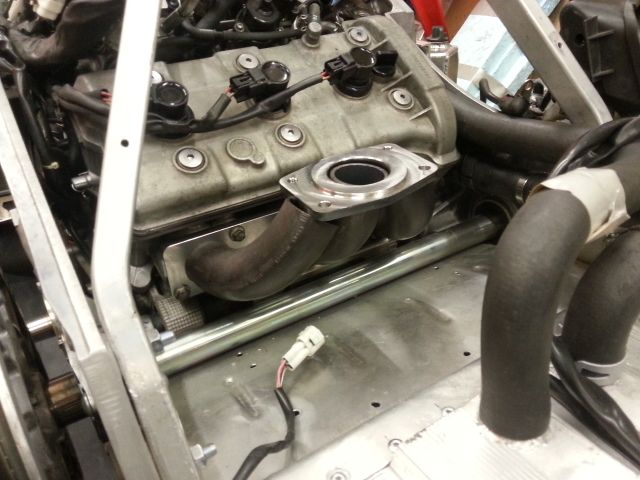

I had to try it in place.

S
sportsterdanne
Well-known member
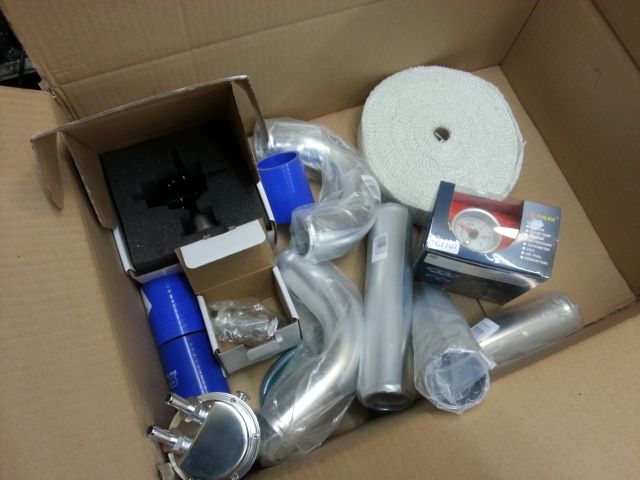
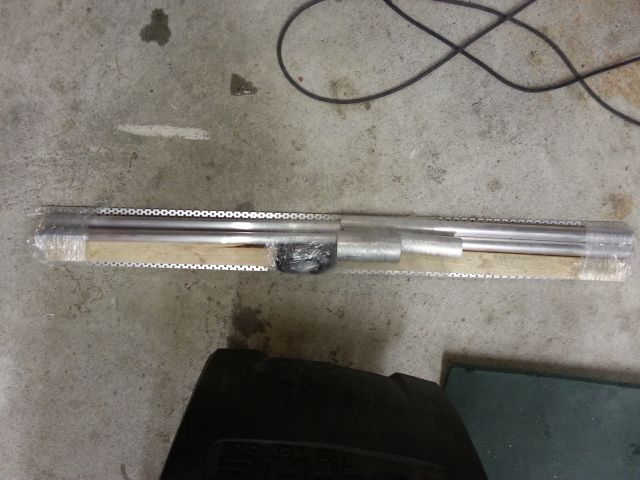
More stuff..

S
sportsterdanne
Well-known member
S
sportsterdanne
Well-known member
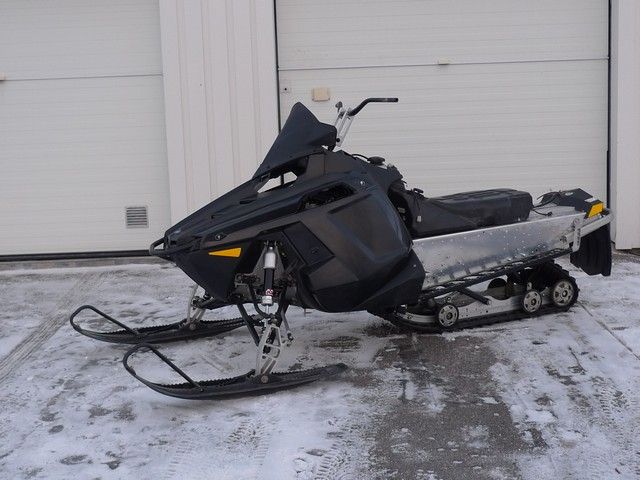
Outside for a pic.

S
sportsterdanne
Well-known member
S
sportsterdanne
Well-known member
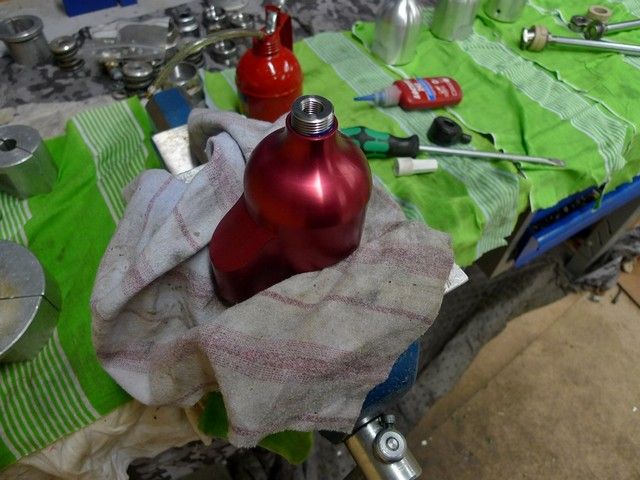
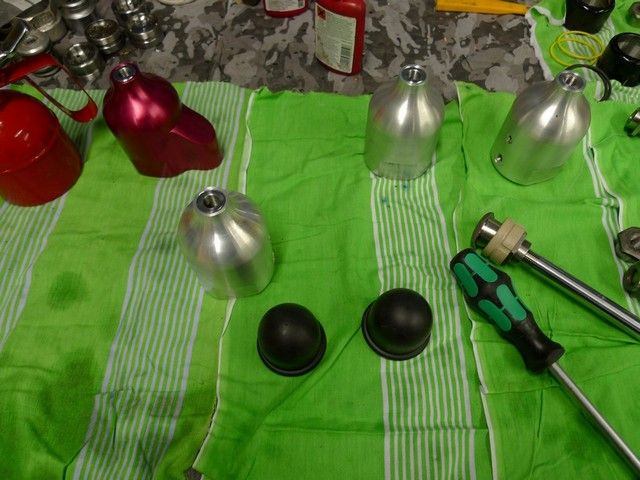
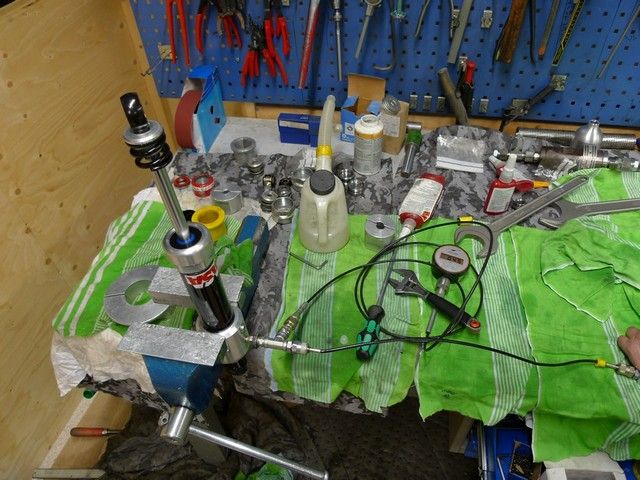
Some pics from when i assembled my ASA shocks.
some of the parts.

Chrome moly inserts.
Membrane that separates the oil and nitrogen.
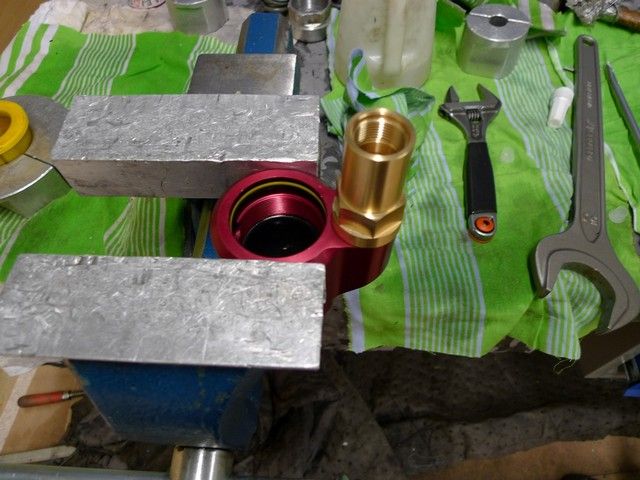
Membrane in Place.
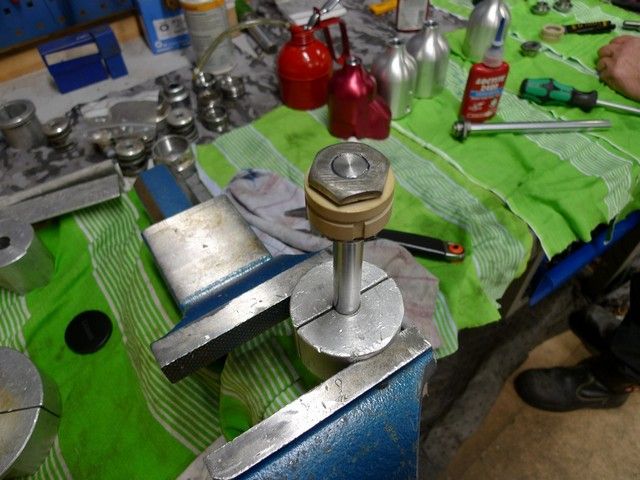
The only two parts on the end of the shaft, a steel cone and a plastic cone.
a "top out" spring is installed. the spring will dampen when the shock tops out for example when jumping.
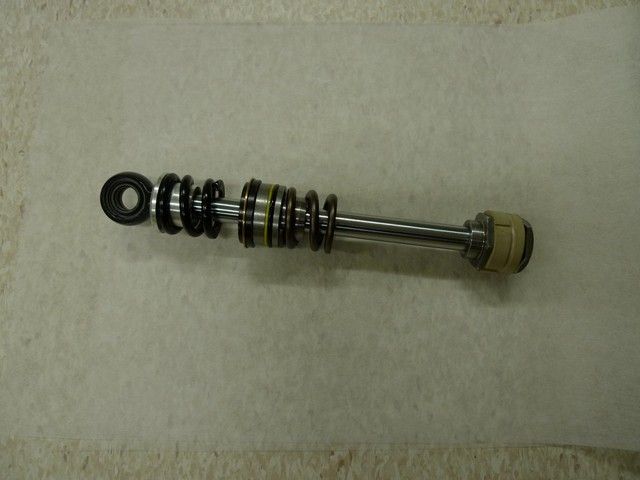
ready for oil and nitrogen, the big "nut" on the left is backed out 2 revolutions when installed and that makes it possible to turn it in and get a harder shock.
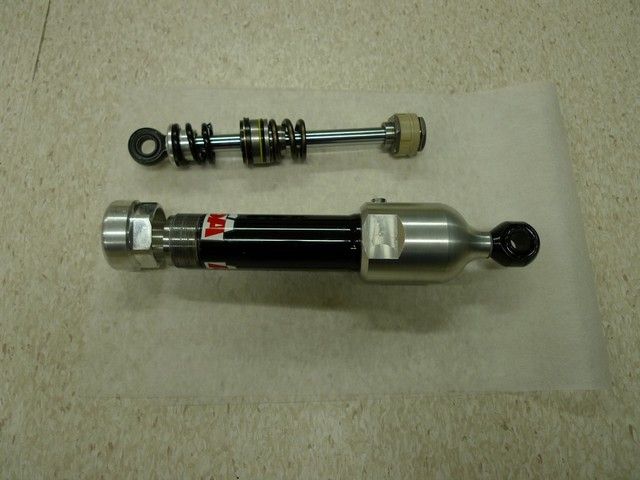
Filling Nitrogen.
some of the parts.

Chrome moly inserts.

Membrane that separates the oil and nitrogen.

Membrane in Place.

The only two parts on the end of the shaft, a steel cone and a plastic cone.

a "top out" spring is installed. the spring will dampen when the shock tops out for example when jumping.

ready for oil and nitrogen, the big "nut" on the left is backed out 2 revolutions when installed and that makes it possible to turn it in and get a harder shock.

Filling Nitrogen.

S
sportsterdanne
Well-known member
S
sportsterdanne
Well-known member
S
snopromod
Well-known member
Anyway you can mount the battery in front of the sled? That's where I mounted mine and tons of room up there since no exhaust running through there.. plus won't have to fight running those battery cables all the way to front! Other then that great job it's really coming together. I've put 250 miles on mine already and absolutely loving it, just fine tuning clutching
S
sportsterdanne
Well-known member
there sure is room to mount the battery up front but i want to remove that weight from the front. the longer cables will add some total weight but im good with that.
Anyway you can mount the battery in front of the sled? That's where I mounted mine and tons of room up there since no exhaust running through there.. plus won't have to fight running those battery cables all the way to front! Other then that great job it's really coming together. I've put 250 miles on mine already and absolutely loving it, just fine tuning clutching
S
sportsterdanne
Well-known member
Similar threads
H
- Replies
- 22
- Views
- 4K
- Replies
- 34
- Views
- 8K
D
E
- Replies
- 11
- Views
- 7K
A


