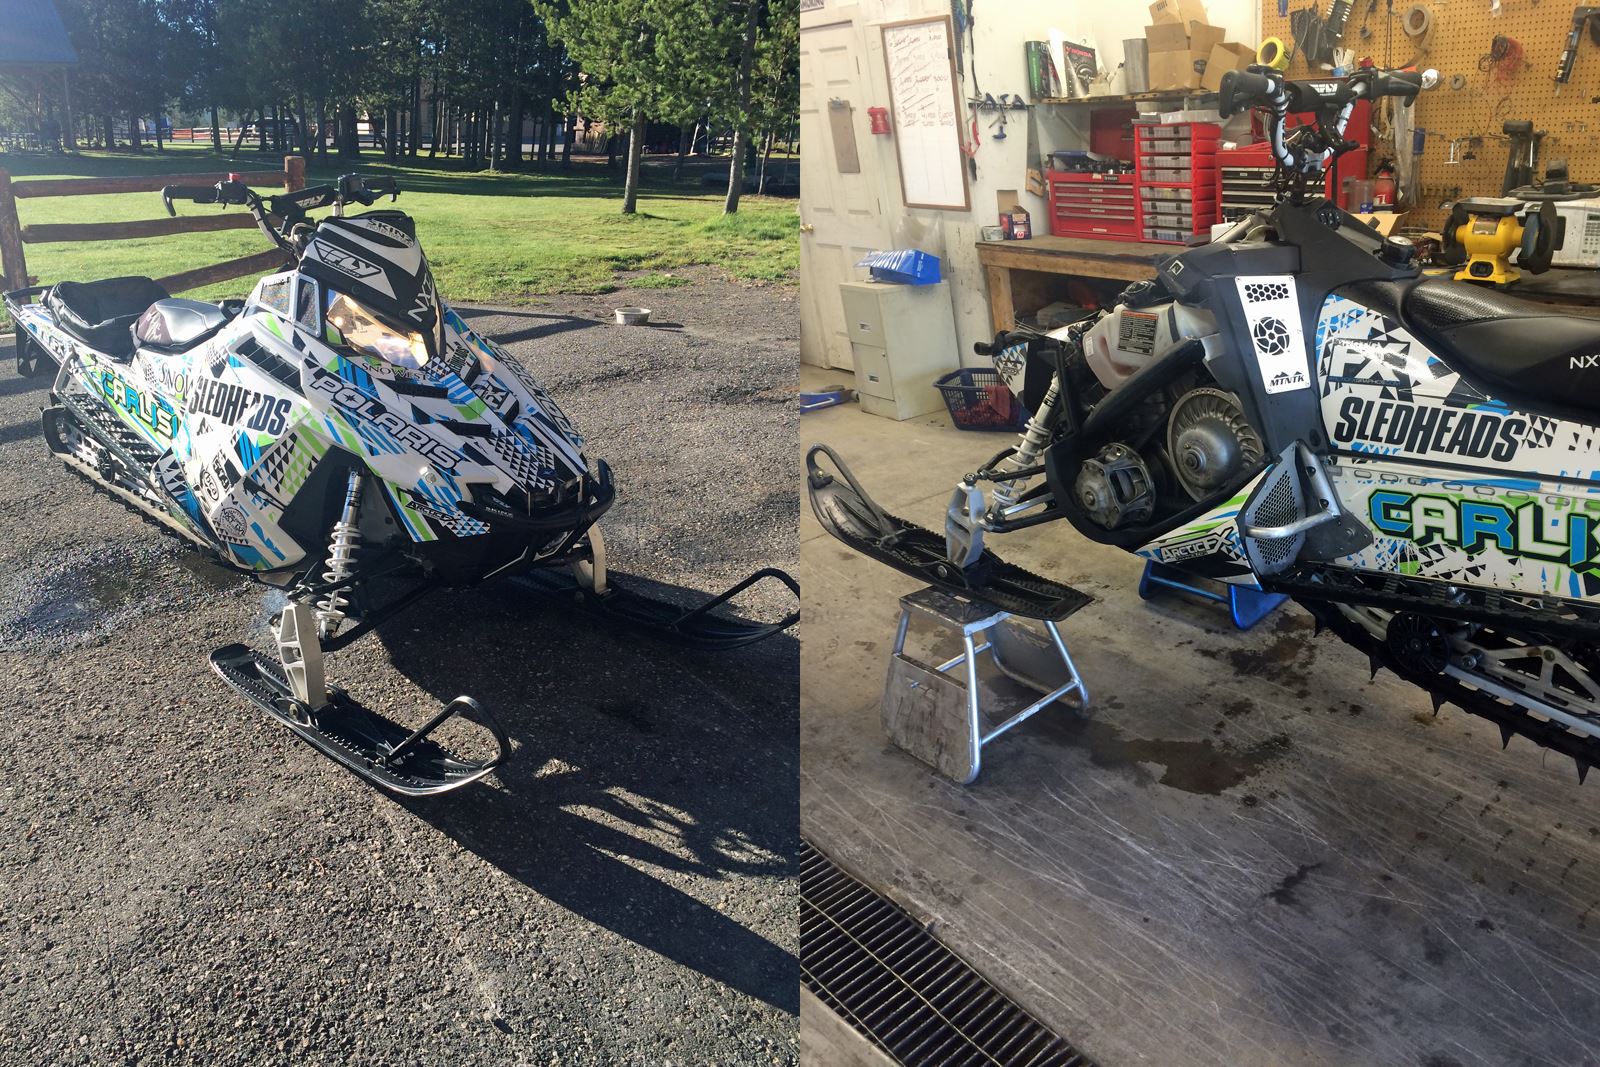
Deep powder, tight trees and long days are what this 2012 Polaris 800 Pro RMK 155 is used to. Living in Idaho has spoiled me with some of the best riding on the planet. I have always been very impressed with my Pro when it came to handling, comfort for the price.
I have done the usual modifications to this sled to help it perform a little better: bumpers, handlebars, wrap, vents, running boards, seat, bags, MTNTK Blow Hole and clutching. I have never modified the motor for fear of losing my warranty and afecting longevity of the motor. I heard that the 2012 pro was prone to piston and cylinder skirt cracking, but never let that affect the way I ride. My sled was nearing the scary 1,500-mile mark and never had a hiccup, except for the few trees it bounced off of.
I began to look into options on how to rebuild, yet fix the skirt issue if needed. MTNTK Performance has exactly that. Before diving into a daunting project like this, I consulted with my local shop--High Mountain Adventures in Island Park, Idaho. Jared Daniels, the shop manager and Polaris Gold Certified mechanic, was going to oversee me as I took on this task.
 The MTNTK Performance Drop In Kit is the best route to go when rebuilding a Pro. The cylinder shim puts the jugs a little higher, strengthening the cylinder skirt. The Wiseco pistons are not only an improvement over stock but are longer to prevent the piston skirt from cracking. The high-compression head gives an added 7.3-hp gain with stock pipe and can, but you will see even more gain with an aftermarket pipe, can and reeds. This kit should be installed by an individual that has experience with snowmobile mechanics.
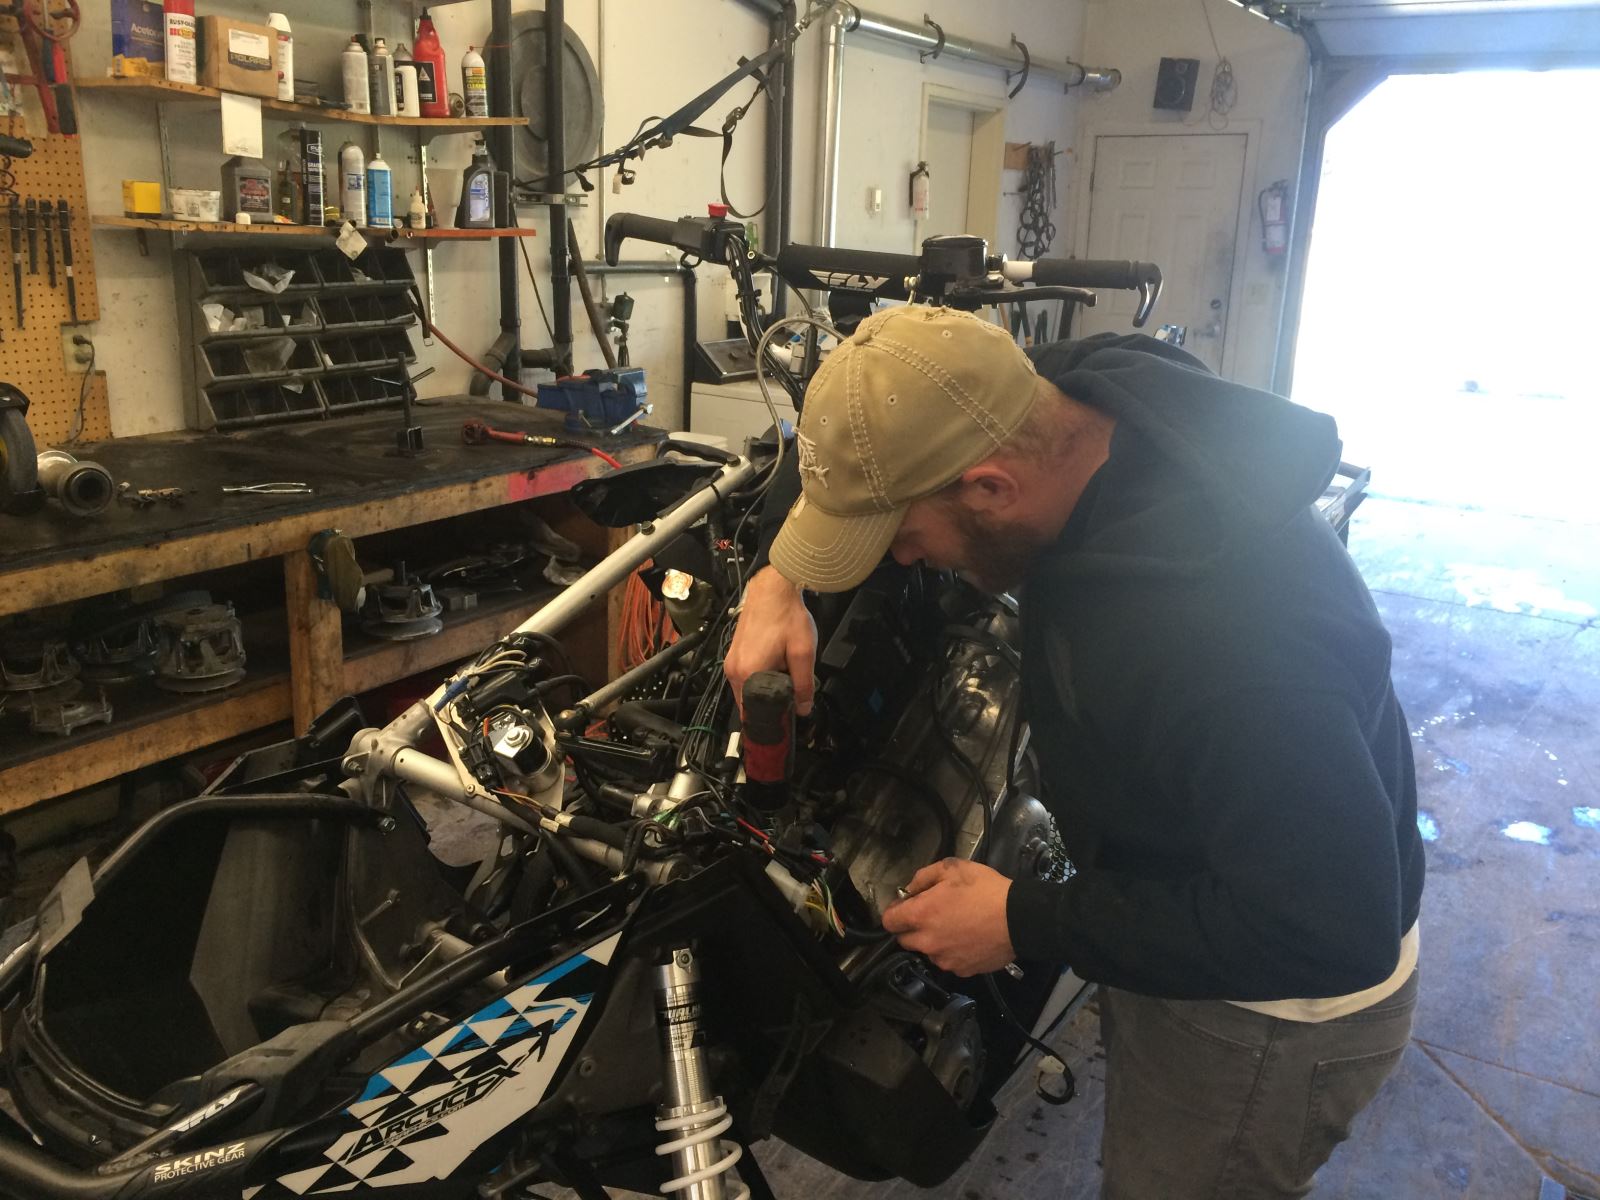
The MTNTK performance Drop in Kit can easily be put on without pulling the motor. But, for ease of pictures and few other modifications, we chose to pull the motor. This was the first time I have pulled a motor on Pro and it was much easier than anticipated. Mostly due to Jared handing me tools and guiding me every step. Compression Test: R-100psi; L- 98psi.

With the motor pulled and on the bench it was time to go to work. We began stripping the motor pulling off the reeds for two reasons; 1. Check and see if they are chipping 2. They will be replaced with better ones. We also pulled the power valves out for cleaning. Of course the head and jug must be pulled off to replace the pistons.
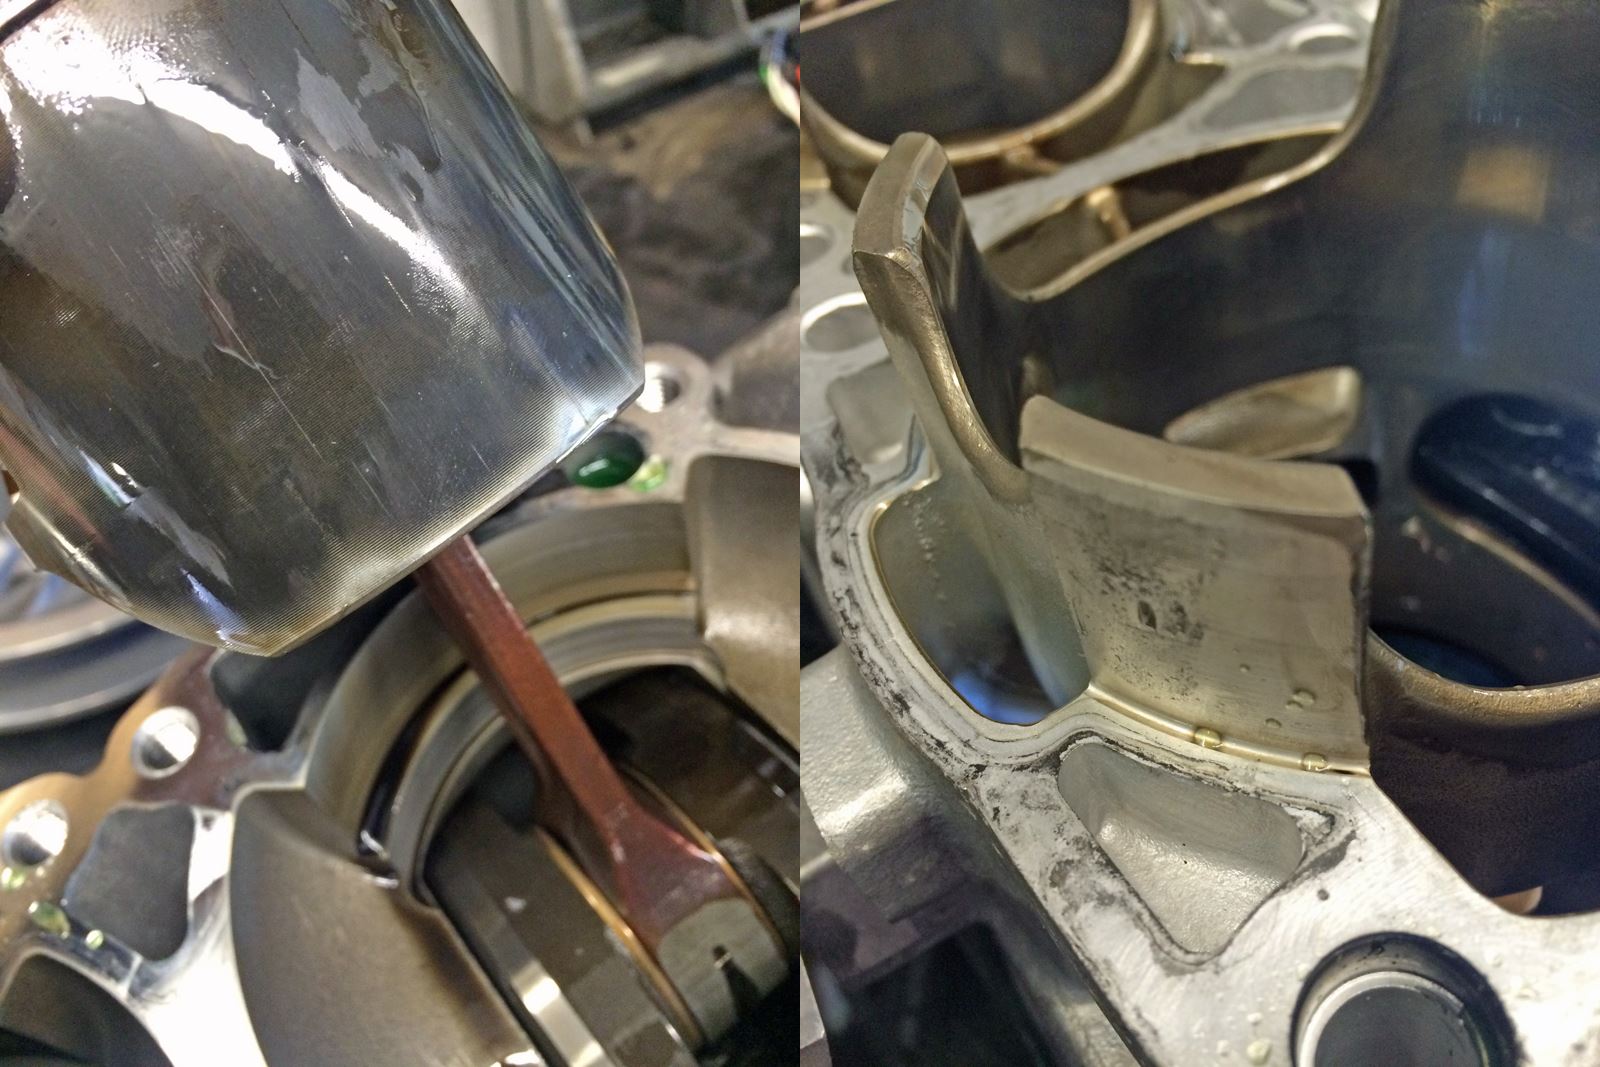
When doing a rebuild you should always check the wear and tear on the stock pistons and cylinder. It was a big relief when Daniels said, “Looks great and there is no cracking on the piston or cylinder skirts.”

With the head, cylinder and pistons removed we began the cleaning process. We pressure washed the bottom end of the motor after it was cleaned we filled the bottom end with 2 stroke oil and let sit for about 30 minutes (this must be removed out of the bottom end by the drain screw before putting it together). This step pushes out any water and to lubes all the bearings.
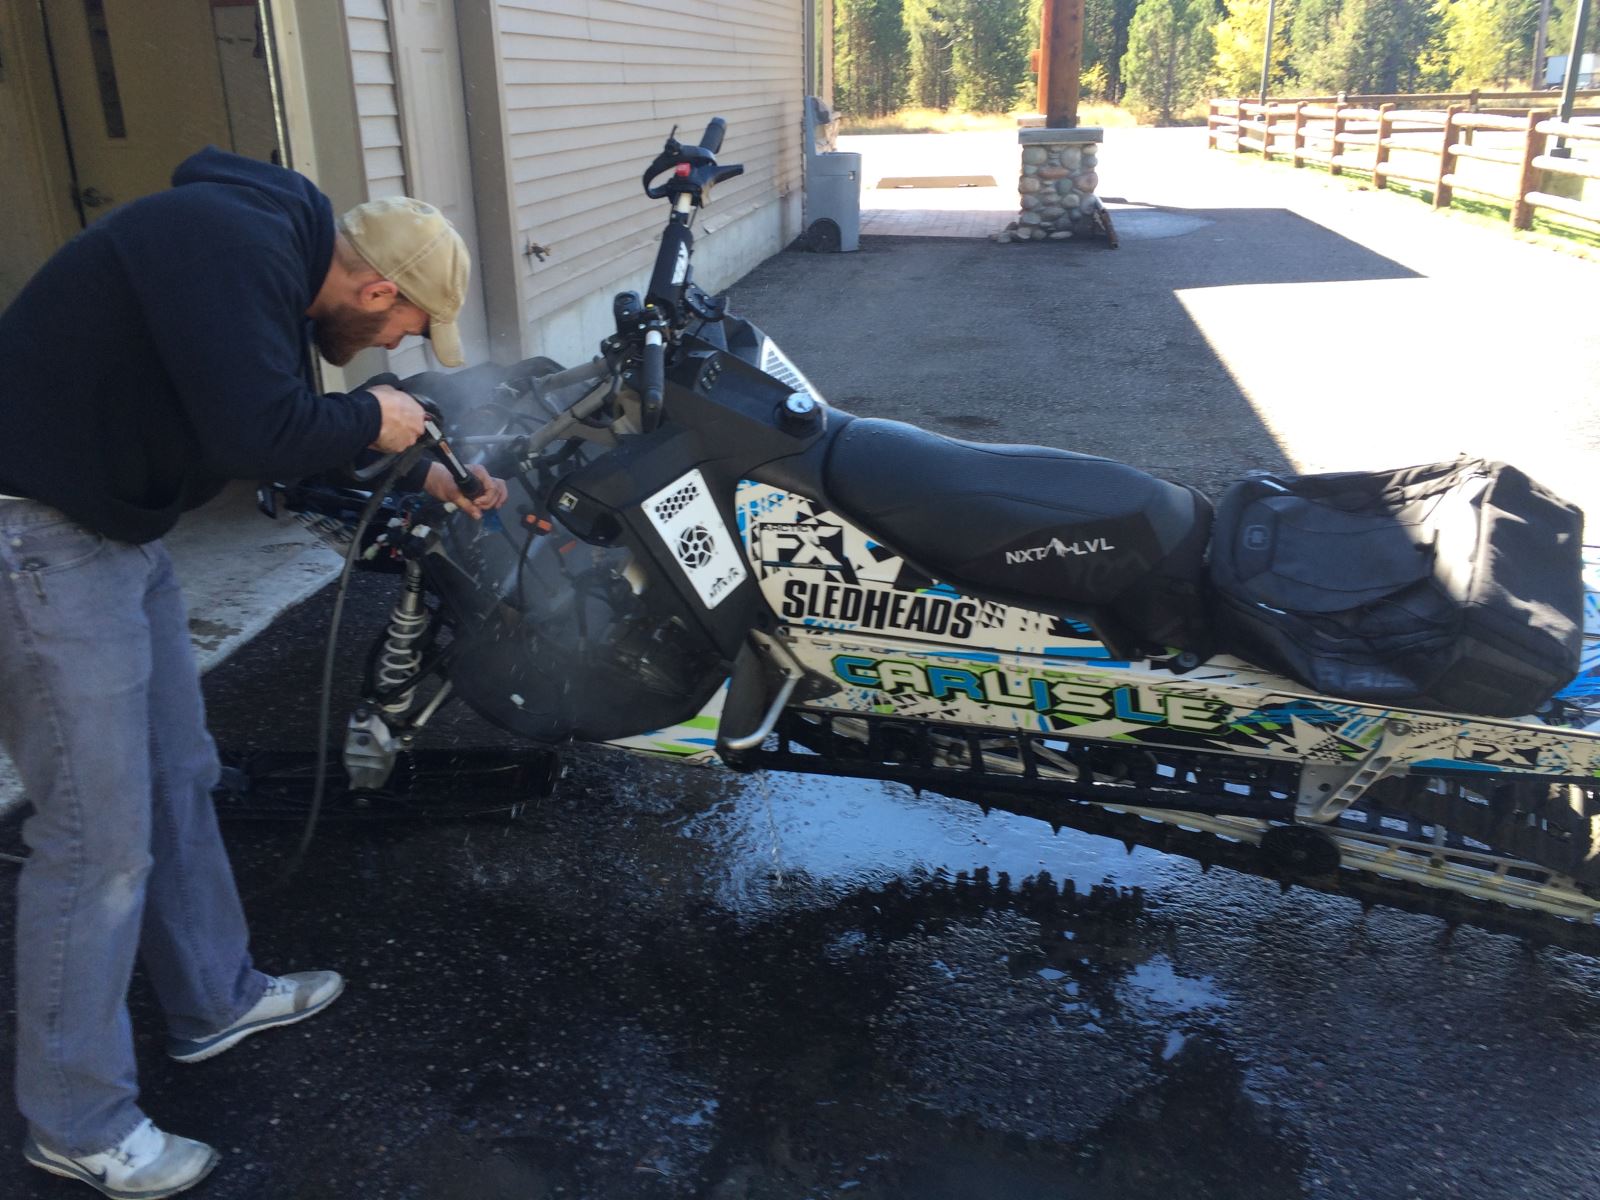
I then took the pressure washer to my motor compartment and cleaned all the oil residue and belt fibers that tend to build up over time in the bottom of the sled. Be sure to tape up electrical connectors and throttle bodies. If you don’t, you can use an air compressor and blow them out and use a little electrical grease on the connectors.
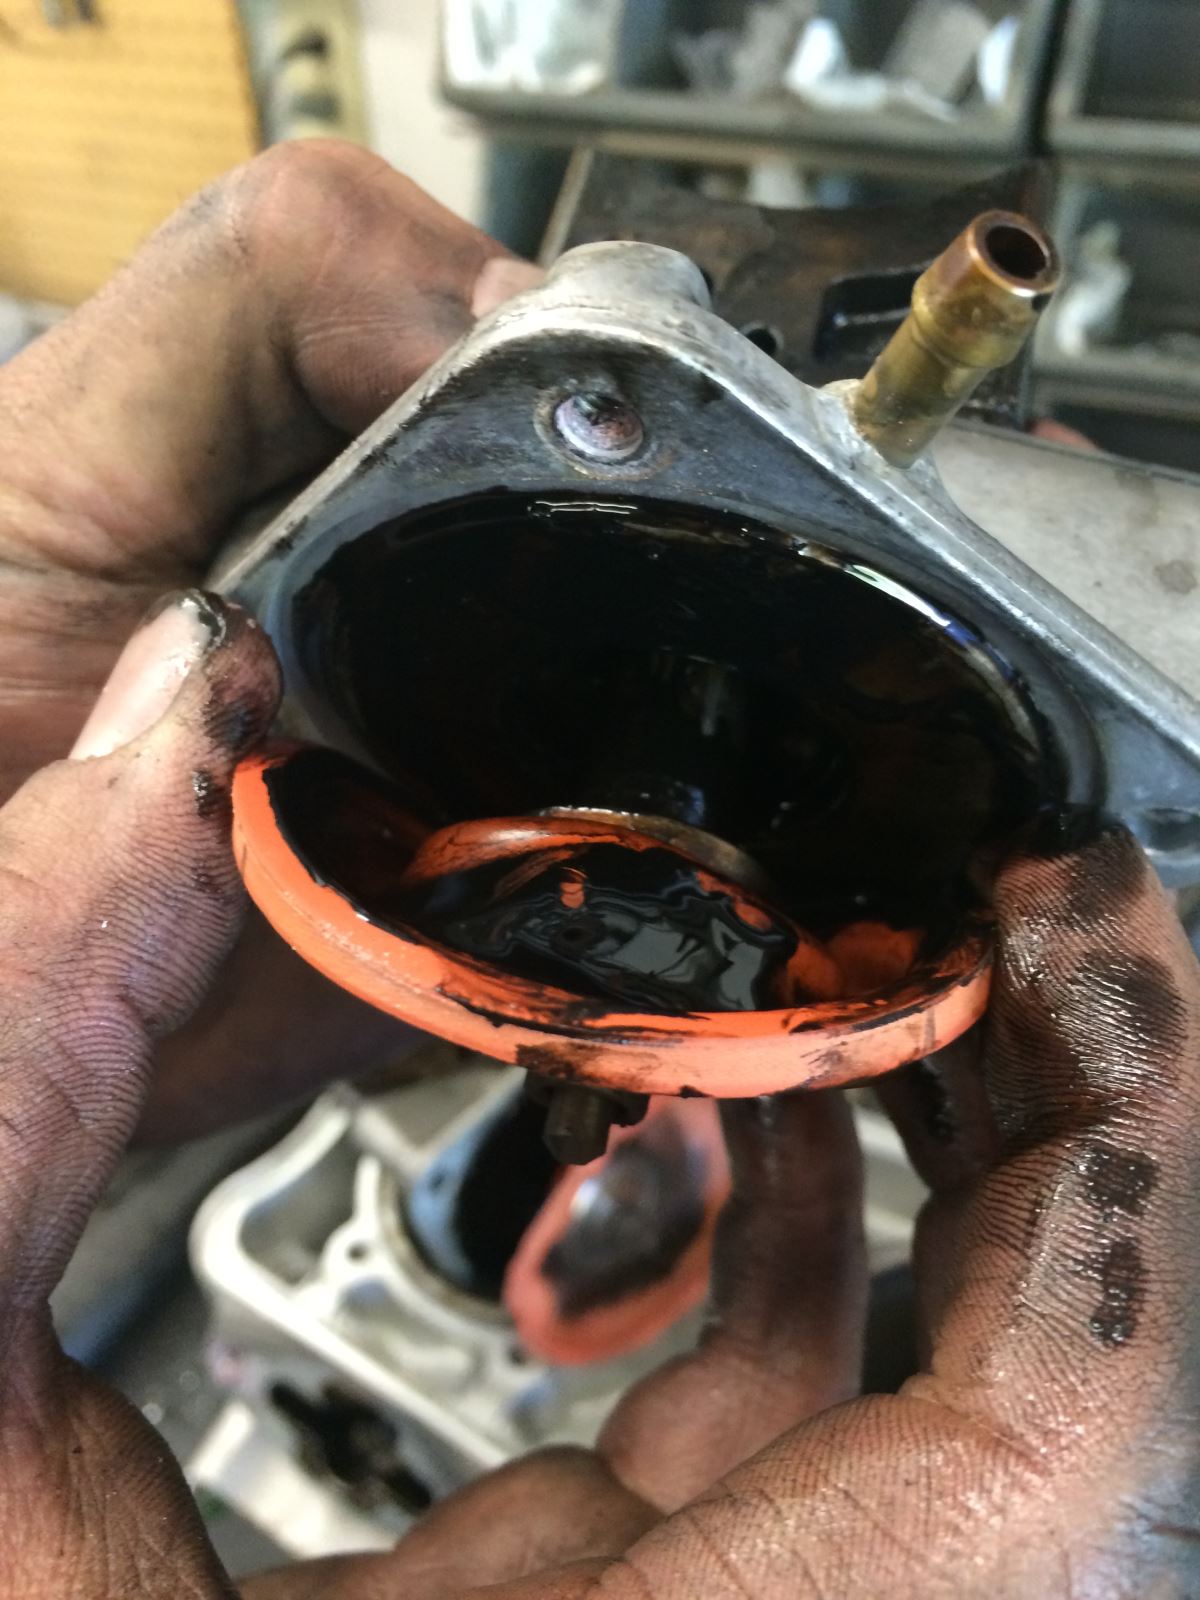
Power valves get really dirty and affect the sled performance. My power valves were full of old oil that was not allowing them to function properly.
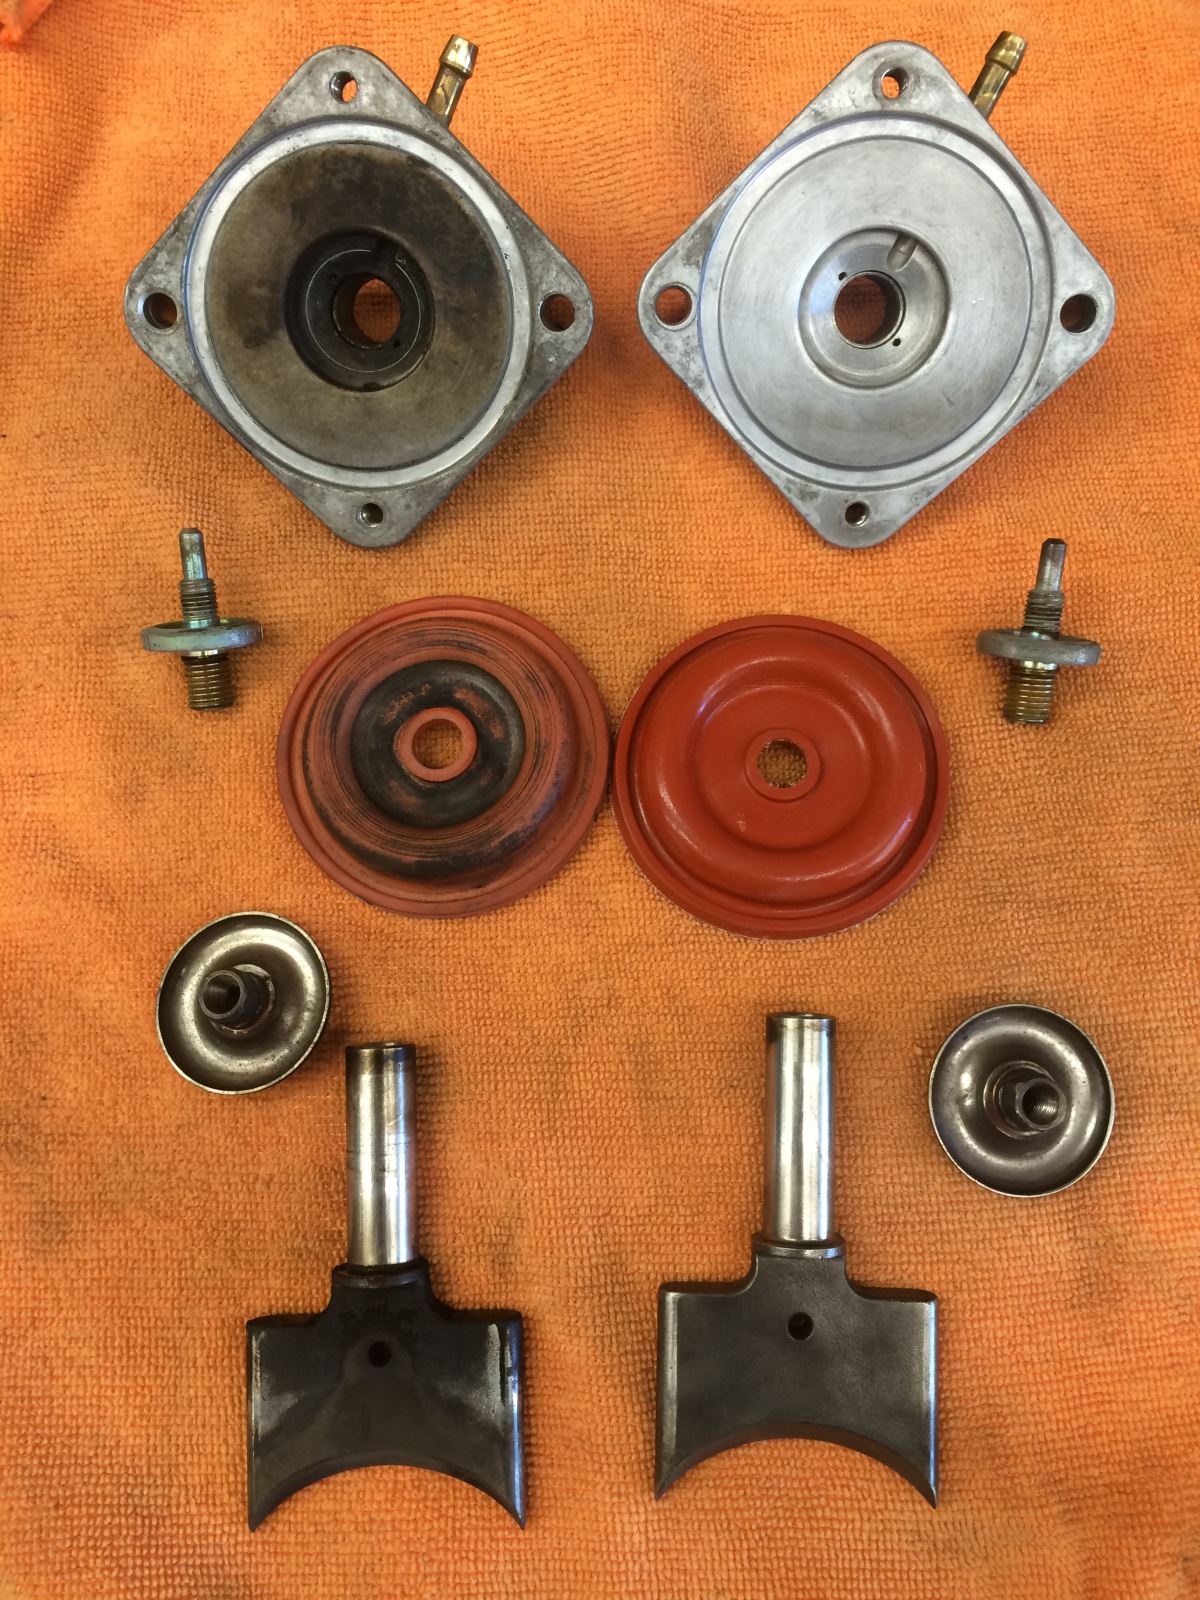
After taking the time to clean your power valves this how they look. Don’t forget to use the new spring the MTNTK performance drop in kit when you put it back together (not pictured). These springs are rated for the elevation that you ride and are very important to install the proper ones for the elevation you ride.
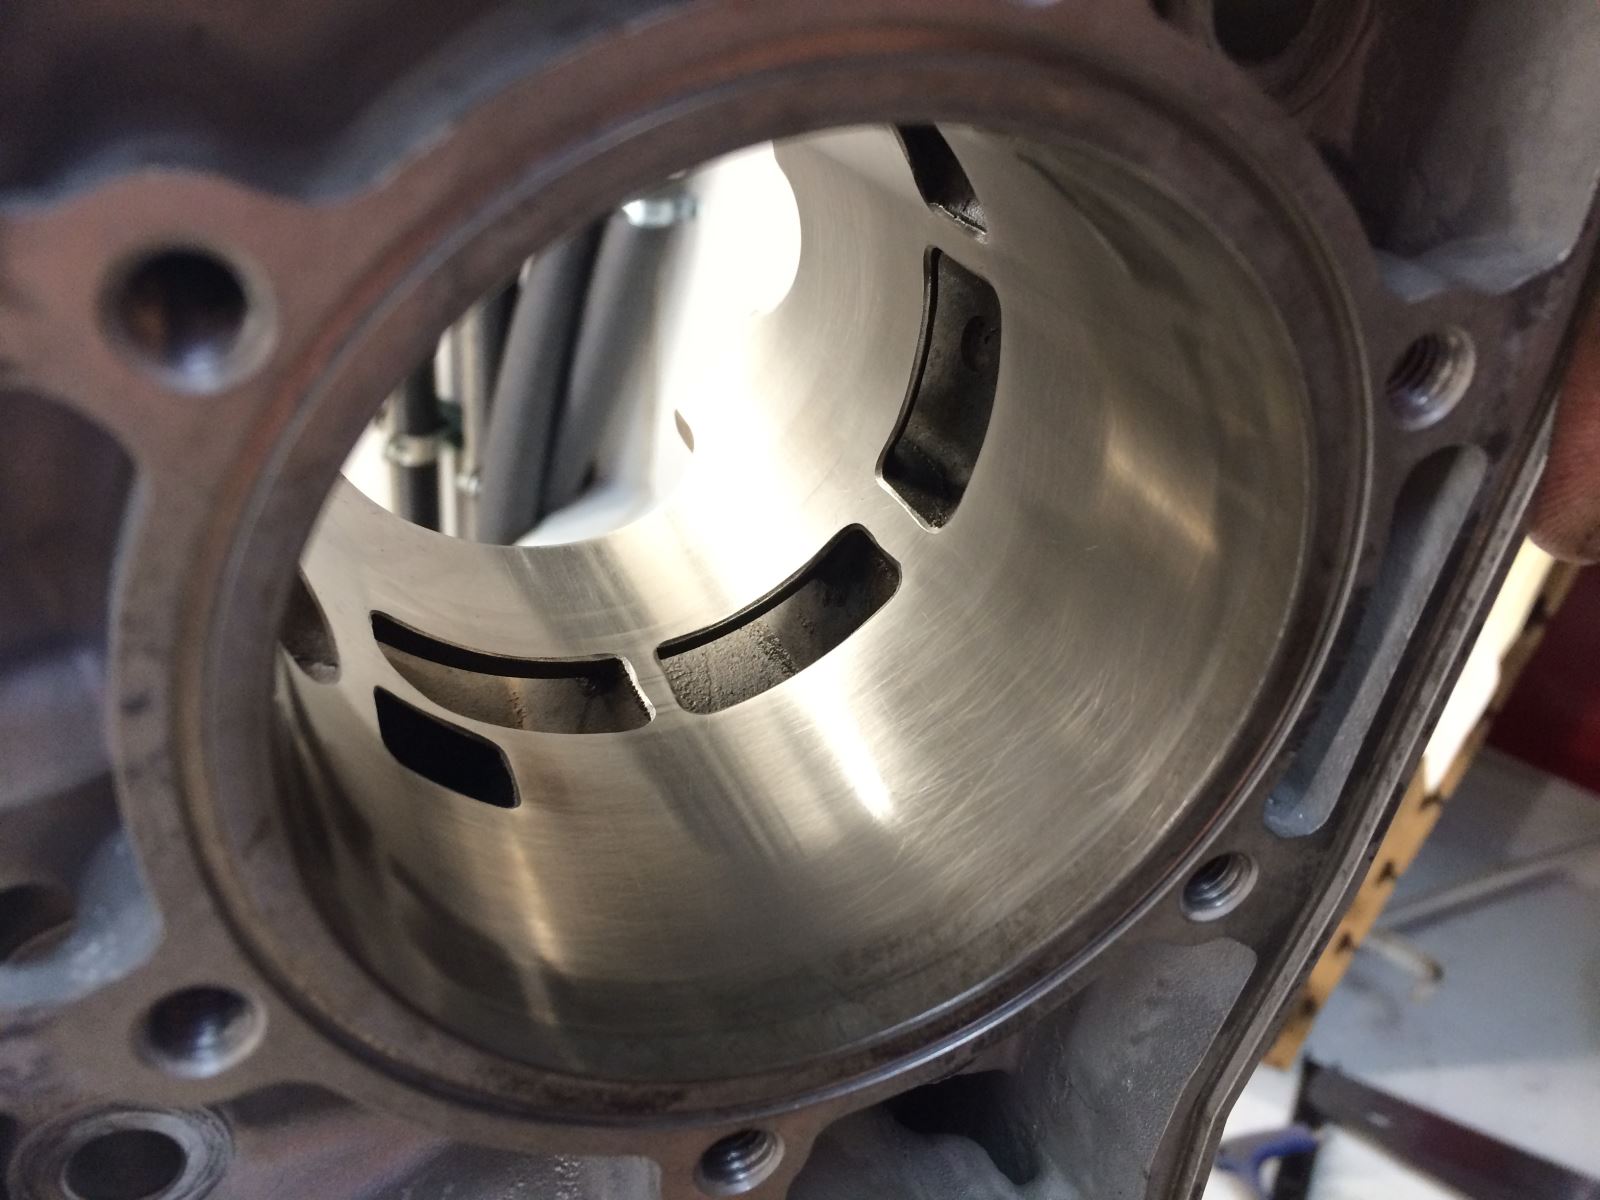
The cylinder is cleaned and honed in preparation for the new pistons and head.

The new Wiseco pistons and ring are ready to be put together and installed to the arms. When putting the rings on the piston, be carefule not to scratch the piston as you slide the ring on. It is also best to put the inside circlip on so you can push the wrist pin into it. Place the new wrist pin bearing in the arm with a dab of 2-stroke oil on it to lube it up.

When putting on your new MTNTK performance Wisco pistons make sure to use a little 2 stroke oil on each piston to lube it up and help it slide into the cylinder easier. Yes all of this oil will make it smoke more but, it is a two stroke and requires oil for lubricant. It will burn off in about ten minutes of the sled running.

The MTNTK Performance zinc plated cylinder shim is the main reason you want this kit. With the shim installed it raises the cylinders making it so the cylinder skirts are more protected and less likely to crack. Don’t forget your base gasket on top and on bottom of the shim.
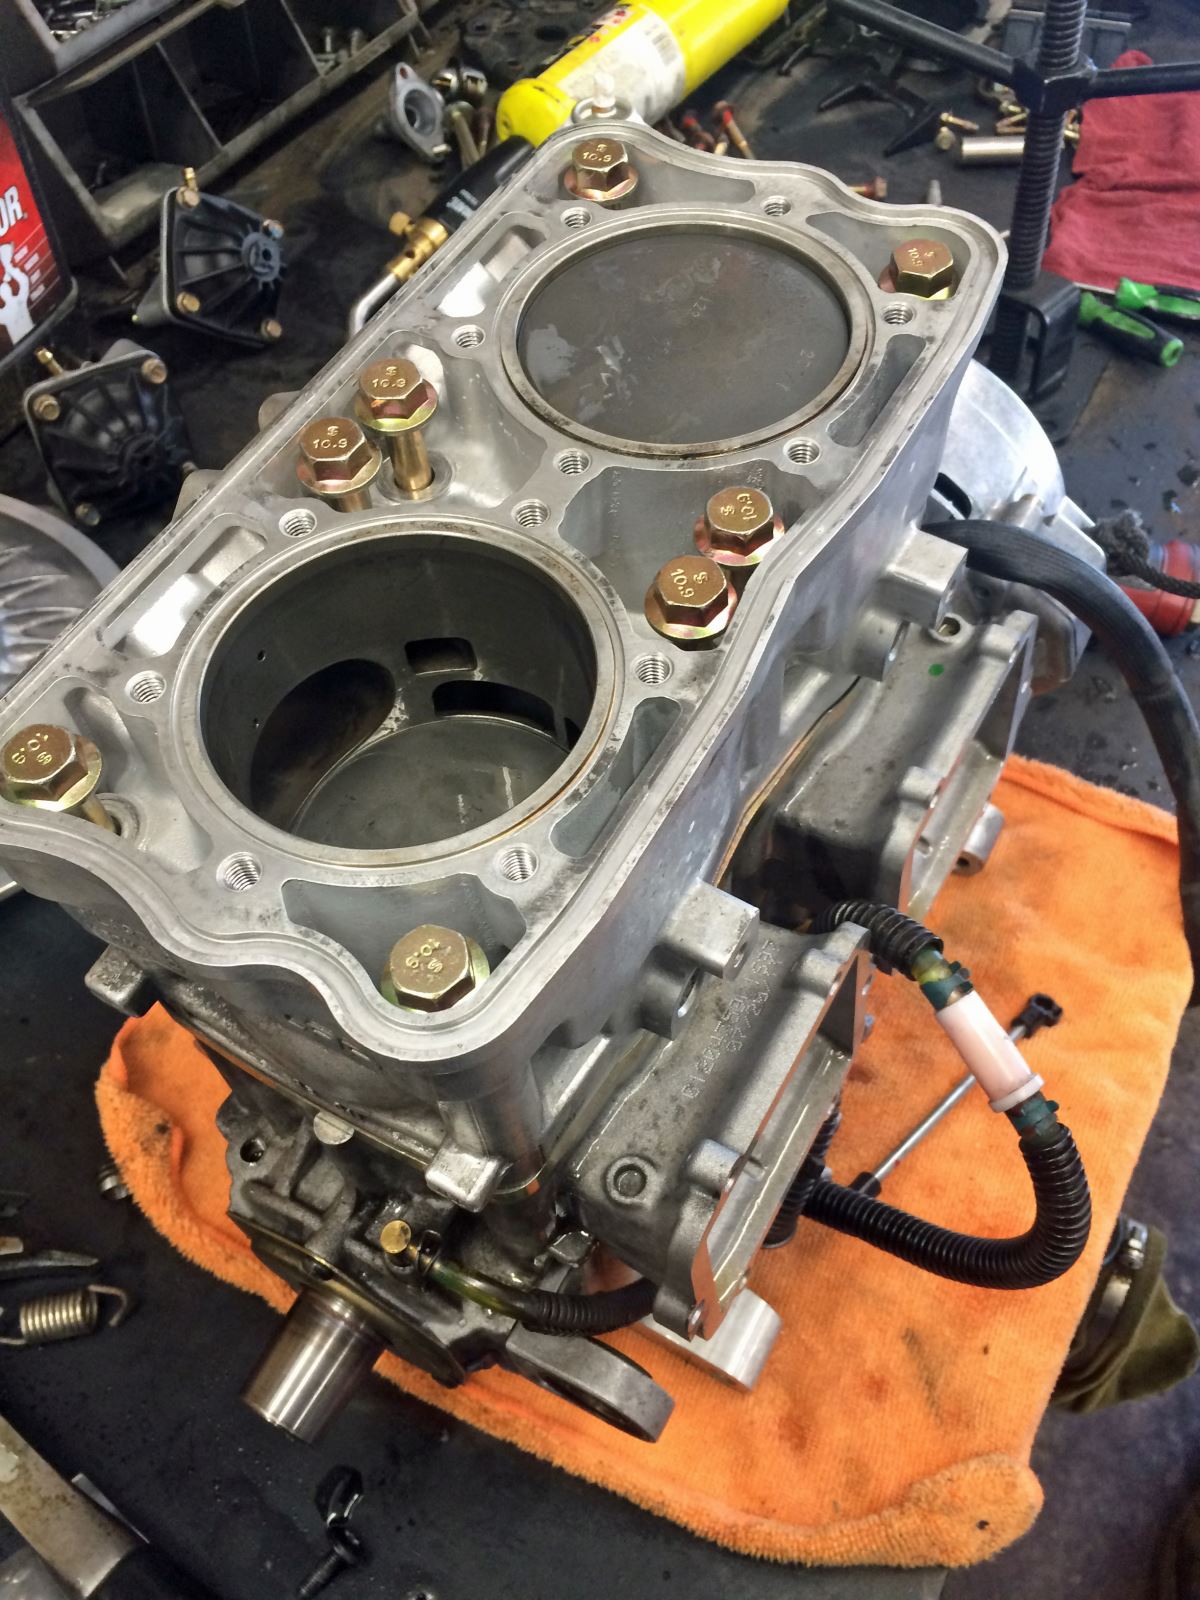
Place the cylinder on the piston with great care not to scratch the pistons or cylinder walls with the rings on the piston. It is best to get a little help from a friend to help align the pistons as you marry the cylinder to the bottom end of the motor. The torq specs on the new longer bolts provided is 42 fl/lbs. Do not forget your o rings.
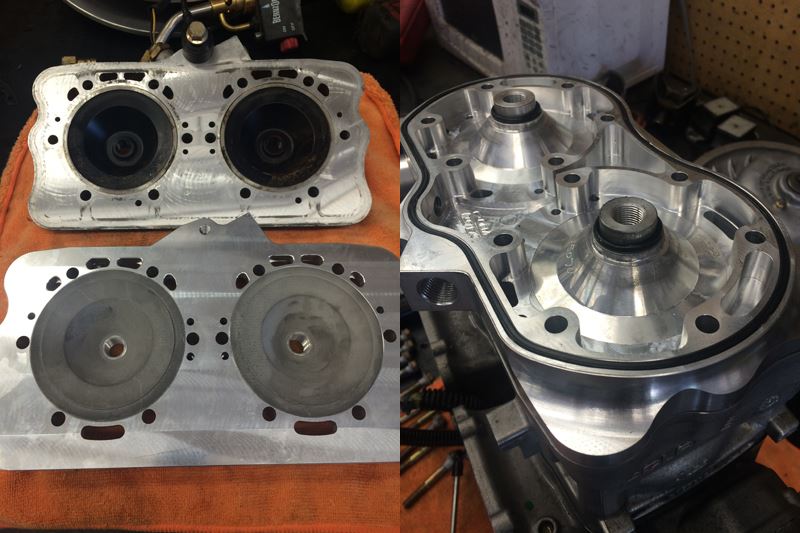
The stock head shown on top of the left photo is cast and seem to work ok with my sled. The MTNTK Performance CNC-machined head has a great design and high compression rating that nets a 7.3-hp gain. This head and the quality that MTNTK Performance continually proves in their products are the reason this kit is going on my Polaris Pro.

Place the OEM Head cover on the new MTNTK Performance head and torque the stock bolts to 25 ft-lbs. Replace stock thermostat, knock sensor, breather hose elbow, and plug that all goes into the head.

New reeds are must when you are this deep into a motor rebuild and VForce was the chosen reed. It is known to out last stock and not chip due to the reed it self being made of carbon fiber.

The motor all back together and ready to go back in the chassis it is good to double check all the bolts and oiler to make sure they are up to par and ready to rip.

Before the motor was set, I changed all of the motor mounts. This is a very cheap fix and as you can see from the picture on the left it was well worth it. The motor has less flex under torsion and this helps the clutches stay in better alignment.

The motor is place it was time to hook the throttle bodies exhaust and intake. Be sure to refill with antifreeze before you fire it back up.
Thanks to MTNTK Performance and Jared Daniels from High Mountain Adventures. This could have never been done without support and help from these great people. I am so excited to through my leg over this beast.
MTNTK Drop In Kit
High Mountain Adventures