 So we really put the mountain 800s through their paces. We did everything we could think of testing: speed runs, hillcross courses, groomed trails, bump trails, handling and even turning radiuses.
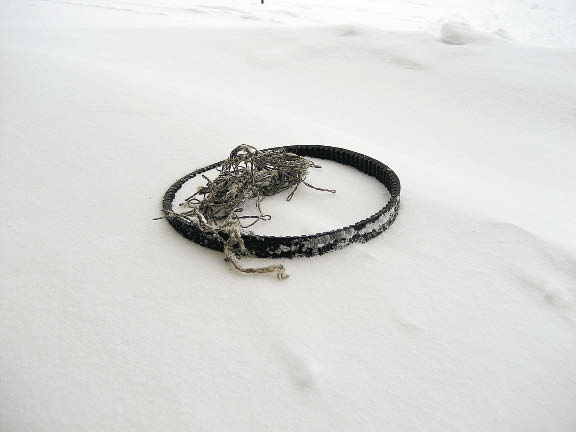
When it was all said and done, we figured we'd covered just about every aspect of the snowmobile a buyer would look into before purchasing one. Then it hit us: what about changing the belt?
While not really a deciding factor when it comes time to put your money down on a new machine for the season, it's information that might come in handy while on the hill. So we took some time and went through the belt swap process on all three of our 800s. We even included the Yamaha Nytro MTX.
So here's the step-by-step process of what it takes to make a belt change happen. While we didn't score the machines in this category, the Polaris was clearly the easiest, taking us just more than three minutes from start to finish.
Arctic Cat M8
- Locate the factory supplied tool kit under the seat. You'll need the 9/16-inch wrench. Seat is removed with the two clips that hold it to the tunnel inside the trunk. Open the side panel by removing the c-clip on the front of the panel, then swing the panel up and out of the way.
- Remove the belt guard.
- Using the wrench, remove the bolt in the center of the secondary clutch. You'll then flip the bushing/puck around on the bolt.
- Reinstall the bolt. The bushing/puck will contact the outer helix area. This will separate the clutch sheaves.
- Remove the belt. You may need to roll the primary clutch around to gain the space needed to clear the belly pan.
- When reinstalling the belt be sure the lettering faces you or the directional arrows are running the correct way.
- Remove the center bolt on the secondary and again, flip the bushing/puck around so the bolt can be reinstalled and tightened correctly.
- Slip the belt around the clutches to take out the slack until the belt edge is sitting flush with the outer edge of the clutch sheaves.
- Holding the brake lever, tighten the secondary center bolt one more time.
- Reinstall the belt guard and the side panel. Pay attention to the tabs and install the c-clip.
- Put your tools away and reinstall the seat.
Polaris Dragon
- Using the Phillips screwdriver located on the belt guard, loosen the screw, located at the top rear of the side panel.
- You can then pull the side panel upwards to remove it.
- Using the threaded 90-degree tool on the belt guard you can thread it into the hole on the secondary clutch. This will open the sheaves.
- Remove the belt. When reinstalling the new belt pay attention to the directional arrows or be sure you can read the lettering; the belts are directional.
- Remove the clutch tool, closing the sheaves. Work the belt around clockwise, removing the slack, until it is flush with the outer edge of the clutch sheaves.
- Reinstall the side panel and place the tools back into their proper places for next time.
Ski-Doo Summit
- Start by removing the side panel.
- Pull the pin in the belt guard and remove it.
- You'll need the wrench and clutch tool found in the tool kit located on the belt guard.
- Loosen the center bolt on the secondary clutch, but don't remove it.
- Using the clutch tool, insert it into the secondary clutch and rotate it clockwise. This will separate the sheaves.
- Remove your belt and reinstall the new one, paying attention to the lettering or directional arrows.
- Back the secondary tool off counterclockwise. This will bring the sheaves back together. You'll want to do this until the belt sits flush or just above the outer edge of the sheaves.
- Remove the clutch tool and tighten the center bolt.
- Check your belt tension and adjust with the clutch tool as needed.
- Put your tool away and reinstall the belt guard.
- Reinstall the side panel, paying attention that the tabs are in the proper places.
Yamaha Nytro MTX
- Remove the side panel using the twist lock screws.
- Remove the belt guard by pulling the slide pin out on the rear of the guard. Lock the snowmobile's brake-this will keep the clutches from turning.
- With the palm of your hand, press in firmly on the secondary clutches helix-this will spread the sheaves, loosening the belt for easy removal.
- Slip the belt off the secondary clutch first, then off the primary clutch.
- When reinstalling the new belt, pay attention to the lettering or directional arrows on the belt. These belts are directional and need to go on the way it is printed on the belt. If the belt doesn't have directional arrows, install it so that you can read the letters.
- Again, by pushing in on the helix you can spread the sheaves and gain the clearance to install the belt. Work the belt around clockwise to take out the slack. The belt should ride flush with the outer edge of the secondary sheaves.
- Reinstall the belt guard.
- Reinstall the side panel, paying attention to the tabs on the panel. Be sure they go into their respective places and then tighten the twist screws.
- Unlock the brake handle.