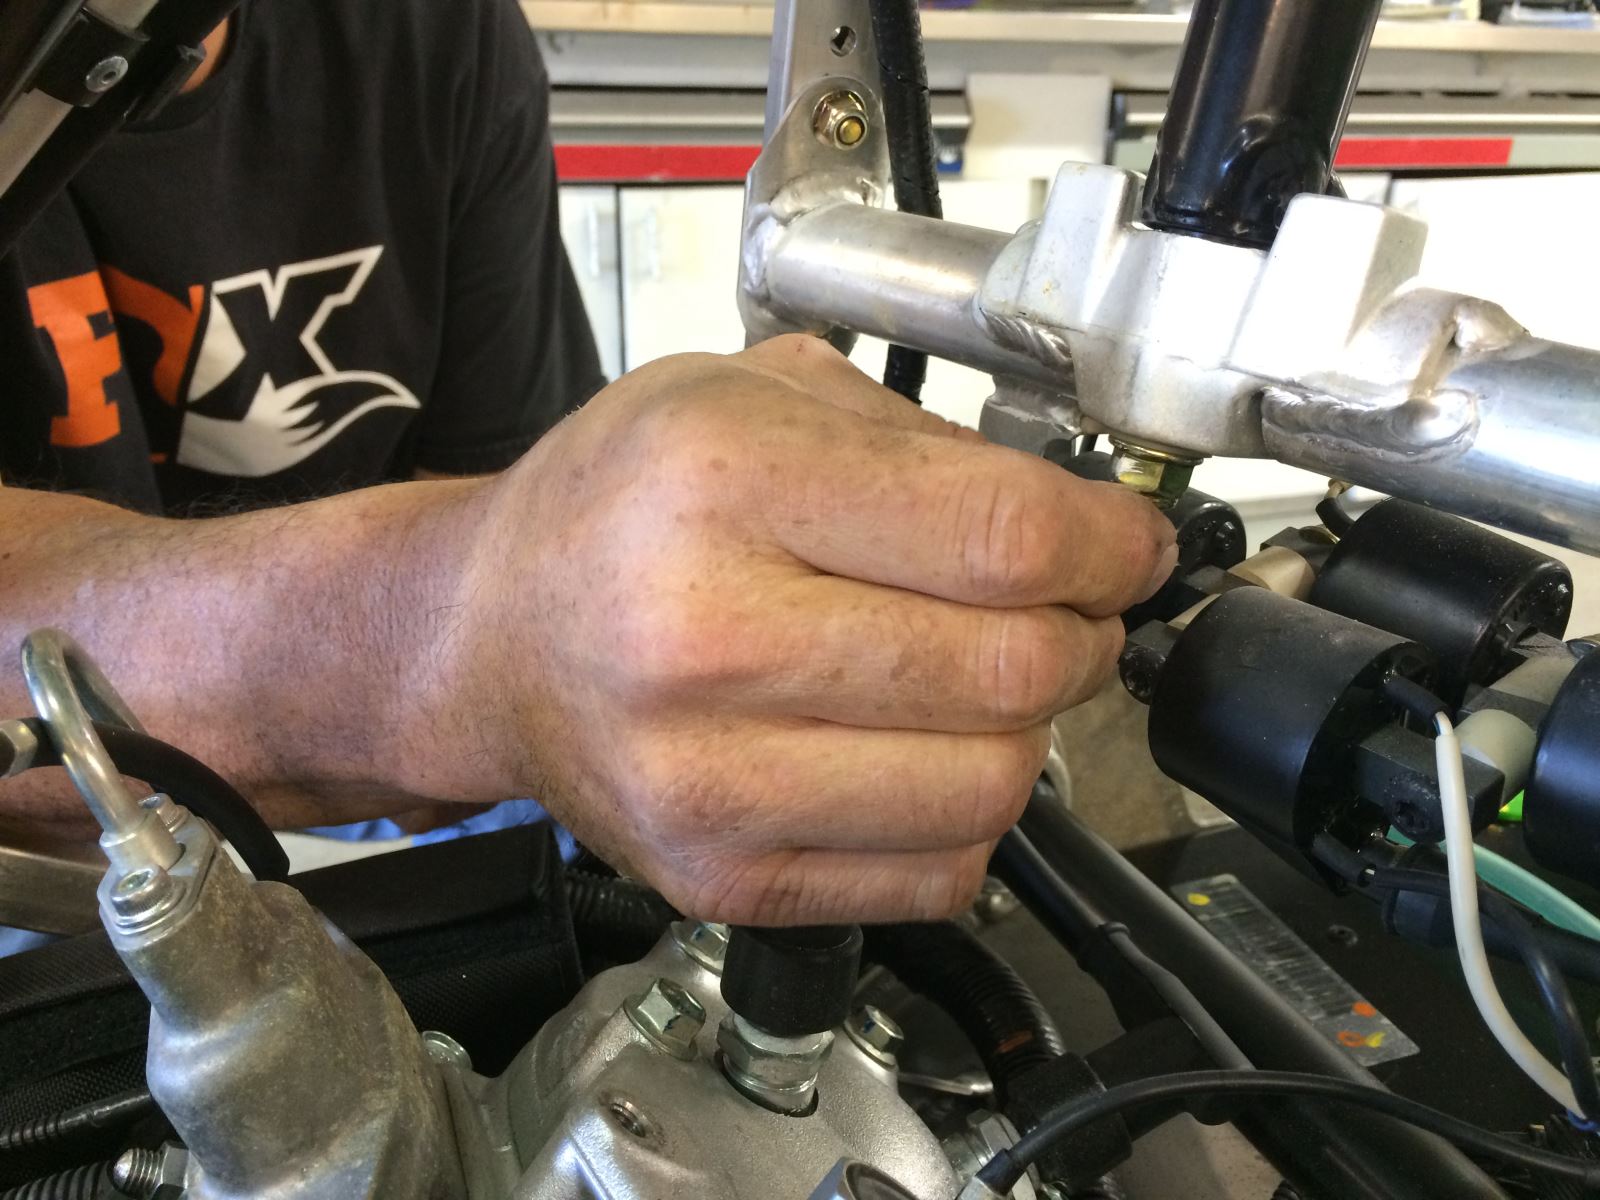
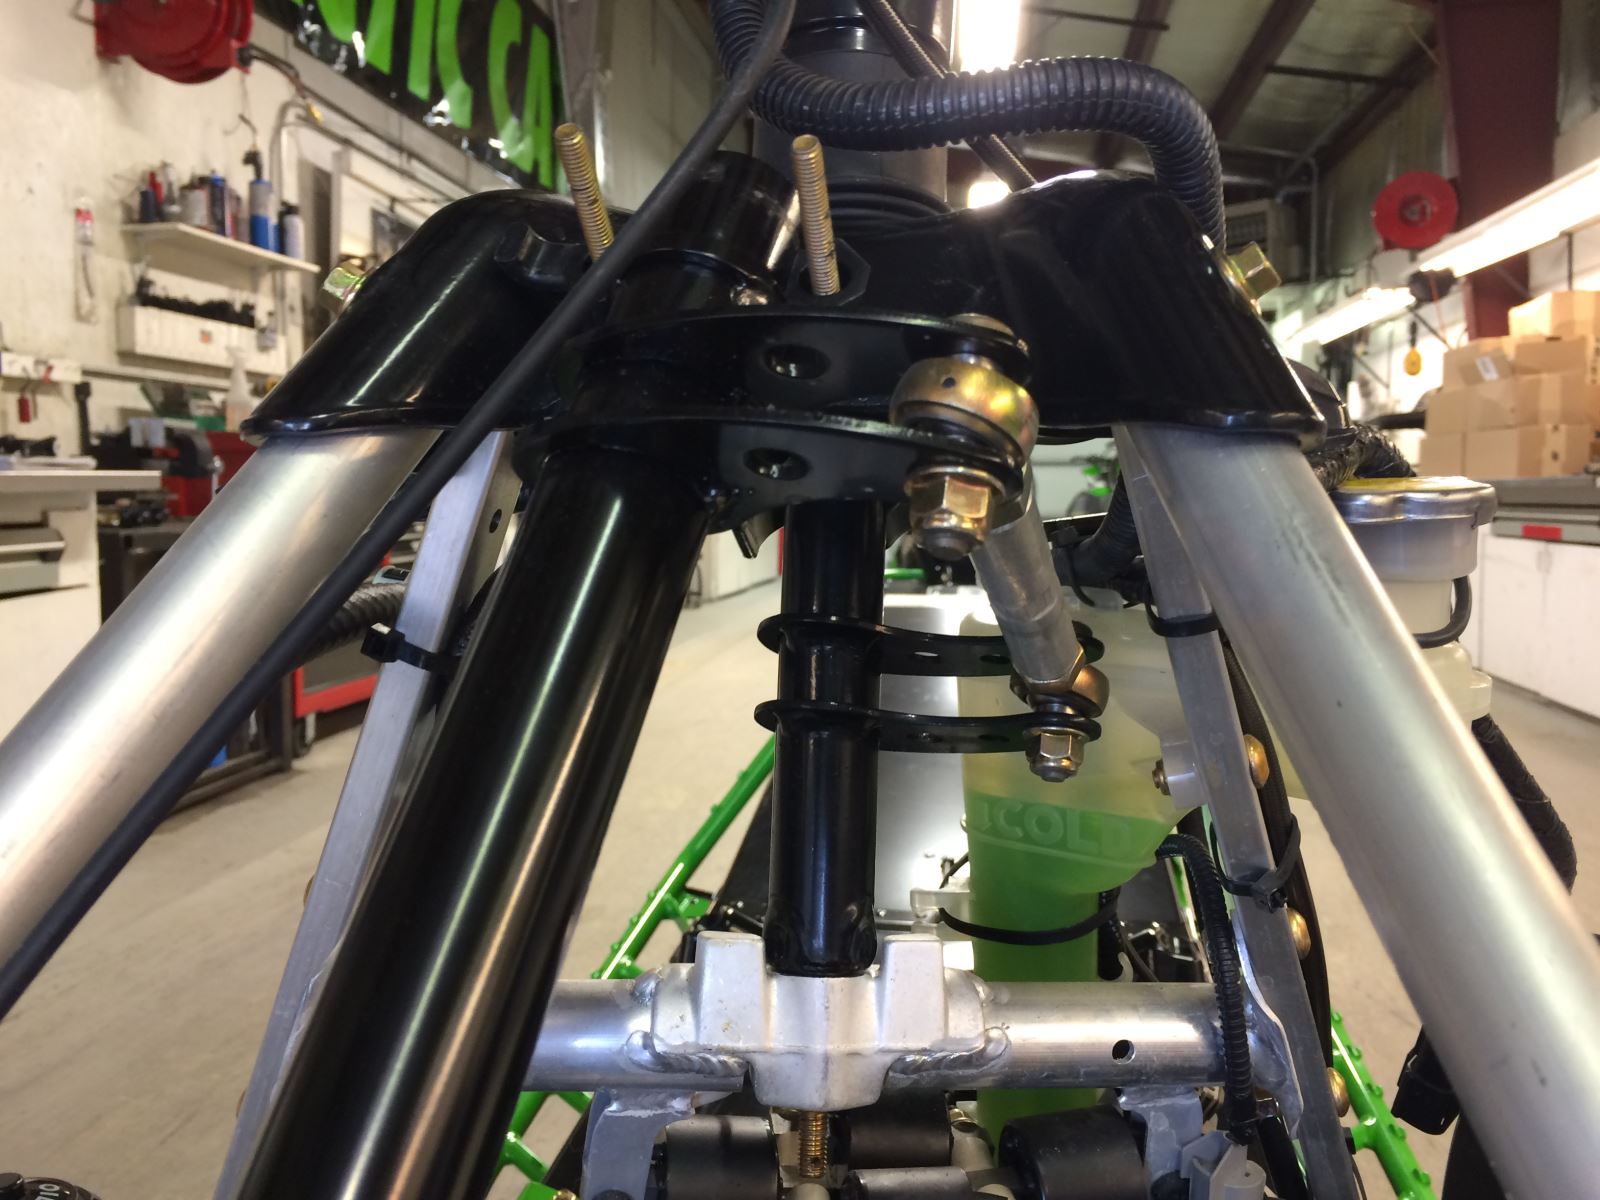
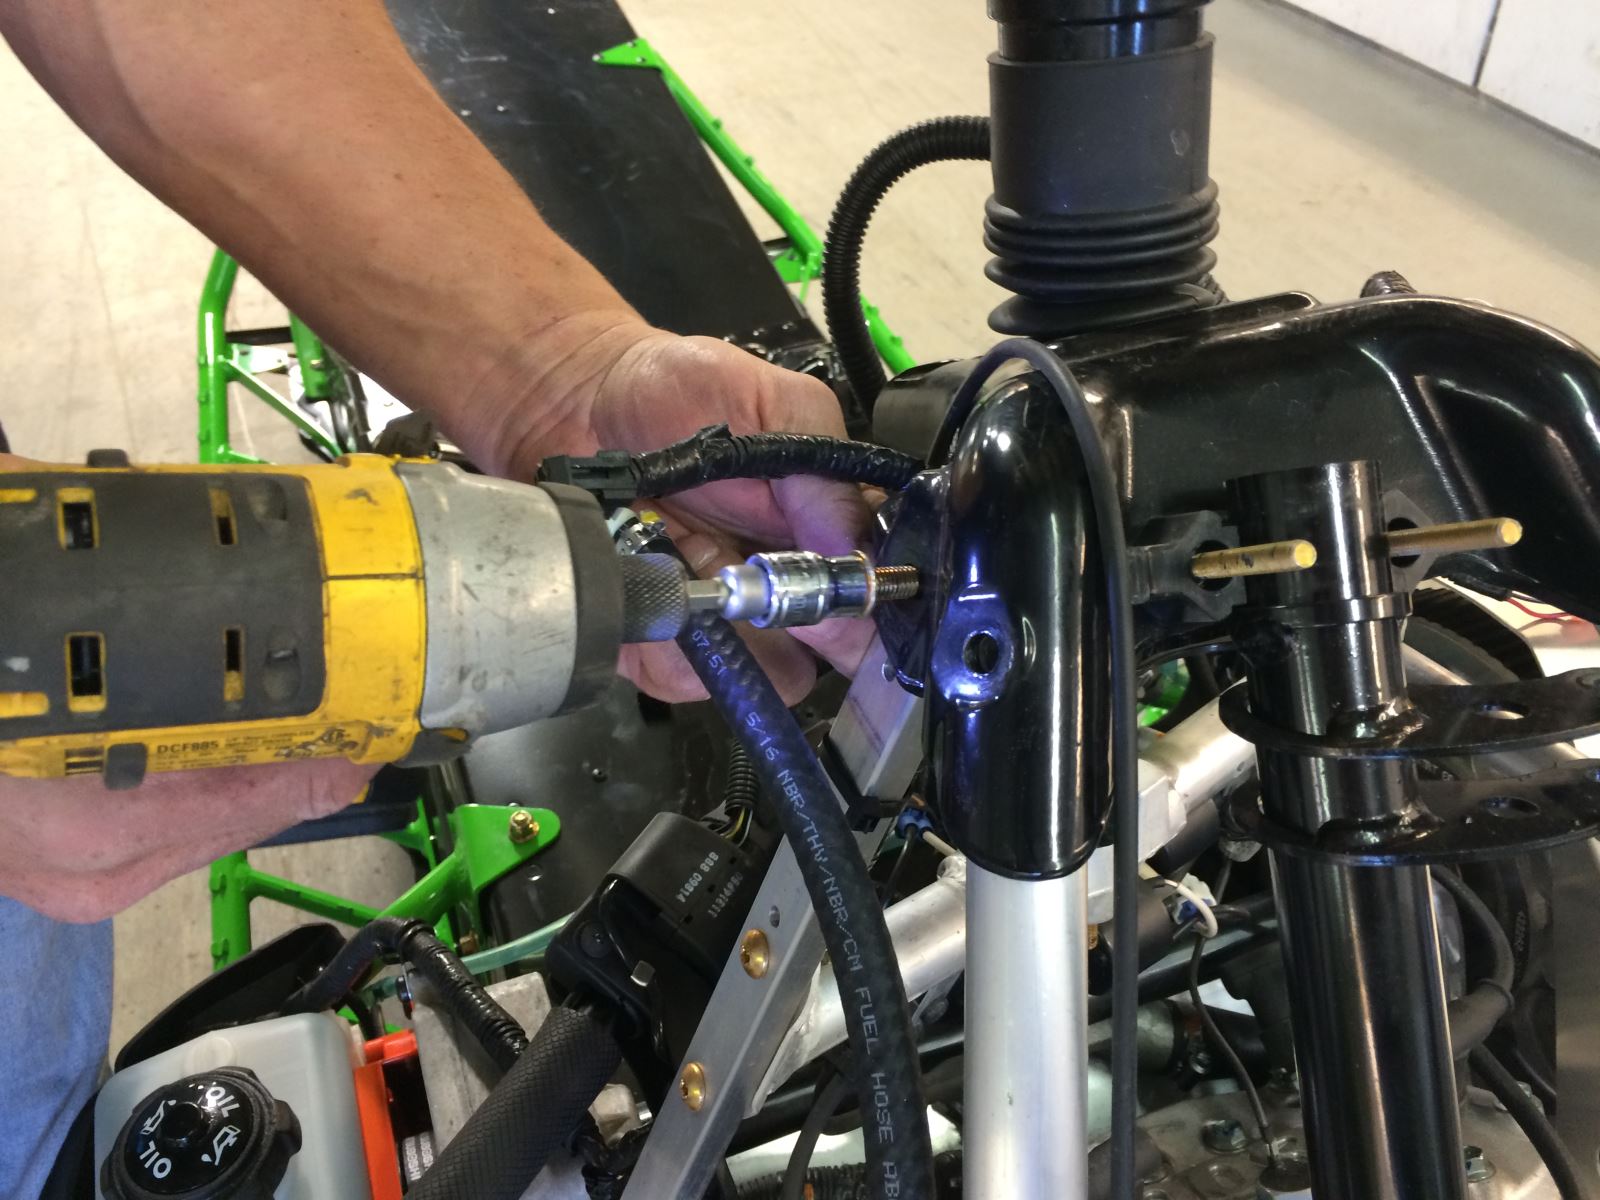
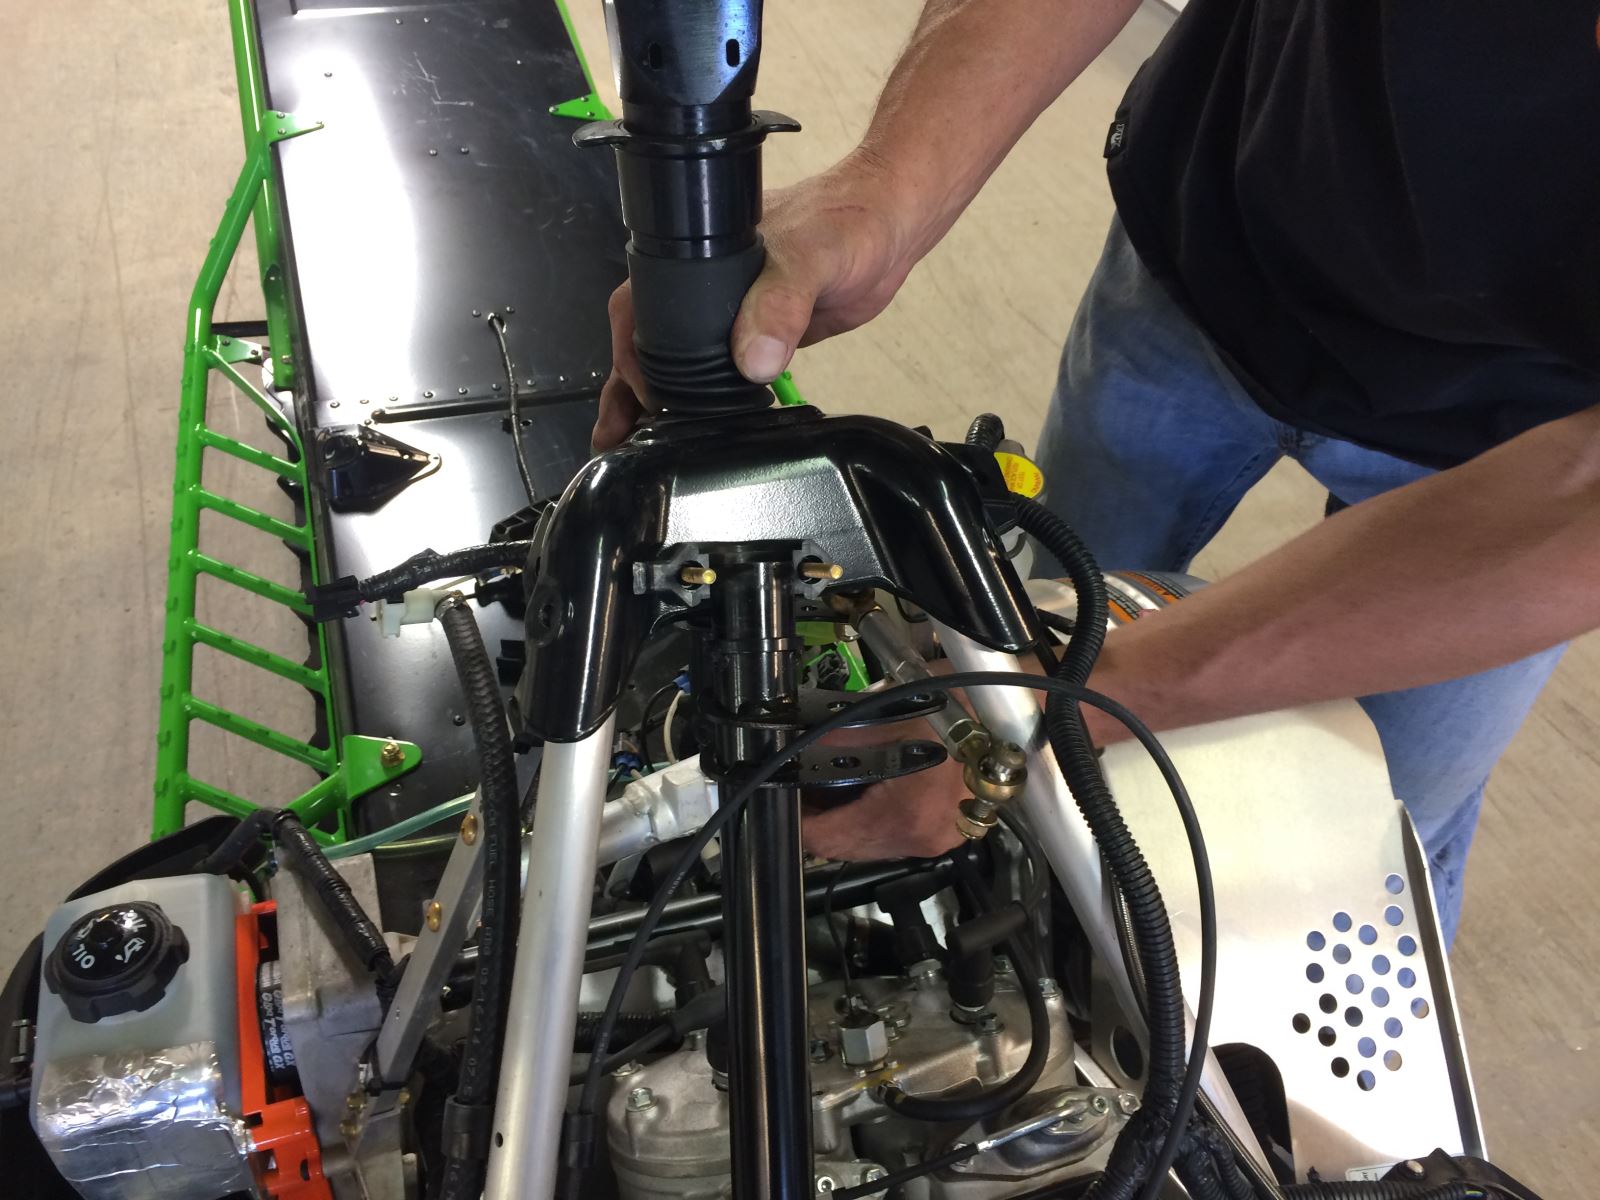
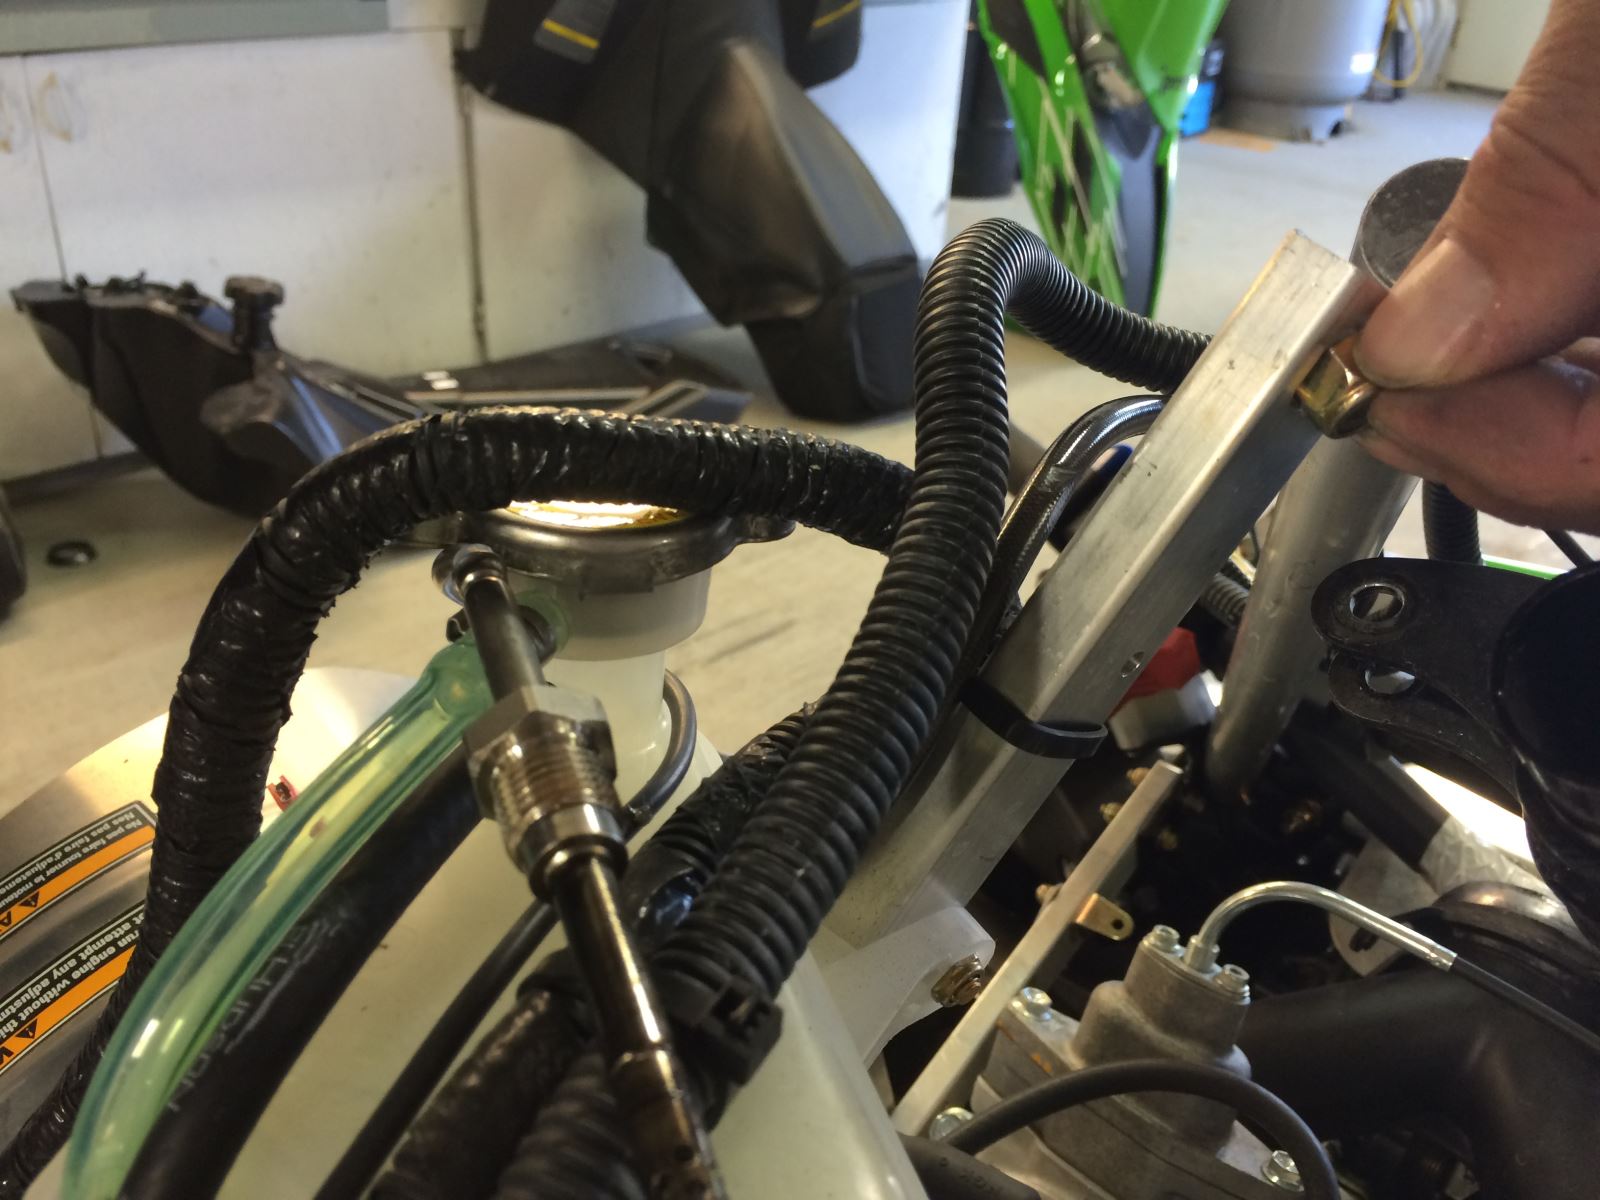
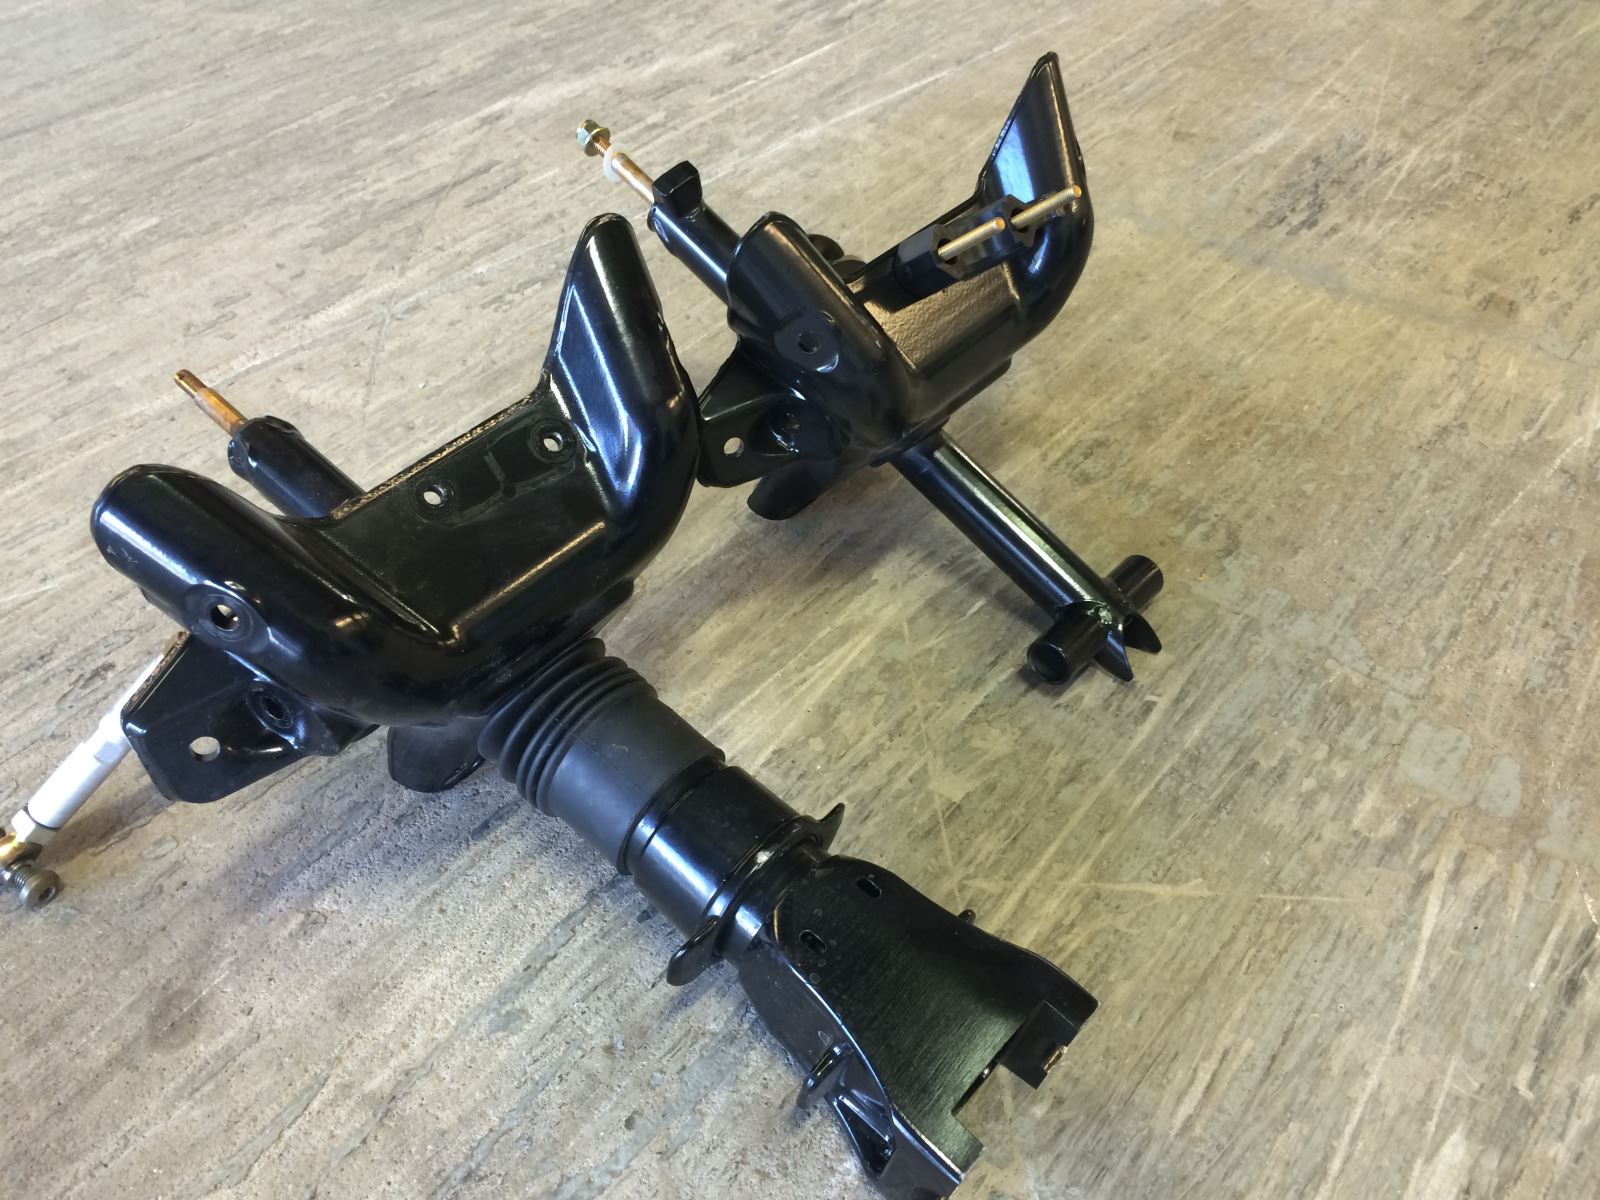
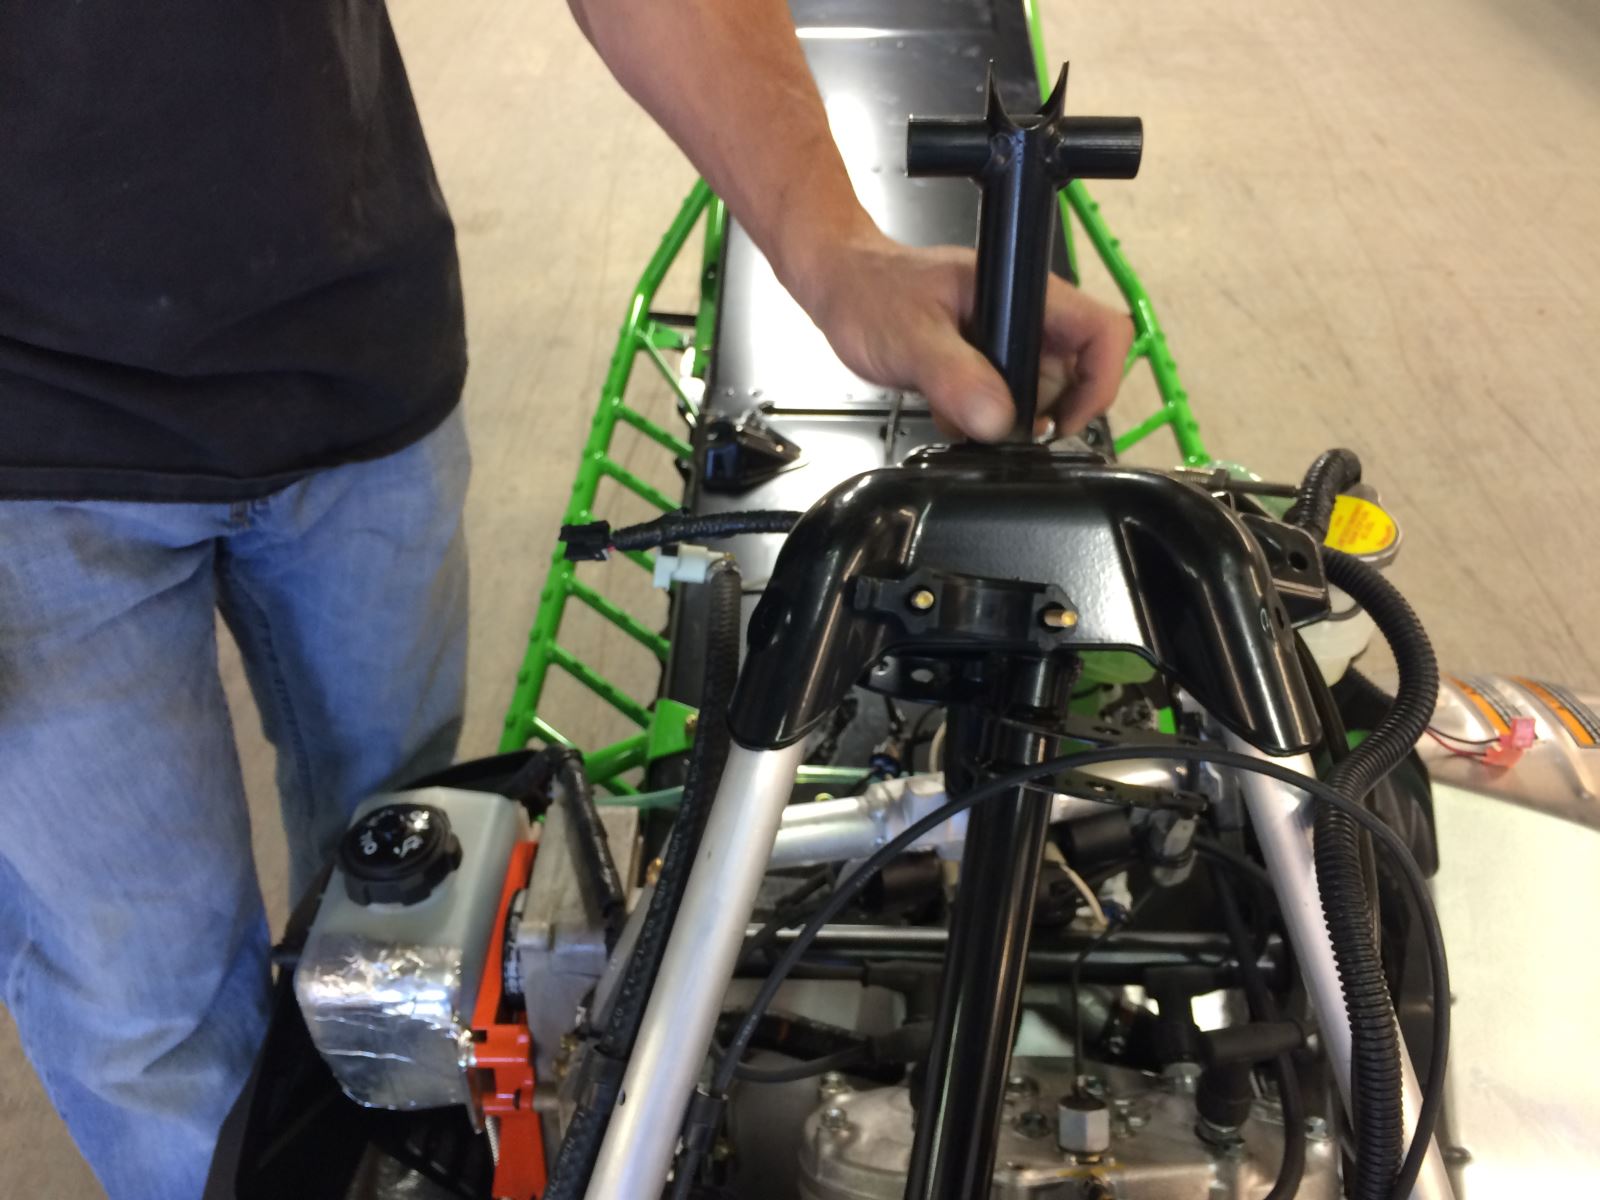
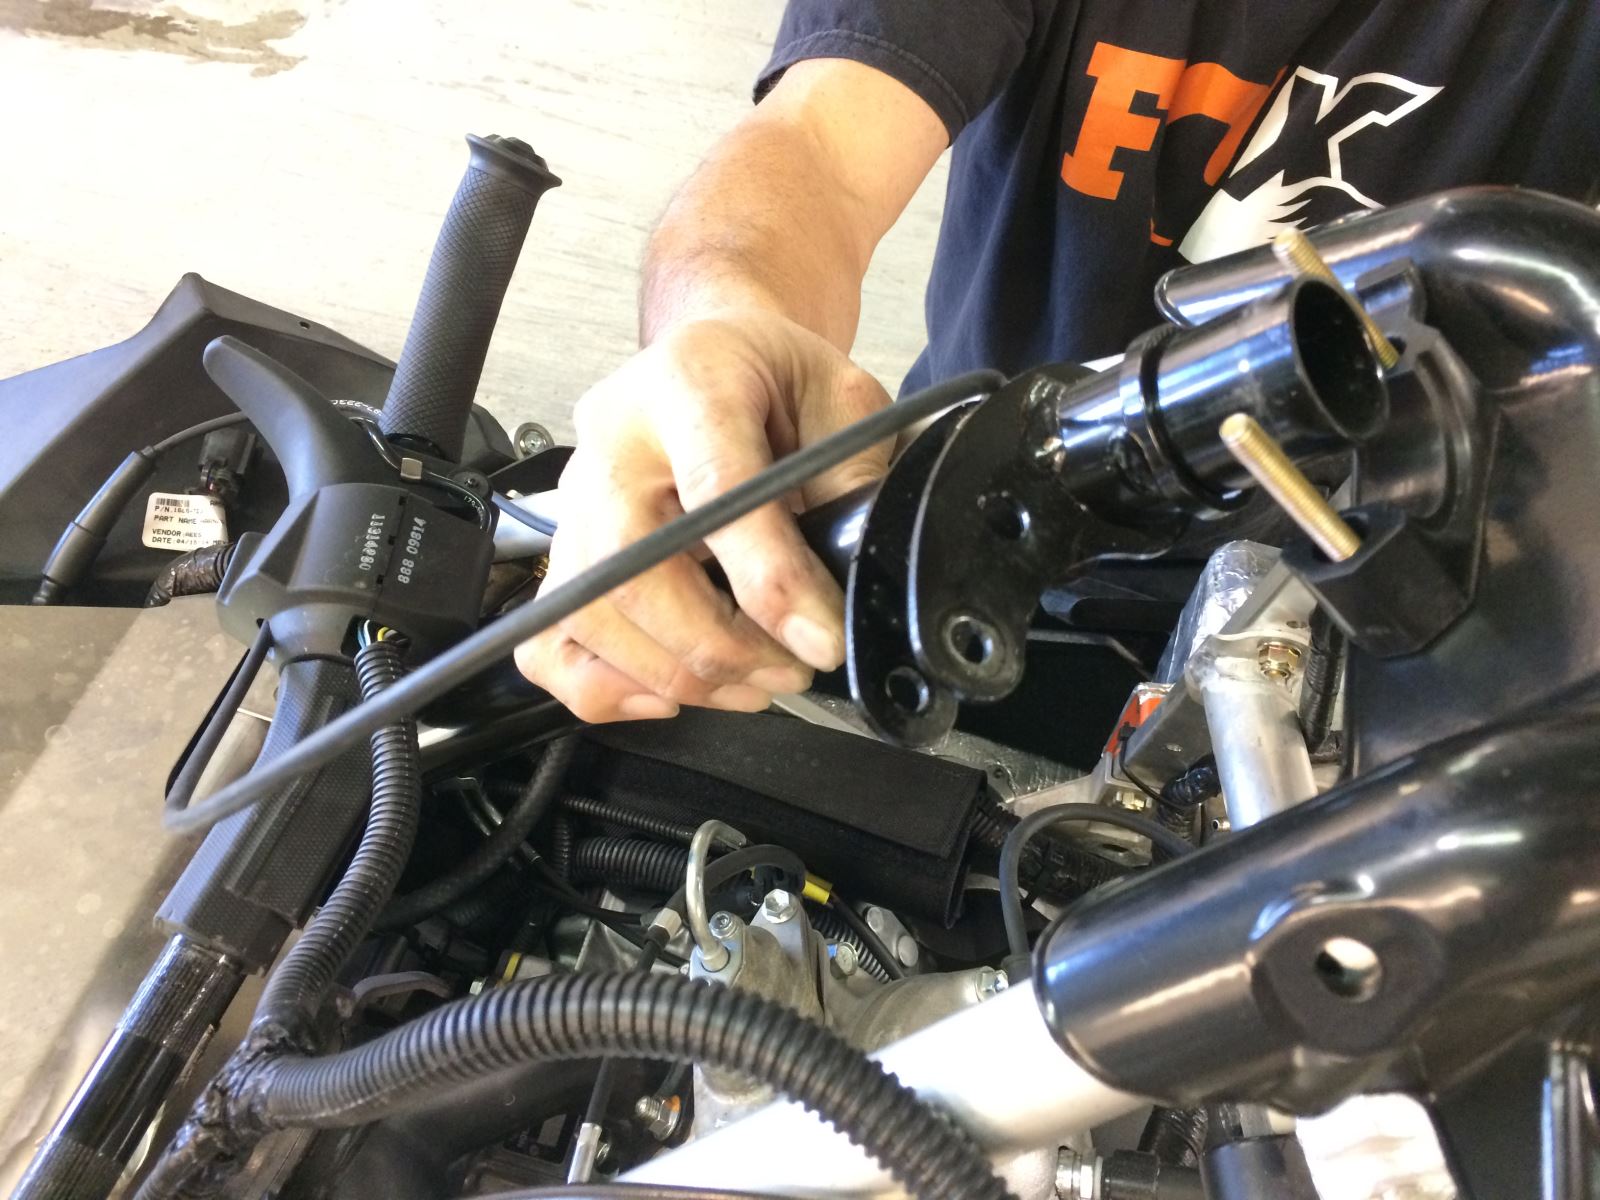
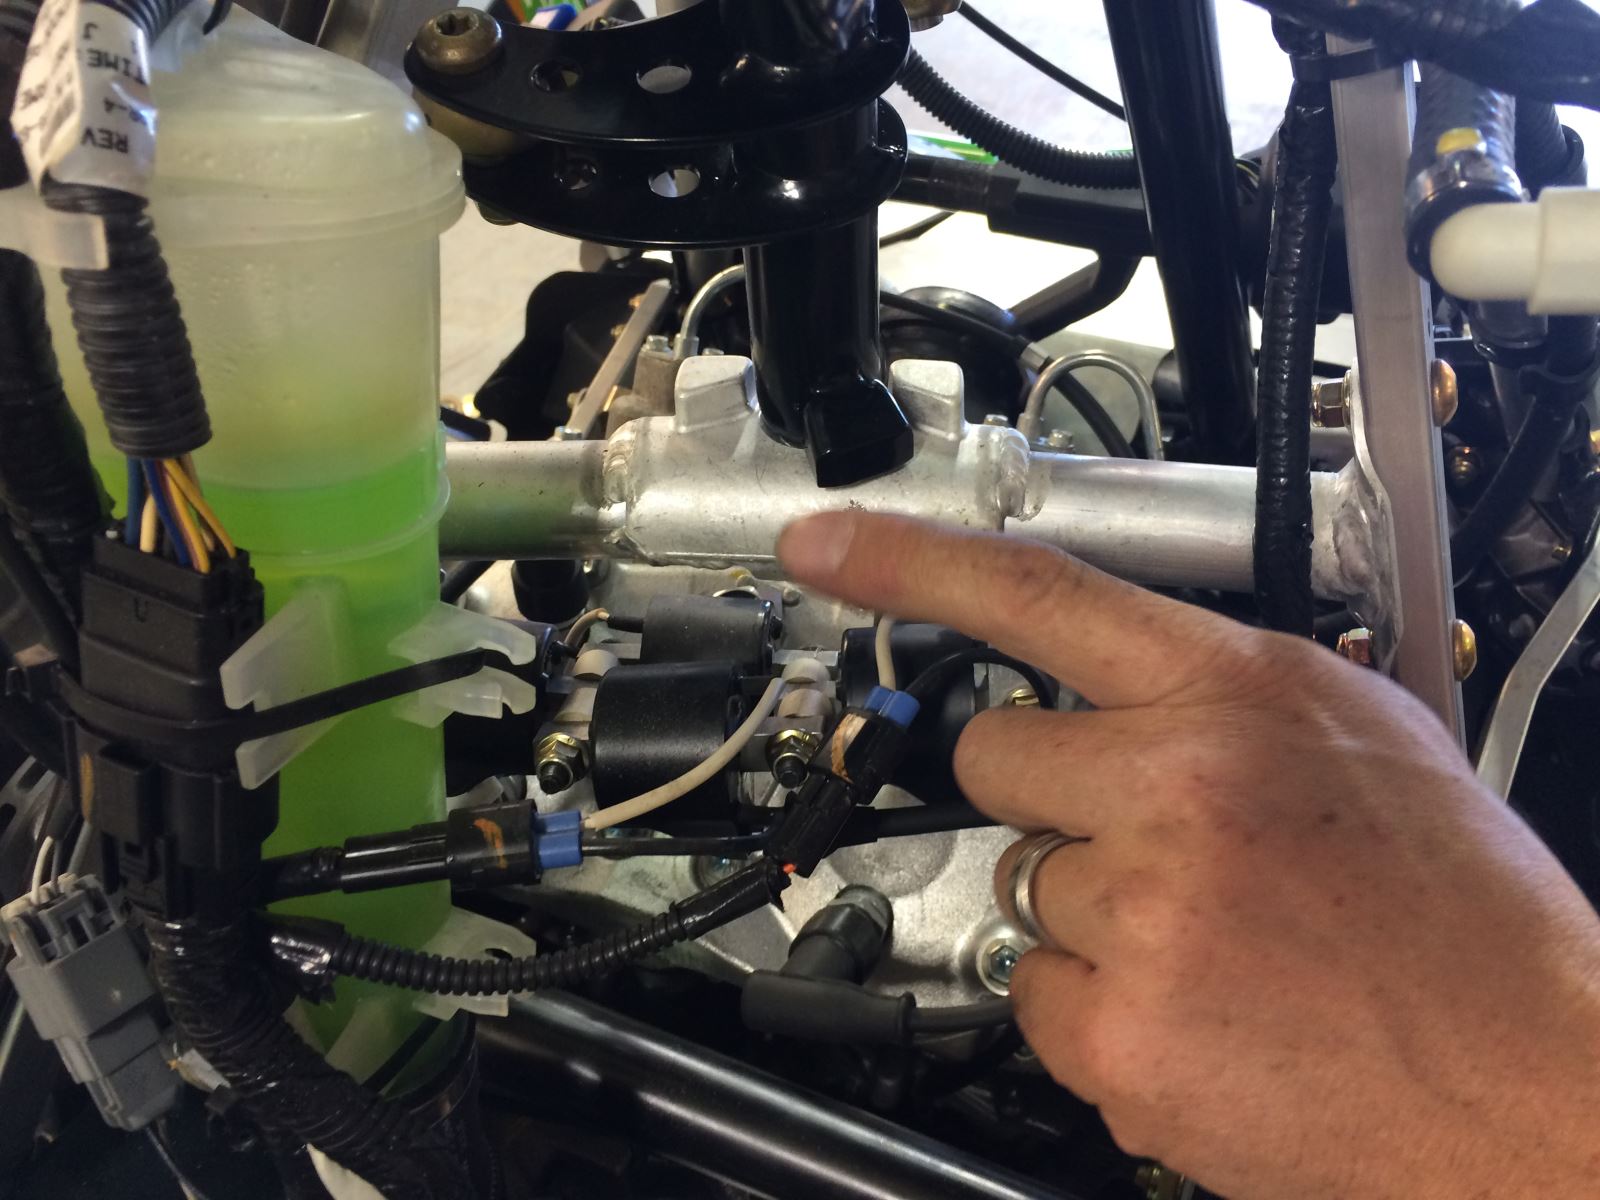
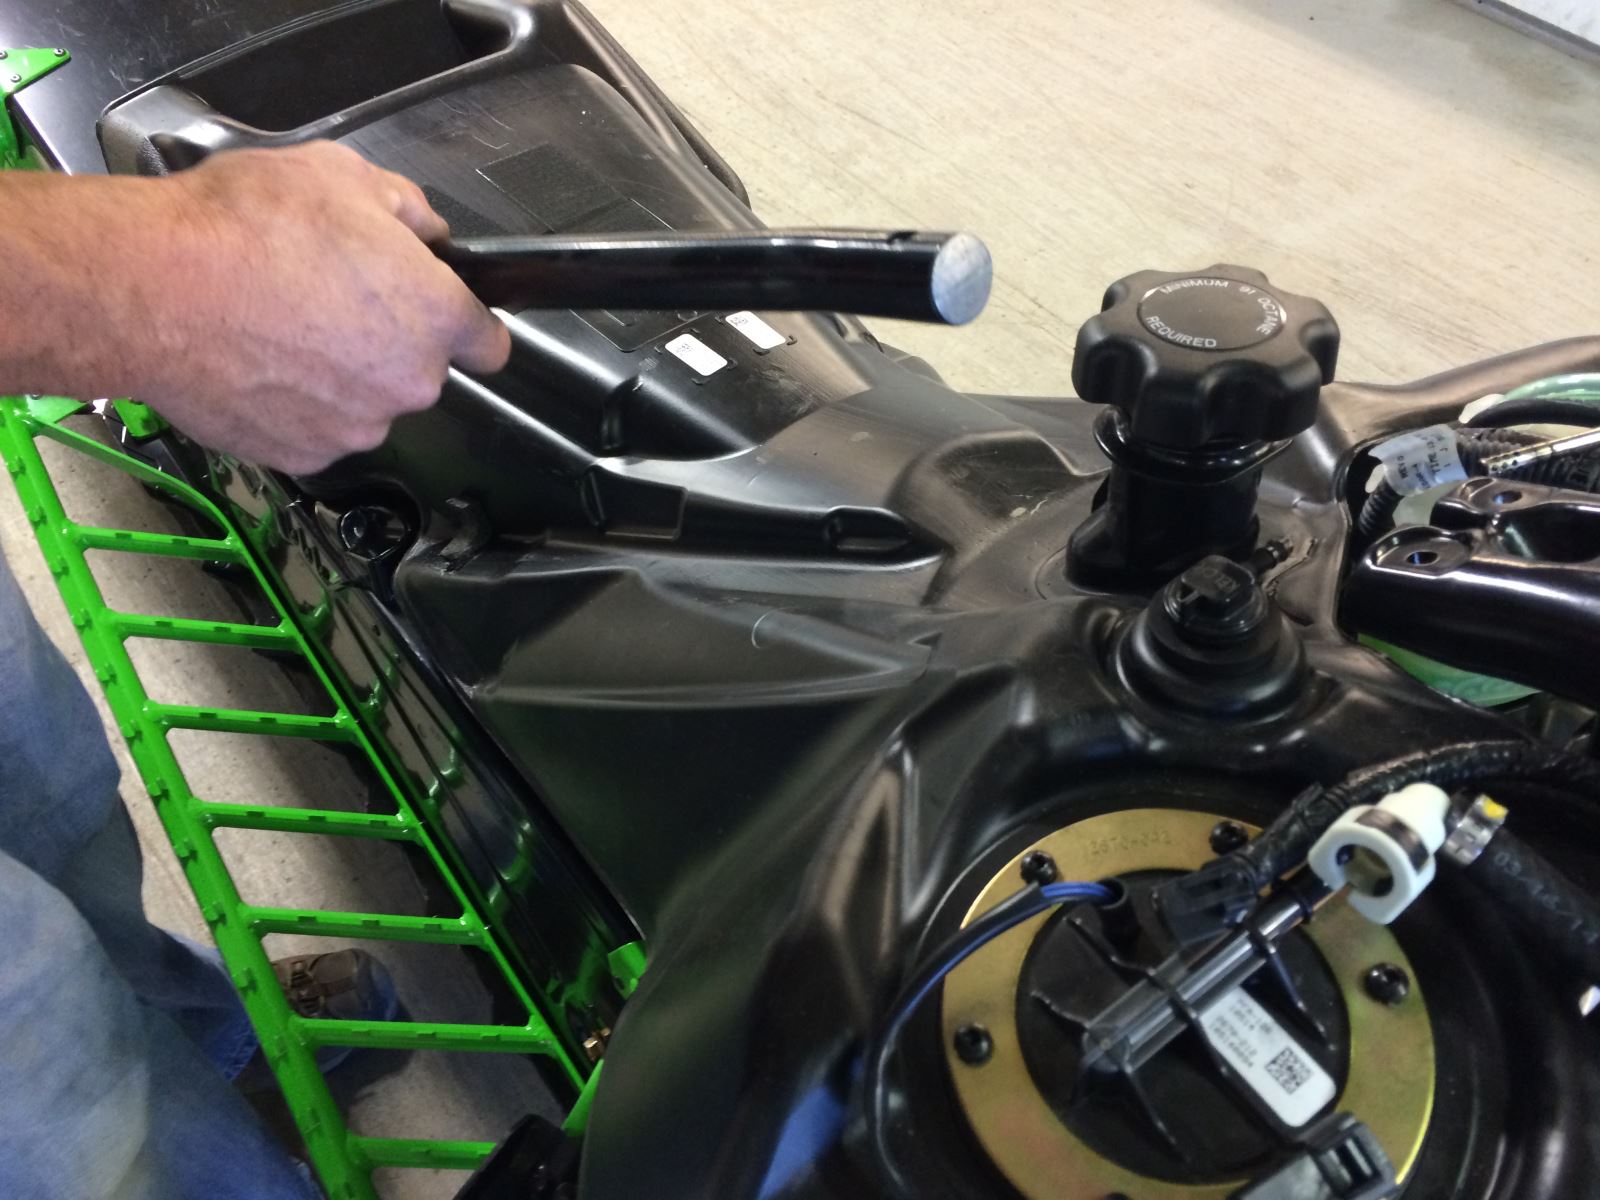
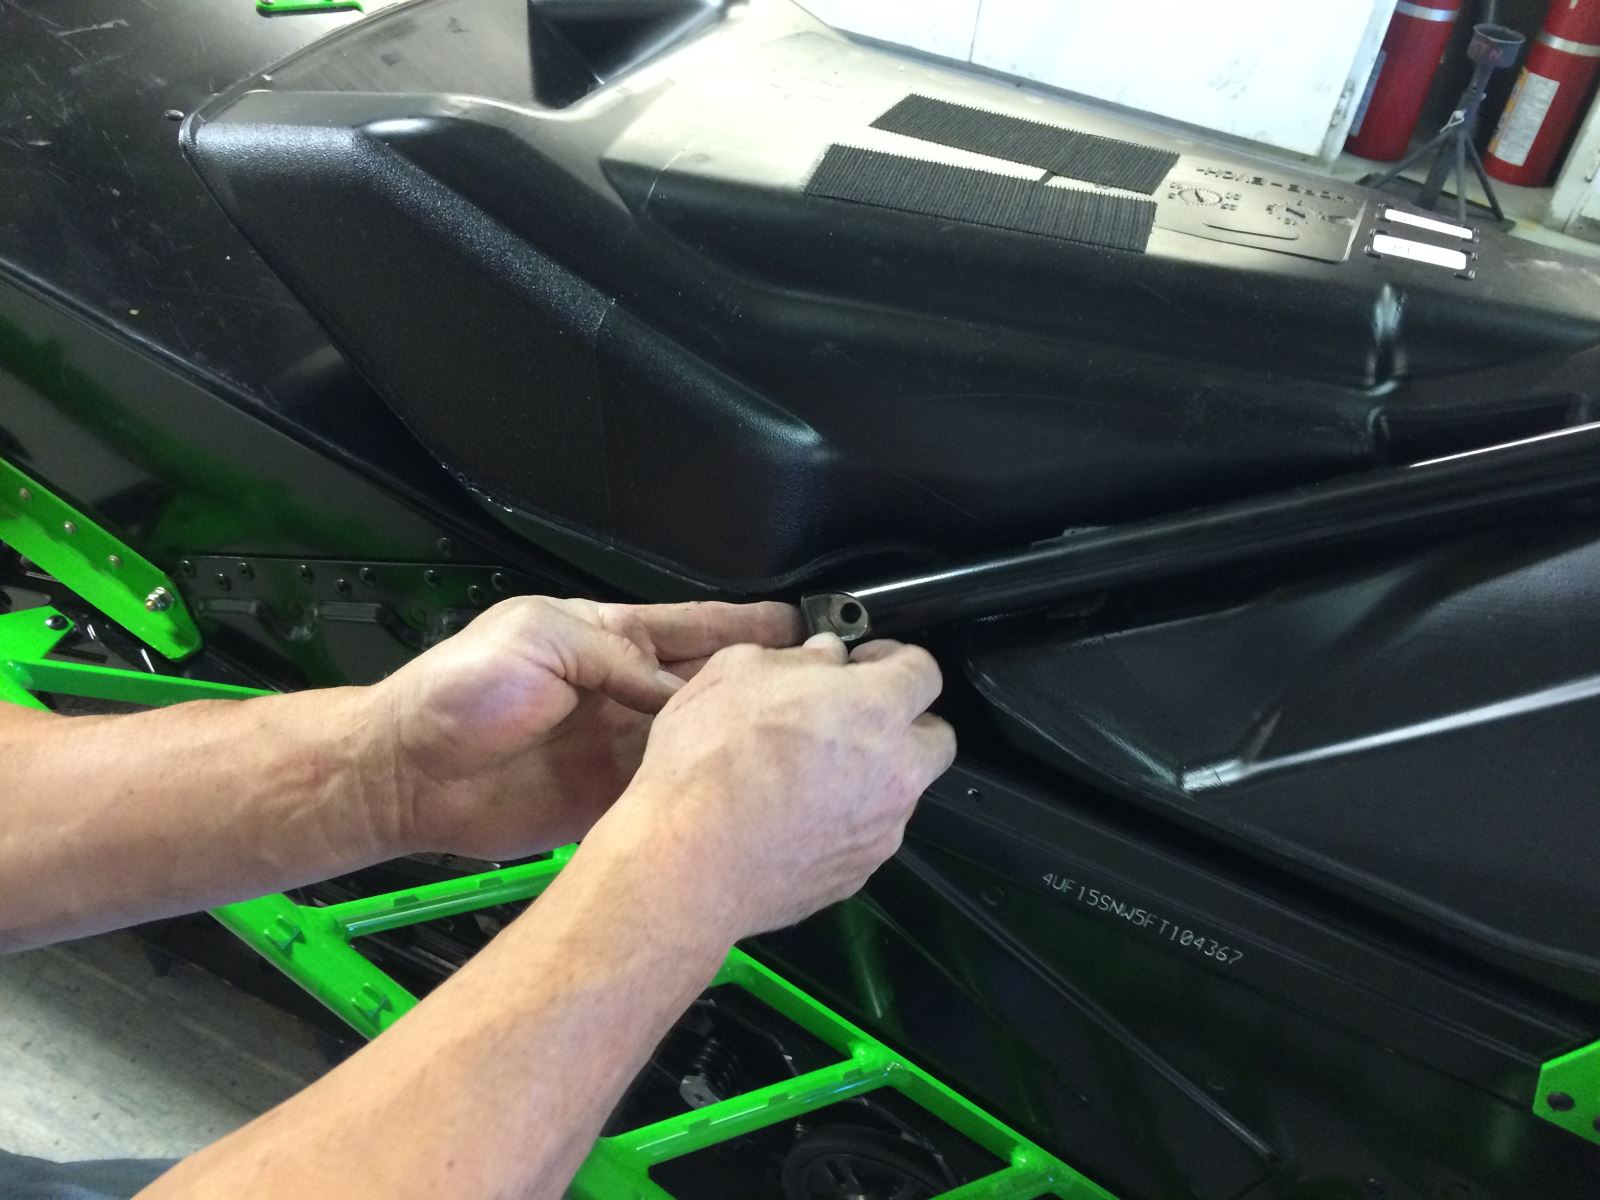
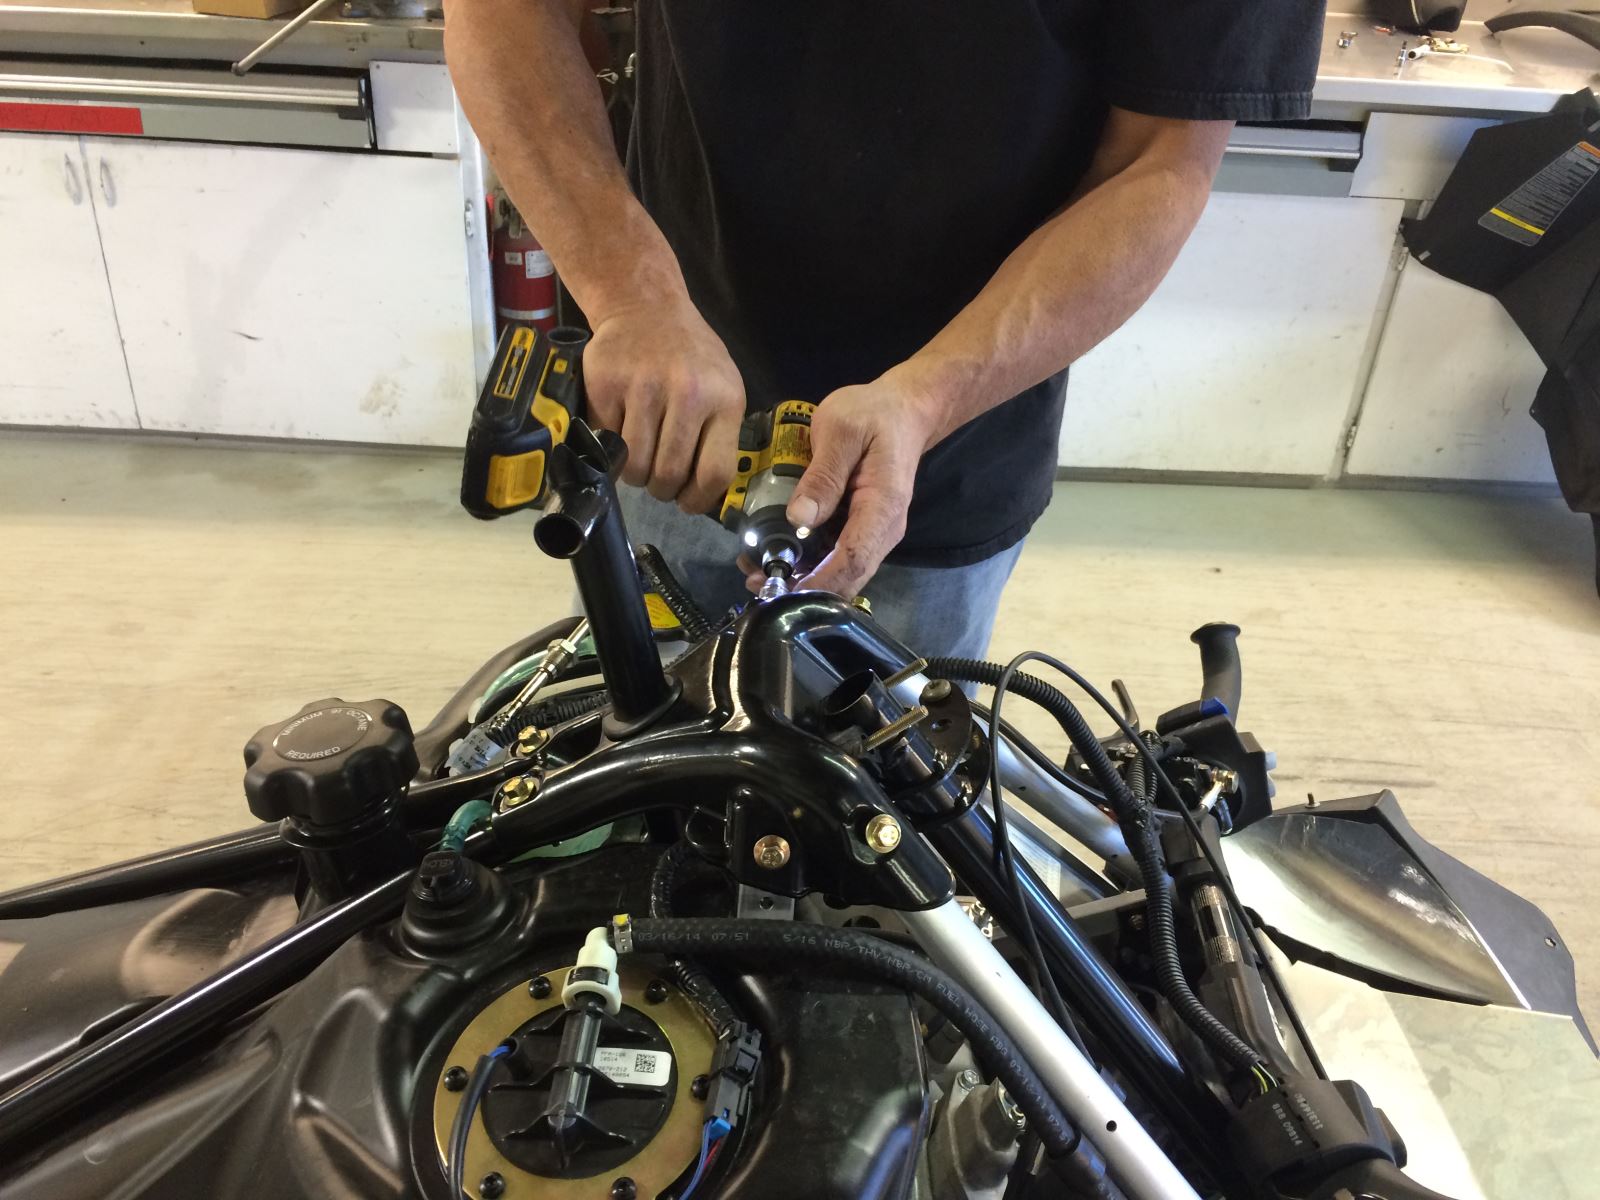
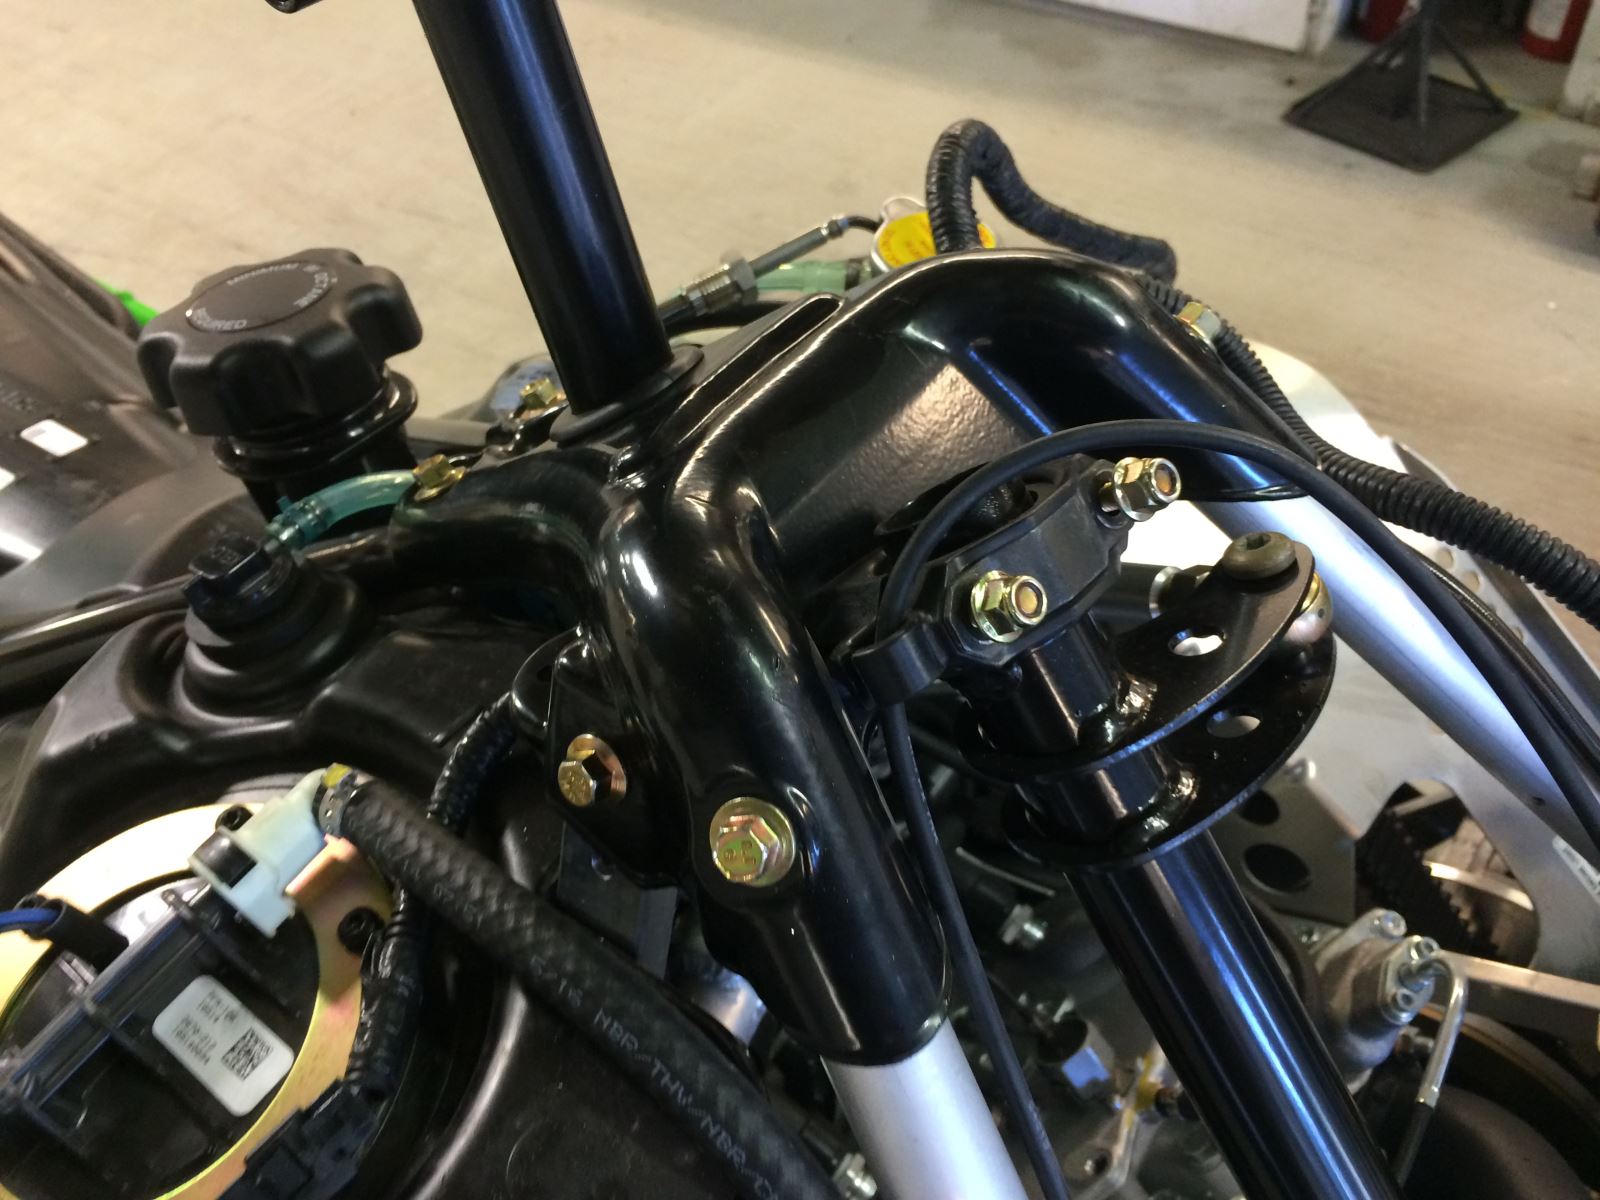
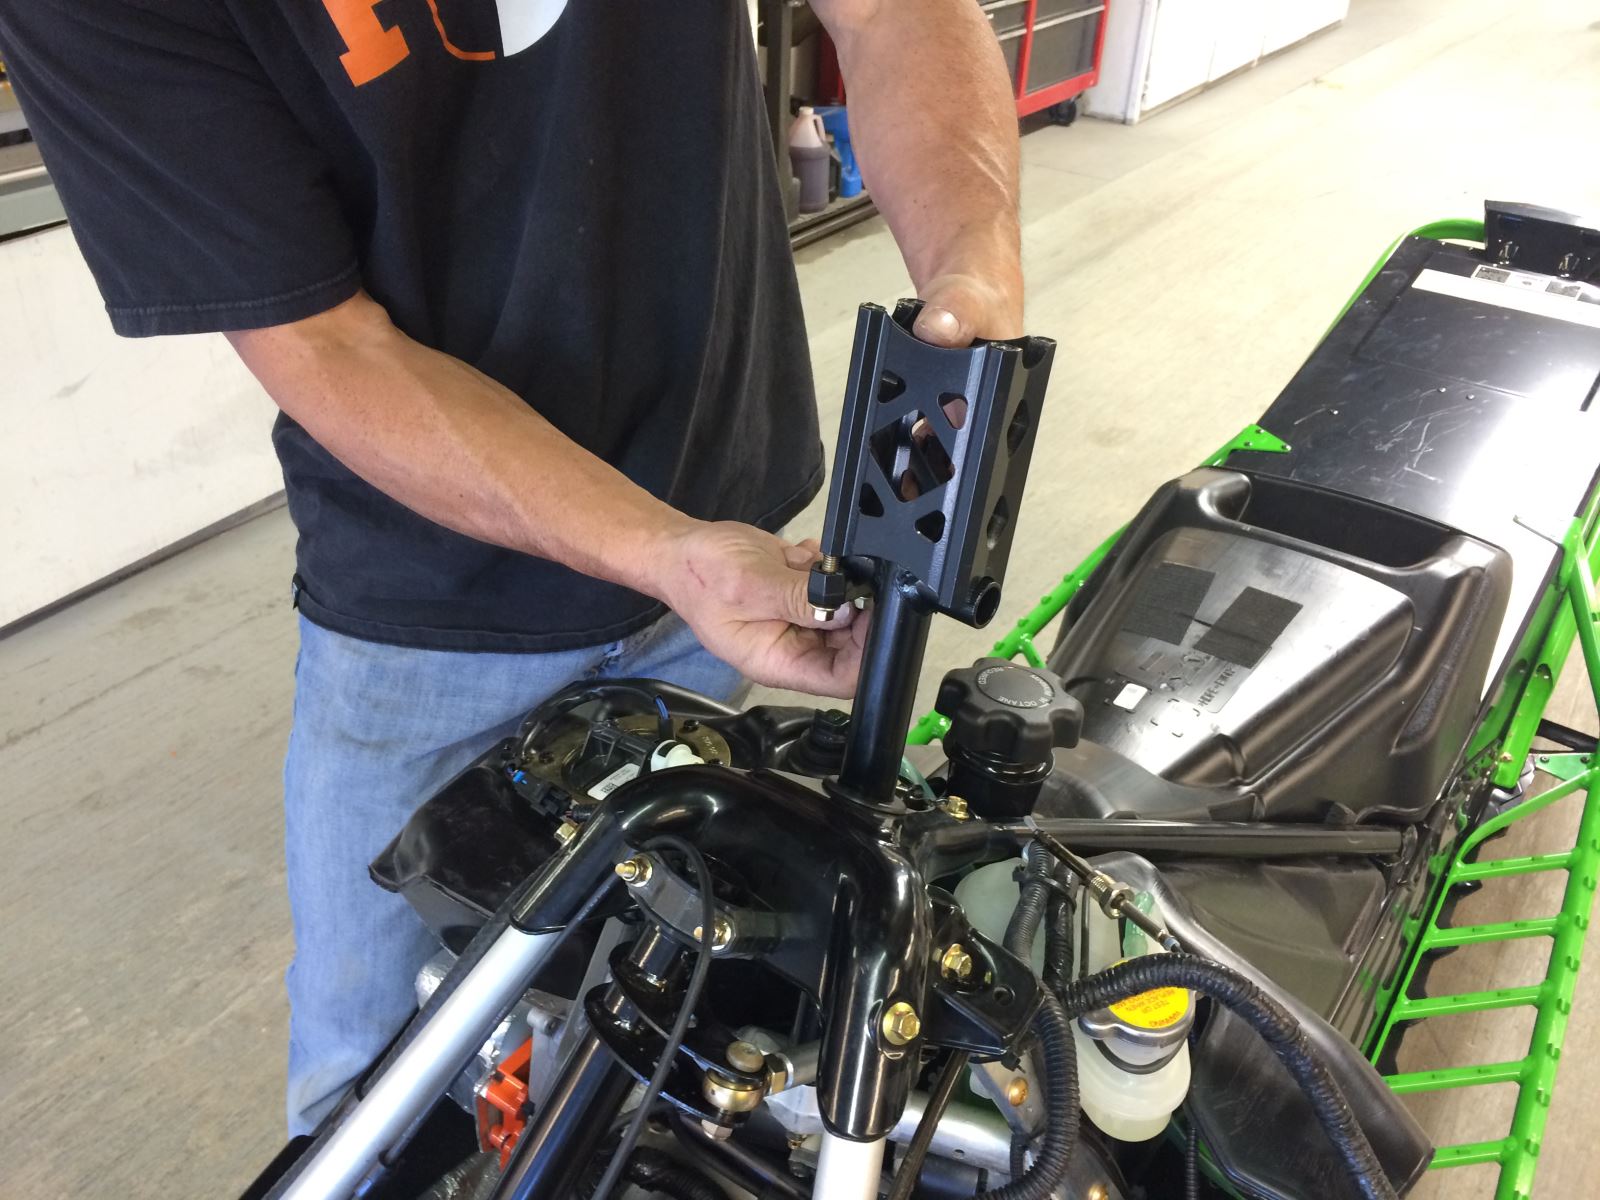
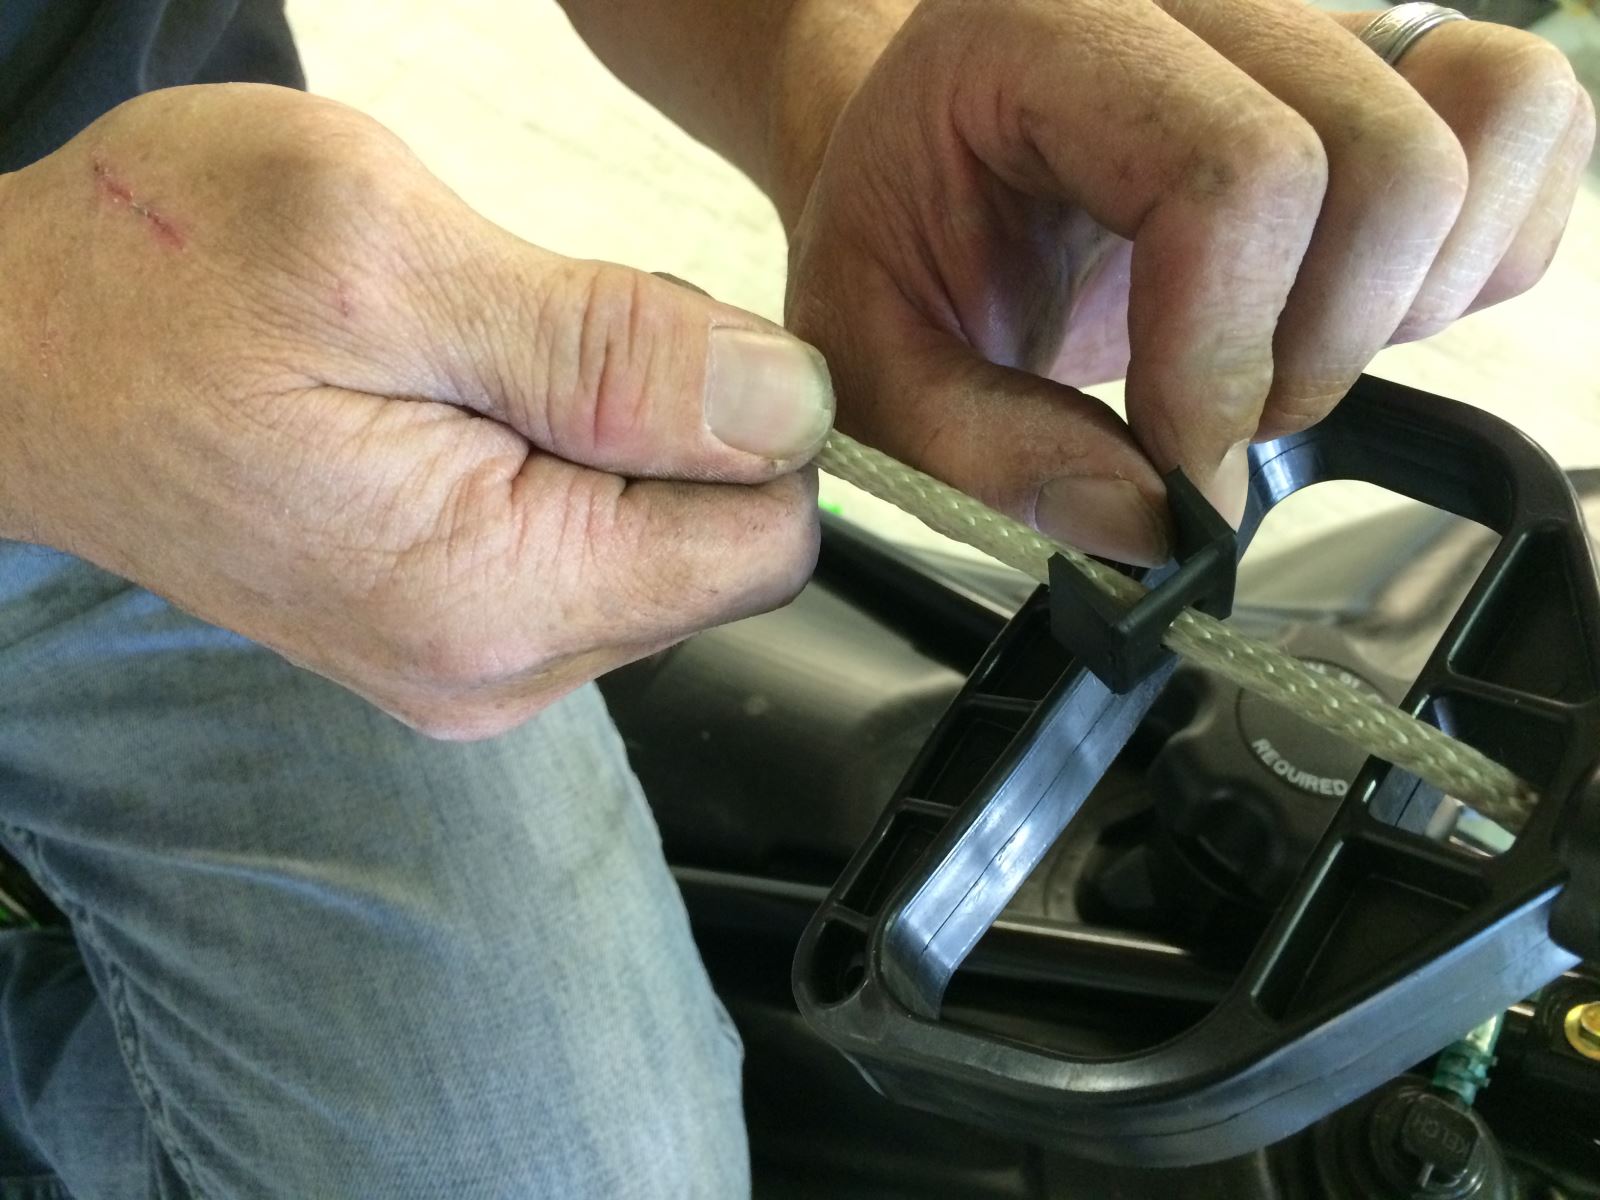
8) Remove the steering post. There is a bolt secured with a cotter pin. Remove the pin and then remove the bolt. Be careful to catch the nylon washer that is with the bolt (since it’s difficult to fish out a nylon washer from under the engine compartment