Project 2015/16 Arctic Cat M 8000 SnoPro Build - Part 9—Fixed Handlebar Post
http://www.snowest.com/2015/10/part-9fixed-handlebar-post

Part 9—Fixed Handlebar Post
Project 2015/16 Arctic Cat M 8000 SnoPro Build
Published online: Oct 01, 2015 Arctic Cat Steve Janes Viewed 1217 time(s)
Web Exclusive
(EDITOR’S NOTE: This is ninth in a series of articles about converting a 2015 Arctic Cat M8000 SnoPro into a SnoWest Forums 2016 Project Cat giveaway sled.
Throughout the summer and fall we have been working with SnoWest Forum members and Arctic Cat engineers to build the perfect snowmobile … and then we will give it away to a Forum member at the end of the build.)
Now that we’re getting near the end of our project build (after the fixed steering post we will install a lightweight can from Speedwerx and a sled wrap from Fokus Graphics and it will be ready for the snow), things are really starting to take shape. The more we’re involved in this sled, the more excited we get for that lucky SnoWest Forum member who will be taking it home in early December.
We’re now making changes that have been requested by Forum members—from the belt drive by Mountain Valley Machines to the lightweight can from Speedwerx— and also making the final tweaks.
Arctic Cat has been most generous, basically opening its aftermarket catalog to us and allowing us to make this a special snowmobile. The ProClimb line in the aftermarket catalog has provided a seat, track, bumpers, running boards and steering posts to make this the perfect snowmobile for boondocking. Add to it all the great features that are on the 2016 line—skis, suspension, spindles and clutches—and our 2015 M 8000 SnoPro has evolved into something beyond the 2016 SnoPro.
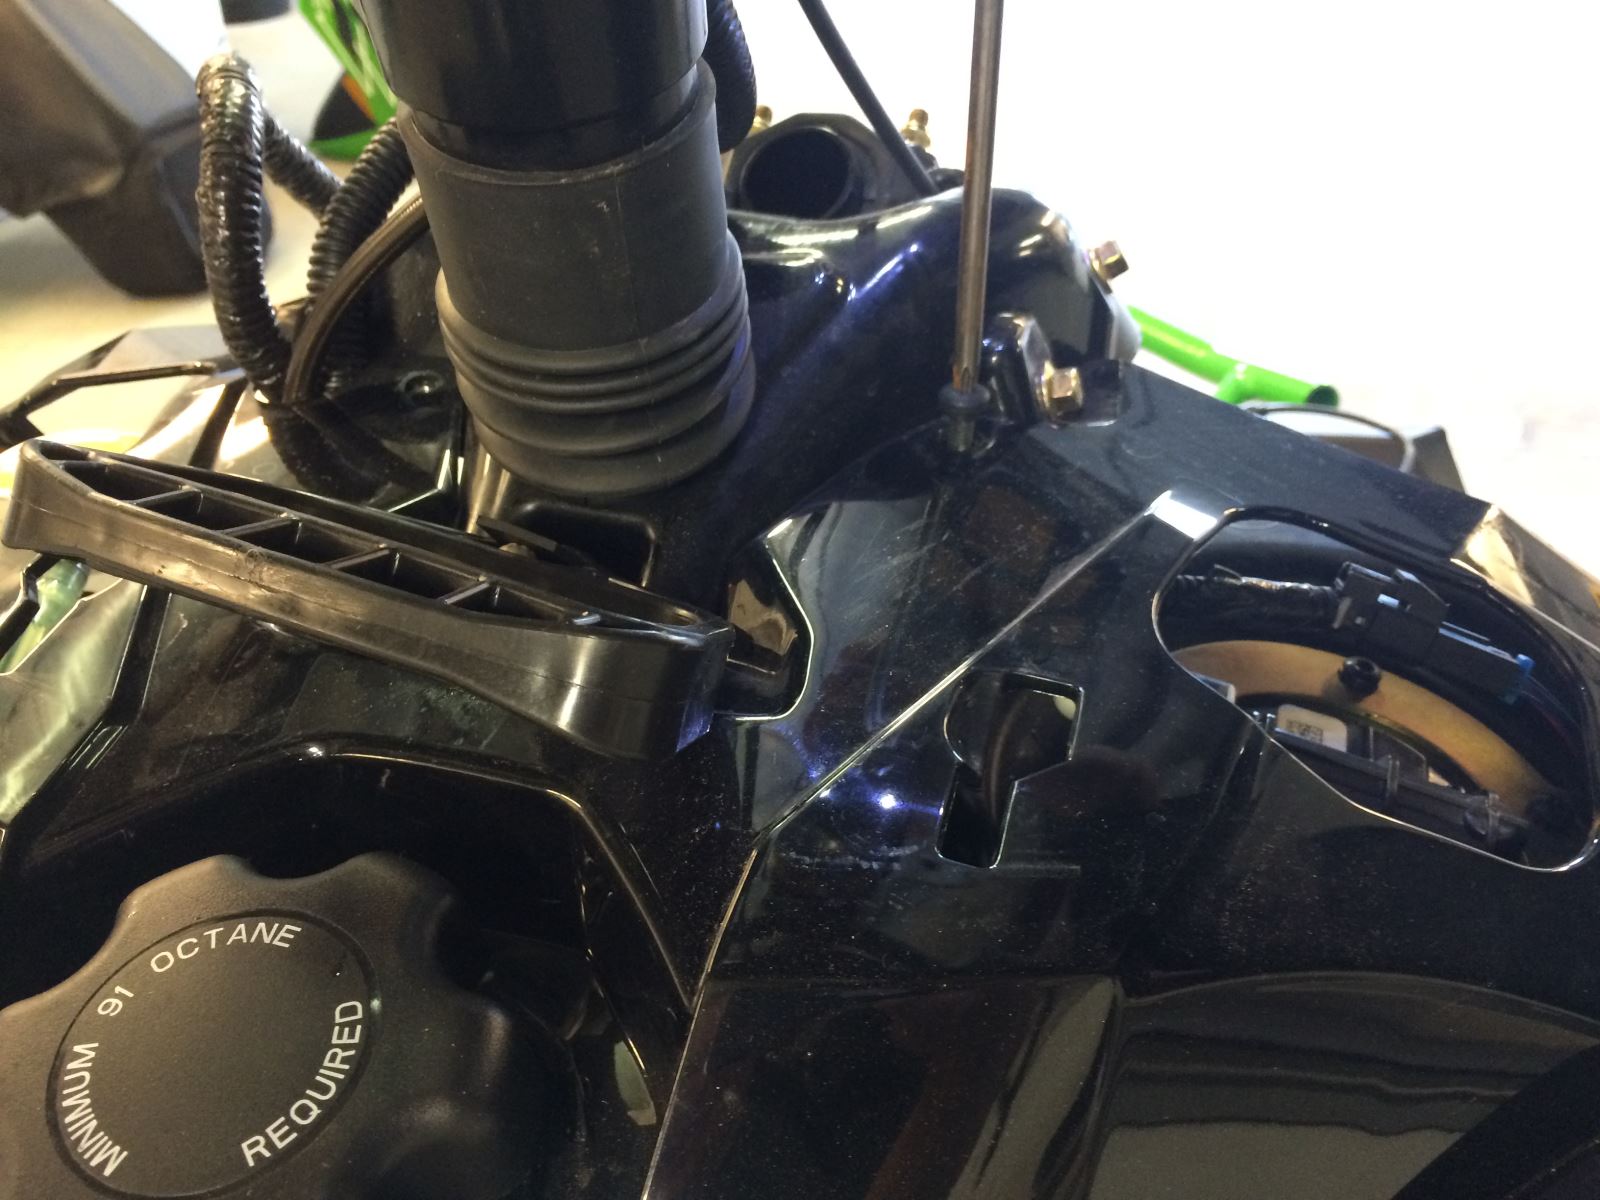
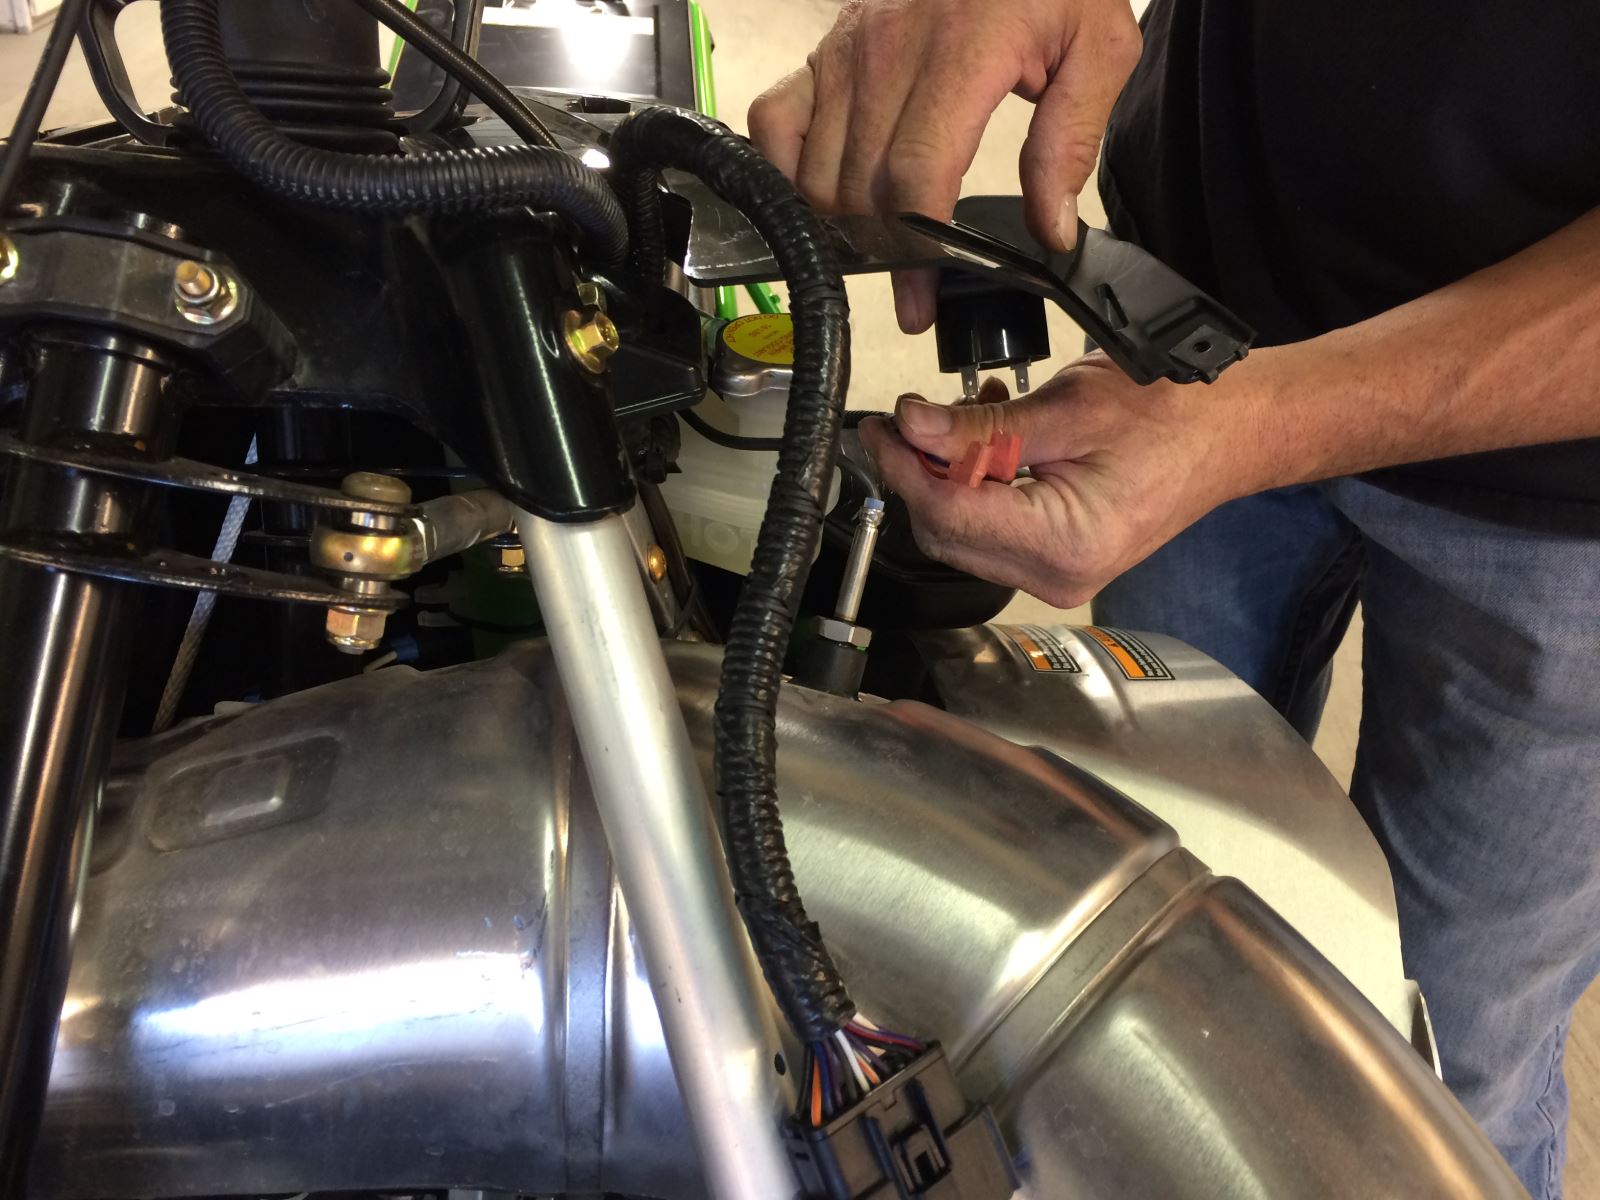
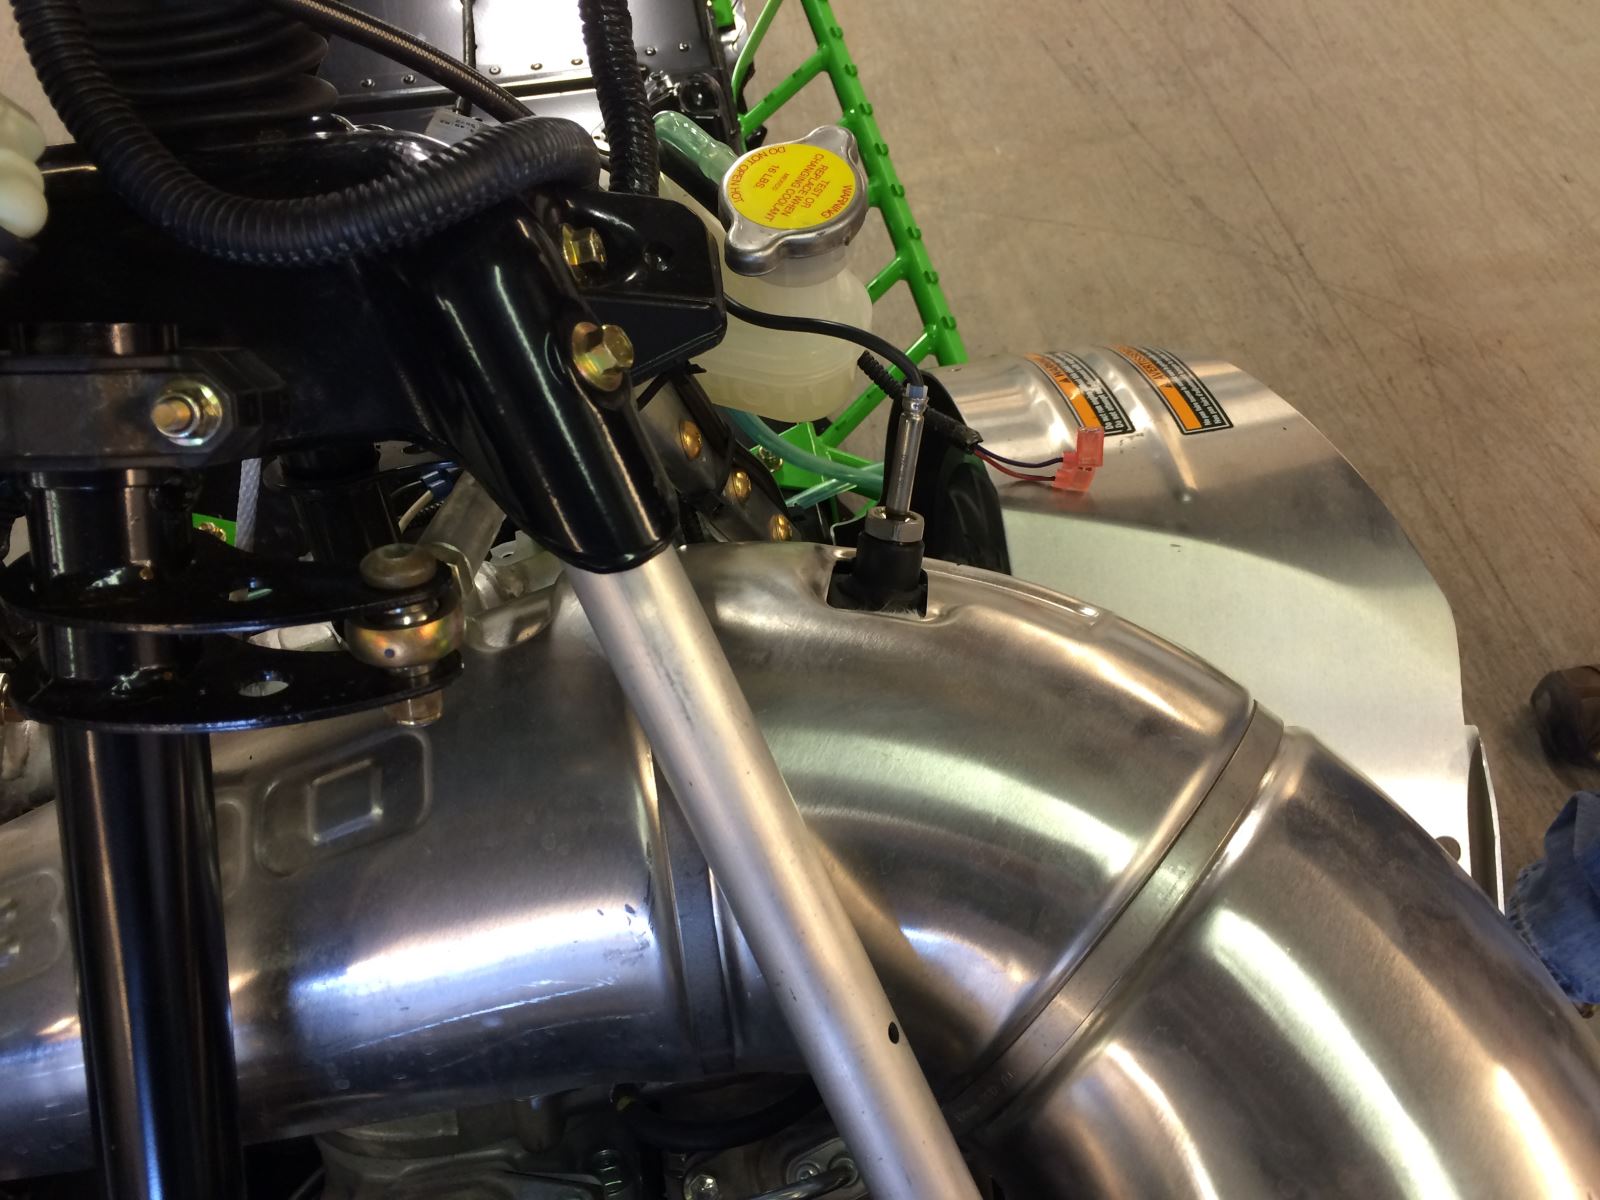
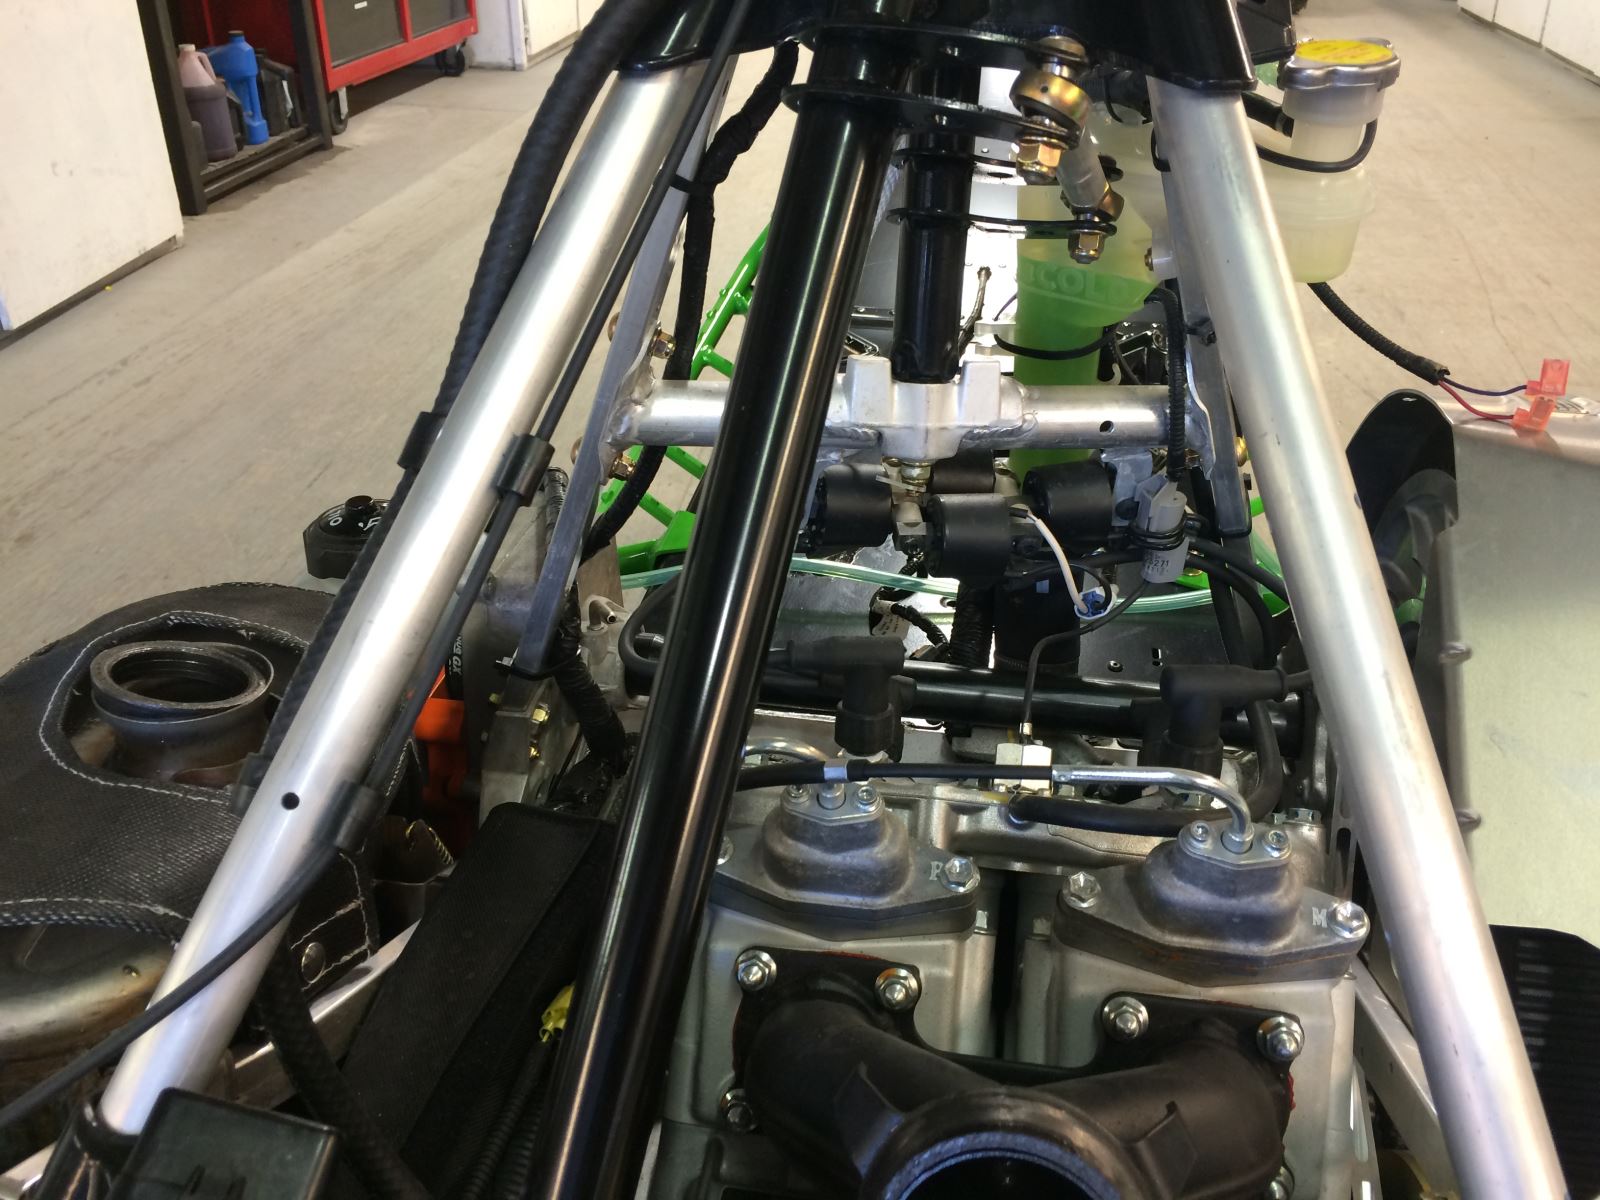
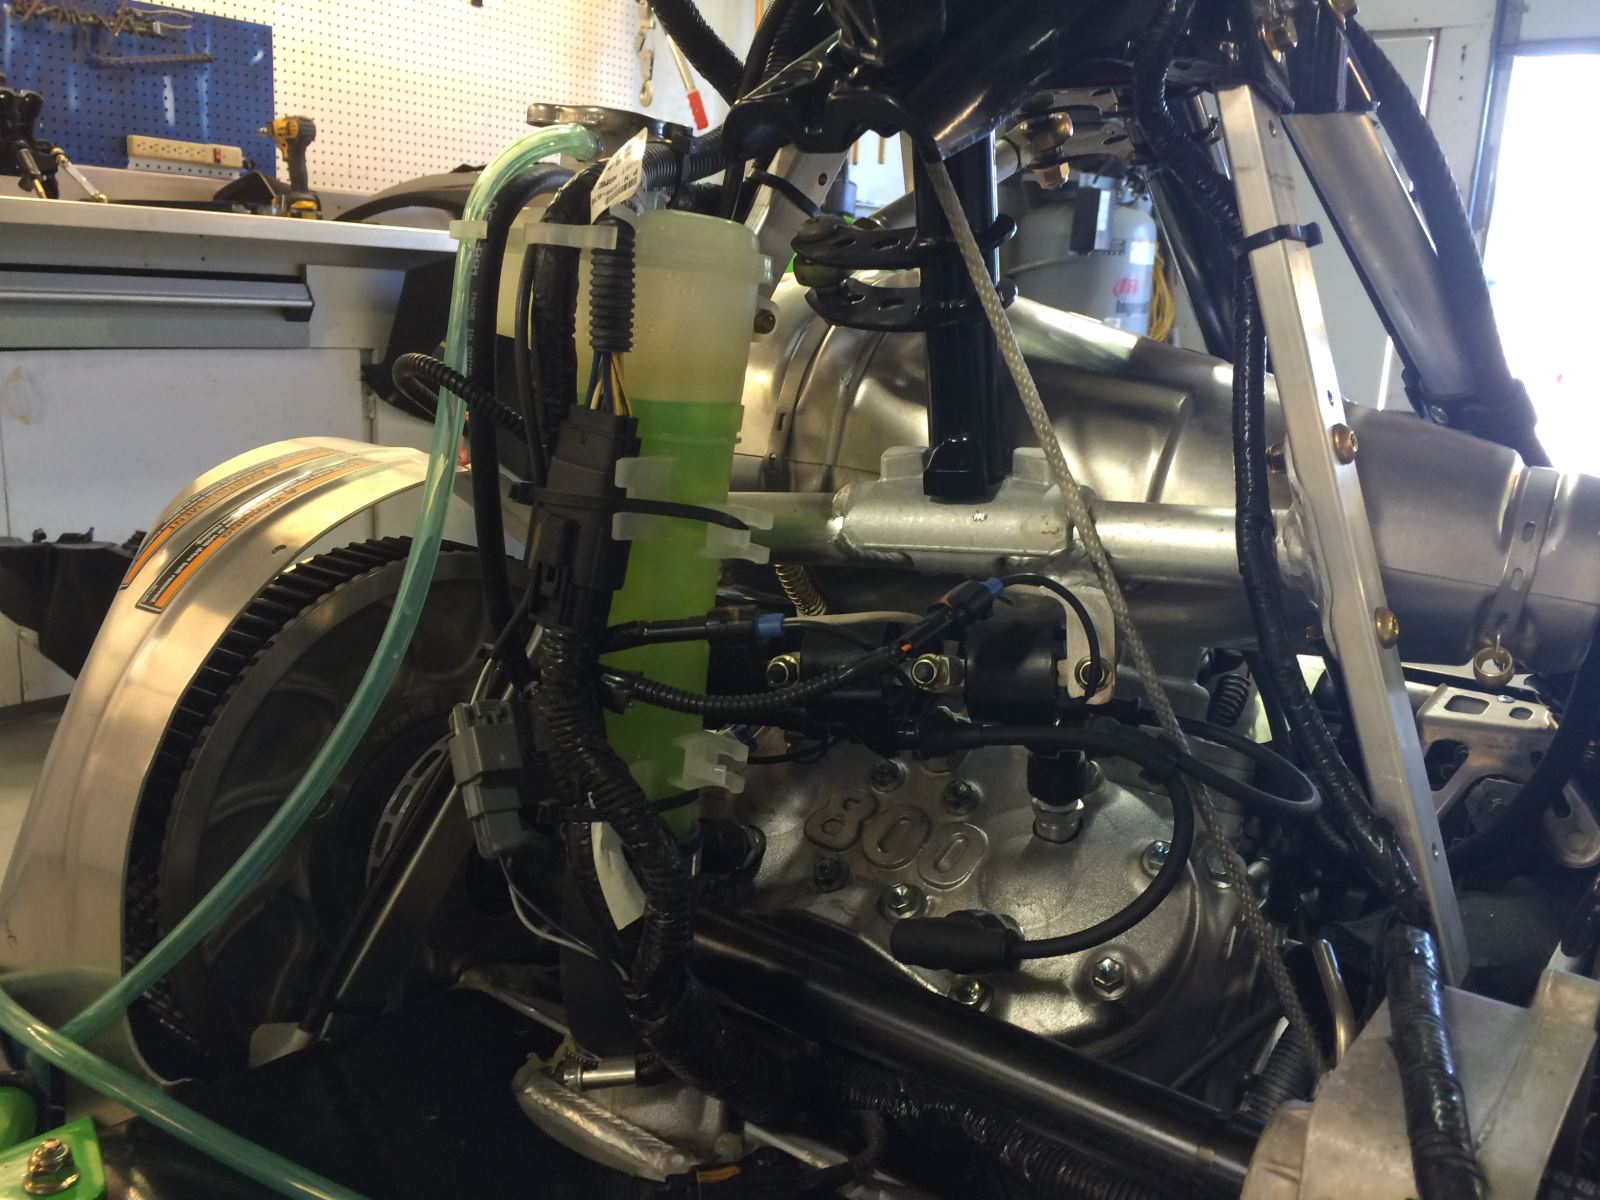
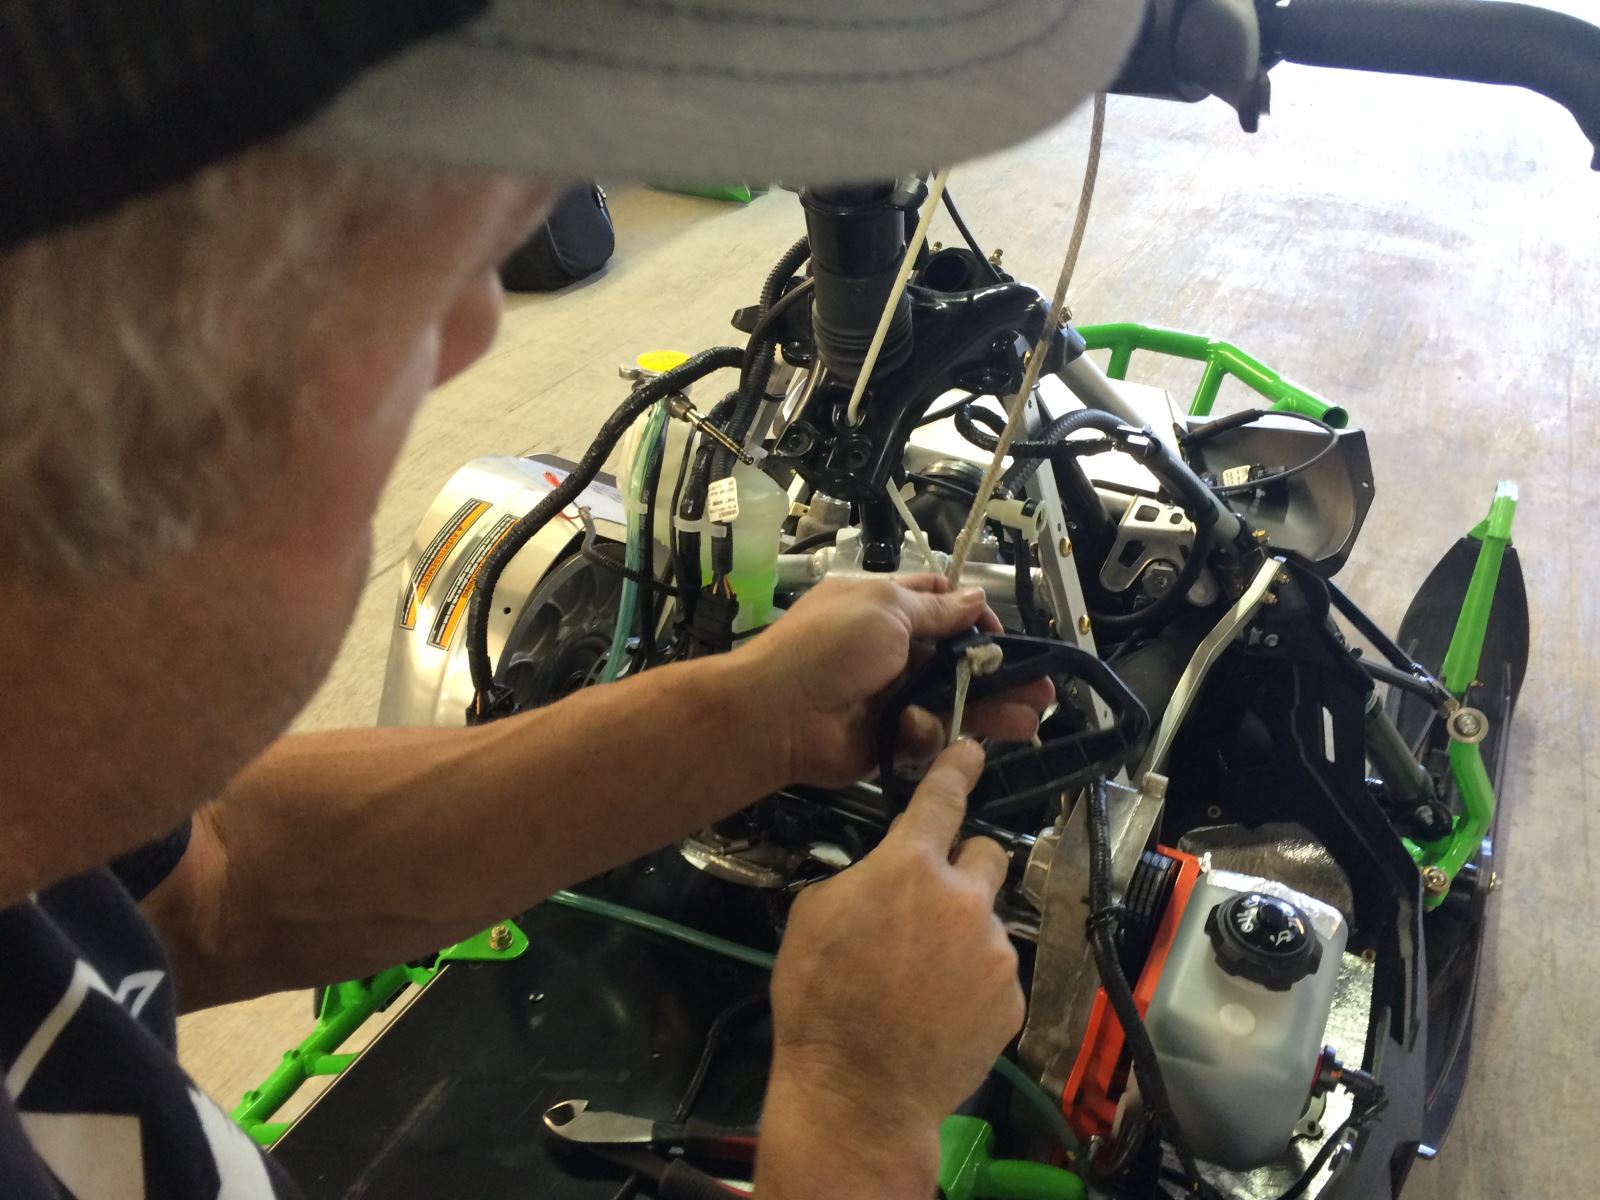
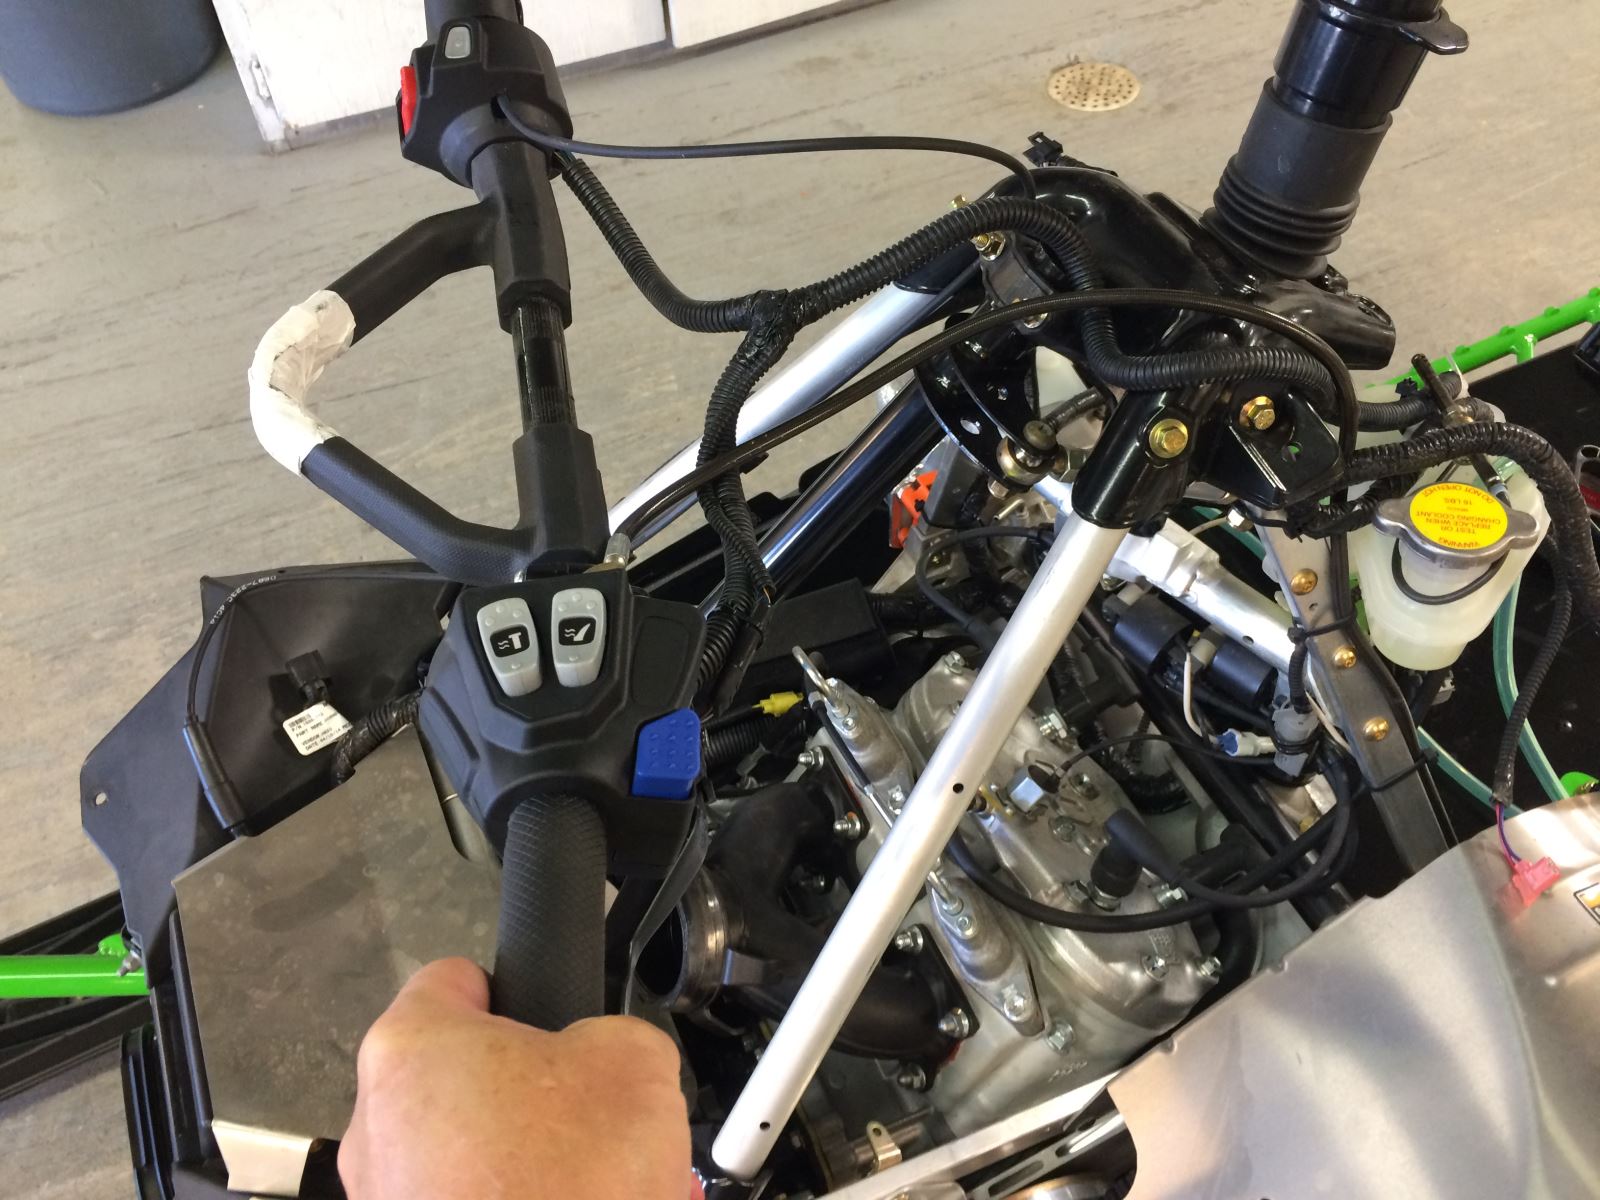
This past week we were back up in Island Park with Arctic Cat engineers installing the fixed steering post. It’s a pretty easy job if you’re working with a professional crew who had done this a hundred times. But we’ll try to walk you through the process.
For this build, we had Todd Tupper, longtime Team Arctic snowmobile racer and test rider, helping us through the process. (Shay Smith was in the middle of harvest but Tupper was eager to fill in for him.)
A fixed post tends to be a more popular design for boondocking. Plus you shave a little more than a pound of weight in the process. And every little bit of weight helps.
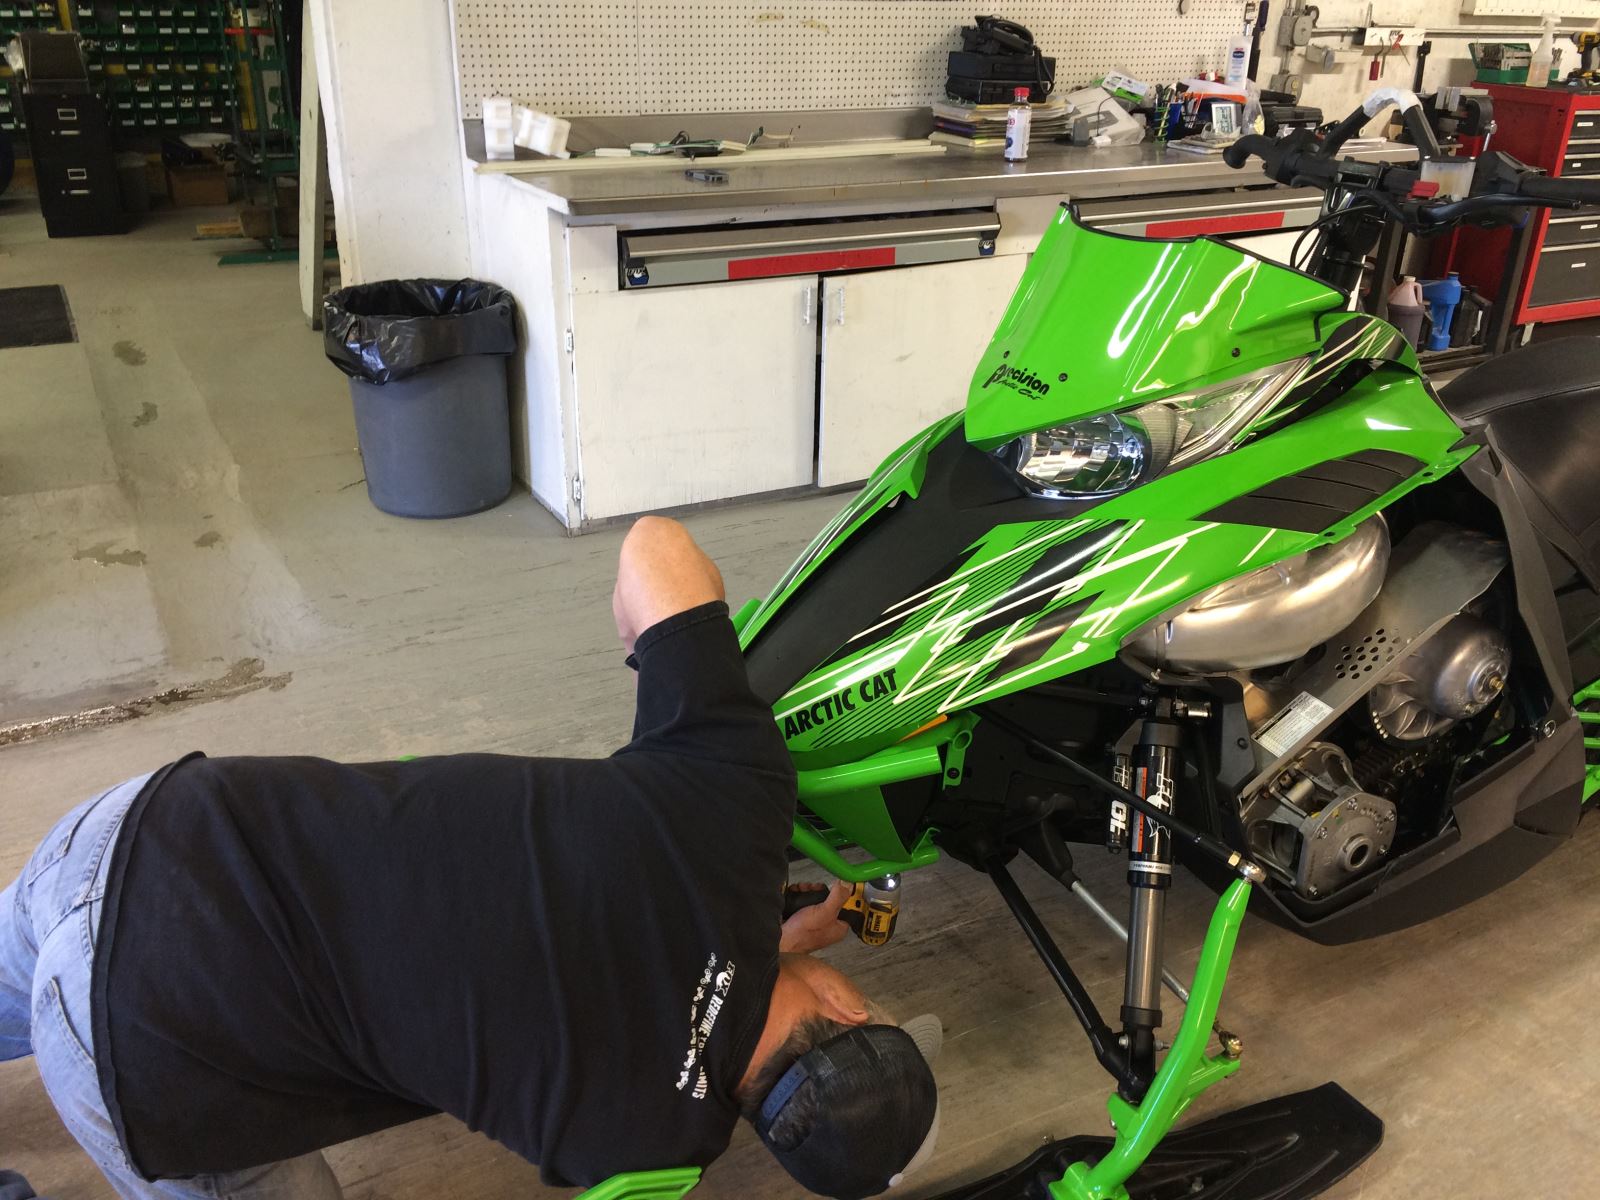
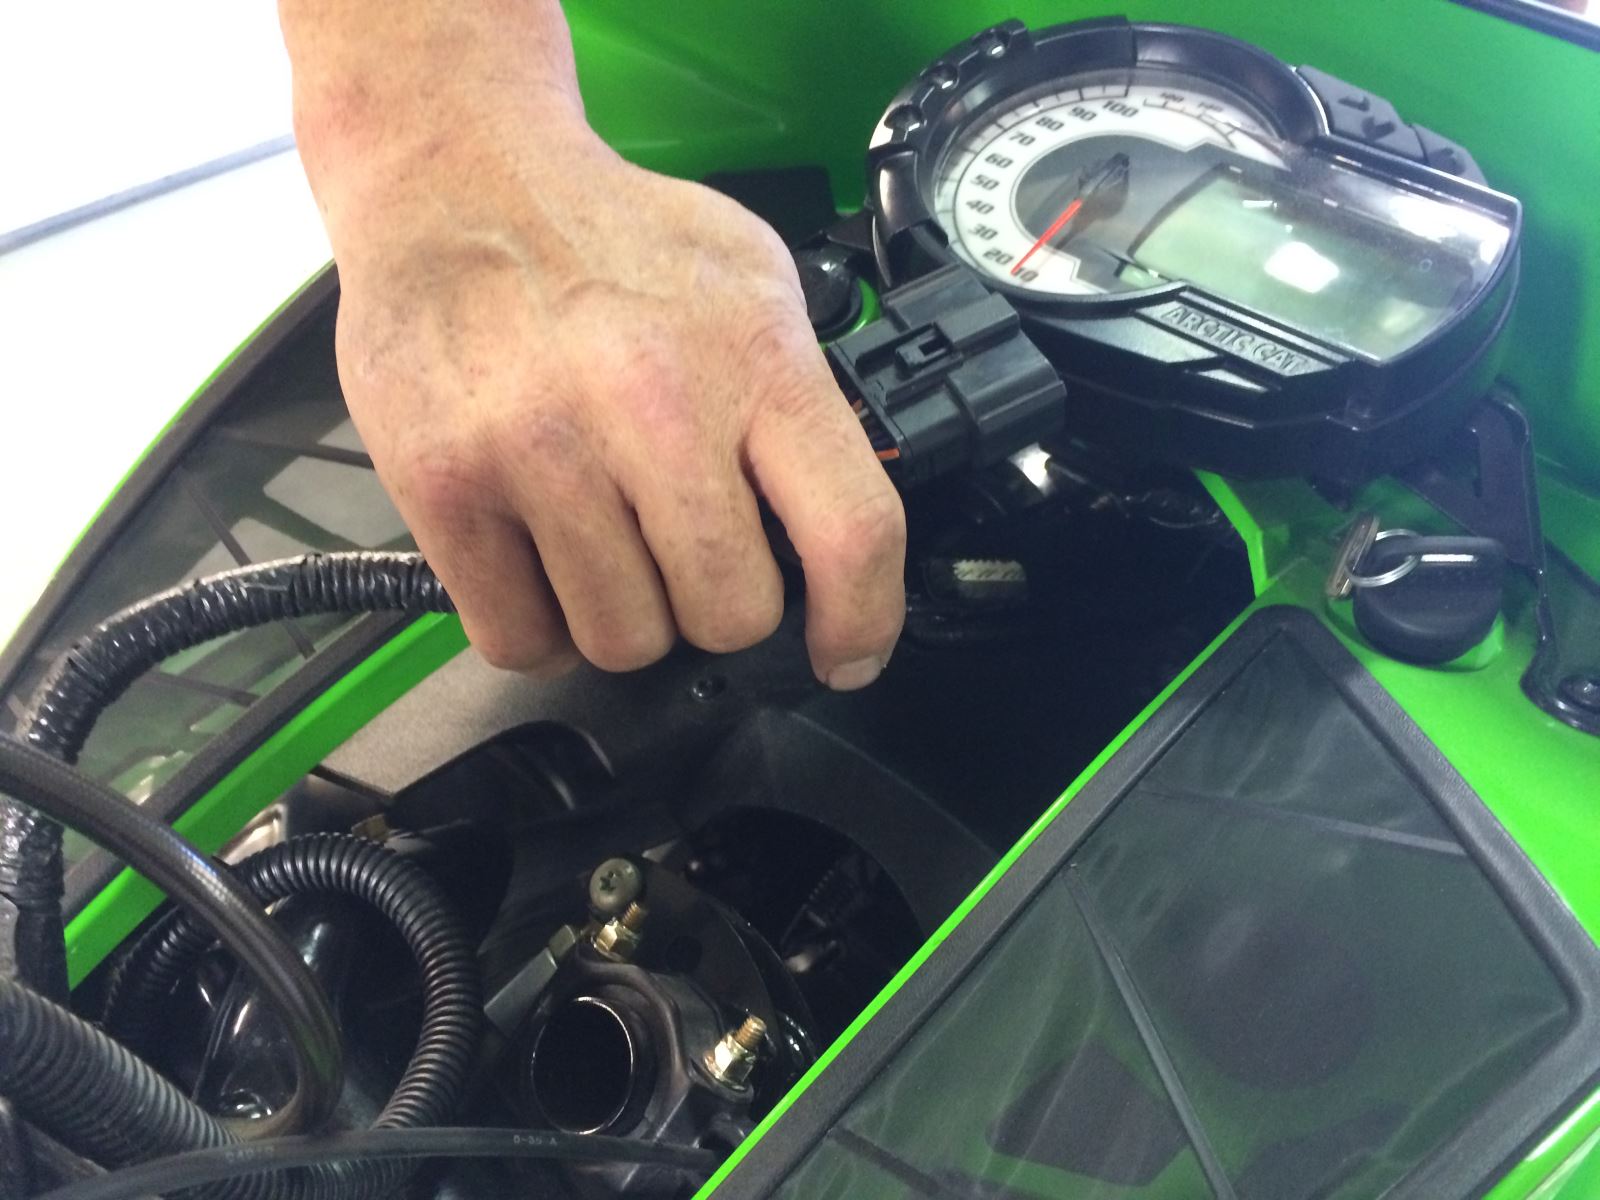
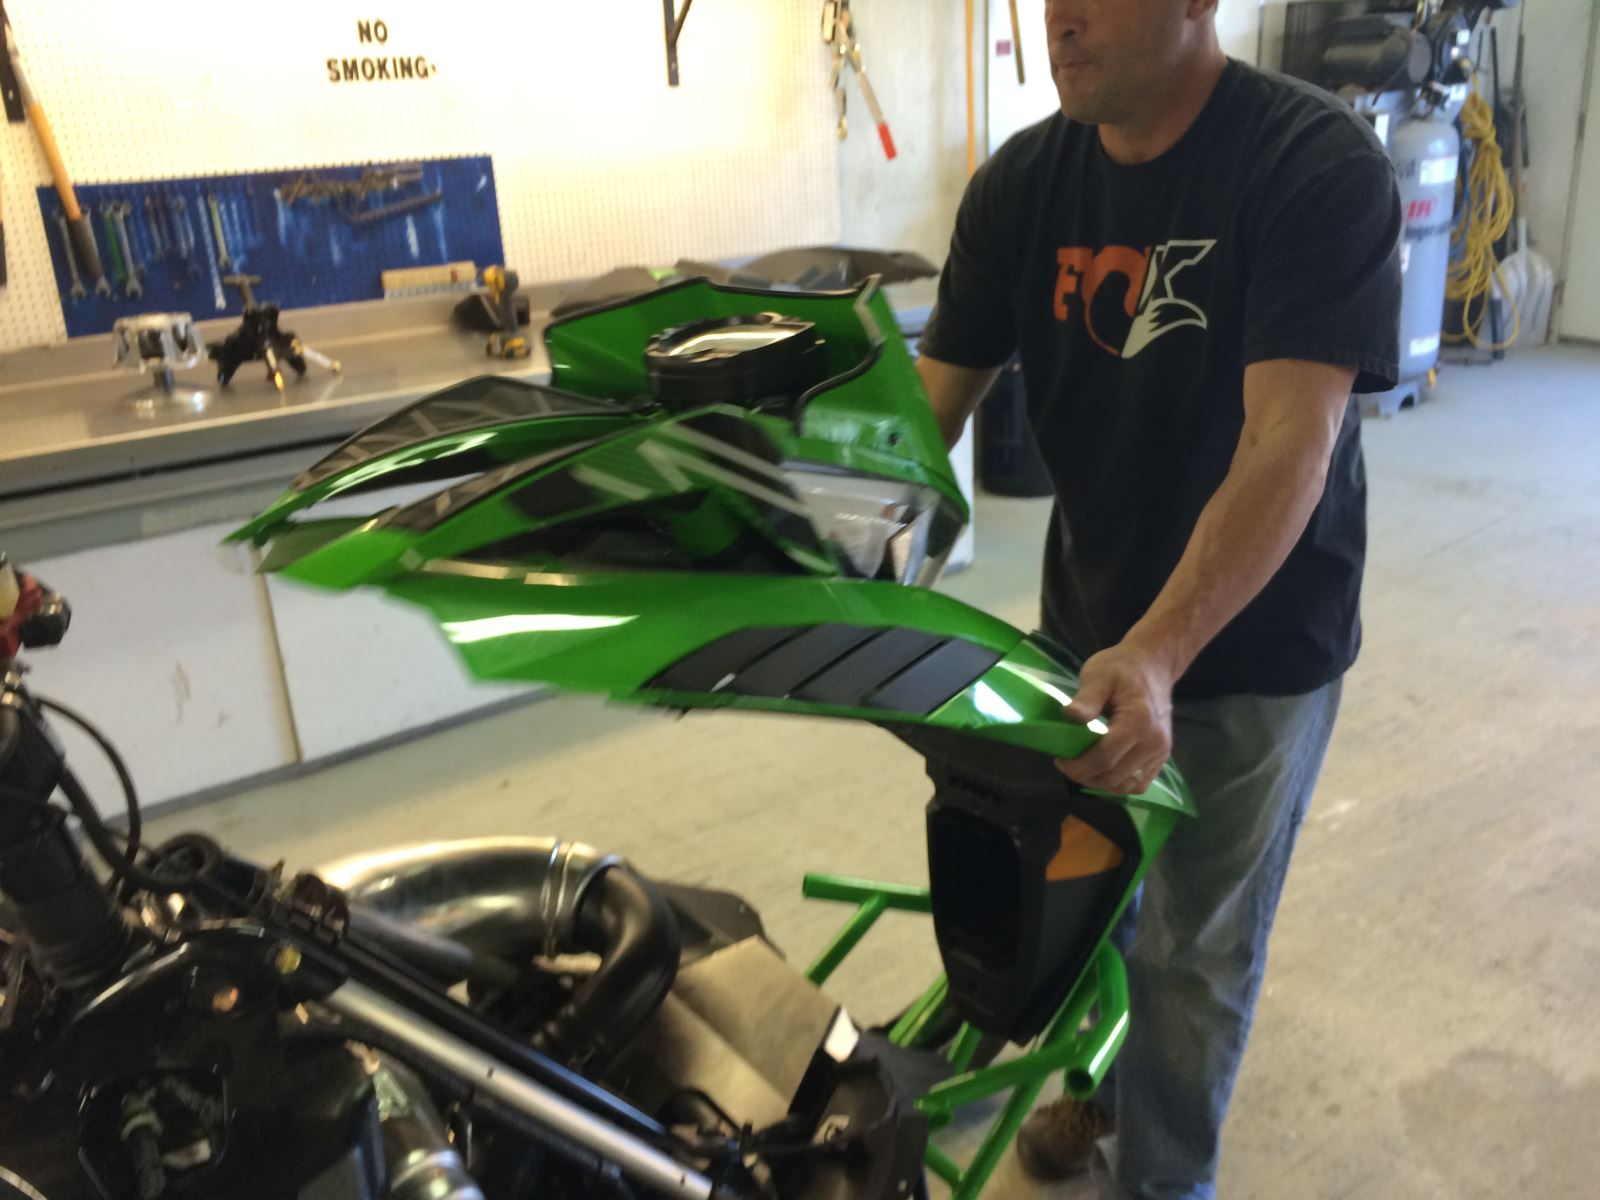
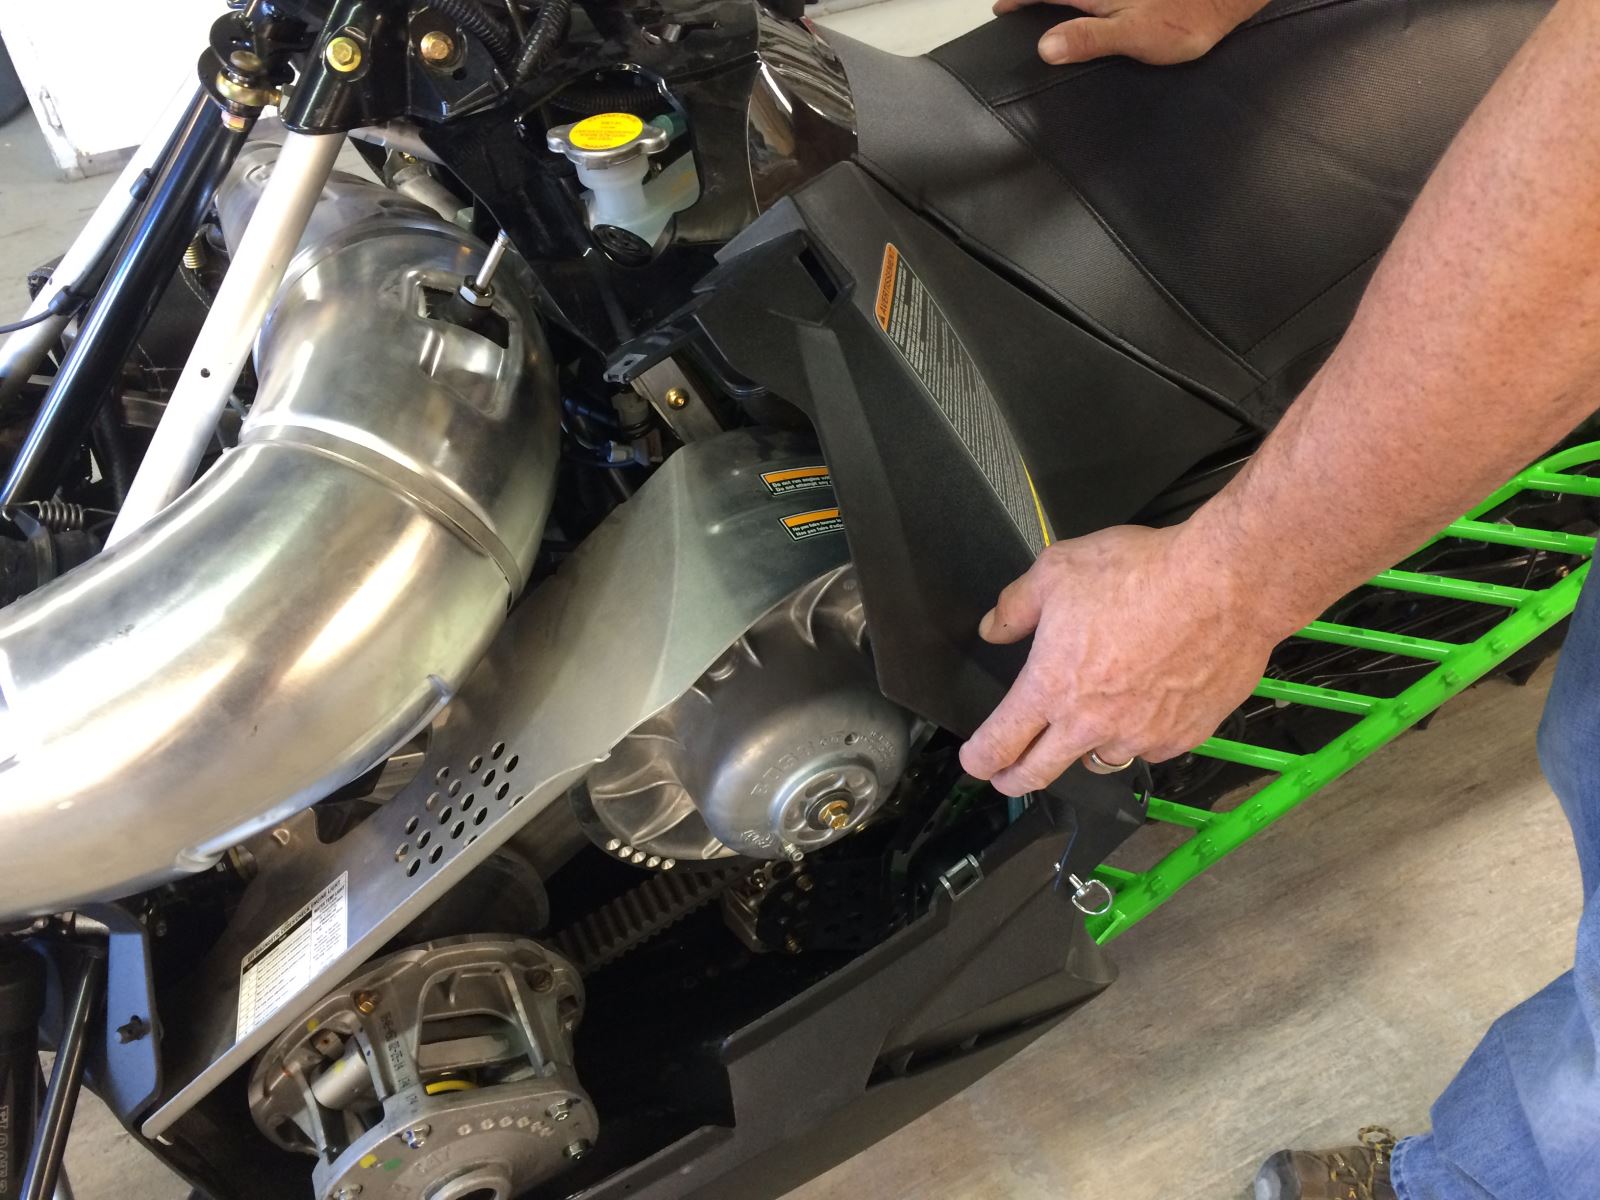
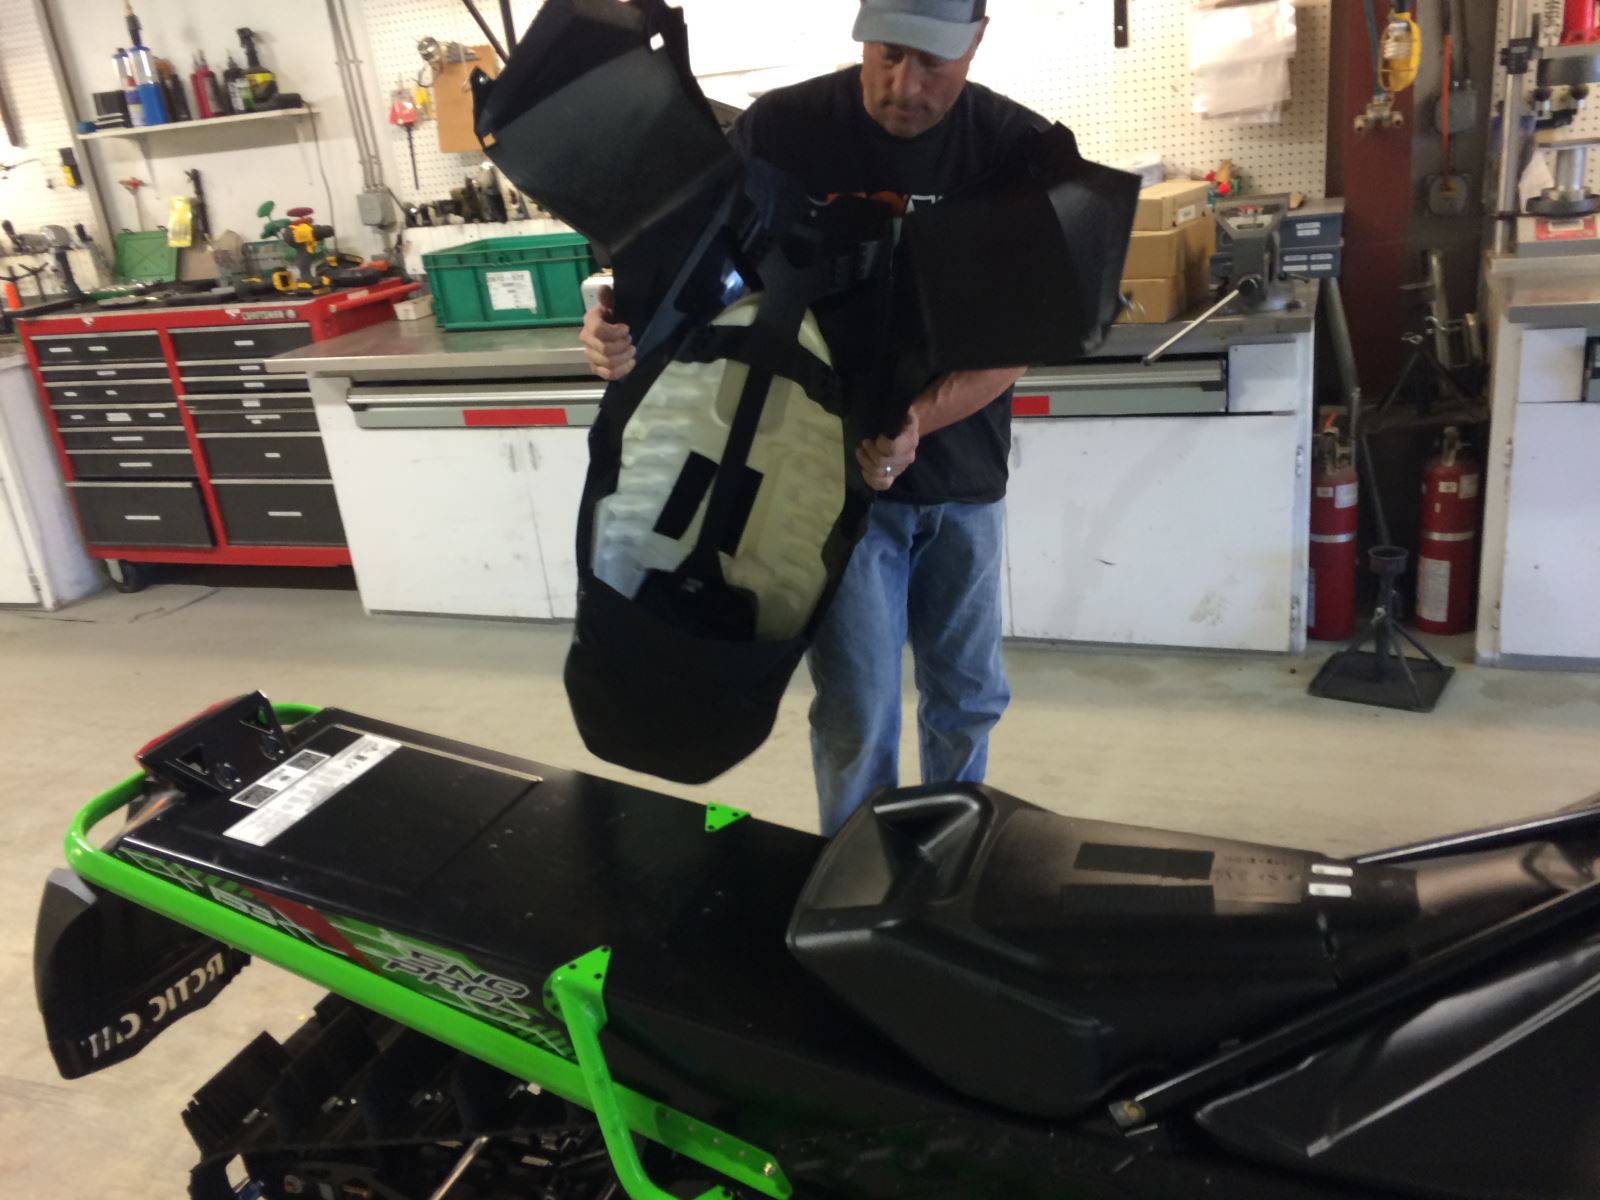
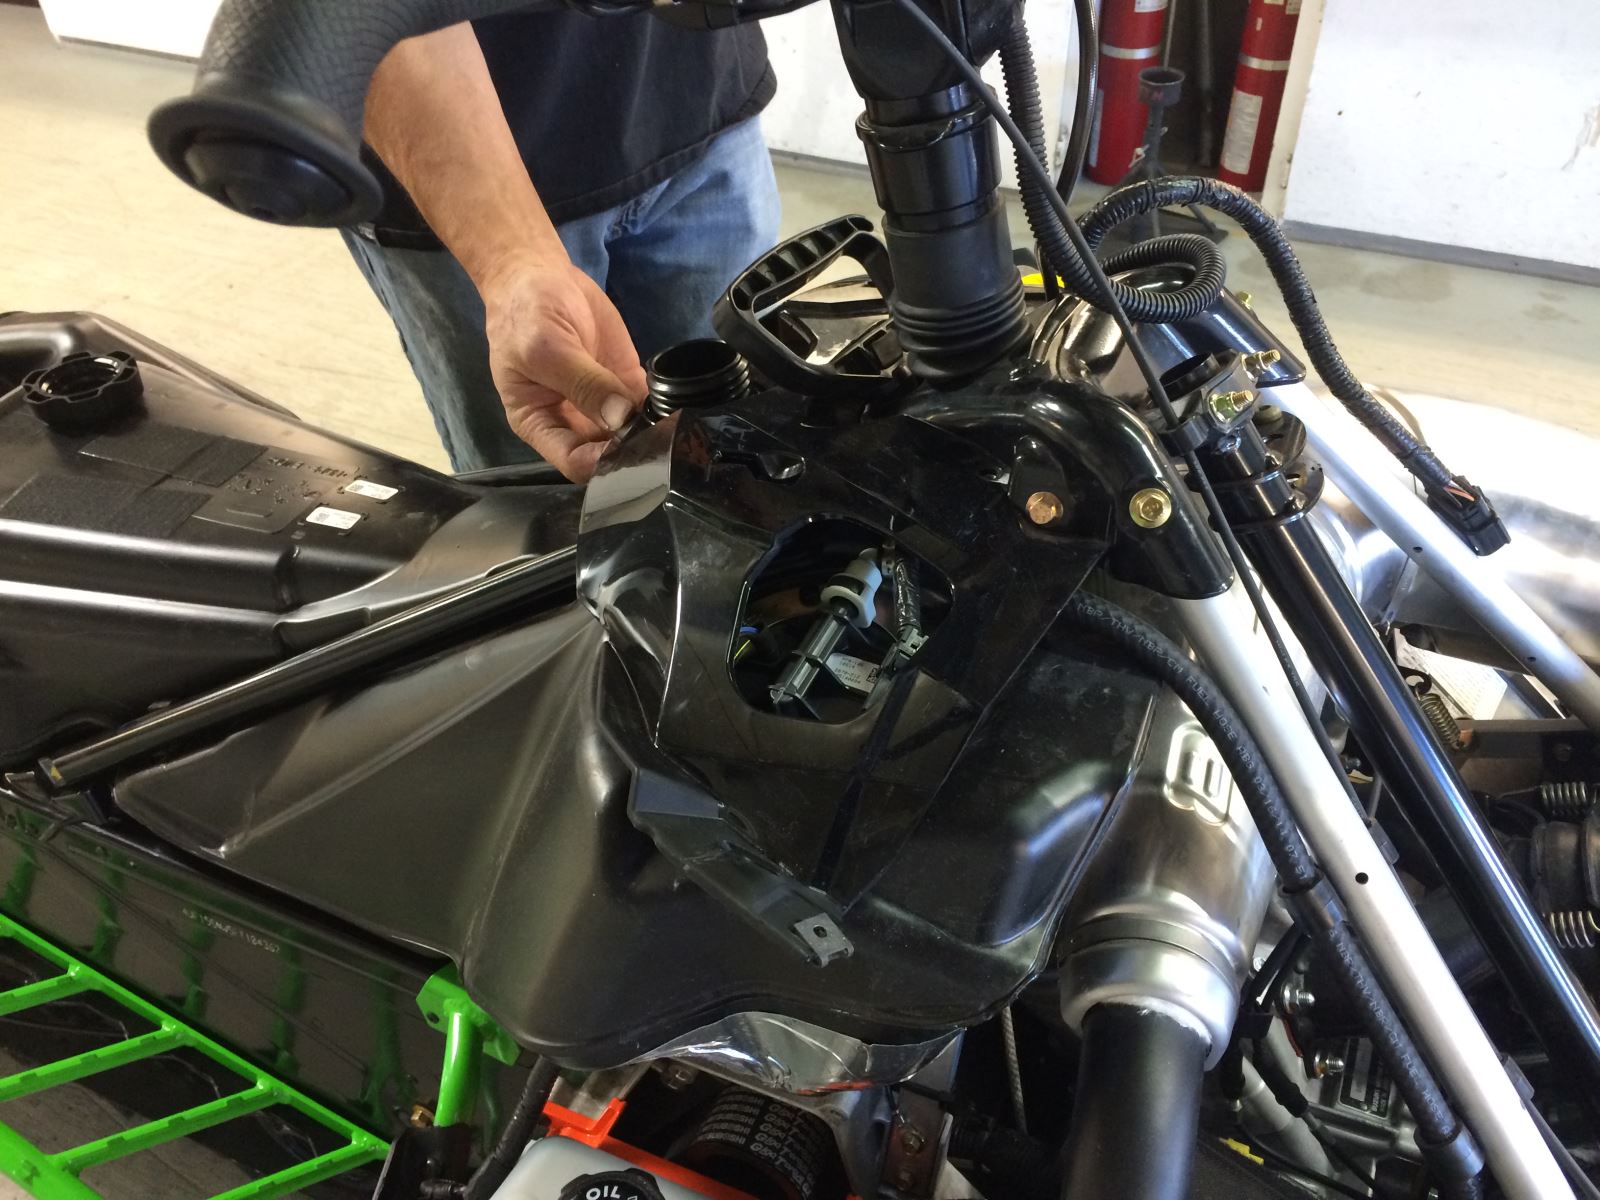
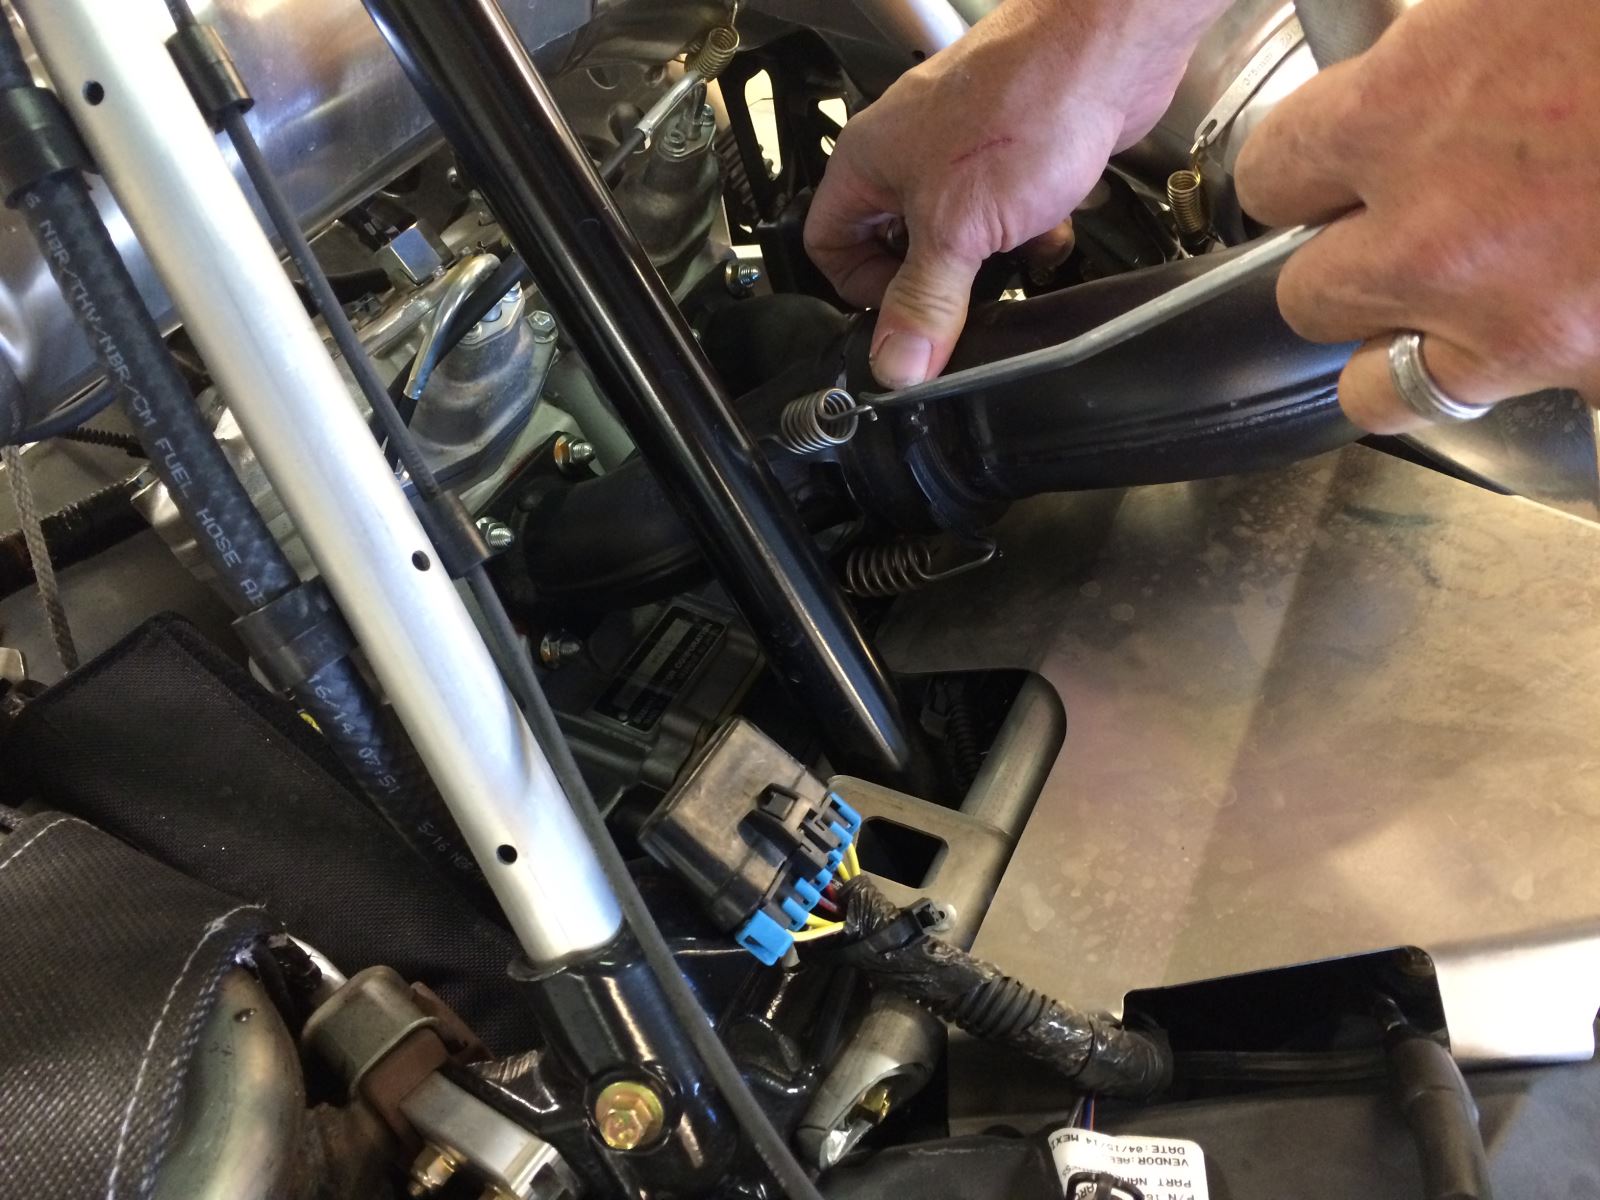
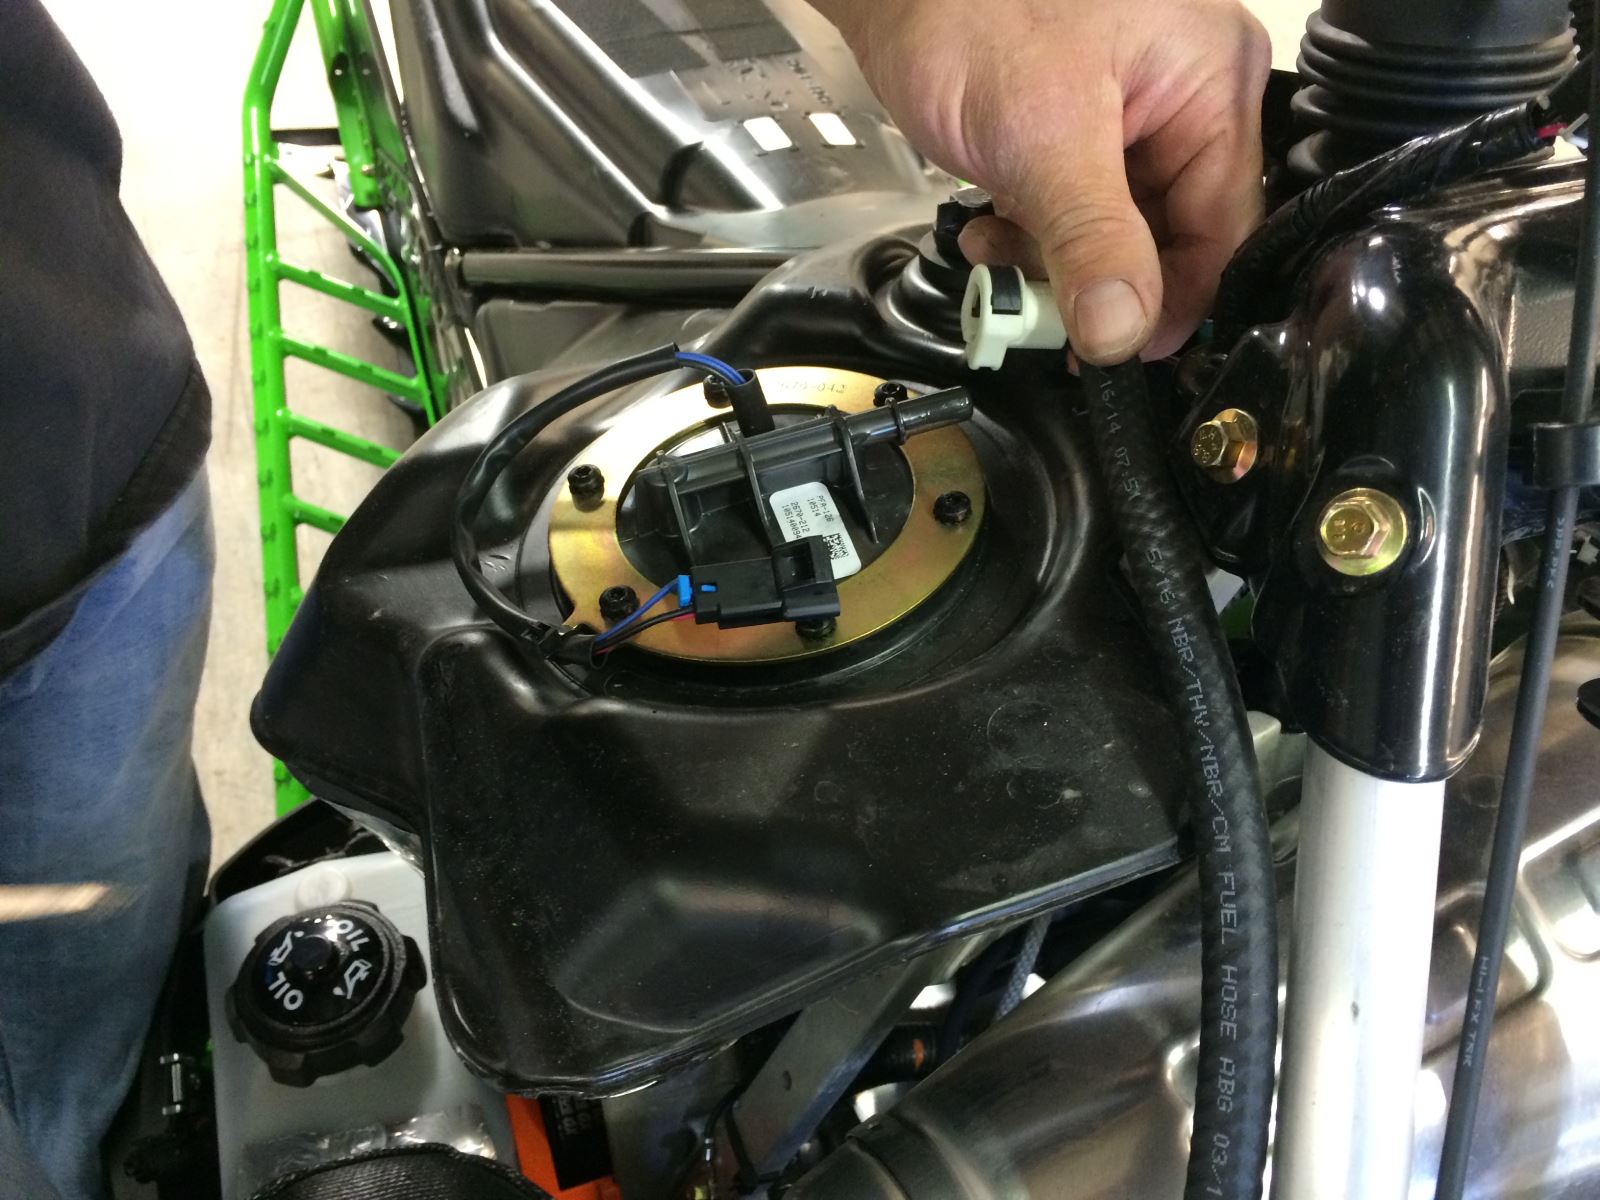
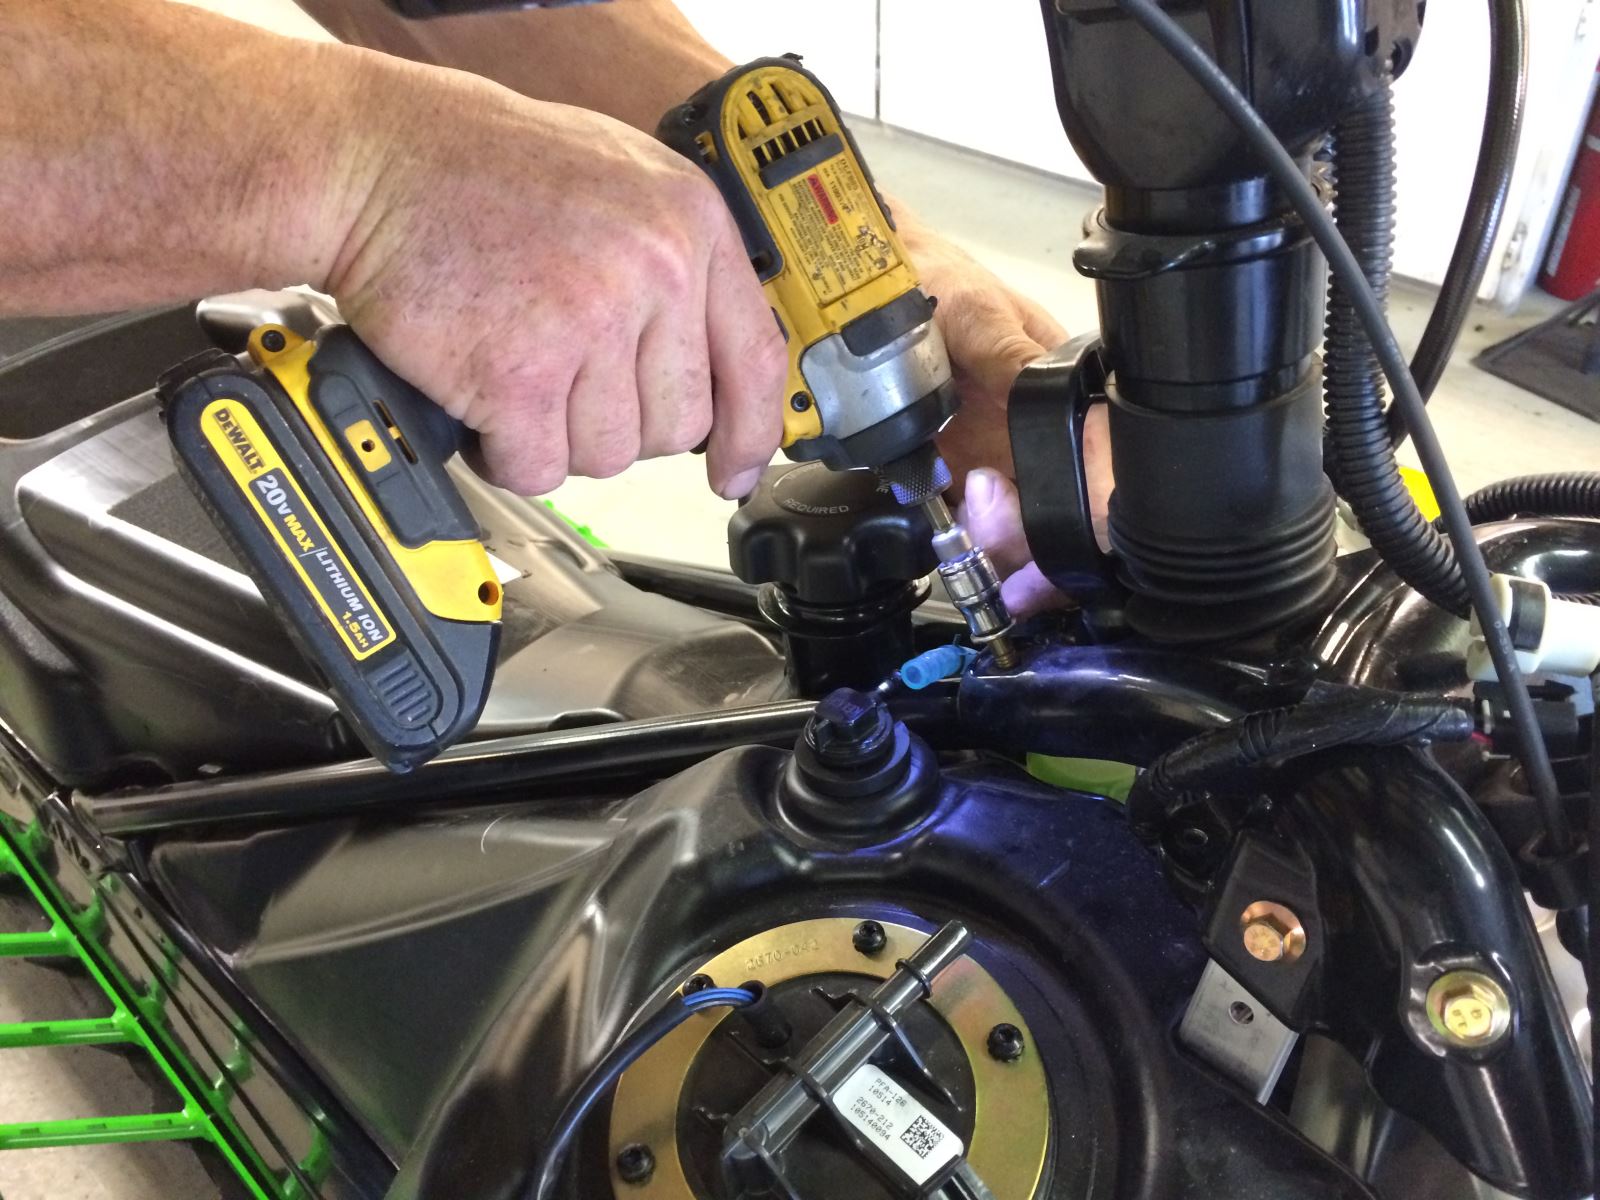
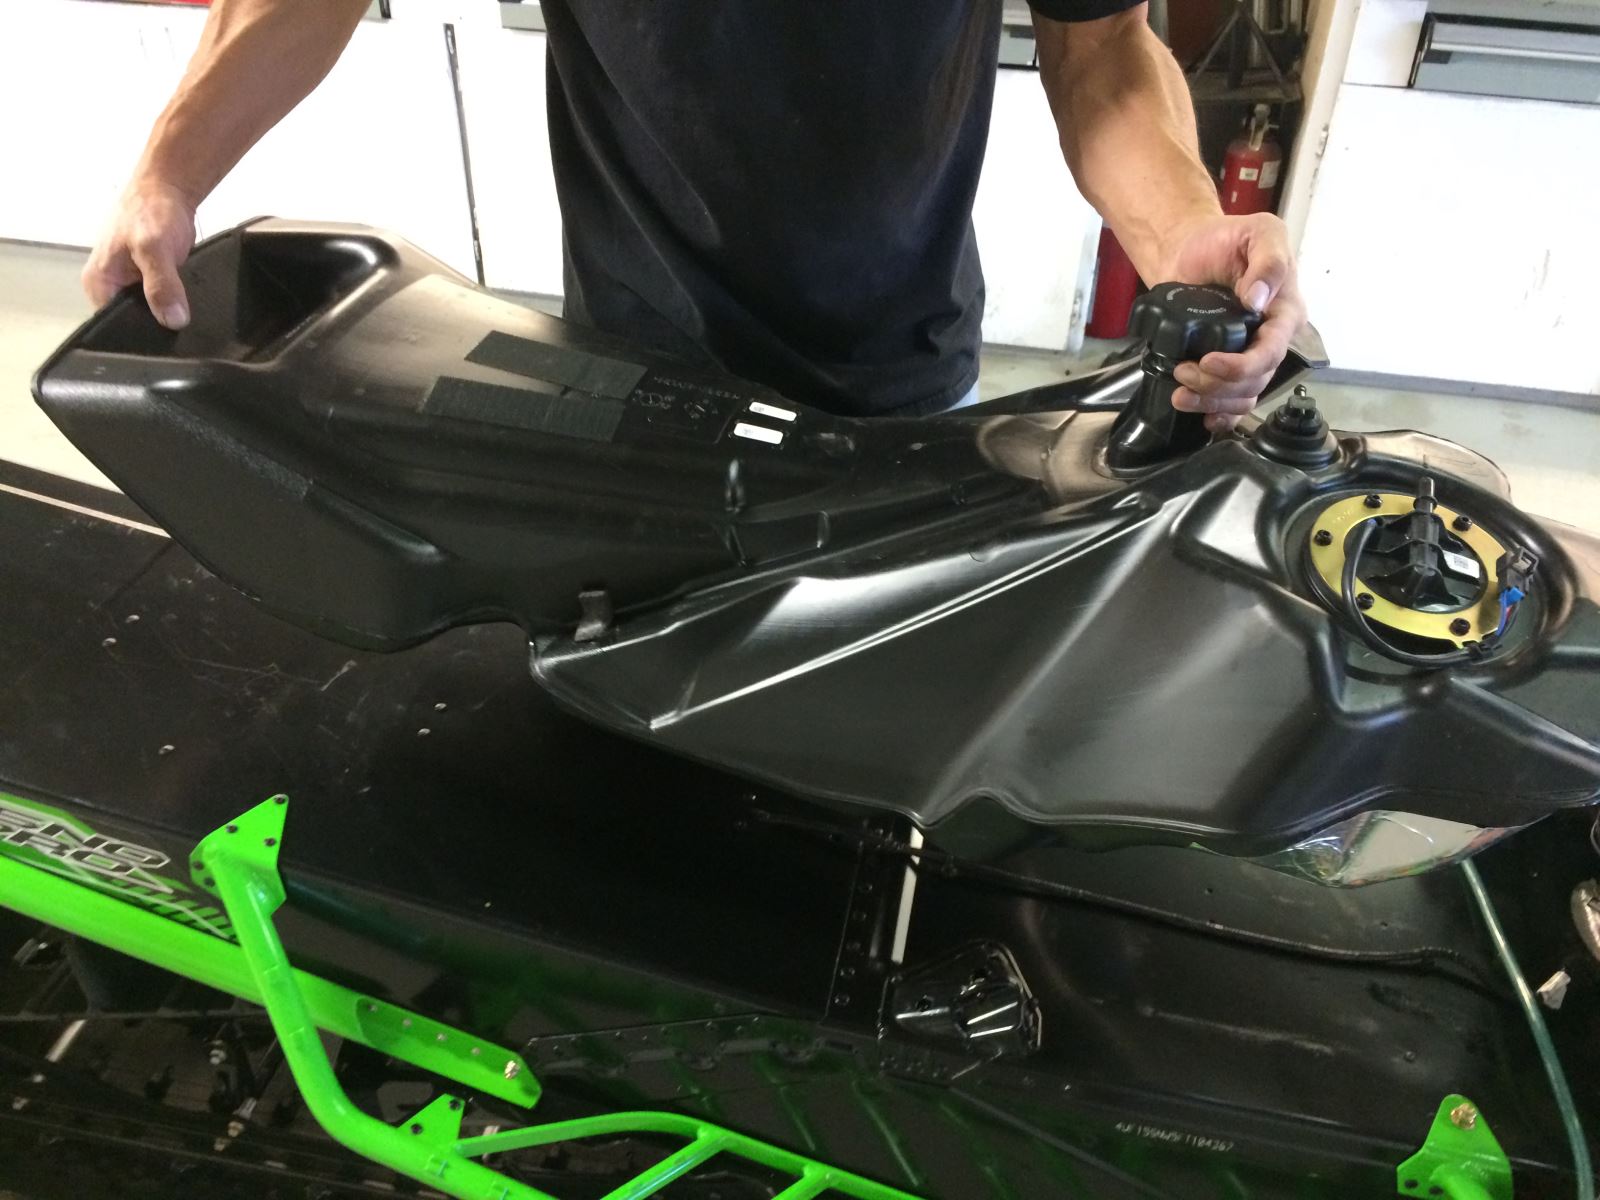
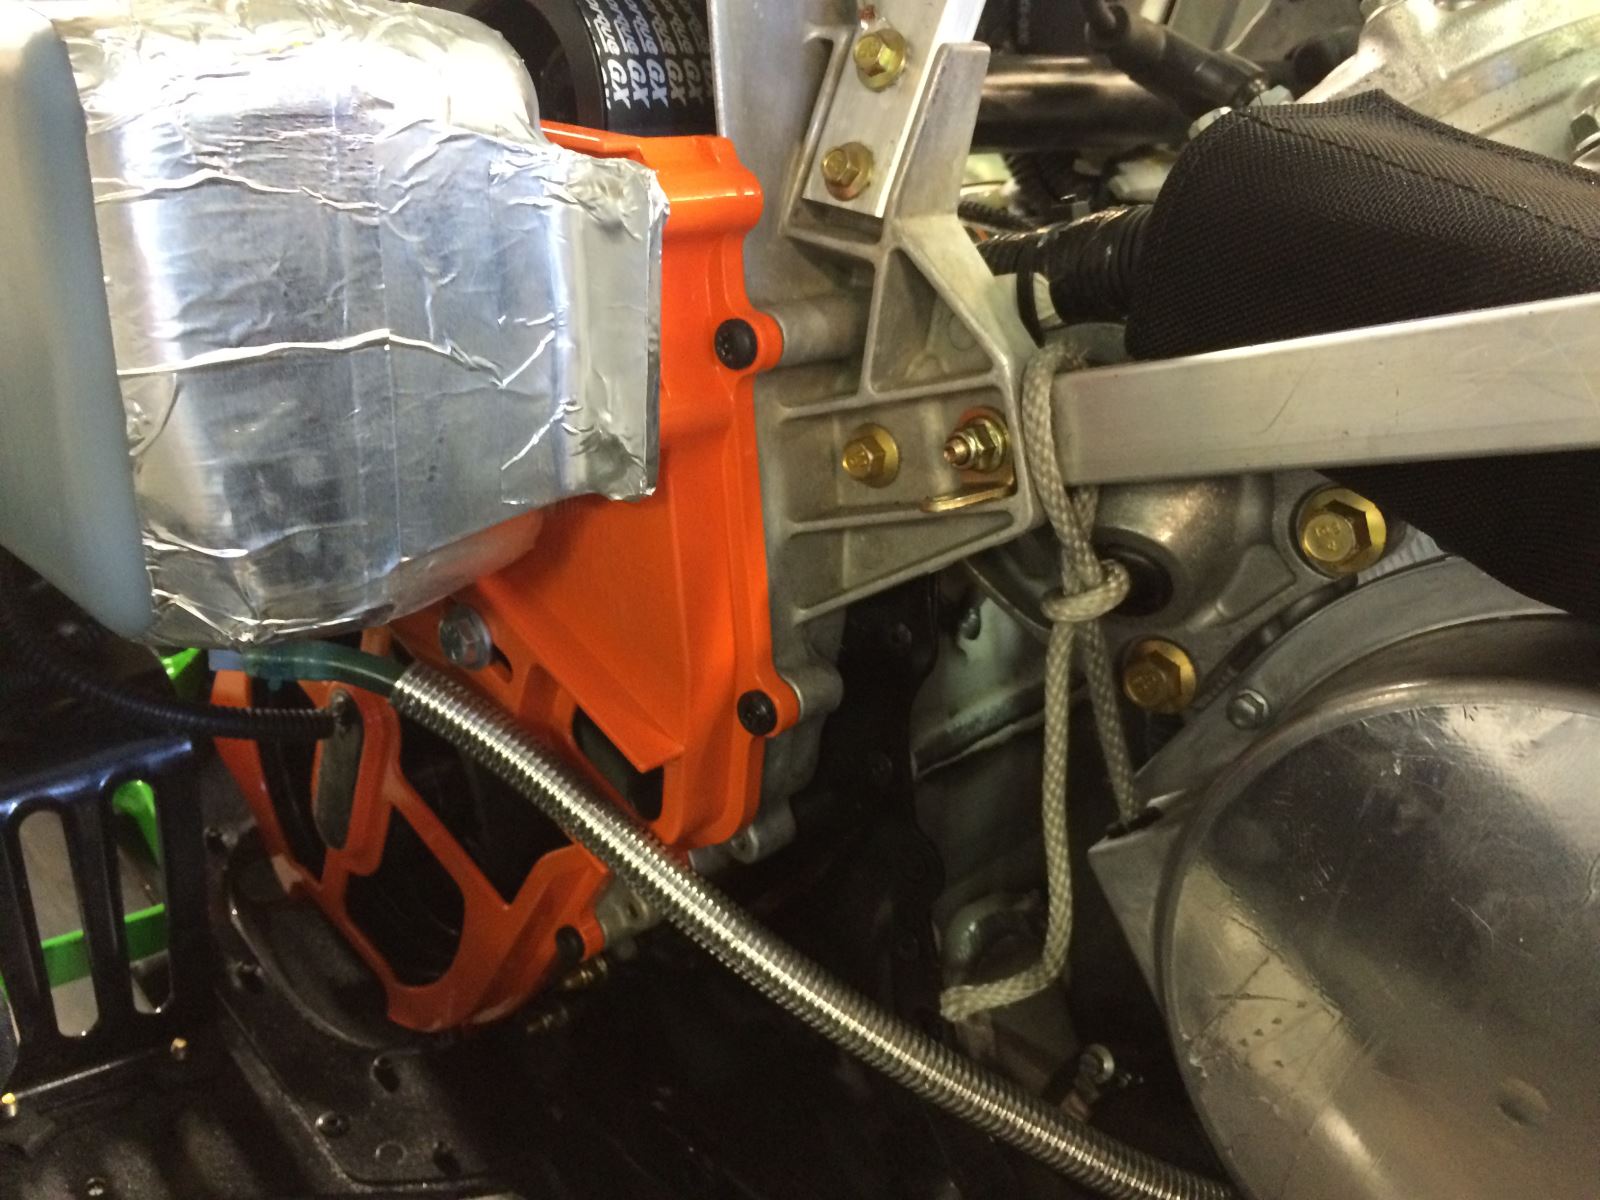
You need to expose the steering post so that means a lot of things will be coming off the sled—hood, seat, pipes, etc.—so you can get clear access to the stock steering post.
Here’s the step-by-step process.
http://www.snowest.com/2015/10/part-9fixed-handlebar-post
Part 9—Fixed Handlebar Post
Project 2015/16 Arctic Cat M 8000 SnoPro Build
Published online: Oct 01, 2015 Arctic Cat Steve Janes Viewed 1217 time(s)
Web Exclusive
(EDITOR’S NOTE: This is ninth in a series of articles about converting a 2015 Arctic Cat M8000 SnoPro into a SnoWest Forums 2016 Project Cat giveaway sled.
Throughout the summer and fall we have been working with SnoWest Forum members and Arctic Cat engineers to build the perfect snowmobile … and then we will give it away to a Forum member at the end of the build.)
Now that we’re getting near the end of our project build (after the fixed steering post we will install a lightweight can from Speedwerx and a sled wrap from Fokus Graphics and it will be ready for the snow), things are really starting to take shape. The more we’re involved in this sled, the more excited we get for that lucky SnoWest Forum member who will be taking it home in early December.
We’re now making changes that have been requested by Forum members—from the belt drive by Mountain Valley Machines to the lightweight can from Speedwerx— and also making the final tweaks.
Arctic Cat has been most generous, basically opening its aftermarket catalog to us and allowing us to make this a special snowmobile. The ProClimb line in the aftermarket catalog has provided a seat, track, bumpers, running boards and steering posts to make this the perfect snowmobile for boondocking. Add to it all the great features that are on the 2016 line—skis, suspension, spindles and clutches—and our 2015 M 8000 SnoPro has evolved into something beyond the 2016 SnoPro.
This past week we were back up in Island Park with Arctic Cat engineers installing the fixed steering post. It’s a pretty easy job if you’re working with a professional crew who had done this a hundred times. But we’ll try to walk you through the process.
For this build, we had Todd Tupper, longtime Team Arctic snowmobile racer and test rider, helping us through the process. (Shay Smith was in the middle of harvest but Tupper was eager to fill in for him.)
A fixed post tends to be a more popular design for boondocking. Plus you shave a little more than a pound of weight in the process. And every little bit of weight helps.
You need to expose the steering post so that means a lot of things will be coming off the sled—hood, seat, pipes, etc.—so you can get clear access to the stock steering post.
Here’s the step-by-step process.