
I
izzni
Well-known member
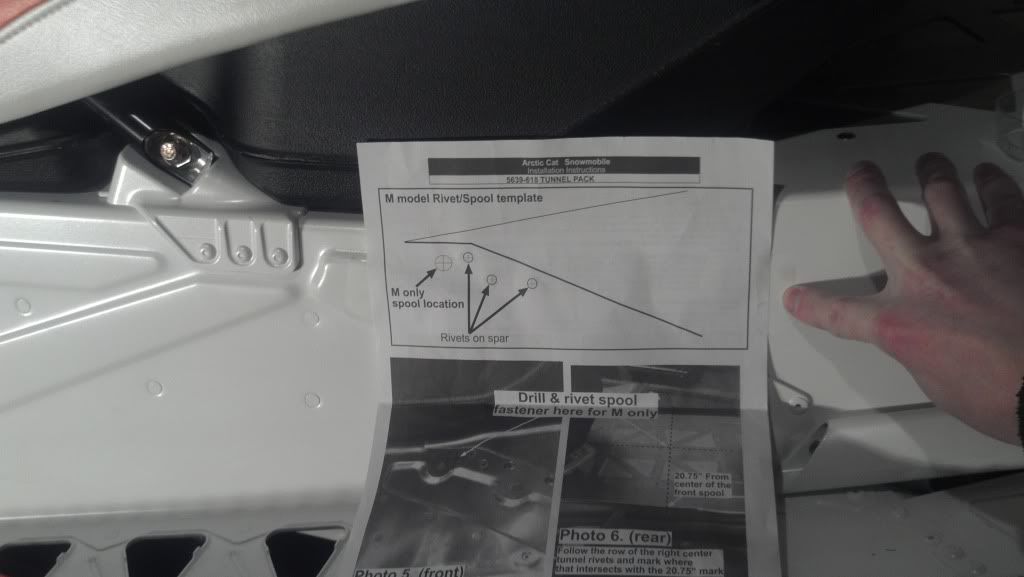
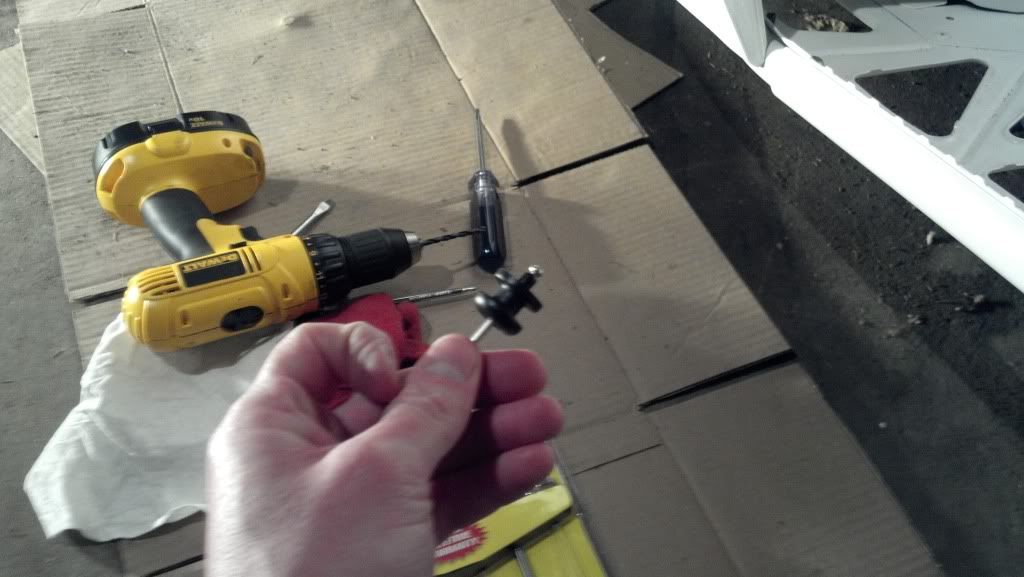
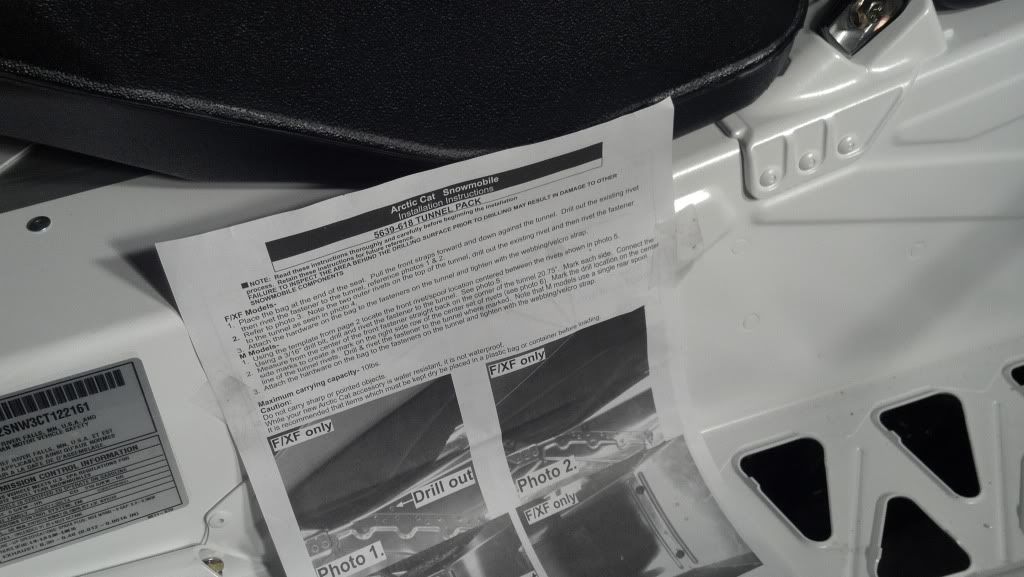
I decided to install my tunnel bag tonight. I was pleasantly surprised to find that the instructions included the Proclimb models. The back of the instructions actually came with a template on the back. I taped the template to the tunnel:
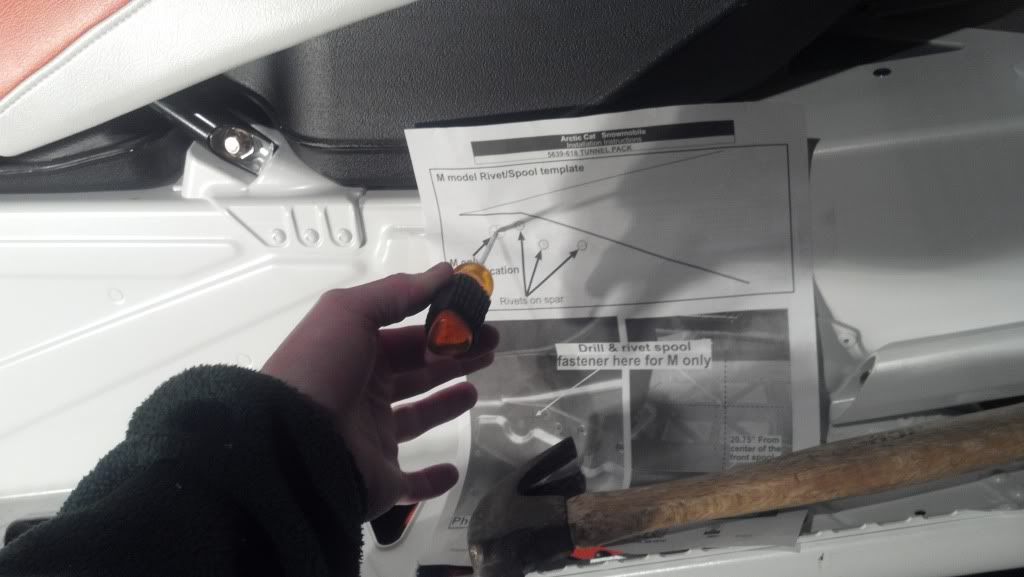
I didn't want the drill bit wandering all over creation on my prestine tunnel so I used a hammer and screw driver to make an indentation for the drill bit:
I removed the template and used the hammer and screwdriver to make the indentation a little bigger:
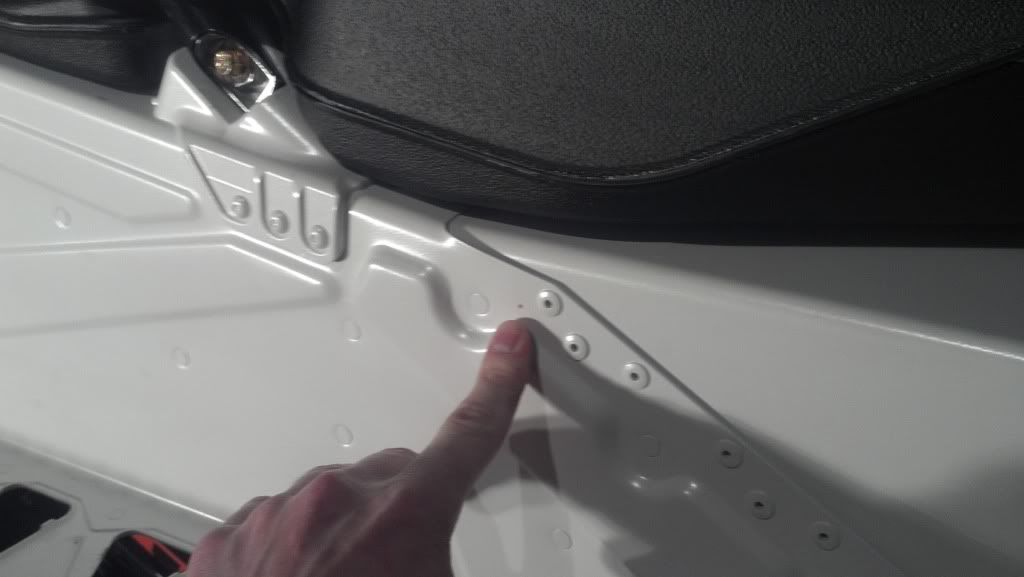
At this point I should have test fit the riveted spool to make sure it didn't hit anything, like the painted rivet to the right. I didn't think about this though, and I drilled the hole:

I then test fit the rivet, and of course it interferes with the existing rivet:
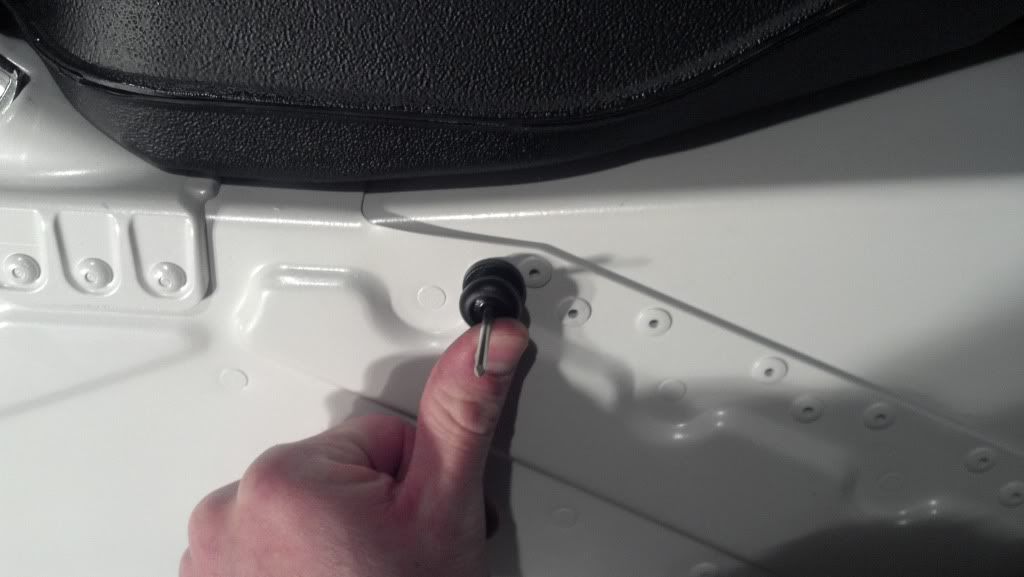
I fix this problem by sanding the spool on one side so that it will still be flush against the tunnel:

The tunnel at the point I drilled the hole is double thick. The steel rivet doesn't stick out from the spool very far, which concerned me a little:
However, I pushed ahead and pop riveted it on. It seemed pretty secure, so perhaps it is long enough:
On the other side of the tunnel you have to flip the template over:
This time I test fit the spool. I found that it was interefering with the bump out of the bracket on the tunnel. I made another indentation on the tunnel above the first where it wouldn't interefere with anything:

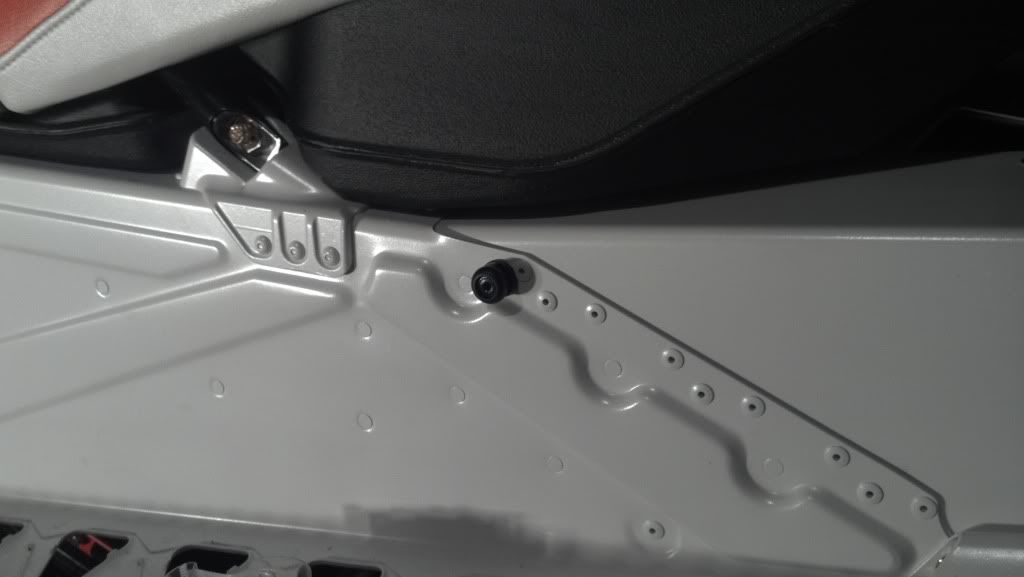
Here it is after it is drilled. I didn't have to sand this spool since I test fit it before drilling:

I then pulled the giant peice of foam out of the tunnel bag itself. I sure as hell hope that you aren't supposed to leave this thing in, as it probably takes up 1/5th the space in the bag:
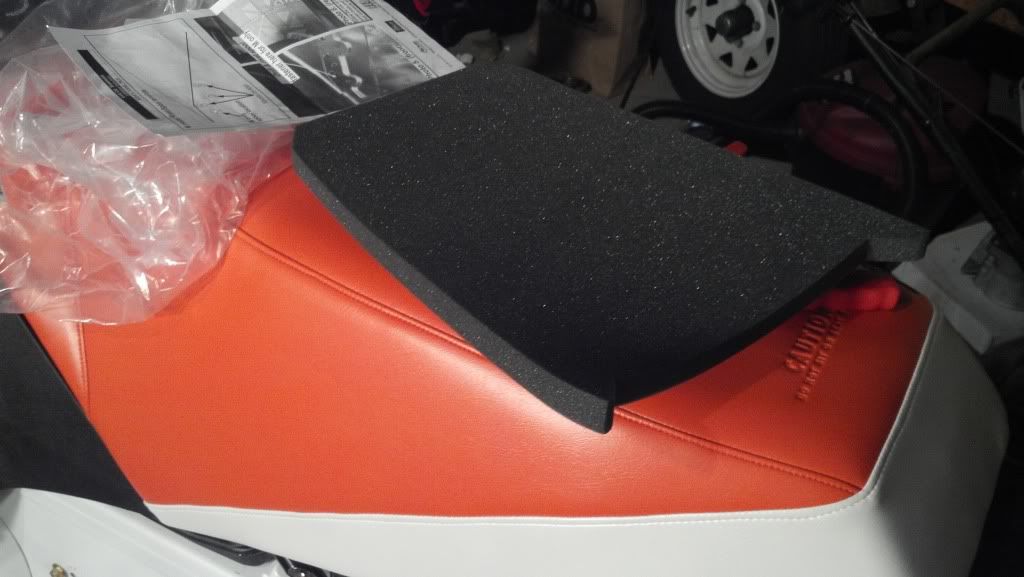
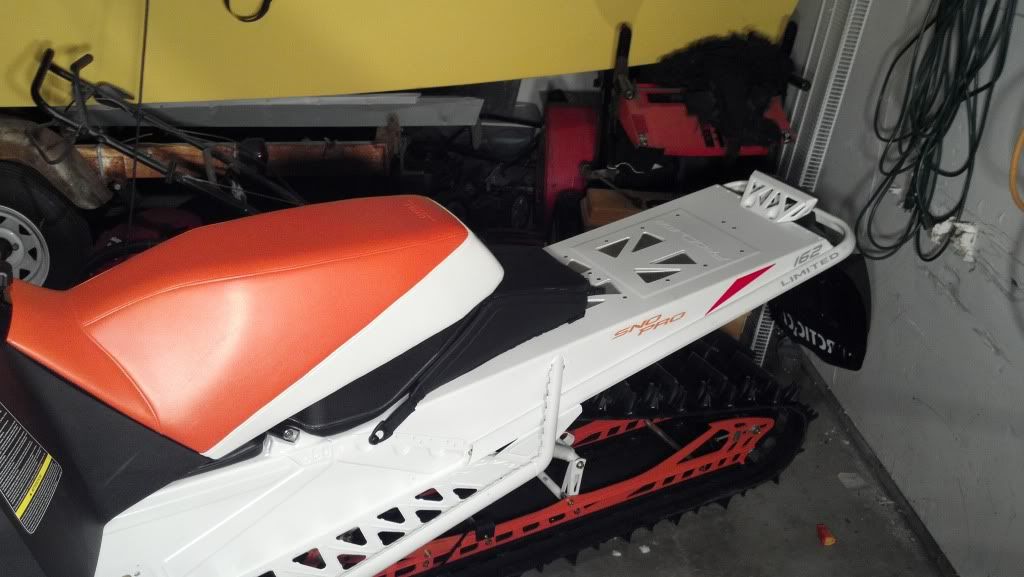
At this point I put the tunnel bag on and made sure it fit and looked nice:
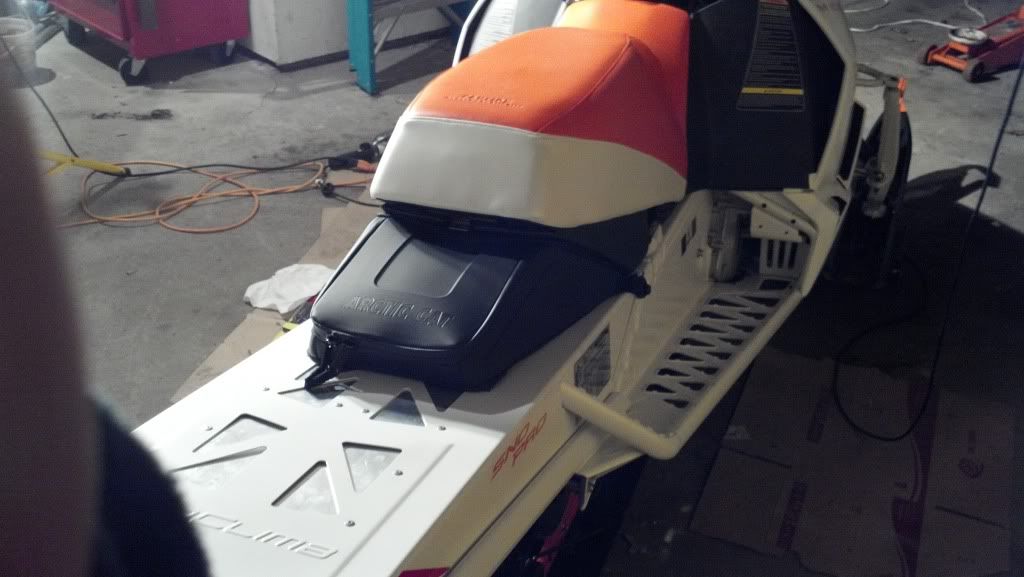
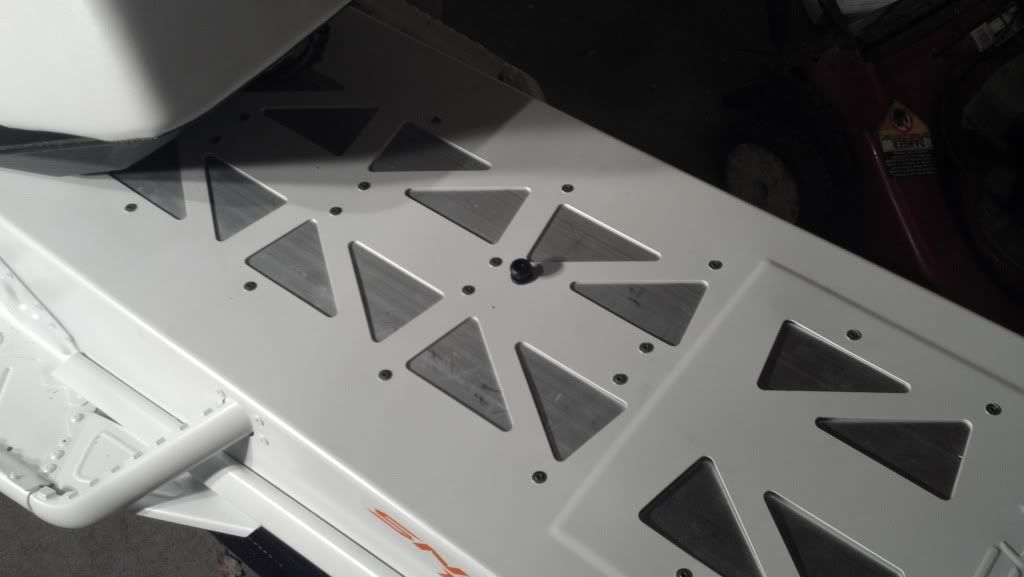
On the Proclimb chasis you install one rivet spool on the top of the tunnel. It's offset to one side. I'm pointing at the slot on the bag that the spool will slide into on my Proclimb:
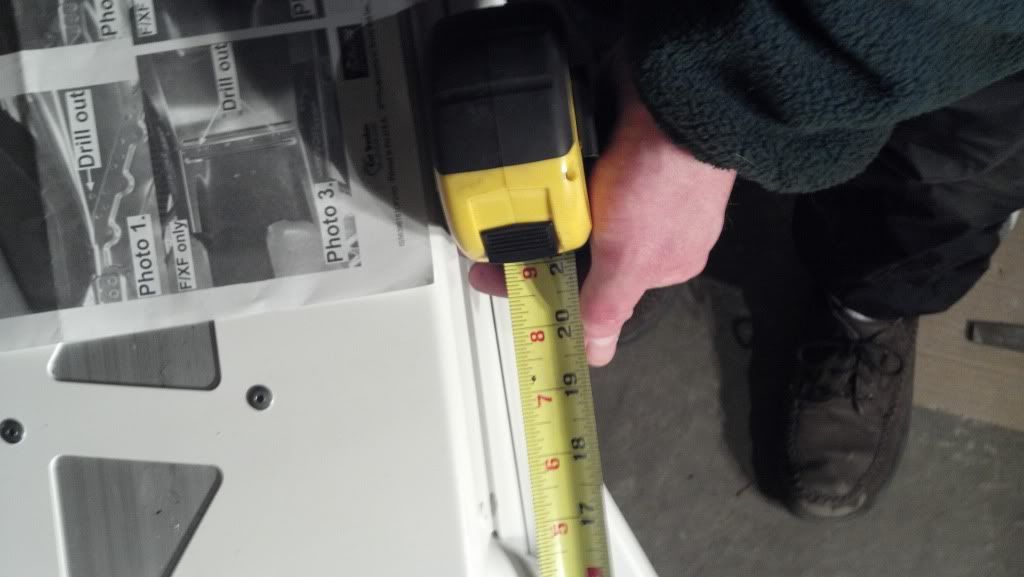
From the front spool you need to measure back 20.75 inches. I used the instructions as a straight edge and taped them into position:
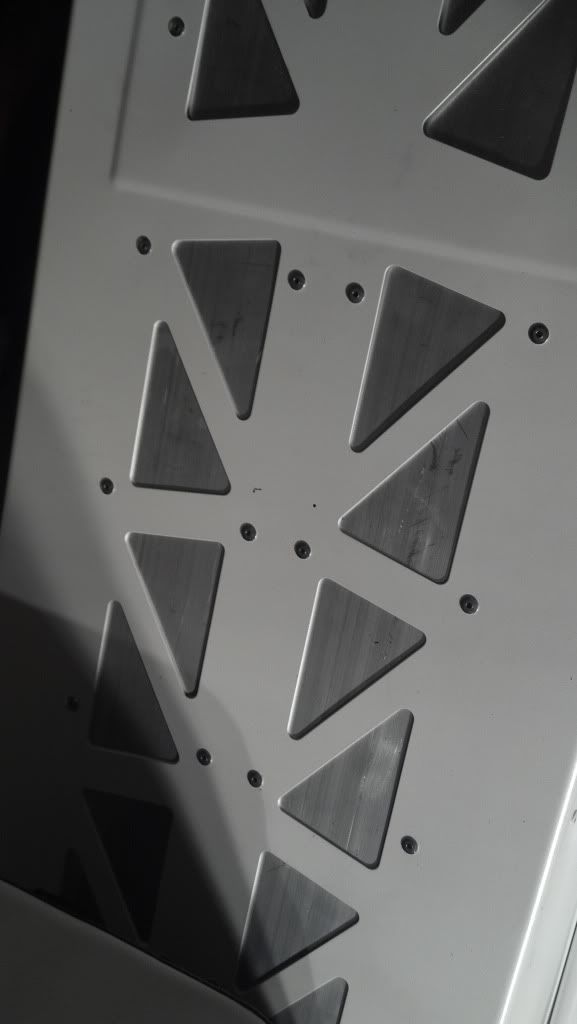
I used a permanent marker to create a mark on both rivet lines. YOU ONLY NEED TO DRILL ONE RIVET LINE. I marked two because I couldn't remember which line I needed to drill:
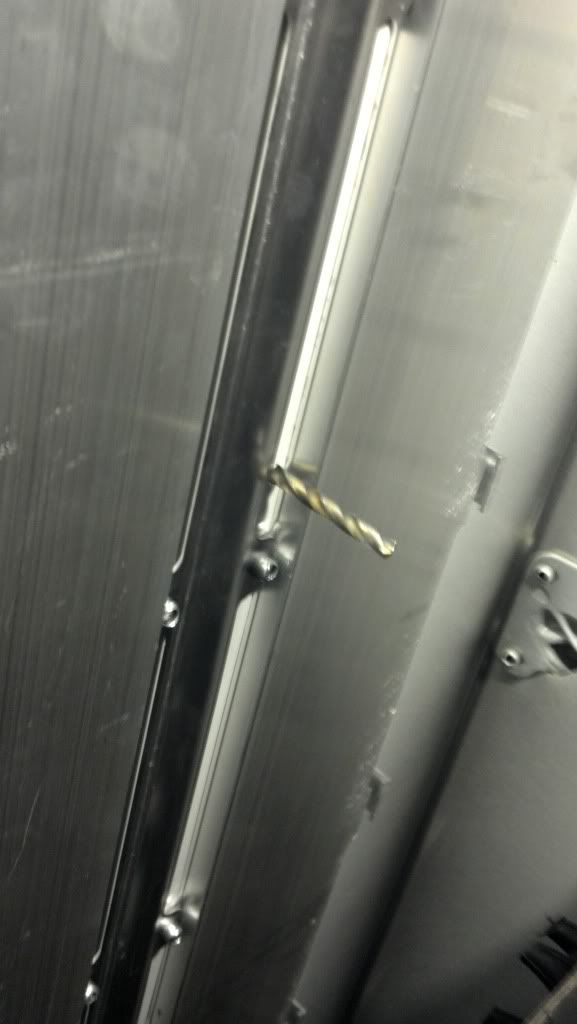
Here's a bottom view of the tunnel. As you can see, the part that doesn't have a wire cradle or intercooler on it is a pretty small target:

No heliarching intercoolers for me. Perfect!:
Lastly I riveted the spool to the tunnel:
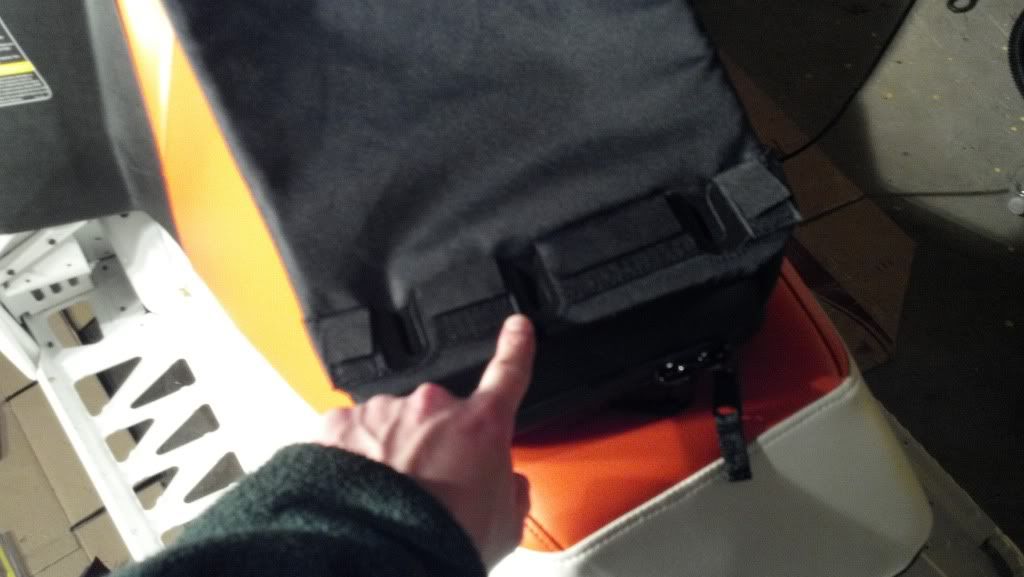
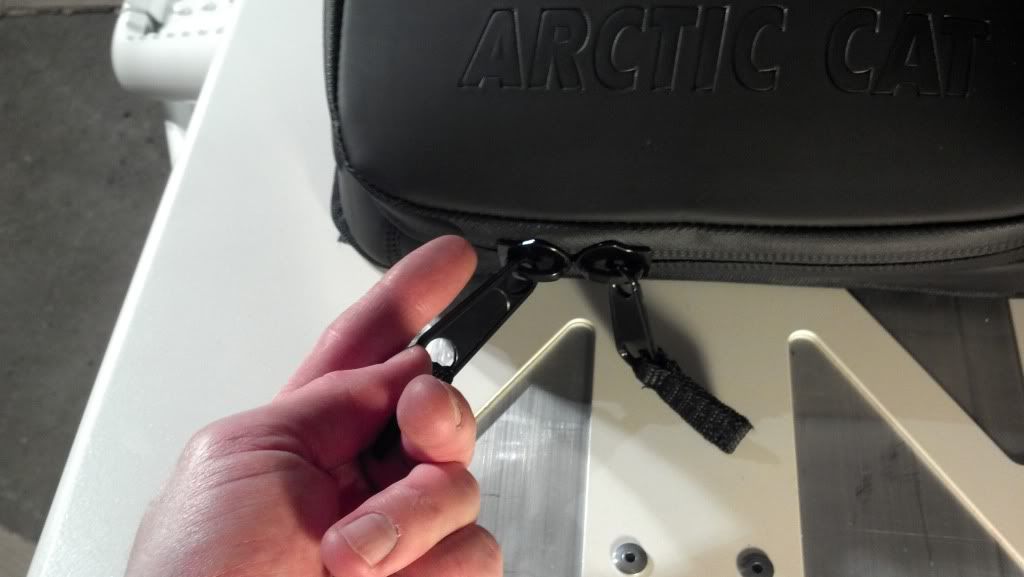
This picture is directed at BOSS seats. Hey jackasses, this is a real zipper pull. Notice how it's oversized, as if it was anticipated to be used in cold weather:
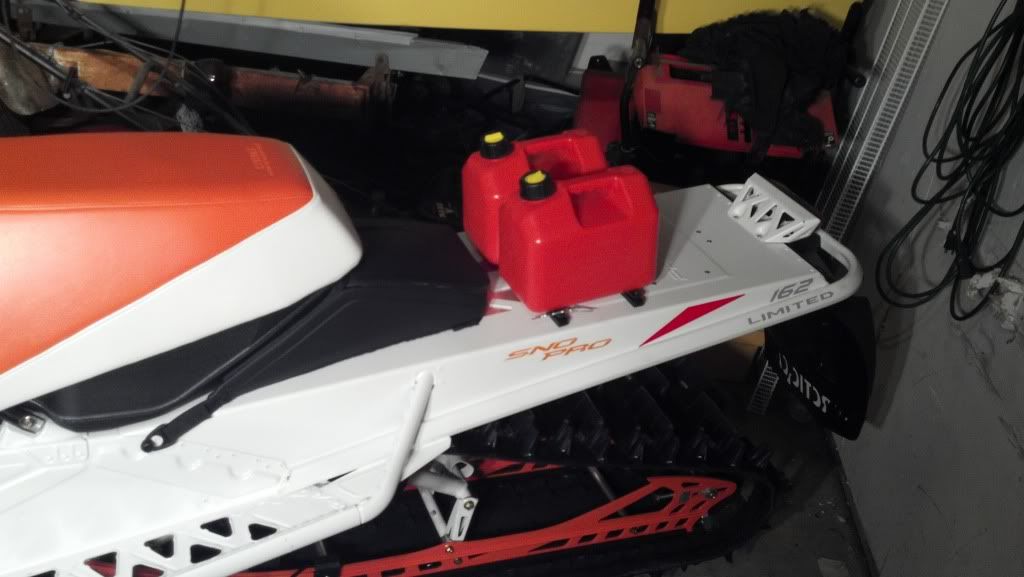
My next project is my mountain addicition gas rack. I didn't have time to work on that other than to take pictures though:

In conclusion:
The templates for the Proclimb sleds isn't that accurate. Use it to find the general area, and then use the spool to find a spot in the area that doesn't interfere with anything.
I didn't want the drill bit wandering all over creation on my prestine tunnel so I used a hammer and screw driver to make an indentation for the drill bit:
I removed the template and used the hammer and screwdriver to make the indentation a little bigger:
At this point I should have test fit the riveted spool to make sure it didn't hit anything, like the painted rivet to the right. I didn't think about this though, and I drilled the hole:
I then test fit the rivet, and of course it interferes with the existing rivet:
I fix this problem by sanding the spool on one side so that it will still be flush against the tunnel:
The tunnel at the point I drilled the hole is double thick. The steel rivet doesn't stick out from the spool very far, which concerned me a little:
However, I pushed ahead and pop riveted it on. It seemed pretty secure, so perhaps it is long enough:
On the other side of the tunnel you have to flip the template over:
This time I test fit the spool. I found that it was interefering with the bump out of the bracket on the tunnel. I made another indentation on the tunnel above the first where it wouldn't interefere with anything:
Here it is after it is drilled. I didn't have to sand this spool since I test fit it before drilling:
I then pulled the giant peice of foam out of the tunnel bag itself. I sure as hell hope that you aren't supposed to leave this thing in, as it probably takes up 1/5th the space in the bag:
At this point I put the tunnel bag on and made sure it fit and looked nice:
On the Proclimb chasis you install one rivet spool on the top of the tunnel. It's offset to one side. I'm pointing at the slot on the bag that the spool will slide into on my Proclimb:
From the front spool you need to measure back 20.75 inches. I used the instructions as a straight edge and taped them into position:
I used a permanent marker to create a mark on both rivet lines. YOU ONLY NEED TO DRILL ONE RIVET LINE. I marked two because I couldn't remember which line I needed to drill:
Here's a bottom view of the tunnel. As you can see, the part that doesn't have a wire cradle or intercooler on it is a pretty small target:
No heliarching intercoolers for me. Perfect!:
Lastly I riveted the spool to the tunnel:
This picture is directed at BOSS seats. Hey jackasses, this is a real zipper pull. Notice how it's oversized, as if it was anticipated to be used in cold weather:
My next project is my mountain addicition gas rack. I didn't have time to work on that other than to take pictures though:
In conclusion:
The templates for the Proclimb sleds isn't that accurate. Use it to find the general area, and then use the spool to find a spot in the area that doesn't interfere with anything.