• Don't miss out on all the fun! Register on our forums to post and have added features! Membership levels include a FREE membership tier.

Manufactured heat exchanger kit (Full radiator delete) for sale

Ready to order one from you.
Does the coolant bottle replace a radiator? Can you keep radiators instead of coolant bottle?
Does the system work with heated bars and C3 thermostat.?
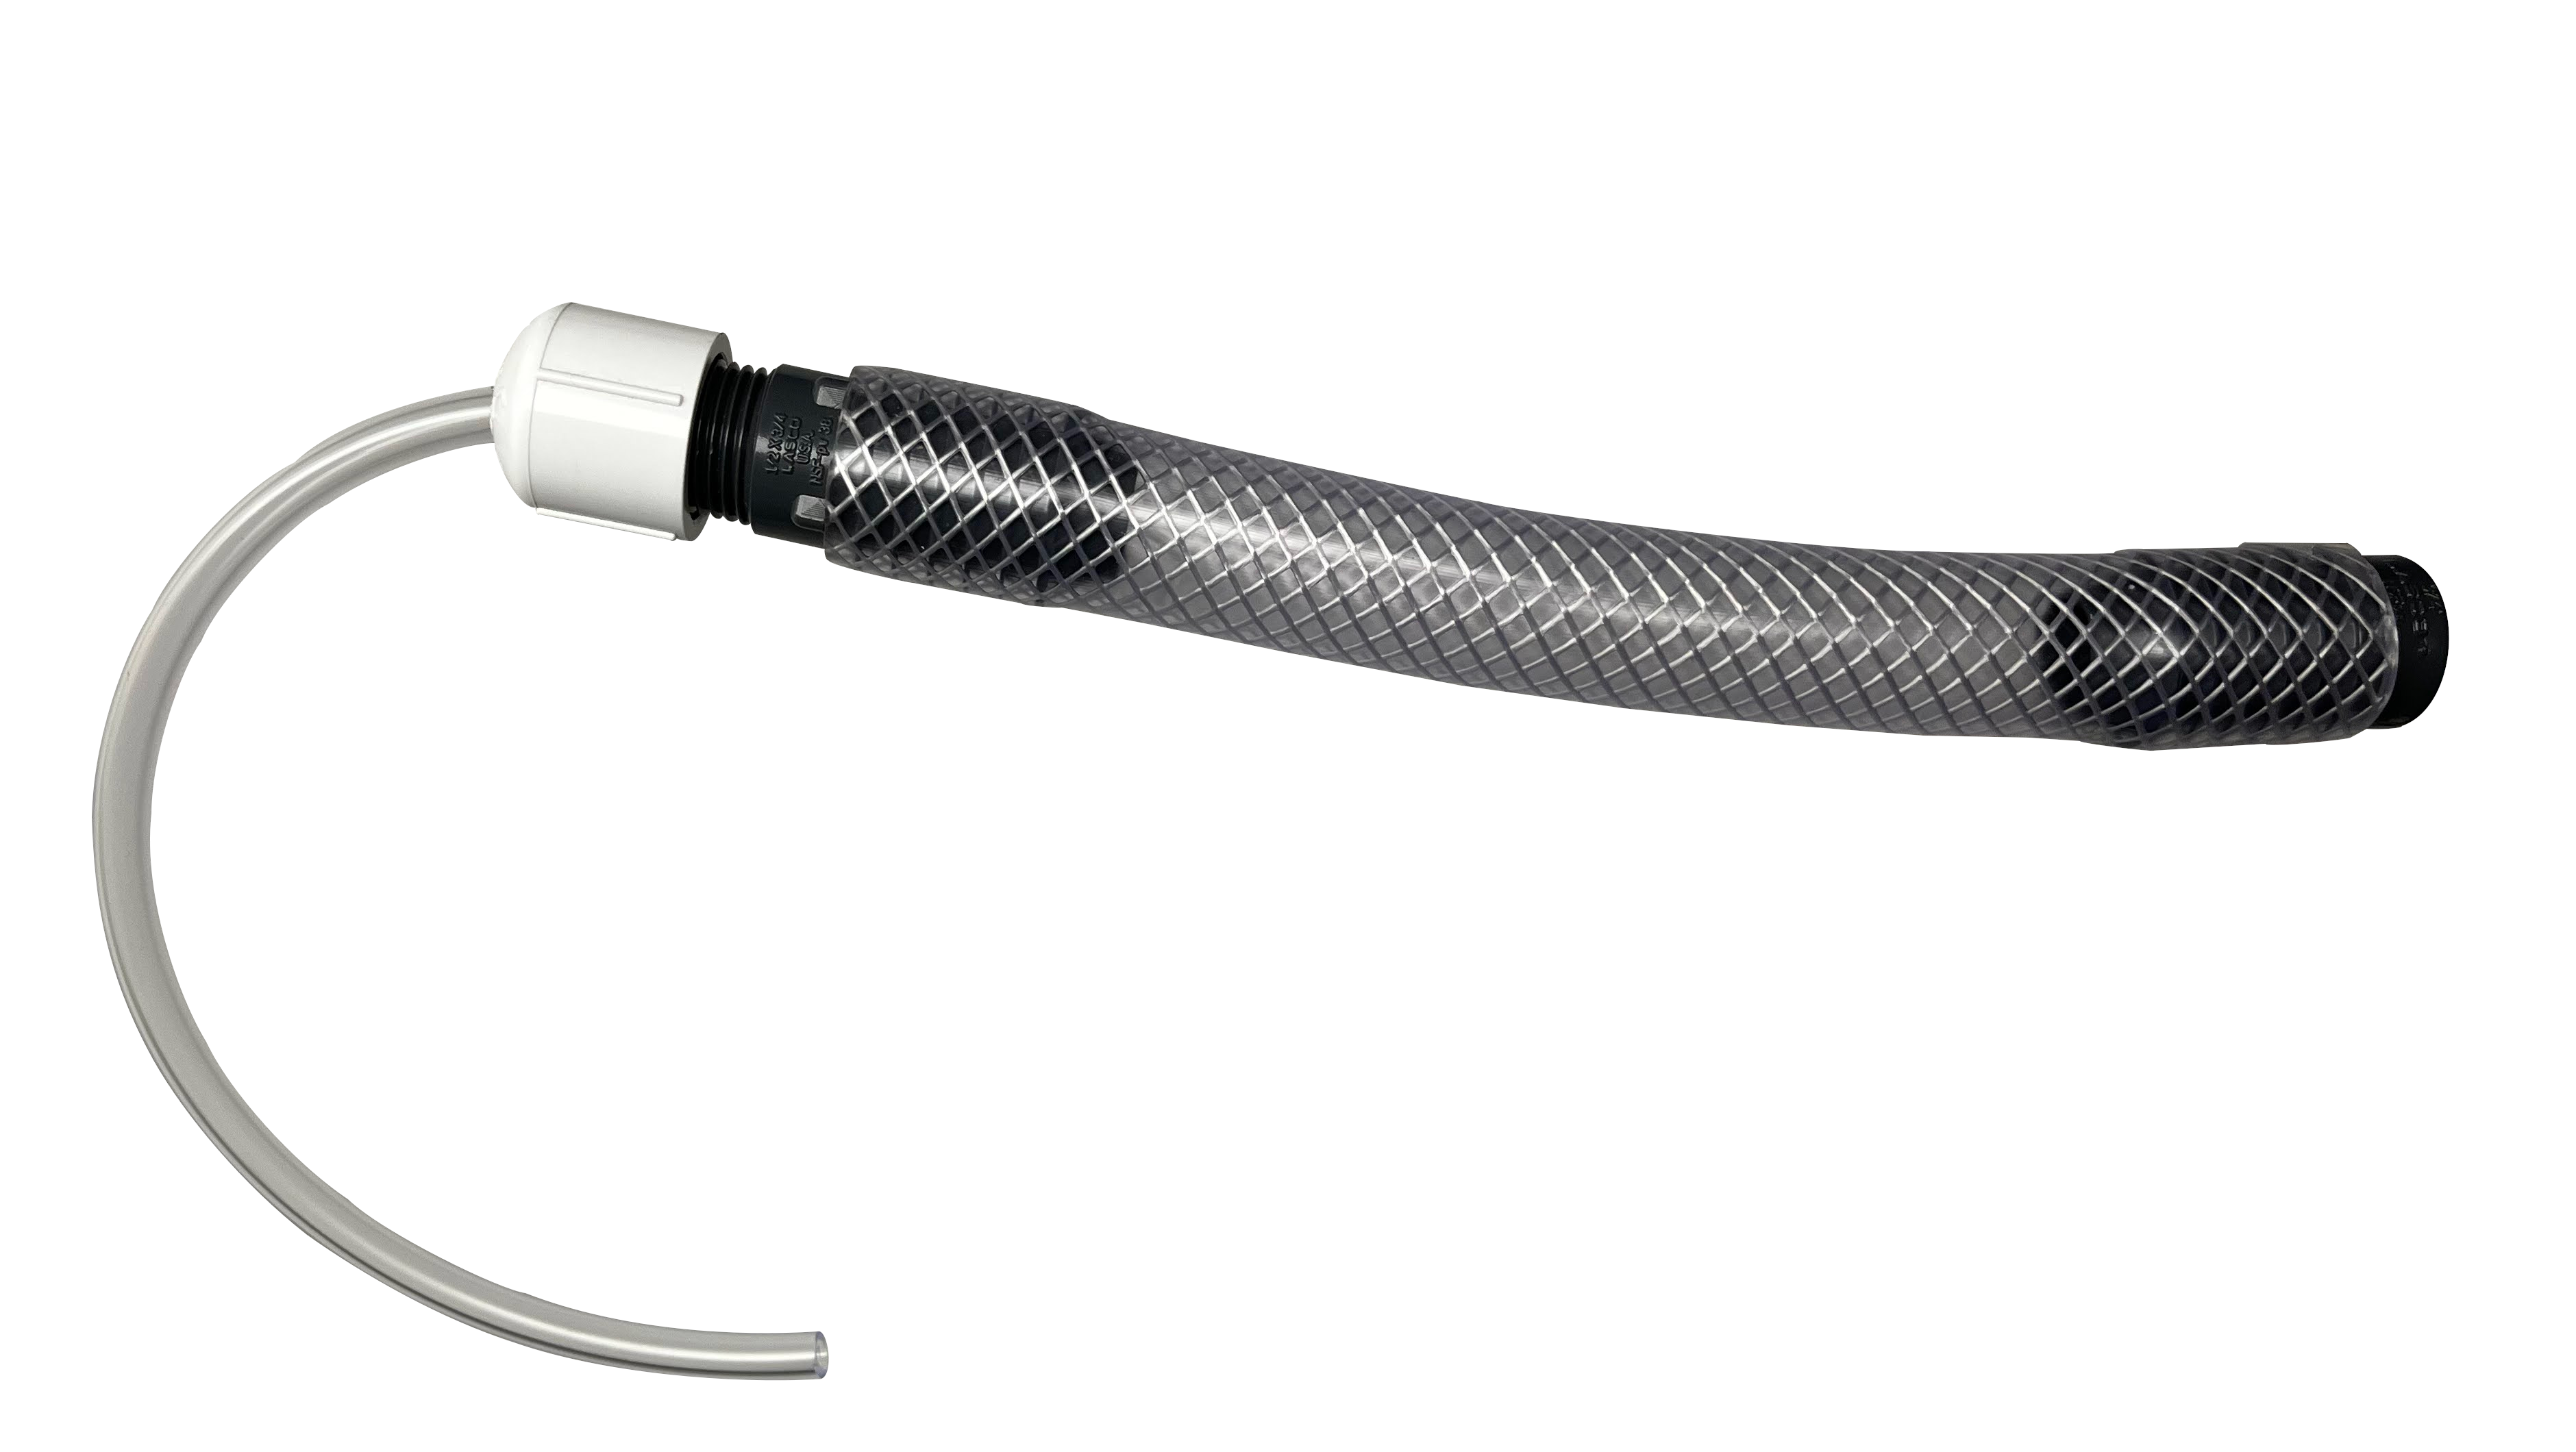
What is the typical amount of coolant hose needed to finish the install?
-Yes it replaces both radiators.
-works with heated bars and thermostat. Thermostat is pretty much a requirement on a snow bike.
- about 30 to 40 inches of 5/8 heater hose. (that is just a guess I will measure today and update with the exact number).
 
I am not the manufacturer, I am just a guy who bought one from him recently. I just thought I would let you know that there is a lot of info on the install on his website here:


-It says you can use a radiator as a coolant bottle, but seems to me that would kind of defeat the purpose of the exchanger?
-In his drawings it shows you can use heated bars, and he recommends a thermostat like the C3. It will be up to you to sort out the hoses/fittings to make it all work.
-Coolant hose should be easy to figure out yourself once you read the instructions. Just measure the path from the outlets on the skid to your motor (this will not be a straight line)

Yes there is alot of info on that blog post! I'm open to hearing feedback or if you see something incorrect on that page let me know.

- if you really don't want to spend the extra on the coolant bottle, you can get away with using a single radiator to function as a coolant bottle which is: Coolant reservoir, pressure cap functions, high point in system for filling and bleeding air from system. If you are using a single radiator, same as the coolant bottle- you still want to keep it completely covered from any snow contact for reasons as stated on the blog post:
  • Using one radiator as a bottle will be a bit more challenging to plumb depending on the bike model.
  • Each radiator weighs almost 2 pounds, and has a tendency to add ice weight wherever water trickles down and freezes.
    • Coolant bottle weighs in at 0.5 pounds
  • Add in how much snow tends to get caught up in the radiators, and as the snow melts and runs down the frame and freezes into a big chunk of ice underneath your engine, trapped in with the help of the engine blanket, the weight really starts to stack up!
  • No more steaming rads in your face, fogging up your lens, and icing over on your gear.

And benefits of 2.0 bar coolant bottle versus using a radiator: (from the blog post)
  • It clears up a whole lot of space for running electrical accessory wires and coolant plumbing lines (heated bars, heated carb, etc,) and this extra space is really noticeable by those running BRC500 or other big bore engines.
  • Higher pressure radiator cap reduces chances of boiling over should you ever run into such a circumstance. My system is made to run at 2.0 bar (sea level). Although the cap does say 1.8 bar, that is only because I could not find a low priced small Japanese style (Honda, Yamaha) cap in 2.0 bar. So I machined the filler neck to put a bit more pressure on the spring, raising the boiling point to 2.0 bars.
Why do I need such a high pressure sytem? Heres a scenario: Most KTM’s come with a 1.8 bar cap giving it a boiling point of 280°F at sea level (most Honda and Yamaha have lower pressure systems). But even the 1.8 bar systems have been observed boiling over up on the hill climbs, and that’s because of the lower atmospheric pressure at high altitude making you have less than 1.8 bar. So I made this system to give you true 1.8 bar boiling point equivalent on the highest mountain tops!

  • Getting more scientific nerdy stuff here: Although the boiling point at 1.8 bar is around 280°F (depending on coolant mixture) during our testing the bikes observed spitting up coolant where only around 230°F and it shouldn’t have boiled at that temp even when adjusted for altitude there is still some buffer, but it is getting close. What happened is even though the system temp as a whole was below the boiling point, there was a hotspot in the coolant jacket somewhere near the head which got hot enough that it was able to boil and form bubbles, raising pressure and opening the cap valve. Air is insulating, resulting in the hotspot triggering a chain reaction and then temps spike quickly out of control just when the engine is being pushed to its maximum limits under the heaviest loads.
  • By raising the system pressure you provide a larger temp buffer gap between operating temp and boiling point reducing the chance of any hotspot forming.


Figuring out the hoses is actually pretty easy once you get into it and see that that its possible to get the hoses routed any way you like with angled hose fittings and/or exploring the heater hose rack at the auto parts store.
I will be posting more pics of completed installs soon, as I get them from customers. All my local snowbike friends already have been outfitted with prototype and tester kits, and arent the best for posting on my site (first post with pic is an example)
 
That makes sense for the coolant bottle.
How does things work out with the radiator shroud attachment?
How do you finish out the plastic?
30 or 40 in of 5/8 coolant hose,
What type of fittings do folks usually need?
 
I haven't installed mine yet, but I am planning on removing my radiators but keeping the radiator guards. The shrouds will mount to the guards.

I will add some puck board to the inside of the radiator guards to block the snow from coming in, and then mount my bottle to the inside of the puckboard/guard so it is protected from the snow. I am thinking I will have it spaced off the puckboard 1/4".

I will also find a way to block the back of the motor, so that snow cannot enter there.

The info on the fittings is on that website. He recommends pex 3/4" brass fittings.

Once I have mine completed I will post some pictures. However I am not going to install until I get my new Aro3. So it may be a while.
 
I am not the manufacturer, I am just a guy who bought one from him recently. I just thought I would let you know that there is a lot of info on the install on his website here:


-It says you can use a radiator as a coolant bottle, but seems to me that would kind of defeat the purpose of the exchanger?
-In his drawings it shows you can use heated bars, and he recommends a thermostat like the C3. It will be up to you to sort out the hoses/fittings to make it all work.
-Coolant hose should be easy to figure out yourself once you read the instructions. Just measure the path from the outlets on the skid to your motor (this will not be a straight line)
Thanks..
Username reminds me of a guy i saw in a big truck with a big hat, license plate was "boots2"
 
I haven't installed mine yet, but I am planning on removing my radiators but keeping the radiator guards. The shrouds will mount to the guards.

I will add some puck board to the inside of the radiator guards to block the snow from coming in, and then mount my bottle to the inside of the puckboard/guard so it is protected from the snow. I am thinking I will have it spaced off the puckboard 1/4".

I will also find a way to block the back of the motor, so that snow cannot enter there.

The info on the fittings is on that website. He recommends pex 3/4" brass fittings.

Once I have mine completed I will post some pictures. However I am not going to install until I get my new Aro3. So it may be a while.
Cool, ive got a stash of pex fittings.
Probably can use the crimp pipe clamps too.
 
That makes sense for the coolant bottle.
How does things work out with the radiator shroud attachment?
How do you finish out the plastic?
30 or 40 in of 5/8 coolant hose,
What type of fittings do folks usually need?

From the blog:

Coolant Bottle:

Some bikes are made with the rads being the support for the side plastics, most have braces that hold plastics and rads attach to the braces, or a cage / rad guard that holds the plastics and rads fit into the cage. The coolant bottle needs to attach onto something, so if your host bike rads are the support for the plastics, you will need buy a aftermarket rad guard of some sort. Keep the radiator blockers in so there is no snow blowing into the empty side and no snow hitting the coolant bottle giving it uncontrolled cooling and opportunity for ice to collect.


I prefer to use brass PEX fittings for their compact size and smooth beads make for easier disassembly than dedicated barbed hose fittings. If using PEX fittings, they are sized differently than standard fittings. For 5/8” hoses you will use 3/4” PEX fittings.

Use of plastic hose fittings is not recommended, unless they are rated for well above your engine operating temp.
 
I haven't installed mine yet, but I am planning on removing my radiators but keeping the radiator guards. The shrouds will mount to the guards.

I will add some puck board to the inside of the radiator guards to block the snow from coming in, and then mount my bottle to the inside of the puckboard/guard so it is protected from the snow. I am thinking I will have it spaced off the puckboard 1/4".

I will also find a way to block the back of the motor, so that snow cannot enter there.

The info on the fittings is on that website. He recommends pex 3/4" brass fittings.

Once I have mine completed I will post some pictures. However I am not going to install until I get my new Aro3. So it may be a while.

Any kind of plastic sheet will work. Amazon, ebay, arts and crafts store, they all have them. Thick fabric also works very good! Zip ties finish the job.

Home depot/ lowes or plumbing store is your friend for all the elbows, reducers, and straight fittings. Amazon/ ebay are also easy options

Take your fittings to an auto parts store and browse through their heater hose rack. they have all kinds of shapes and sizes.

I tried to make this kit be easy to install and setup with easily accessible hardware components.
 
He specifically says not to use the crimp fittings. You need to use the worm drive hose clamps.

* don't use spring clamps

There are different kinds of crimp fittings, I am guessing he is referring to the common type used in household plumbing. I don't know the rating on those for heat and temp.

Or he may be referring to heater hose crimp clamps which are the standard used in vehicles. Now that will make for in your very clean looking setup!
Ive got the kind for crimping pex pipe, super strong crimp.
Tighter than a typical hose clamp I'm sure.
 
Premium Features


Back
Top