http://www.snowest.com/2015/08/project-arctic-cat-m-8000

Project Arctic Cat M 8000 SnoPro Build
Part 8—Running Board Install
Published online: Aug 26, 2015 Arctic Cat Steve Janes Viewed 1323 time(s)
Web Exclusive
(EDITOR’S NOTE: This is the eighth in a series of articles about converting a 2015 Arctic Cat M 8000 SnoPro into a SnoWest Forums 2016 Project Cat giveaway sled. Throughout the summer and fall we will be working with SnoWest Forum members to build the perfect snowmobile … and then we will give it away to a Forum member at the end of the build.)
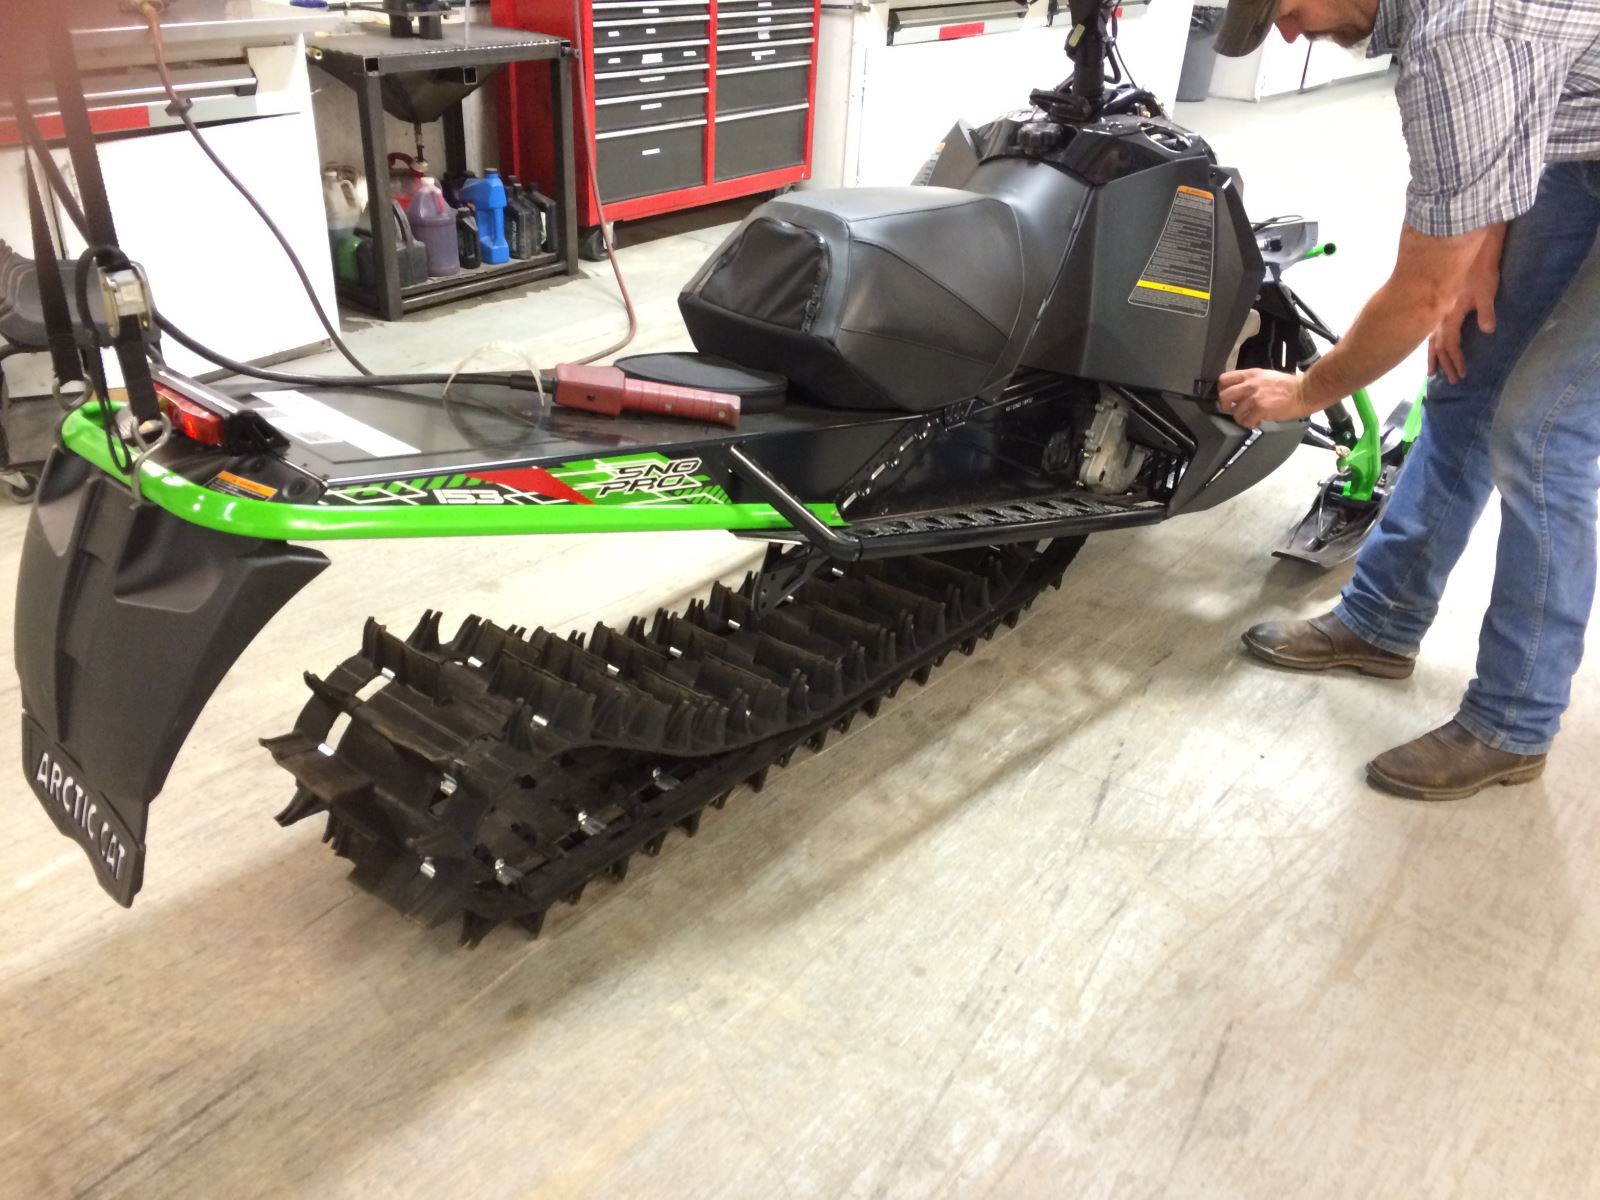
A good mountain rider knows he needs to have solid footing on his snowmobile in order to maintain the balance necessary to traverse extreme terrain. And there’s nothing more frustrating during a day of powder riding than to keep losing your footing due to a buildup of snow on the running boards.
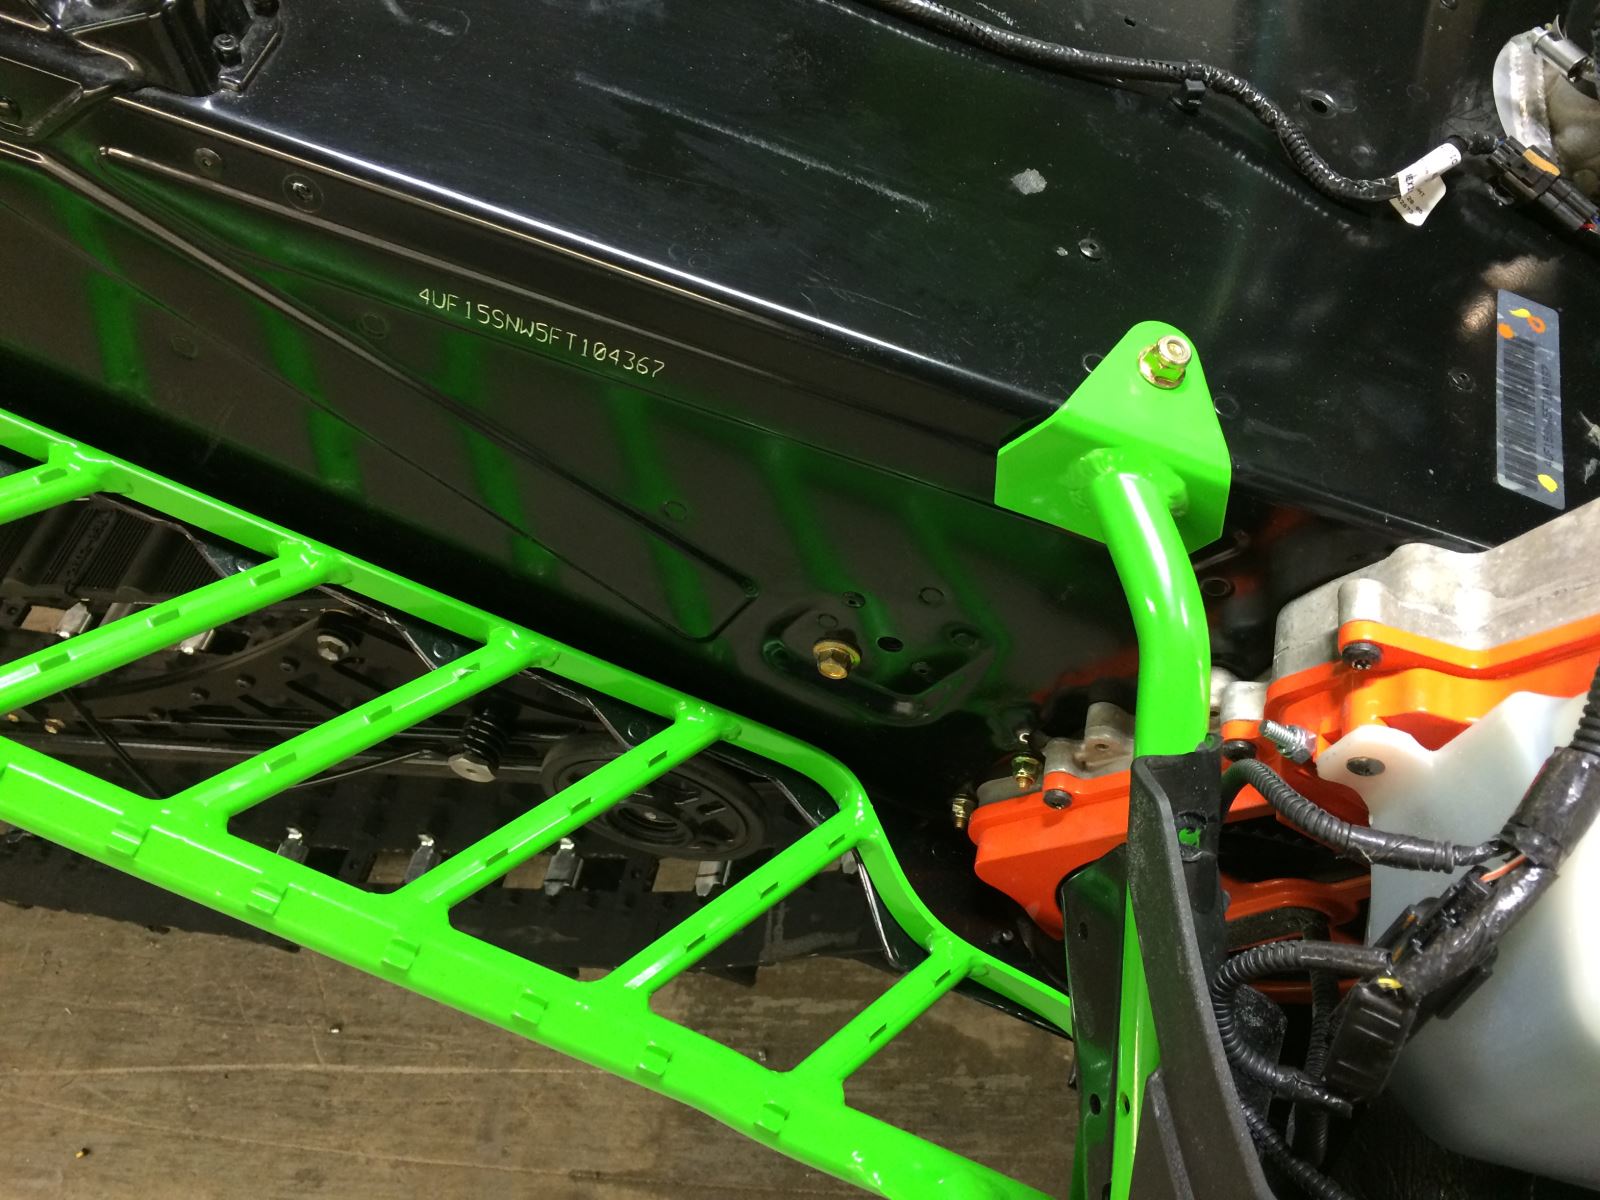
So any good mountain rider recognizes the value of having a good set of running boards that eliminate snow buildup while still providing secure traction to the foot. With our 2015 Arctic Cat M 8000 SnoPro project it was natural for us to add the Proclimb Boards from Arctic Cat.
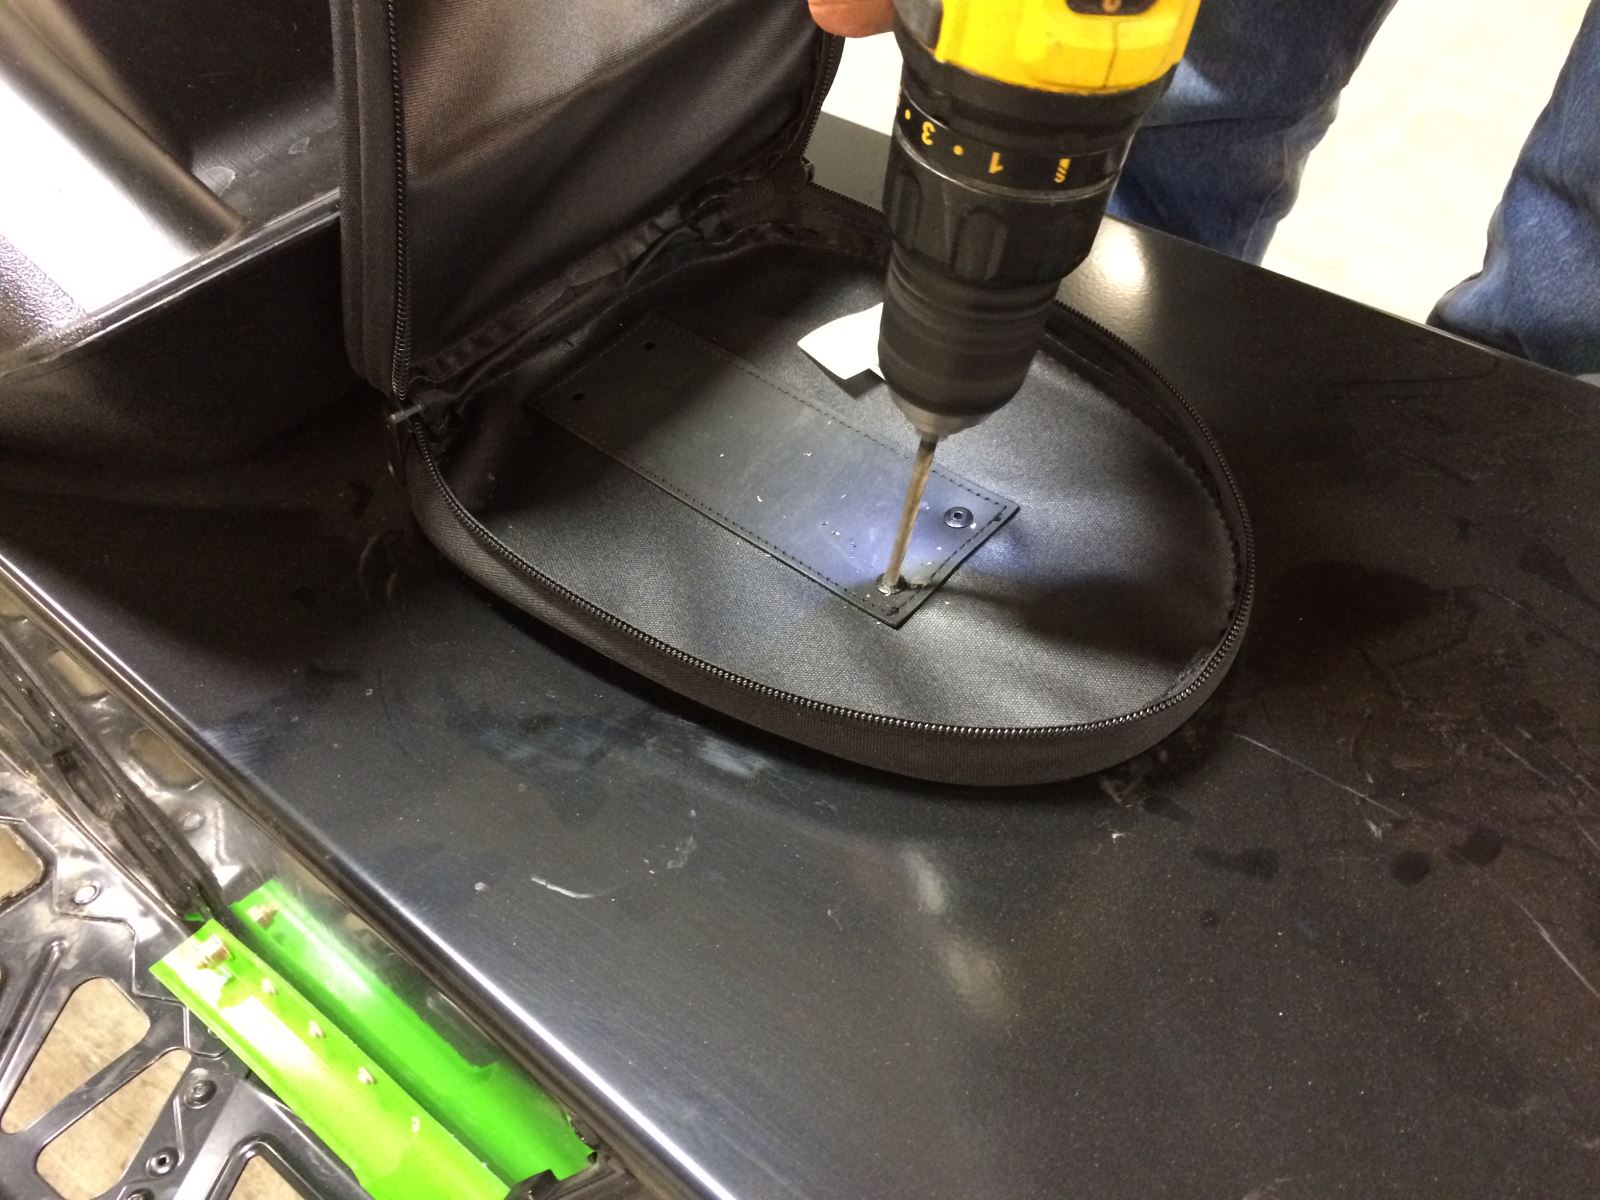
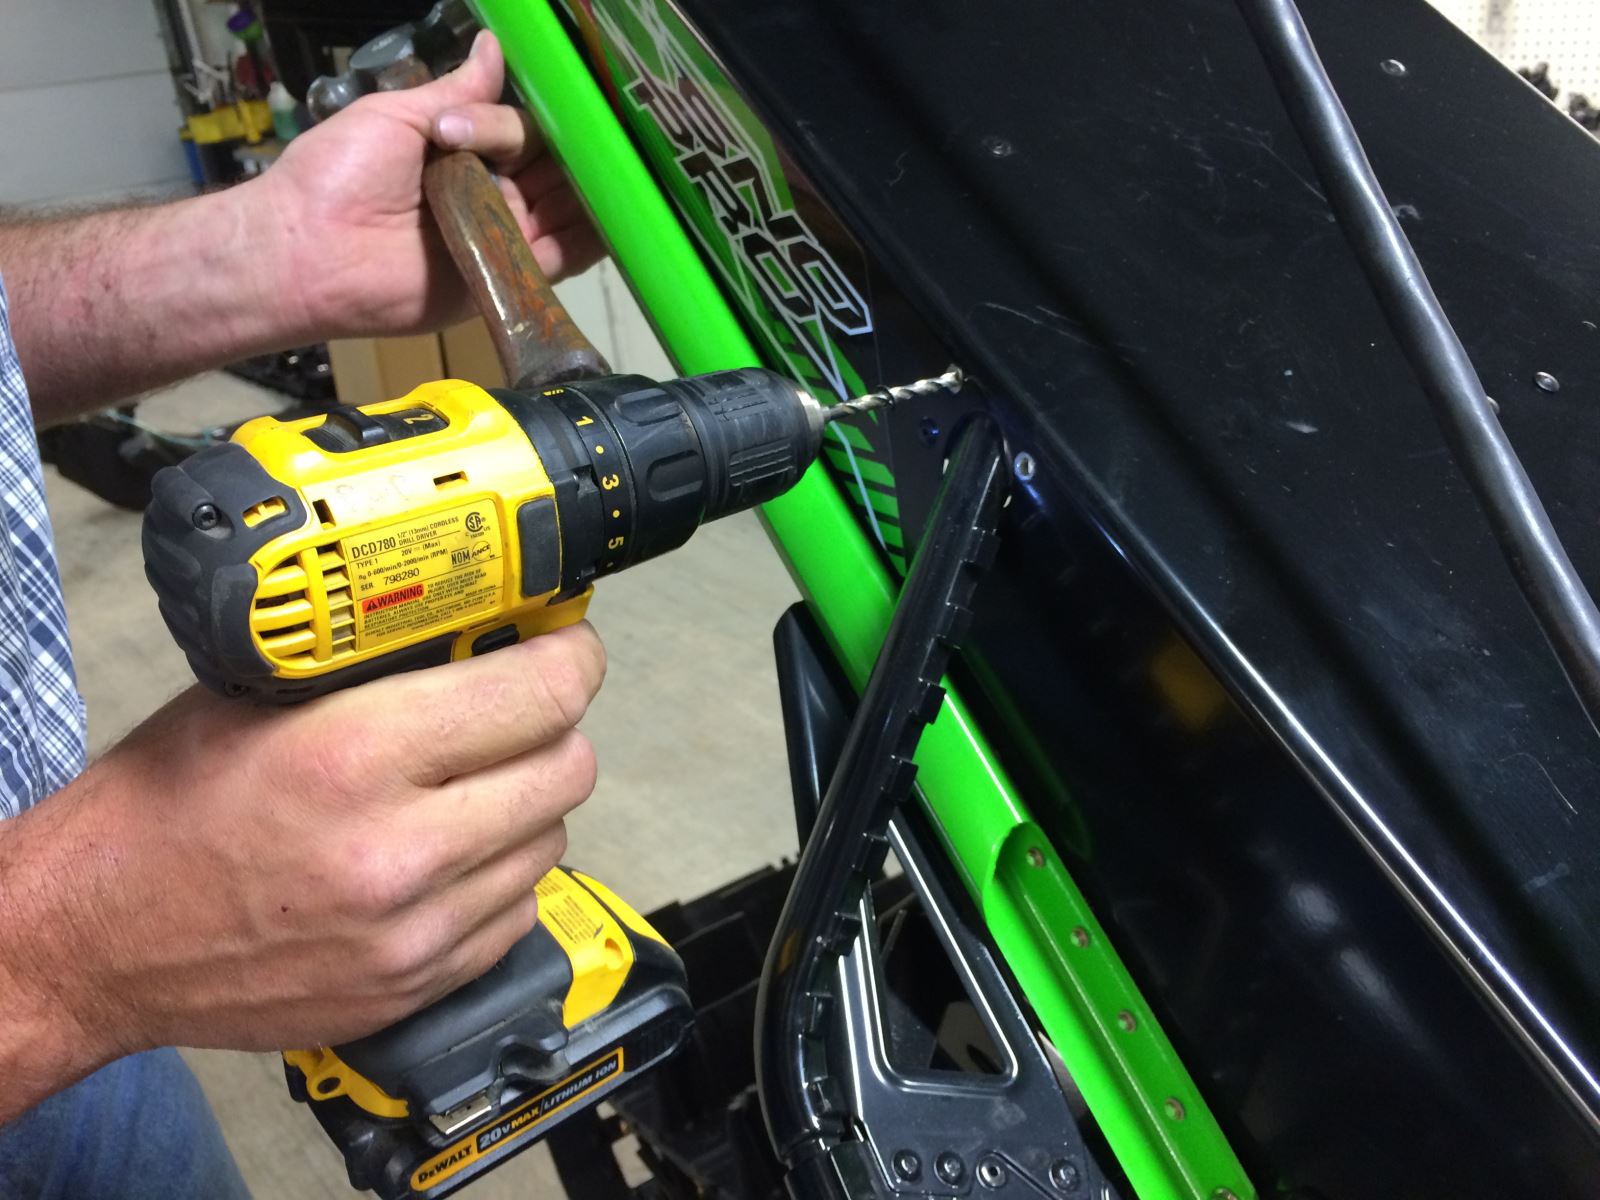
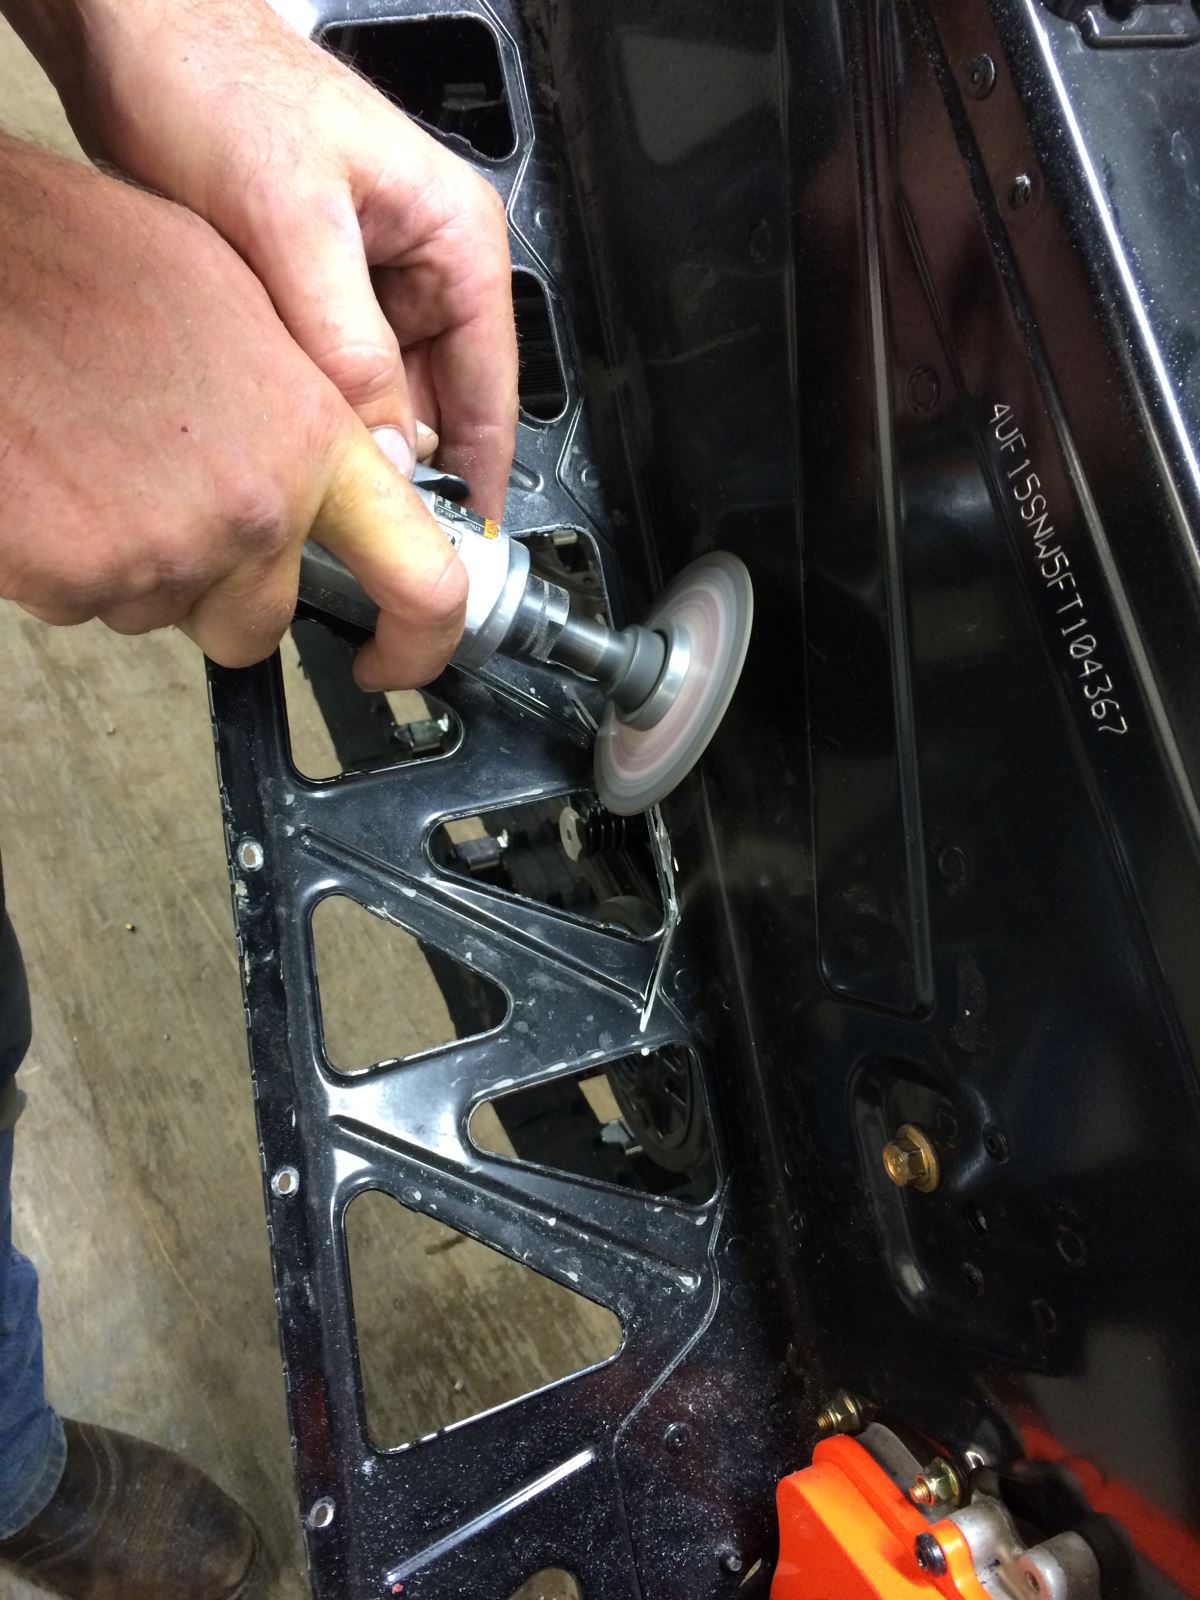
The challenge here is that this kind of commitment is something you first need to know what you’re doing. Although the process isn’t necessarily complicated or time consuming, it is one that is irreversible in nature … once you cut your boards, you’re fully committed unlike the other changes that leave room to revert back to where you began.
Perhaps one good thing about this particular modification was that Arctic Cat provided a great set of instructions that help you through the process (much more detailed than the ones we’ve included in this article).
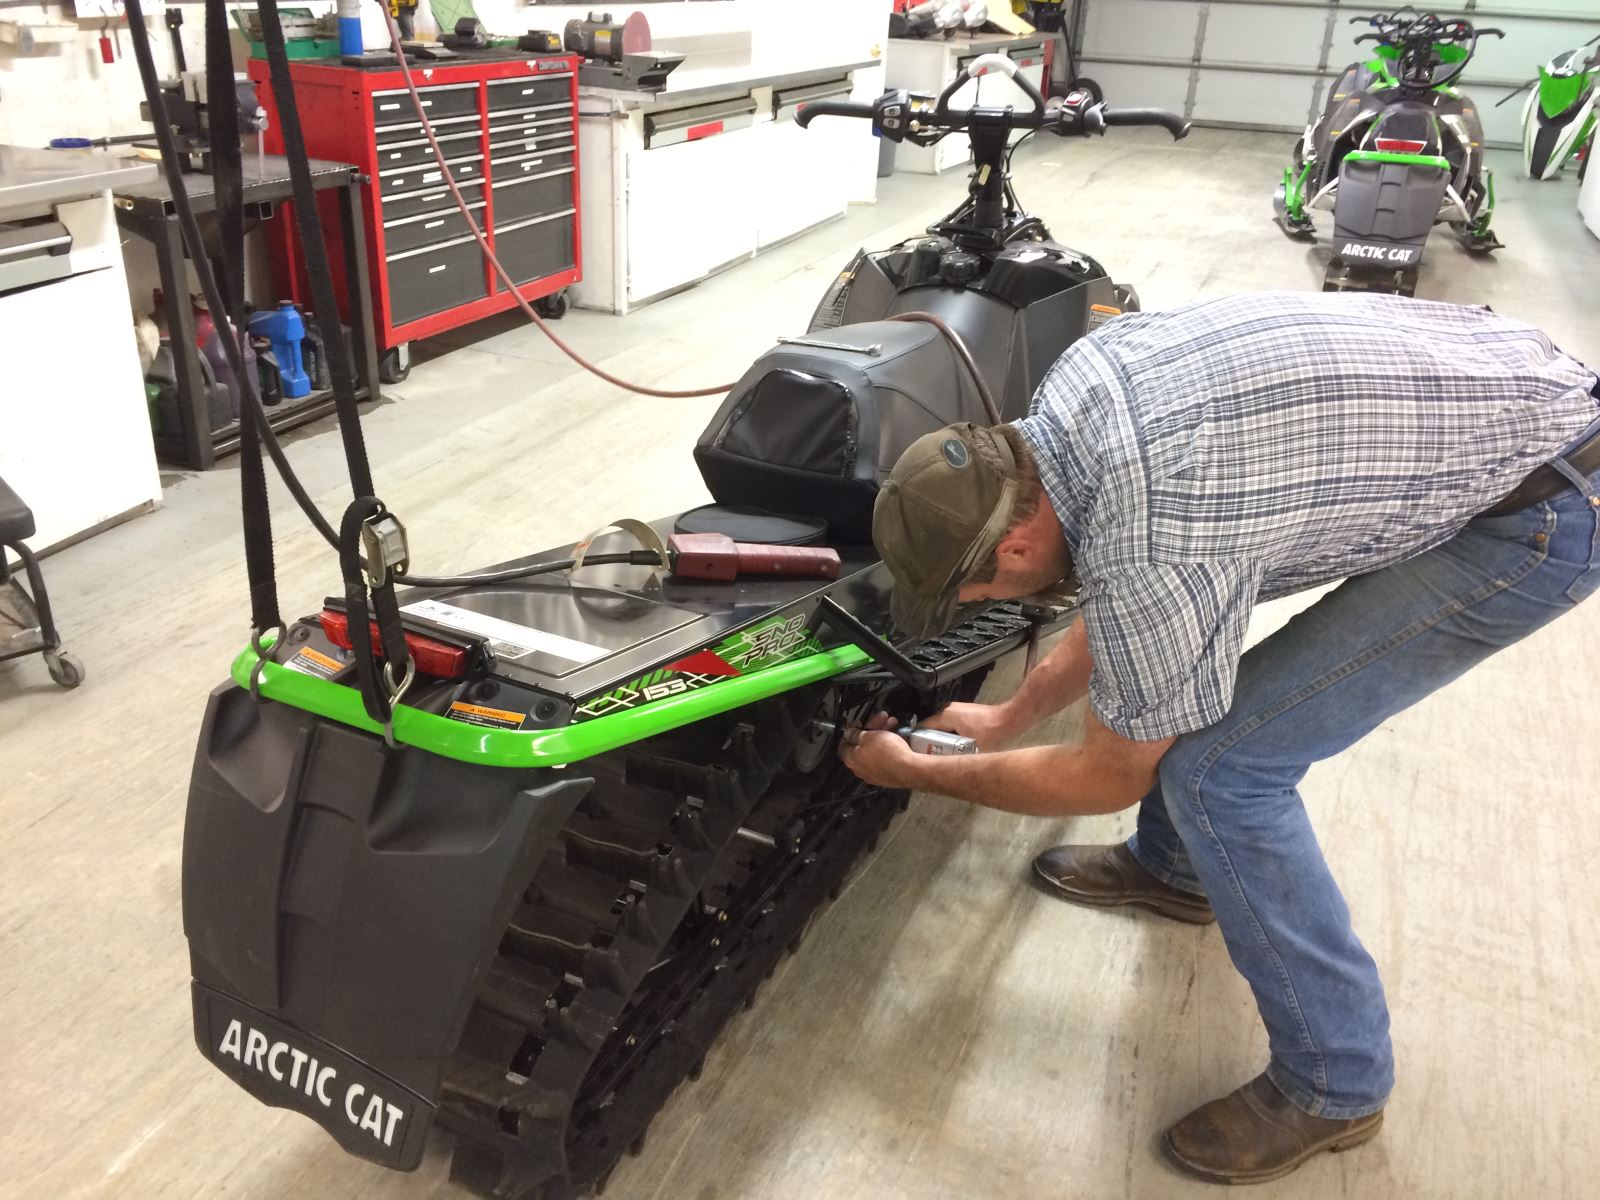
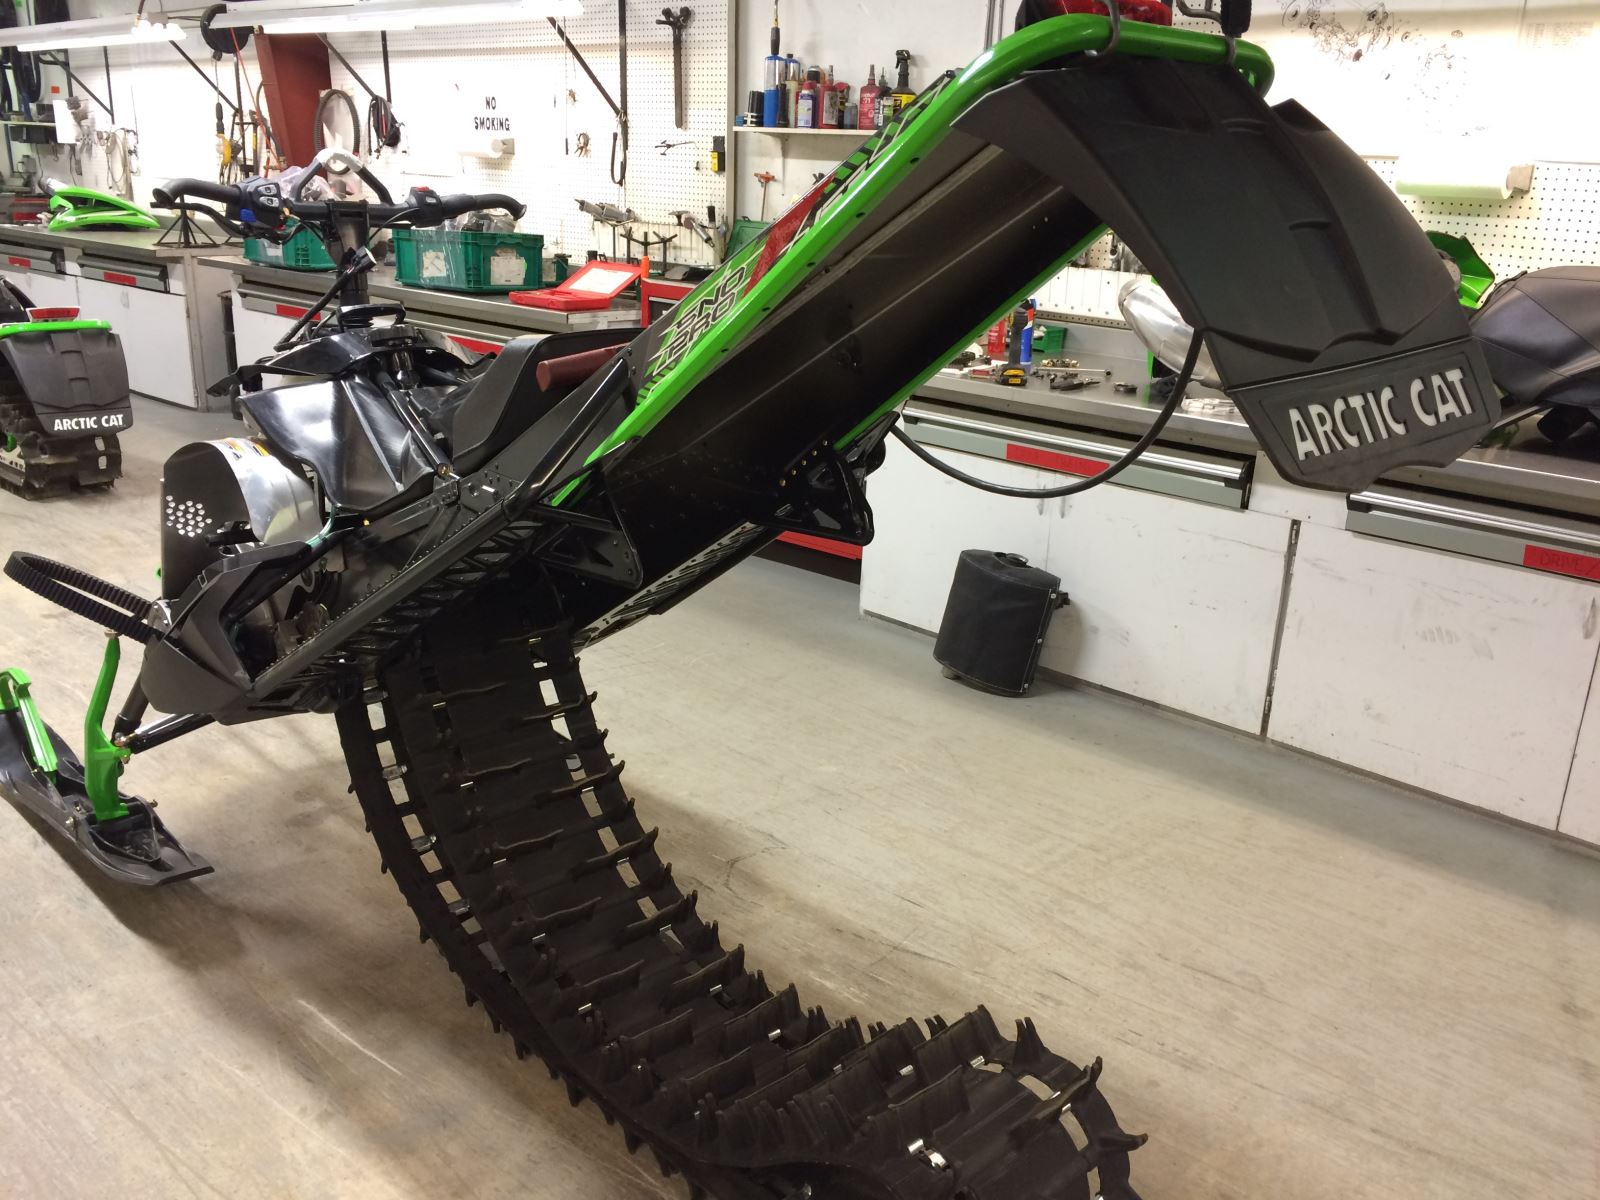
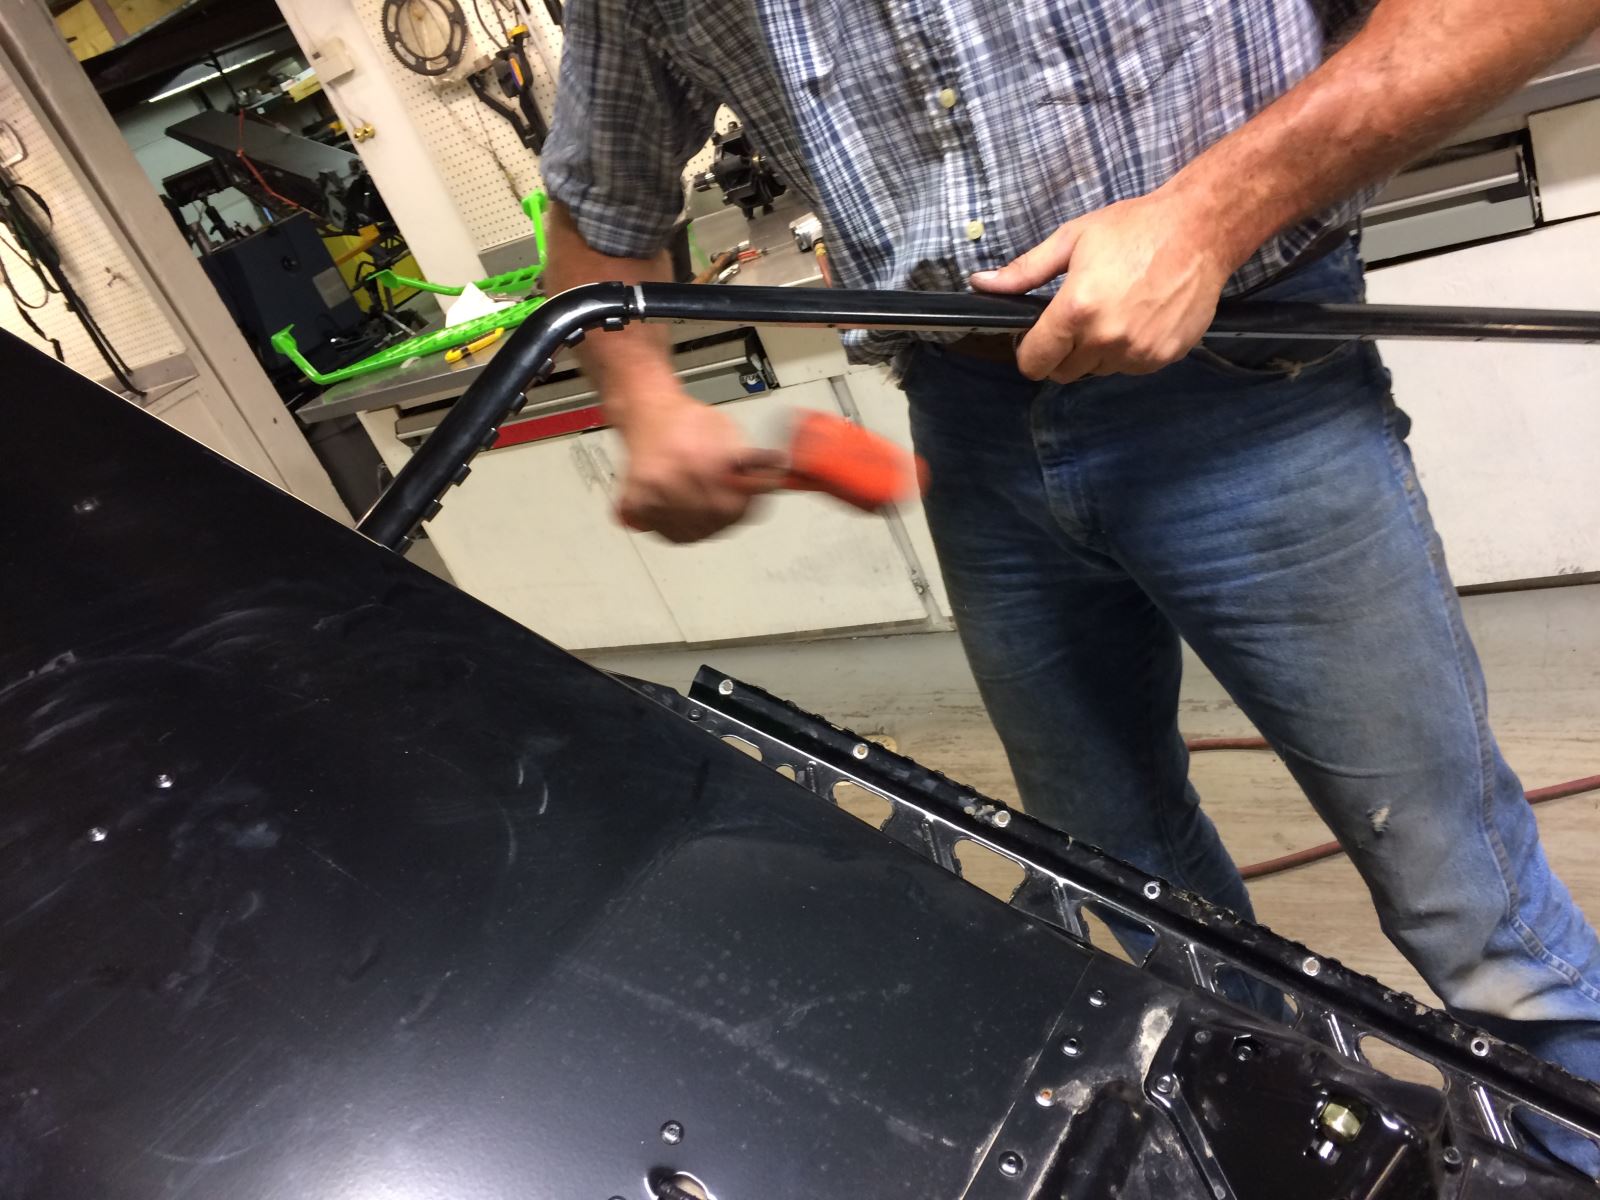
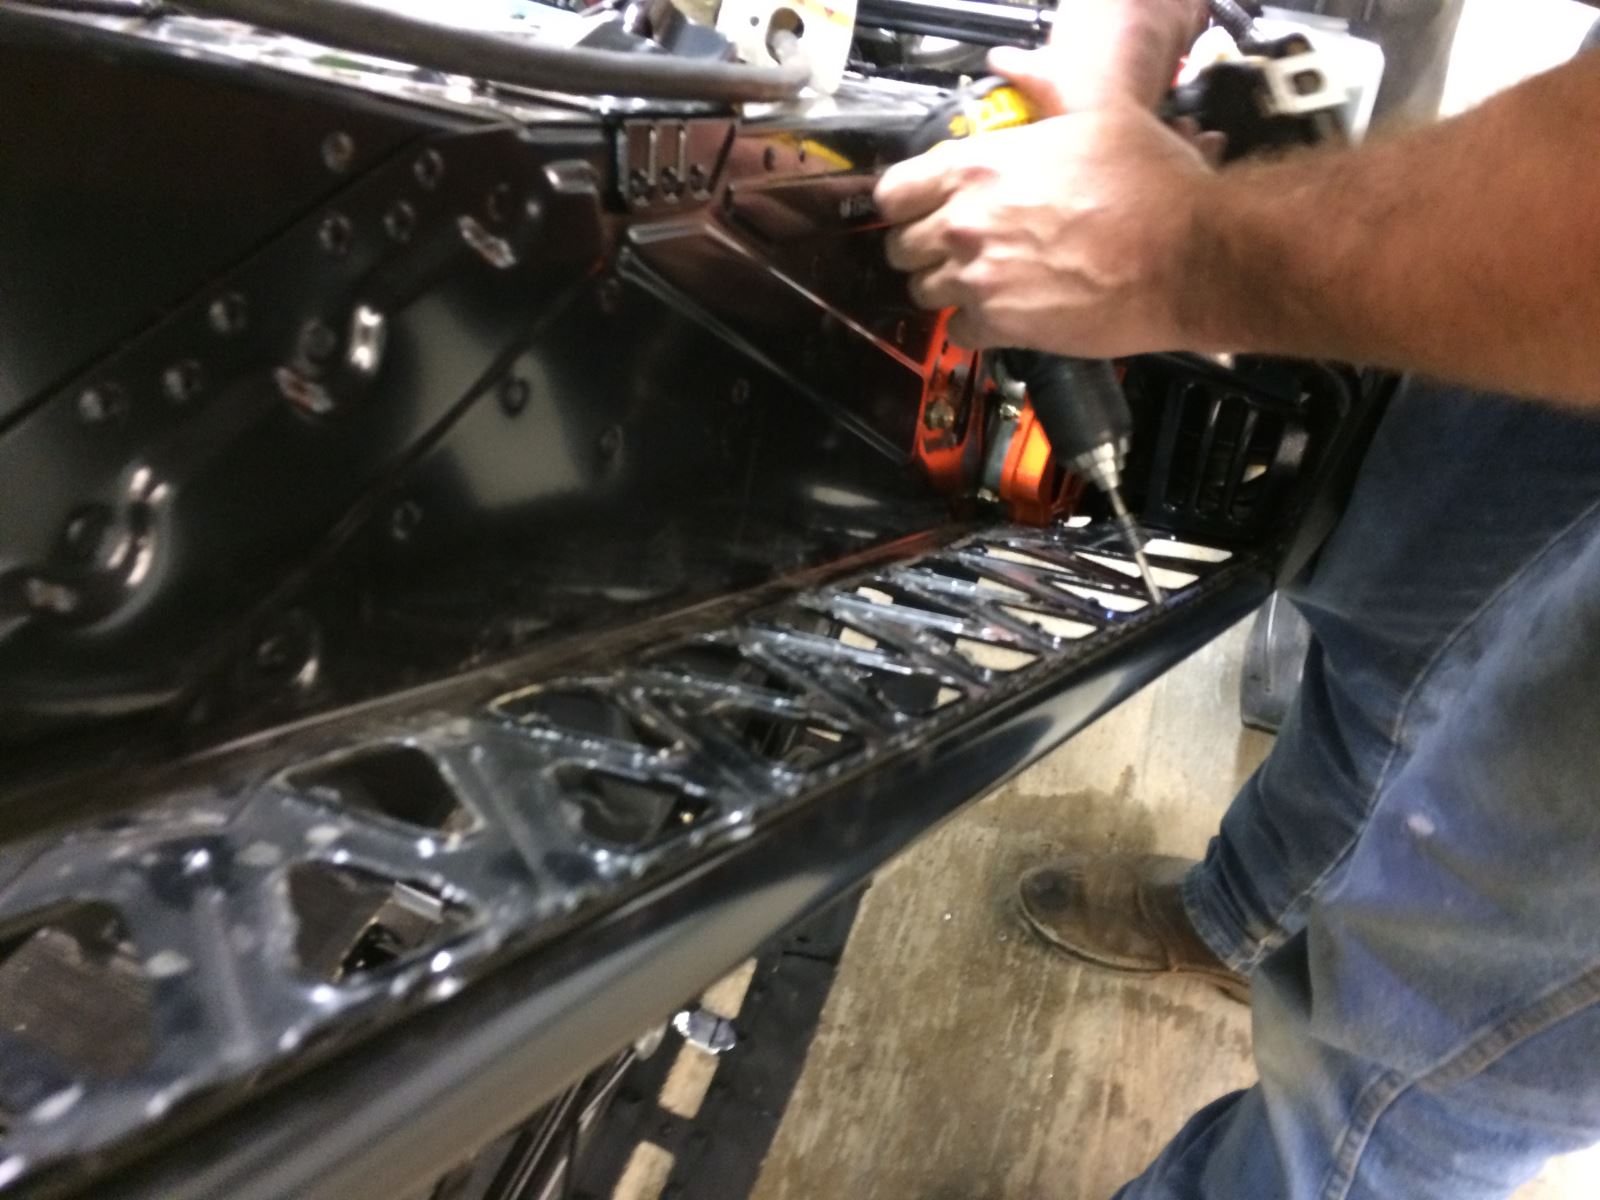
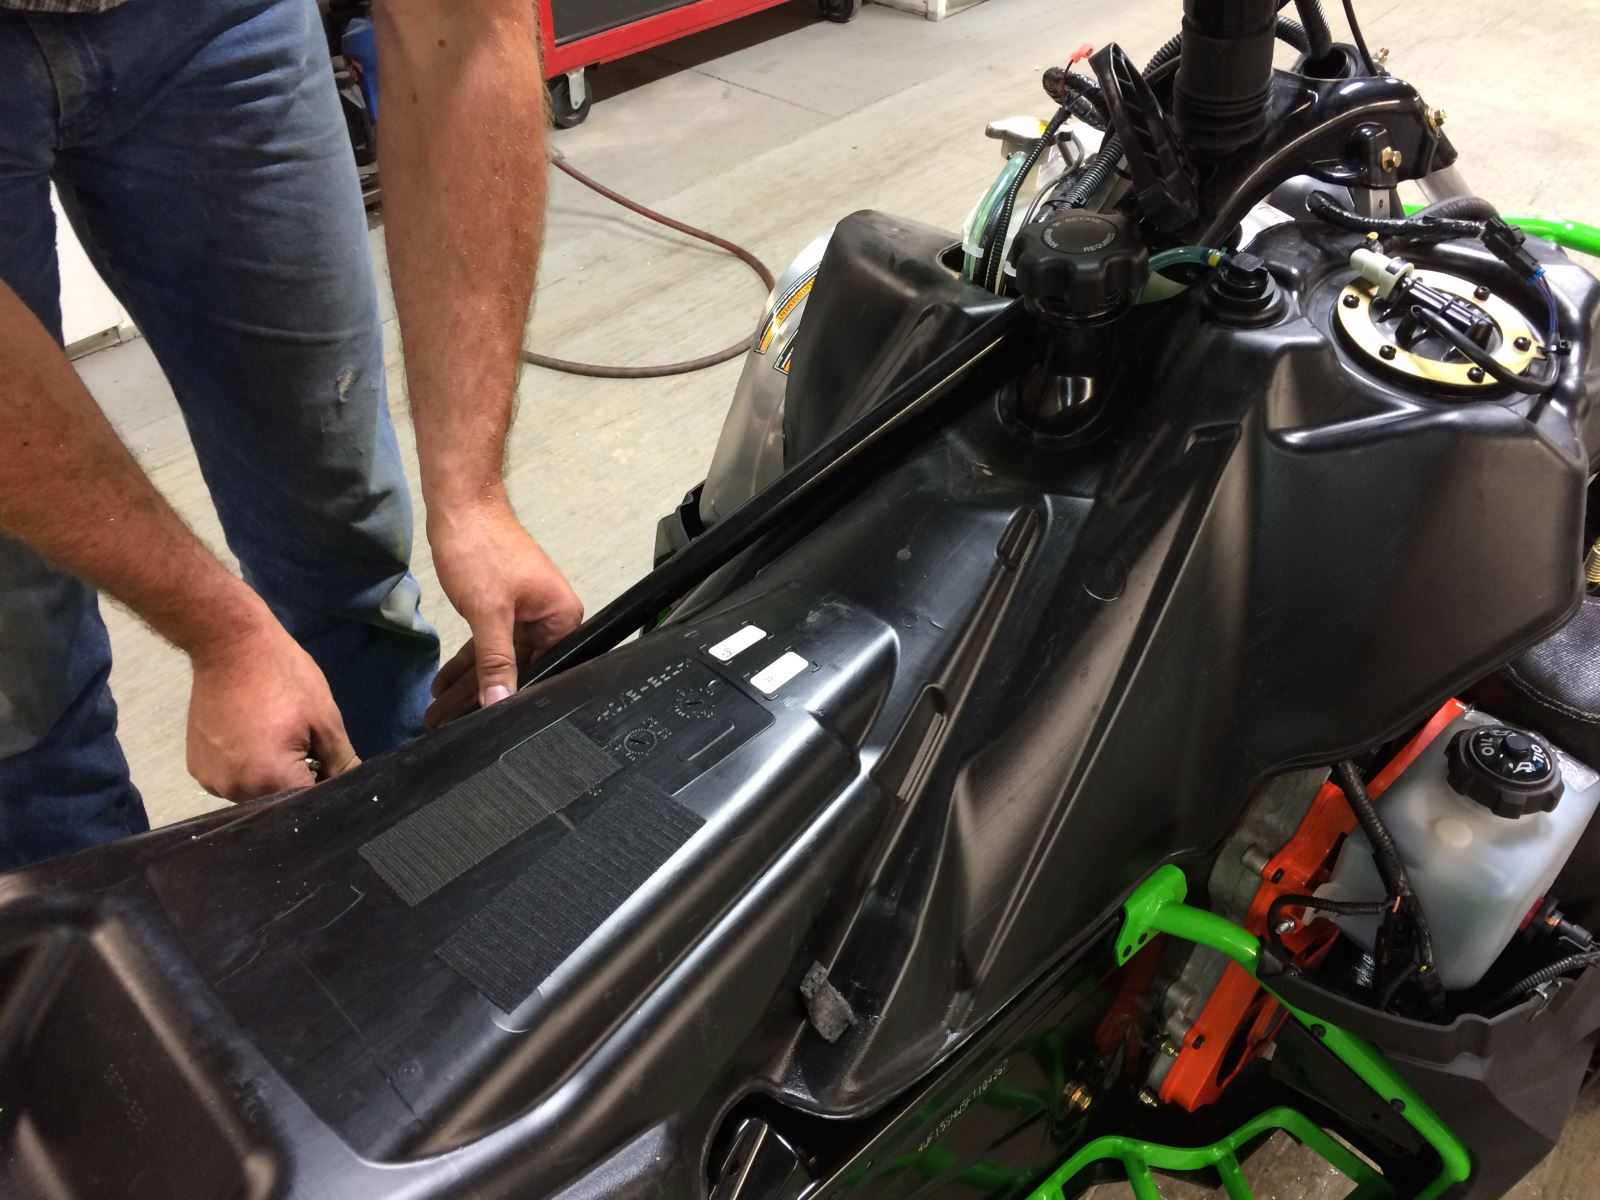
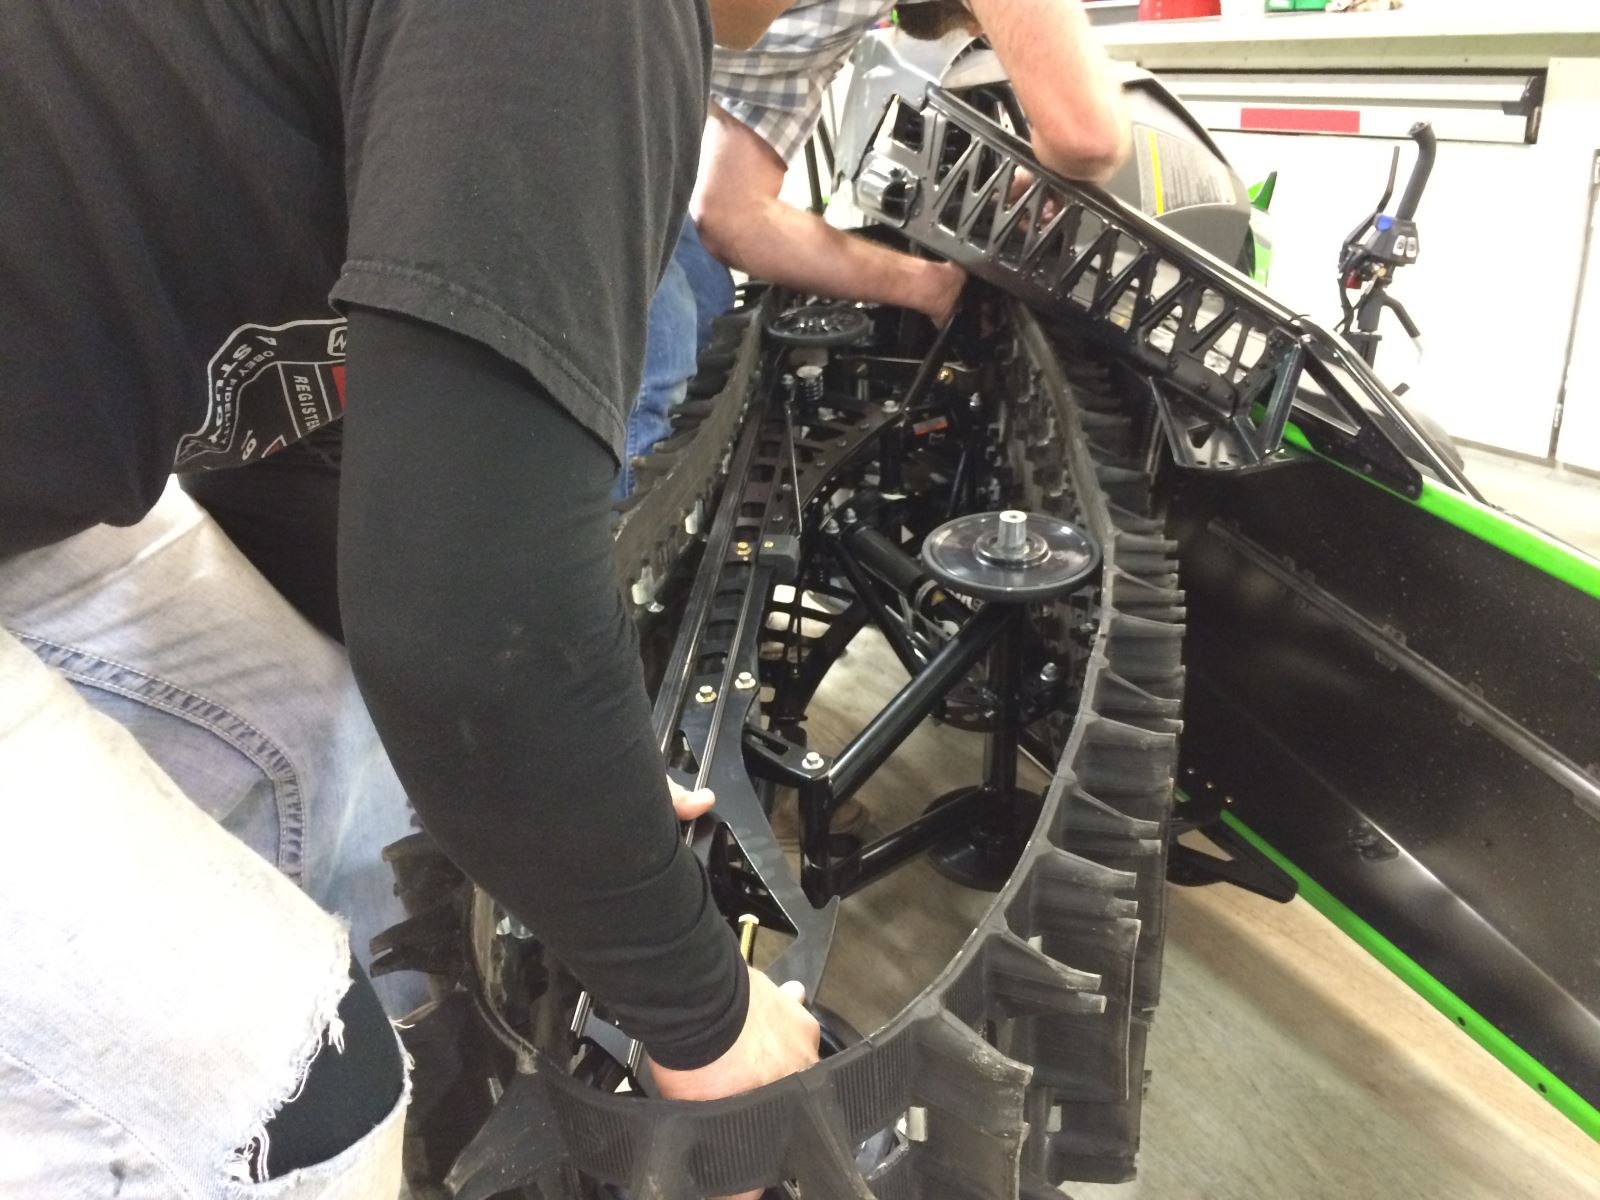
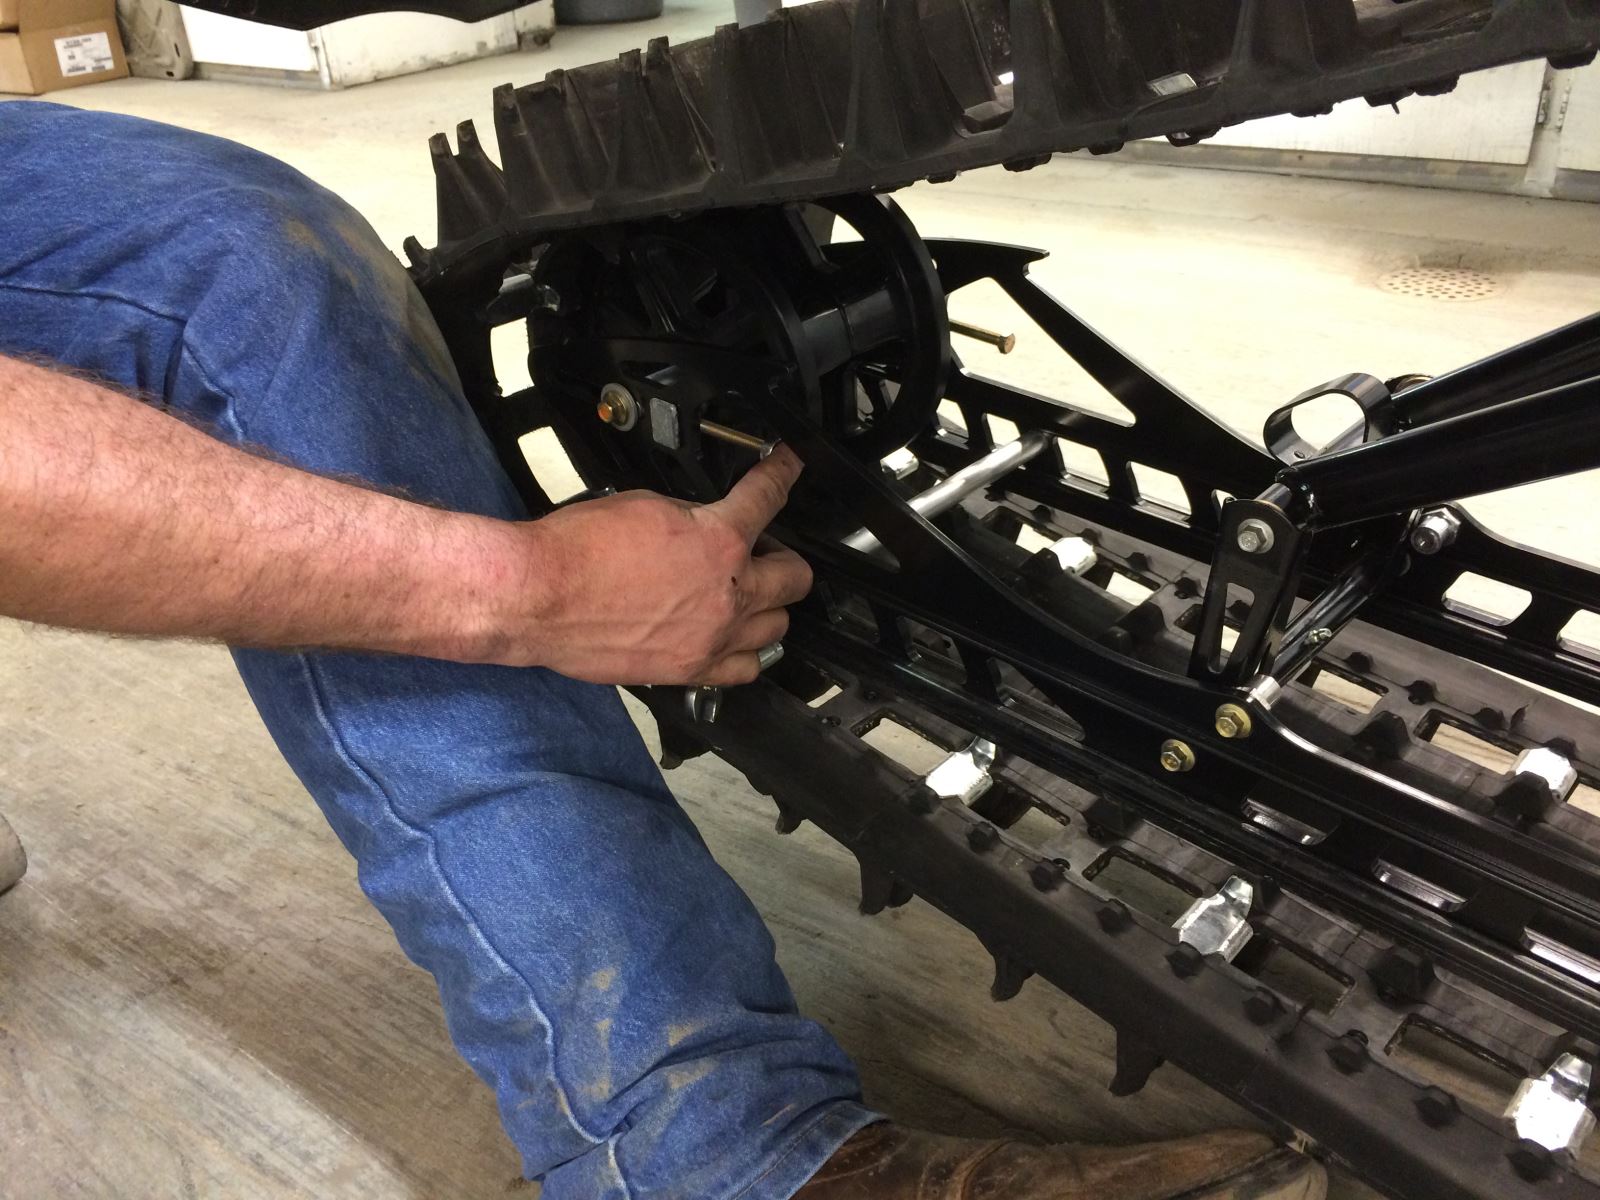
Running Board Removal
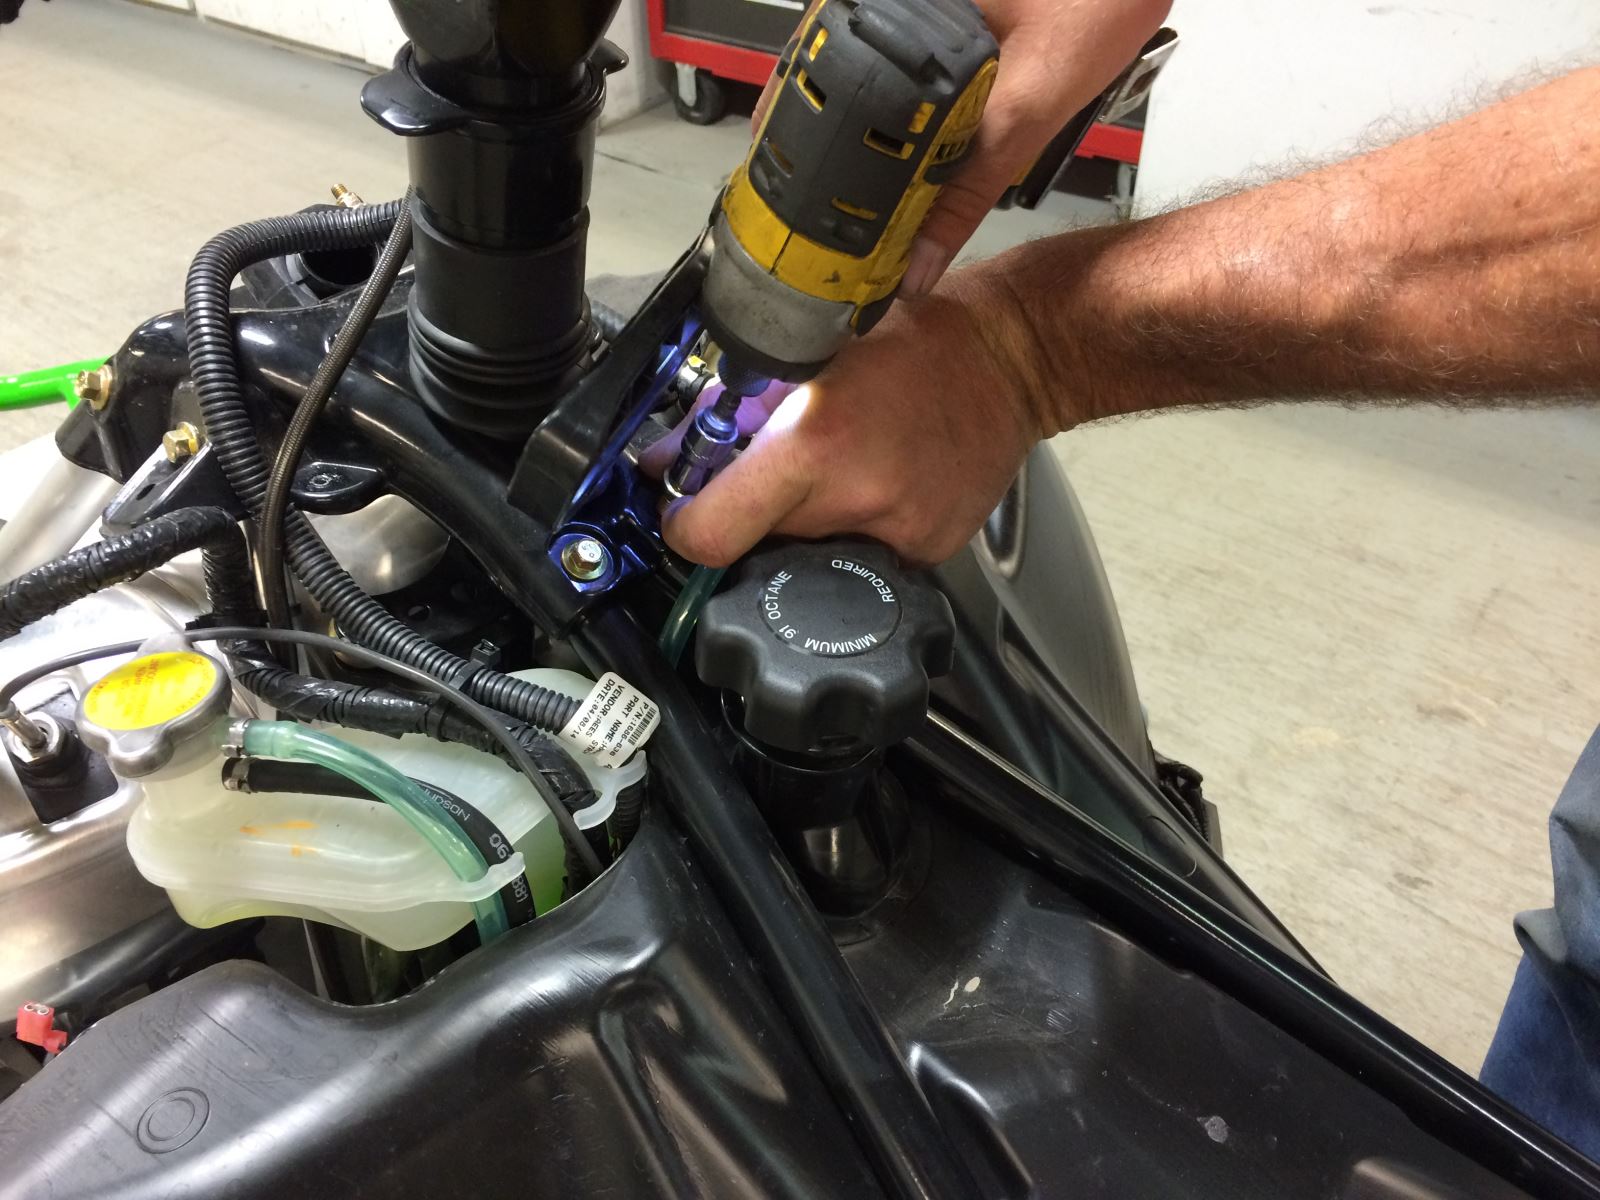
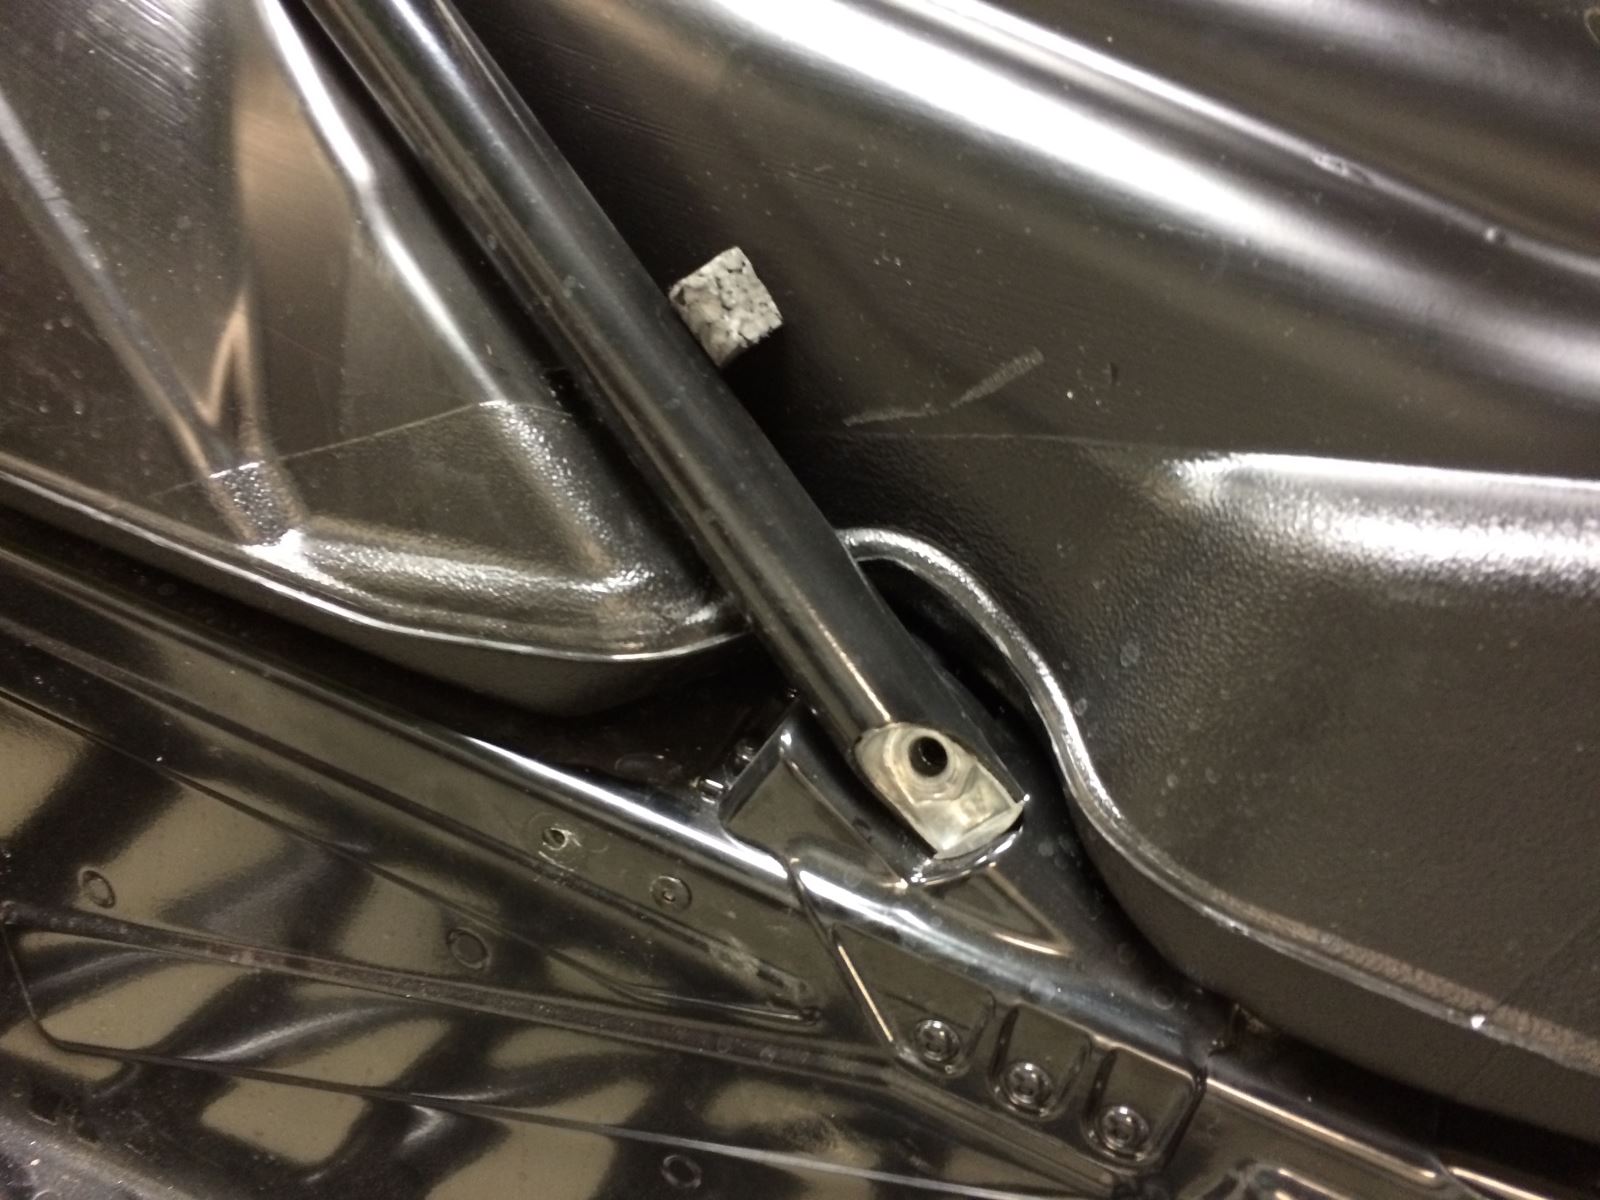
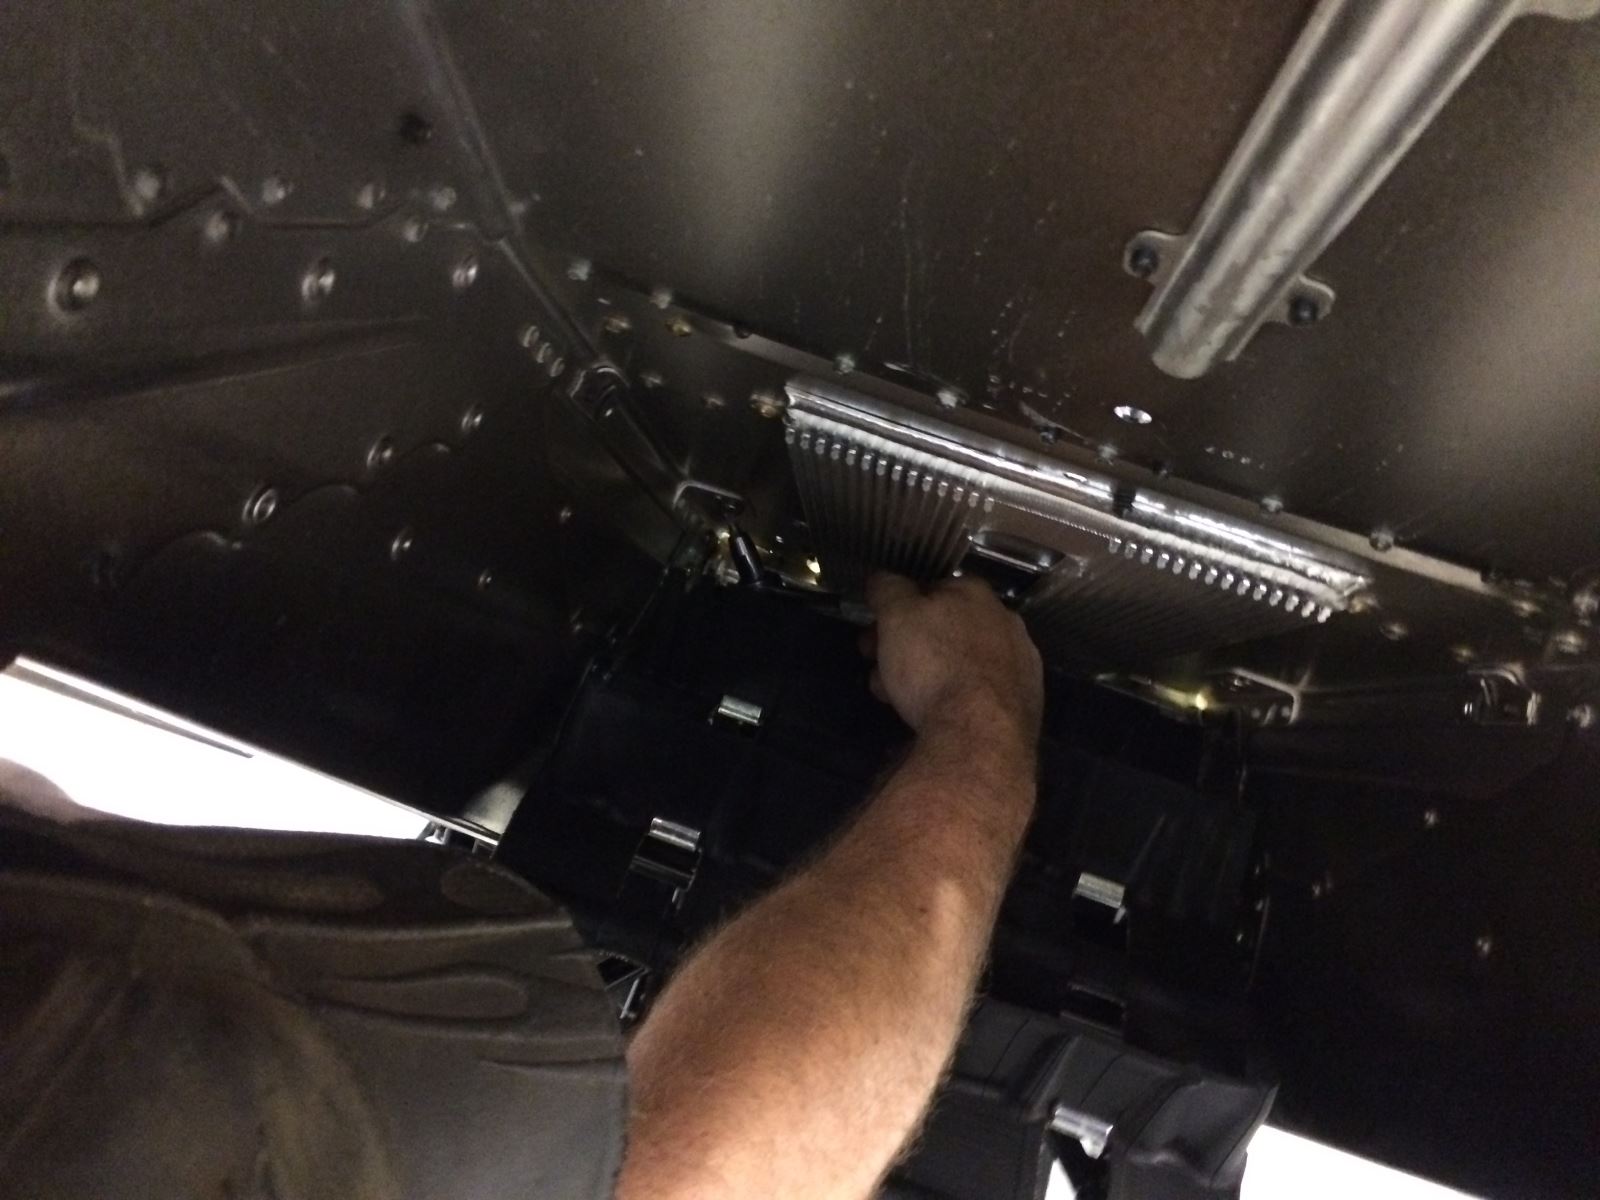
First you need to remove side panels, hood, seat, upper and lower console, gas tank assembly and skid frame. We’re taking this thing down to the bones.
Project Arctic Cat M 8000 SnoPro Build
Part 8—Running Board Install
Published online: Aug 26, 2015 Arctic Cat Steve Janes Viewed 1323 time(s)
Web Exclusive
(EDITOR’S NOTE: This is the eighth in a series of articles about converting a 2015 Arctic Cat M 8000 SnoPro into a SnoWest Forums 2016 Project Cat giveaway sled. Throughout the summer and fall we will be working with SnoWest Forum members to build the perfect snowmobile … and then we will give it away to a Forum member at the end of the build.)
A good mountain rider knows he needs to have solid footing on his snowmobile in order to maintain the balance necessary to traverse extreme terrain. And there’s nothing more frustrating during a day of powder riding than to keep losing your footing due to a buildup of snow on the running boards.
So any good mountain rider recognizes the value of having a good set of running boards that eliminate snow buildup while still providing secure traction to the foot. With our 2015 Arctic Cat M 8000 SnoPro project it was natural for us to add the Proclimb Boards from Arctic Cat.
The challenge here is that this kind of commitment is something you first need to know what you’re doing. Although the process isn’t necessarily complicated or time consuming, it is one that is irreversible in nature … once you cut your boards, you’re fully committed unlike the other changes that leave room to revert back to where you began.
Perhaps one good thing about this particular modification was that Arctic Cat provided a great set of instructions that help you through the process (much more detailed than the ones we’ve included in this article).
Running Board Removal
First you need to remove side panels, hood, seat, upper and lower console, gas tank assembly and skid frame. We’re taking this thing down to the bones.