Do you know what the difference is between the 09-11 vs the 07-08? I have an 08 and I'm interested but I dont care for a ton of fab work. I can also check with VE. Reply back if you happen to know.
Do you know what the difference is between the 09-11 vs the 07-08? I have an 08 and I'm interested but I dont care for a ton of fab work. I can also check with VE. Reply back if you happen to know.
I put this same back half on my 08 m8 and love it. i have picks on snow and mud if interested, and my brother is doing his now as well.
very easy to do, just takes a bit of time.
I went through the same stress and woundered if the fab work would be alot of work, would the tunnel fit right, do I need to buy a new cooler and what do I do about the rear light? Are you going to a bigger track? Or just replacing the stock rear tunnel for a custom one. If you are having to disconnect the secondary to the diamond drive and losen the brake assembly, to get the old track out, it will increase your shop time. But it's not rocket science. I went from a 153" to a 162" Challenger Extreme.
The tunnel fit was unbelievable! I was impressed. Drilling the rivets out was easy after I did a couple. If you use a bit that is slightly bigger like a 3/8 to drill off the top cap portion of the rivet till it starts to spin, then STOP! The cap should fall away and then take a nail punch tool and punch the rivet through the other end! That's it! The holes you will be drilling into the new tunnel I believe is 3/16". Van Amburg gave me three packages of rivets from short to long. Pretty easy to figure out which ones go where.
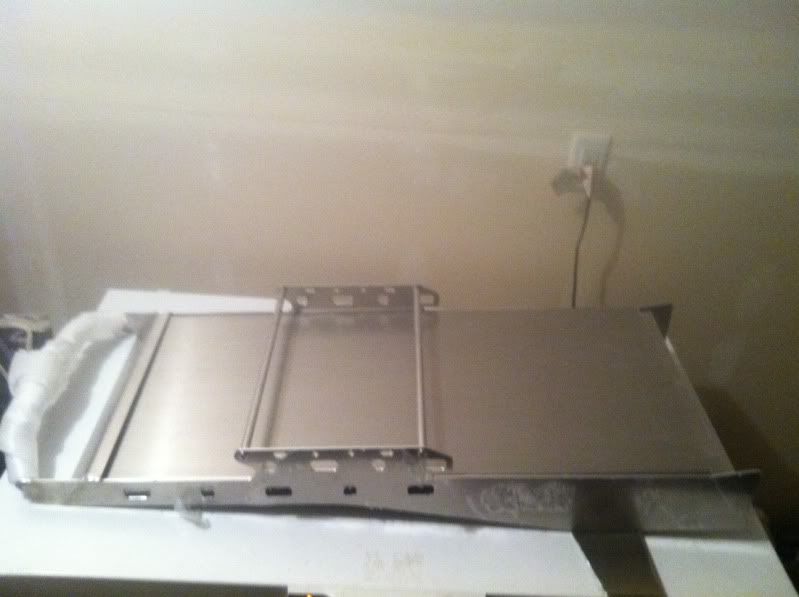
The hardest thing I had to deal with was the stupid LED light that VA sent me. It comes with this L-shaped bracket that the light bar mounts to, but there was not a good place to mount it to. It was almost stupid. This light bar is an apoxy poured light bar that is around three to four inches in length and doesnt have a finished look to it. So I made my own template and had a the light bar housing bent up for me by my local sheet metal shop. It's not perfect, but it will work. I also had to narrow my Snow Eliminators by a quarter inch because the side rails that VE sent are wider and beefier that the AC rails. Also, use the flat heat exchanger that they have. Don't use the old curved one because it will be hanging down and look cheesy! All in all, it went pretty smooth.