Since there have been a lot of questions floating around about this setup, we figured we would throw up a few photos and some helpful hints on how to slap it together for anyone looking at doing this upgrade. The new track is one of the biggest upgrades on the 2016 kits and an awesome option for customers looking to upgrade their existing kits!
Kit is 2015 ST getting the new 2.5" track from Timbersled!
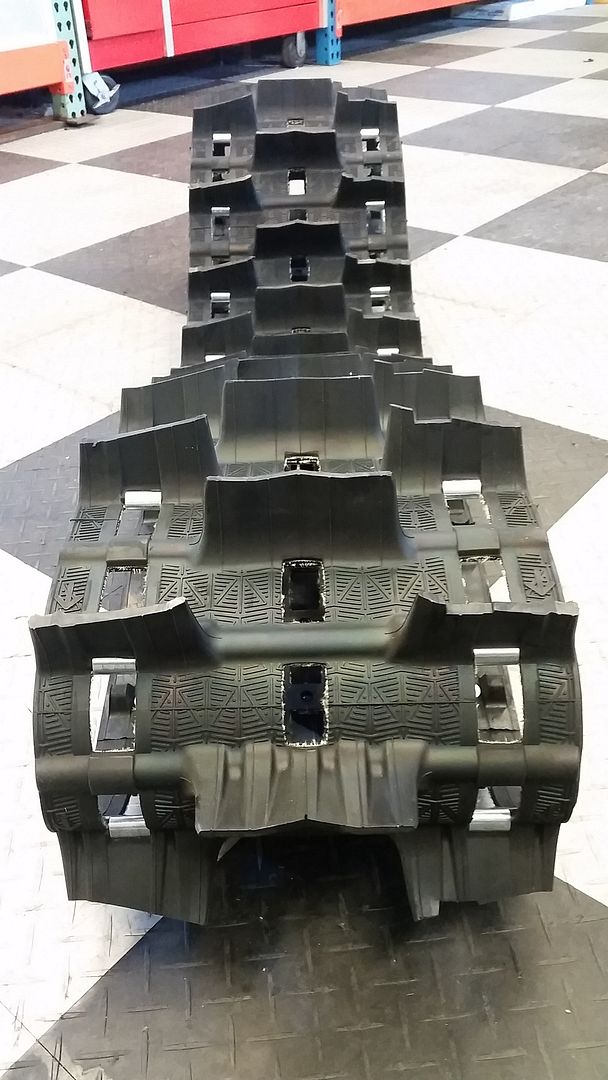
Unrolling it out of the box, dang they look good.
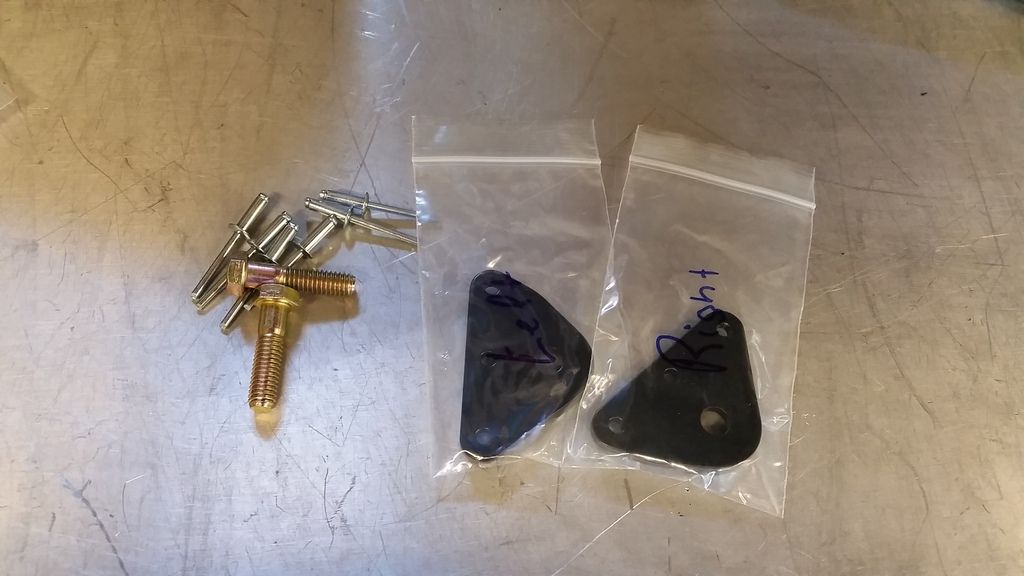
The install kit from Timbersled.
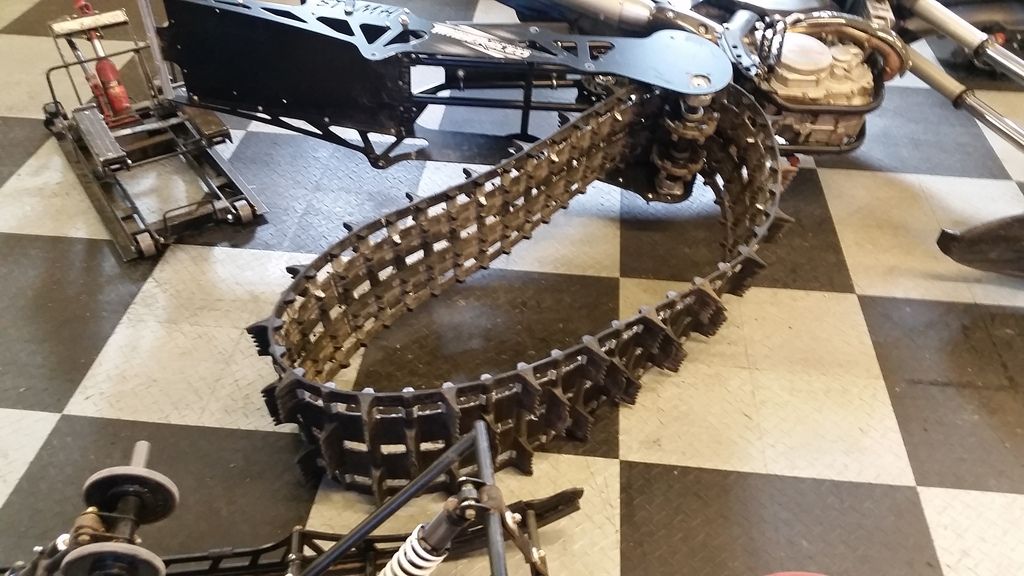
Remove the 4 skid bolts and lay the bike over sliding out the skid. Supporting the rear bumper about 8" above the ground makes this a lot easier. Once the skid is out we can get ready to remove the track. This is where you have two choices. You can remove the chaincase and drop both driveshaft bearings out, or a shortcut we found on it. Remove the 4 bolts holding the right side driveshaft bearing. Then remove the front two 9/16" bolts holding the right side panel to the subframe. With the side plate loose we can now flex it slightly and fish the track out the side. Be careful not to bend the sideplate to far and kink it. Once the track is out, install the new track insuring it is facing the proper direction. Once the new track is in you can reinstall the bolts holding the sideplate to the frame as well as the bearing housing. We recommend placing a blue loctite on all of the fasteners when reinstalling.
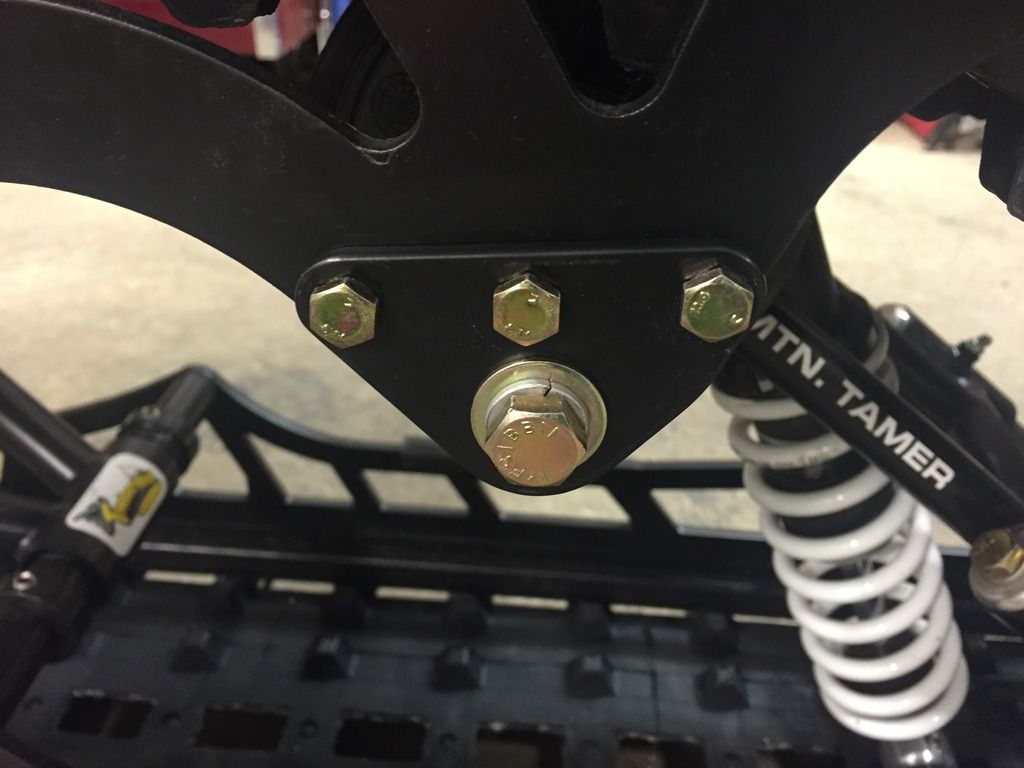
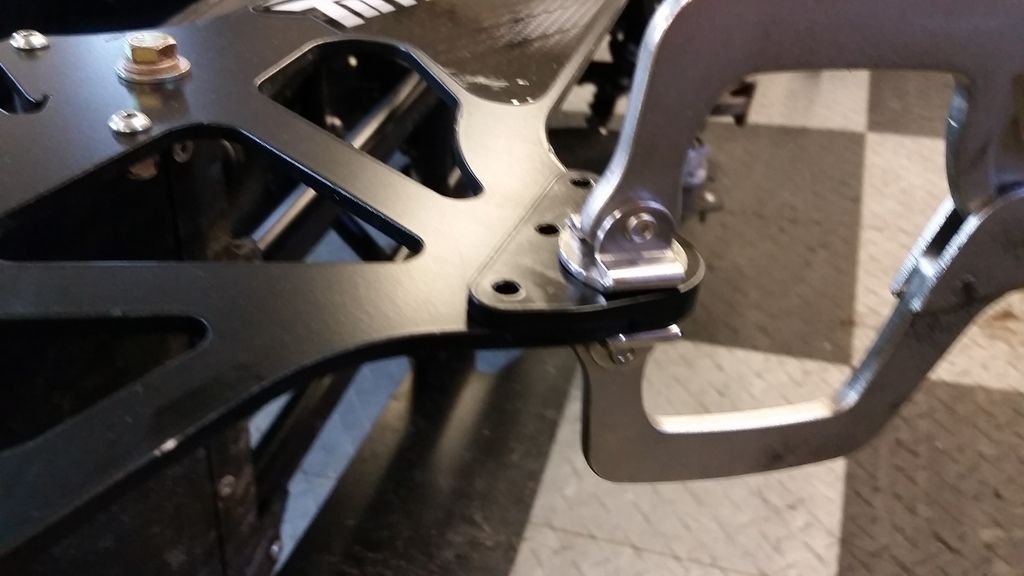
We can now move on to installing the drop brackets for the '15 kits. we did the right side first since we had the bike layed over. Place the bracket onto the bottom of the rear skid mount. Ours fit very snug and we used some Big vice grips to snap them into place and hold them while drilling the rivets. drill the 3/16" holes out and install the provided rivets from the outside into the tunnel. With a 5/16" bit drill out the drop bracket through the bottom of the original tunnel side for the skid bolts.
Next reinstall the skid, we recommend the front bolts first then swing the back in and install those second. Use the provided longer bolts for the rear skid through the drop bracket. Again, we advise using blue loctite or equivalent on the fasteners. Once the skid is in flip the bike upright and check track tension. We found our new track required a slight adjustment. We set it up so free hanging the hyfax are in the middle of the drive nubs on the inside of the track or approx 3/8-1/2" of sag in track. Check tension after the first ride as shipping tracks rolls tends to create creases that relax back out and loosen the track once ridden.
Time to head out and enjoy your new found handling and traction!
Thanks for reading and we hope that helped some of you through the process!
IceAge Staff
Kit is 2015 ST getting the new 2.5" track from Timbersled!
Unrolling it out of the box, dang they look good.

The install kit from Timbersled.

Remove the 4 skid bolts and lay the bike over sliding out the skid. Supporting the rear bumper about 8" above the ground makes this a lot easier. Once the skid is out we can get ready to remove the track. This is where you have two choices. You can remove the chaincase and drop both driveshaft bearings out, or a shortcut we found on it. Remove the 4 bolts holding the right side driveshaft bearing. Then remove the front two 9/16" bolts holding the right side panel to the subframe. With the side plate loose we can now flex it slightly and fish the track out the side. Be careful not to bend the sideplate to far and kink it. Once the track is out, install the new track insuring it is facing the proper direction. Once the new track is in you can reinstall the bolts holding the sideplate to the frame as well as the bearing housing. We recommend placing a blue loctite on all of the fasteners when reinstalling.

We can now move on to installing the drop brackets for the '15 kits. we did the right side first since we had the bike layed over. Place the bracket onto the bottom of the rear skid mount. Ours fit very snug and we used some Big vice grips to snap them into place and hold them while drilling the rivets. drill the 3/16" holes out and install the provided rivets from the outside into the tunnel. With a 5/16" bit drill out the drop bracket through the bottom of the original tunnel side for the skid bolts.

Next reinstall the skid, we recommend the front bolts first then swing the back in and install those second. Use the provided longer bolts for the rear skid through the drop bracket. Again, we advise using blue loctite or equivalent on the fasteners. Once the skid is in flip the bike upright and check track tension. We found our new track required a slight adjustment. We set it up so free hanging the hyfax are in the middle of the drive nubs on the inside of the track or approx 3/8-1/2" of sag in track. Check tension after the first ride as shipping tracks rolls tends to create creases that relax back out and loosen the track once ridden.
Time to head out and enjoy your new found handling and traction!
Thanks for reading and we hope that helped some of you through the process!
IceAge Staff


