Project 2015/16 Arctic Cat M 8000 SnoPro Build – Part 2: Gears, Clutches
Project 2015/16 Arctic Cat M 8000 SnoPro Build – Part 2: Gears, Clutches
Published online: Apr 08, 2015 Arctic Cat Steve Janes Viewed 424 time(s)
Web Exclusive
(EDITOR’S NOTE: This is third in a series of articles about converting a 2015 Arctic Cat M8000 SnoPro into a SnoWest Forums 2016 Project Cat giveaway sled. Throughout the summer and fall we will be working with SnoWest Forum members to build the perfect snowmobile … and then we will give it away to a Forum member at the end of the build.)
http://www.snowest.com/2015/04/project-2015-16-arctic-cat-m
For most snowmobilers, the bulk of the transition between 2015 and 2016 Arctic Cat snowmobiles will focus on the front and rear suspensions. However, what we really noticed was the effect the change in clutching and gears had to do with how the snowmobile operated in the trees.
True, the front suspension changed how the 2016 SnoPro carved through the snow and sidehilled. And the rear suspension changed how it got up on top of the snow. But it’s the clutching change that made the 2016 more user-friendly.
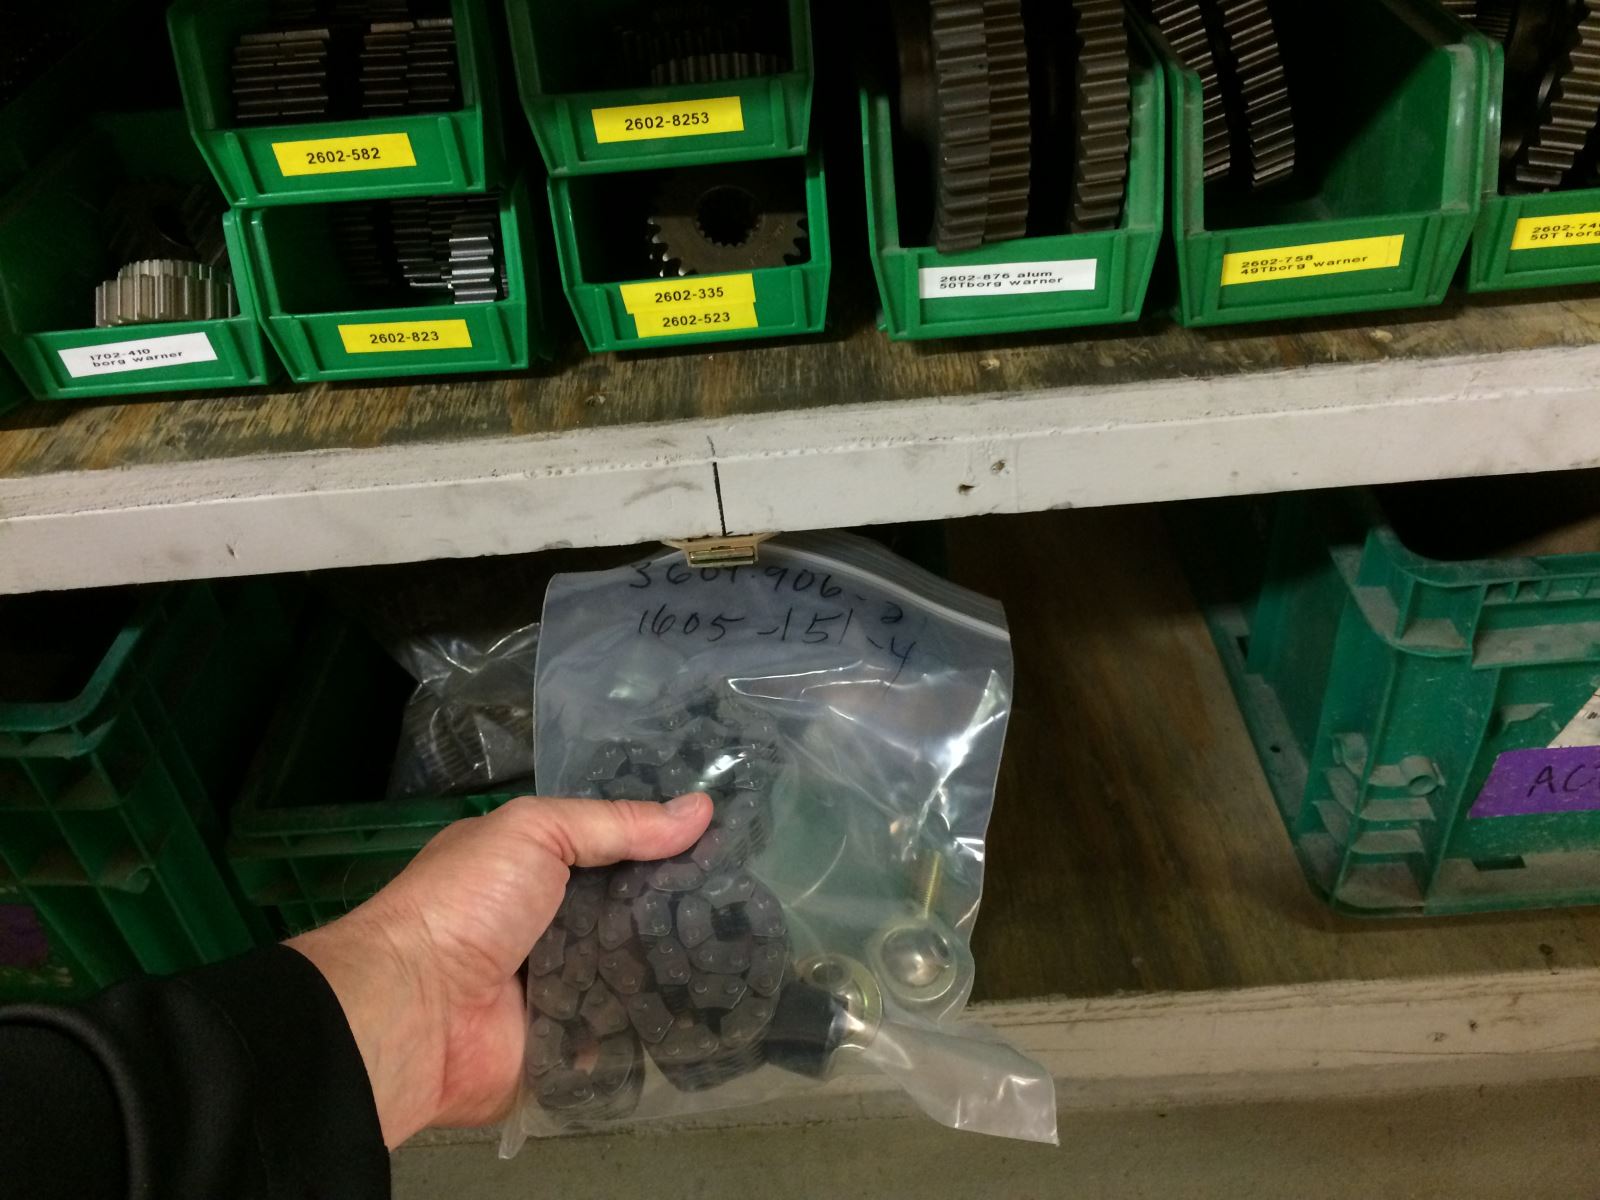
To upgrade the 2015 drive system to Team Rapid Response/Reaction clutches, you had to start by replacing the jackshaft. And since we’re going through the bother of pulling the jackshaft, it made perfect sense to change to Borg Warner gears and chain (used by the Team Arctic racing crews).
The main reason we wanted to make the change to Team clutches was to lower and broaden the engagement range to allow the clutches to work better in tight and technical situations. Cat clutches always had a tendency of slamming in on engagement. For aggressive riders, that’s perfect. But for those of us who like to ease into certain situations (like crawling up a trailer ramp), this all-or-nothing sensation was a bit unsettling.
Arctic Cat made the change for its stock mountain sleds and for 2016 the clutches will engage about 500 rpm lower and offer more of a smooth transition on engagement. It will also deliver a broader powerband to allow the clutch to work better and pull harder.
Another bonus with the Team clutches is that they run cooler, which improves performance, increases roller life and increases belt life.
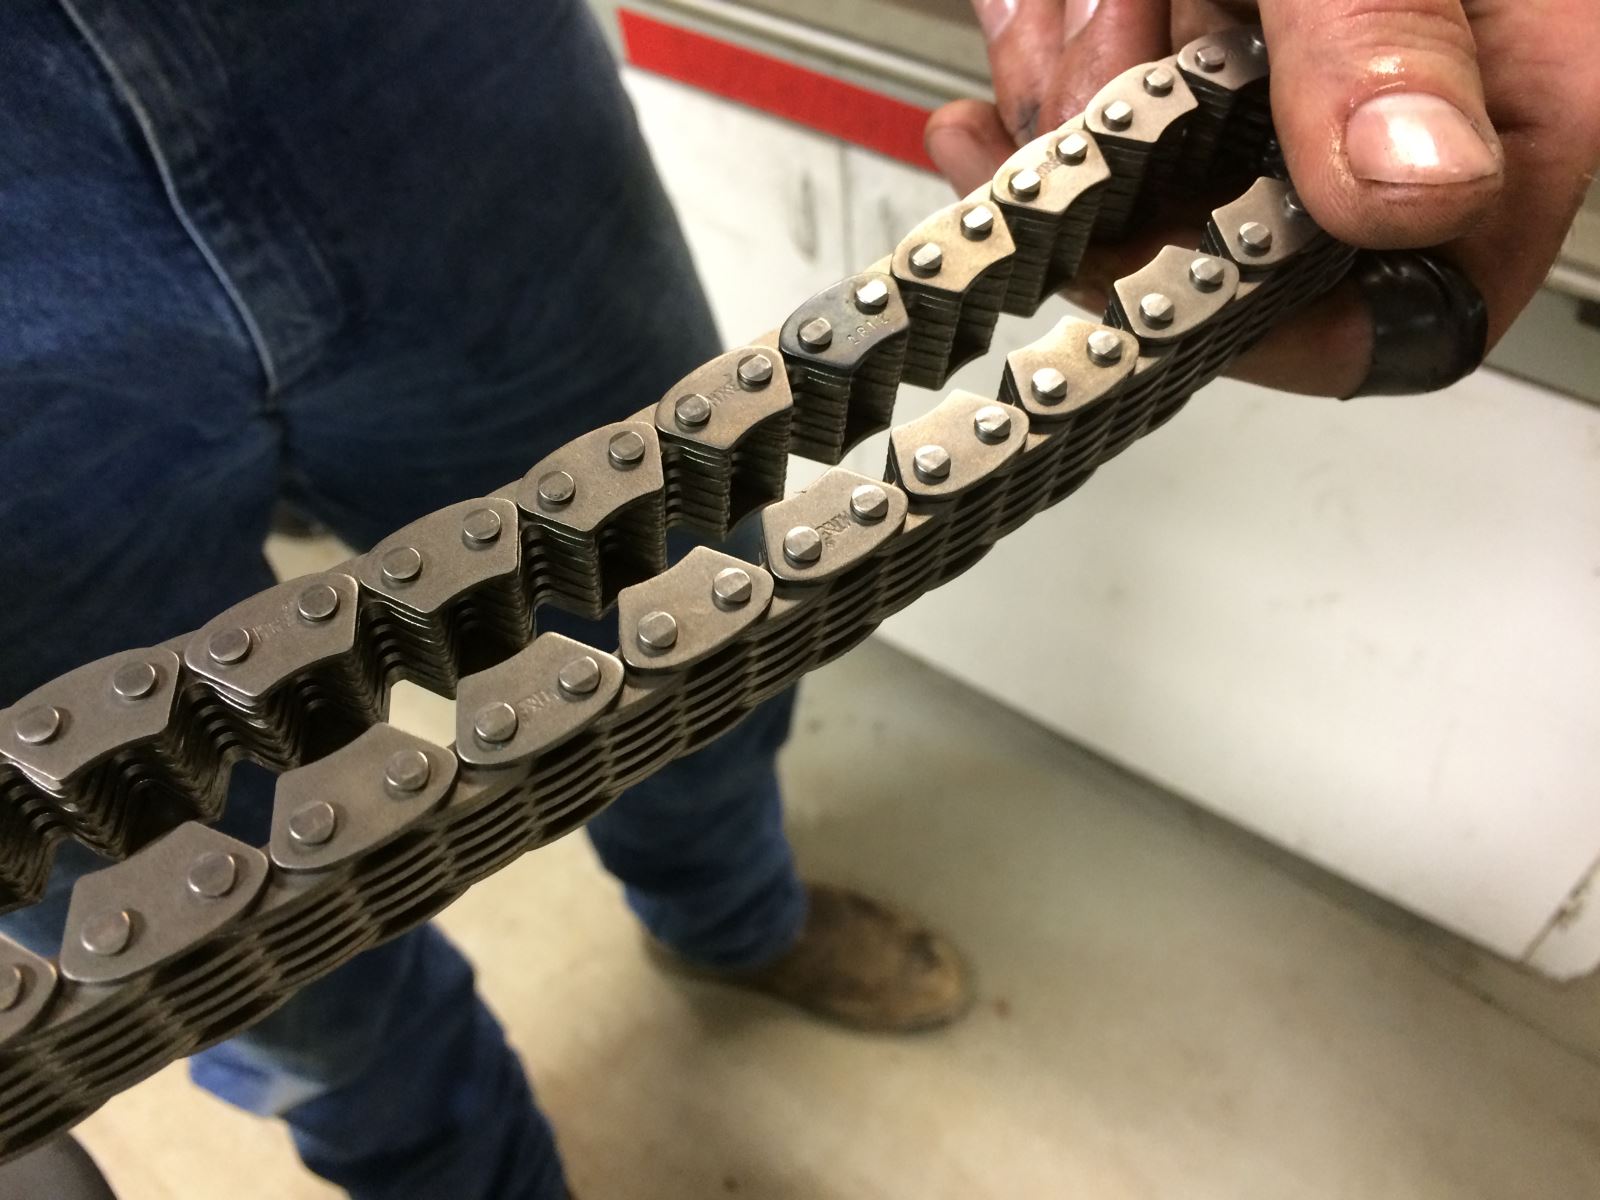
As for the Borg Warner chain, it will be stronger, more durable and feature less stretch. It’s the same chain Cat has used on its race sleds since 2004.
Here is what we did for our latest install.
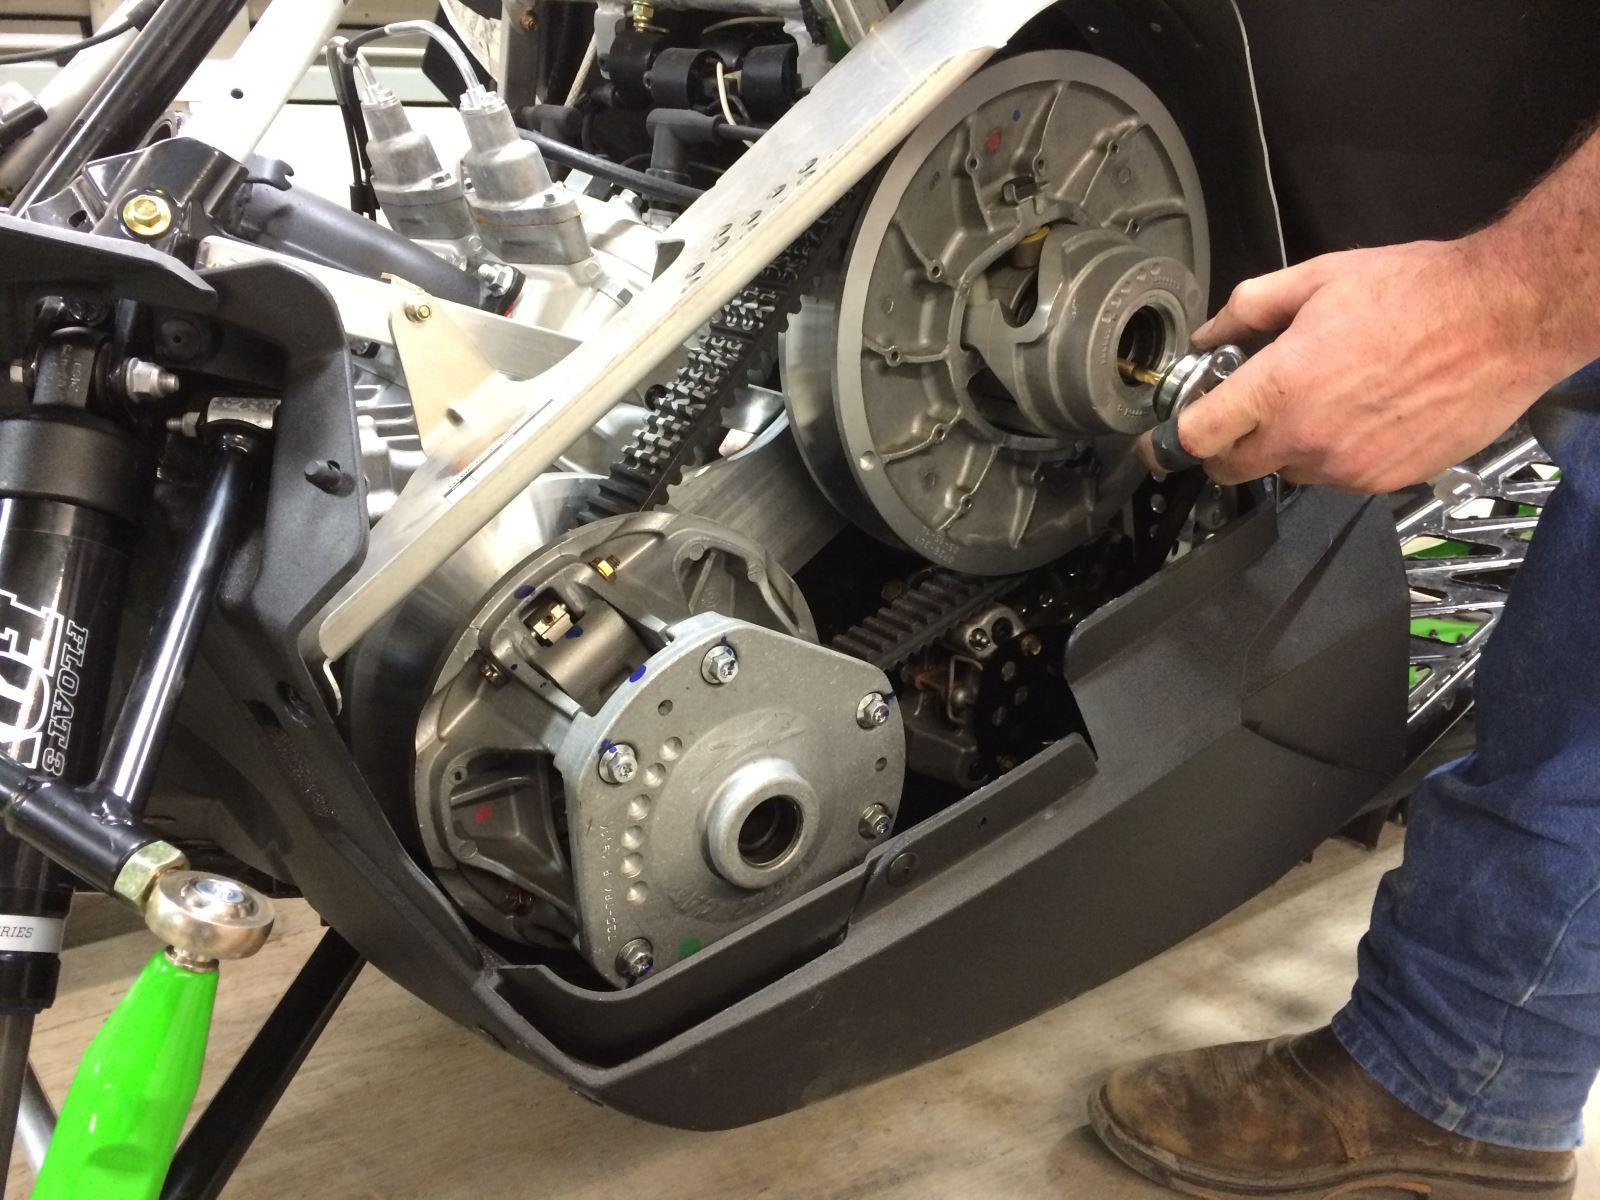
1) Remove the hood and then the pipes to open up access to the chaincase. Also remove the drive belt and the primary and secondary clutches.
2) Remove the torque plate. It consists of four bolts behind the drive clutch and six bolts behind the secondary. (On the bottom bolt behind the drive clutch, be aware of a concaved washer that is located behind the plate. You will want to catch it when you remove the plate and know what direction it goes so you replace it properly when you put things back together.)
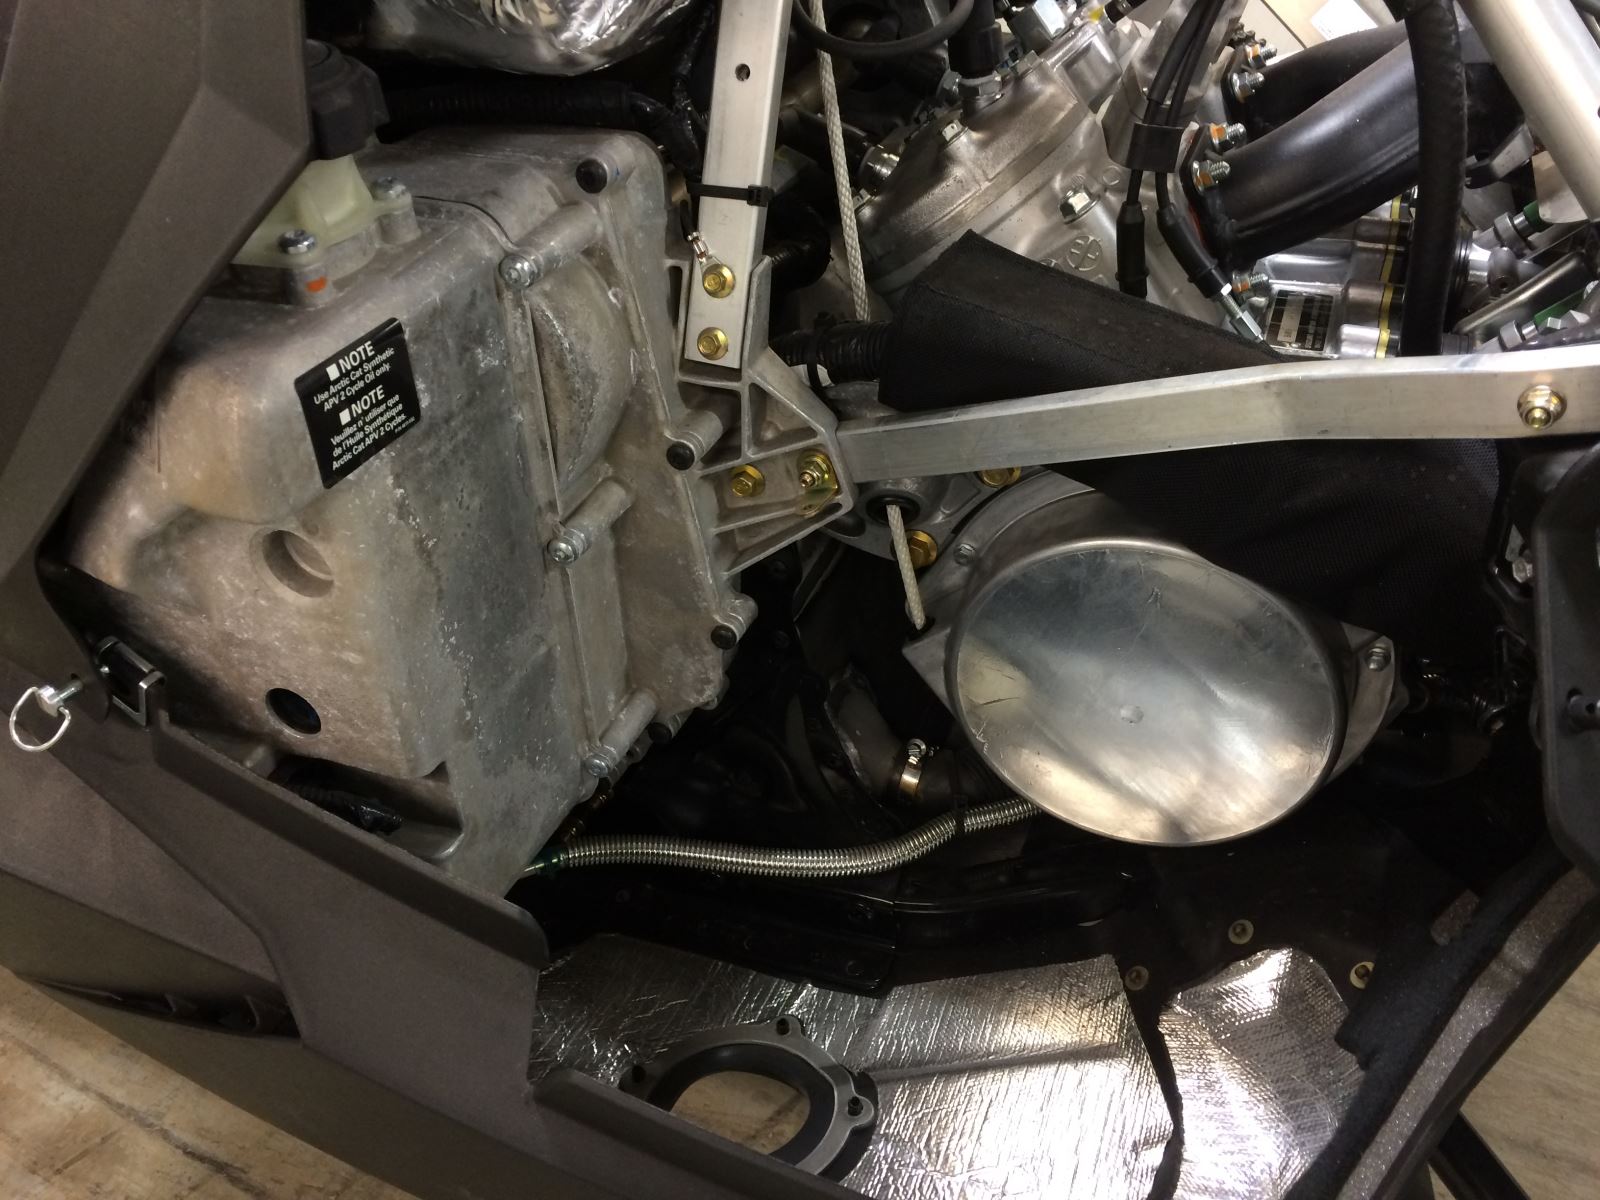
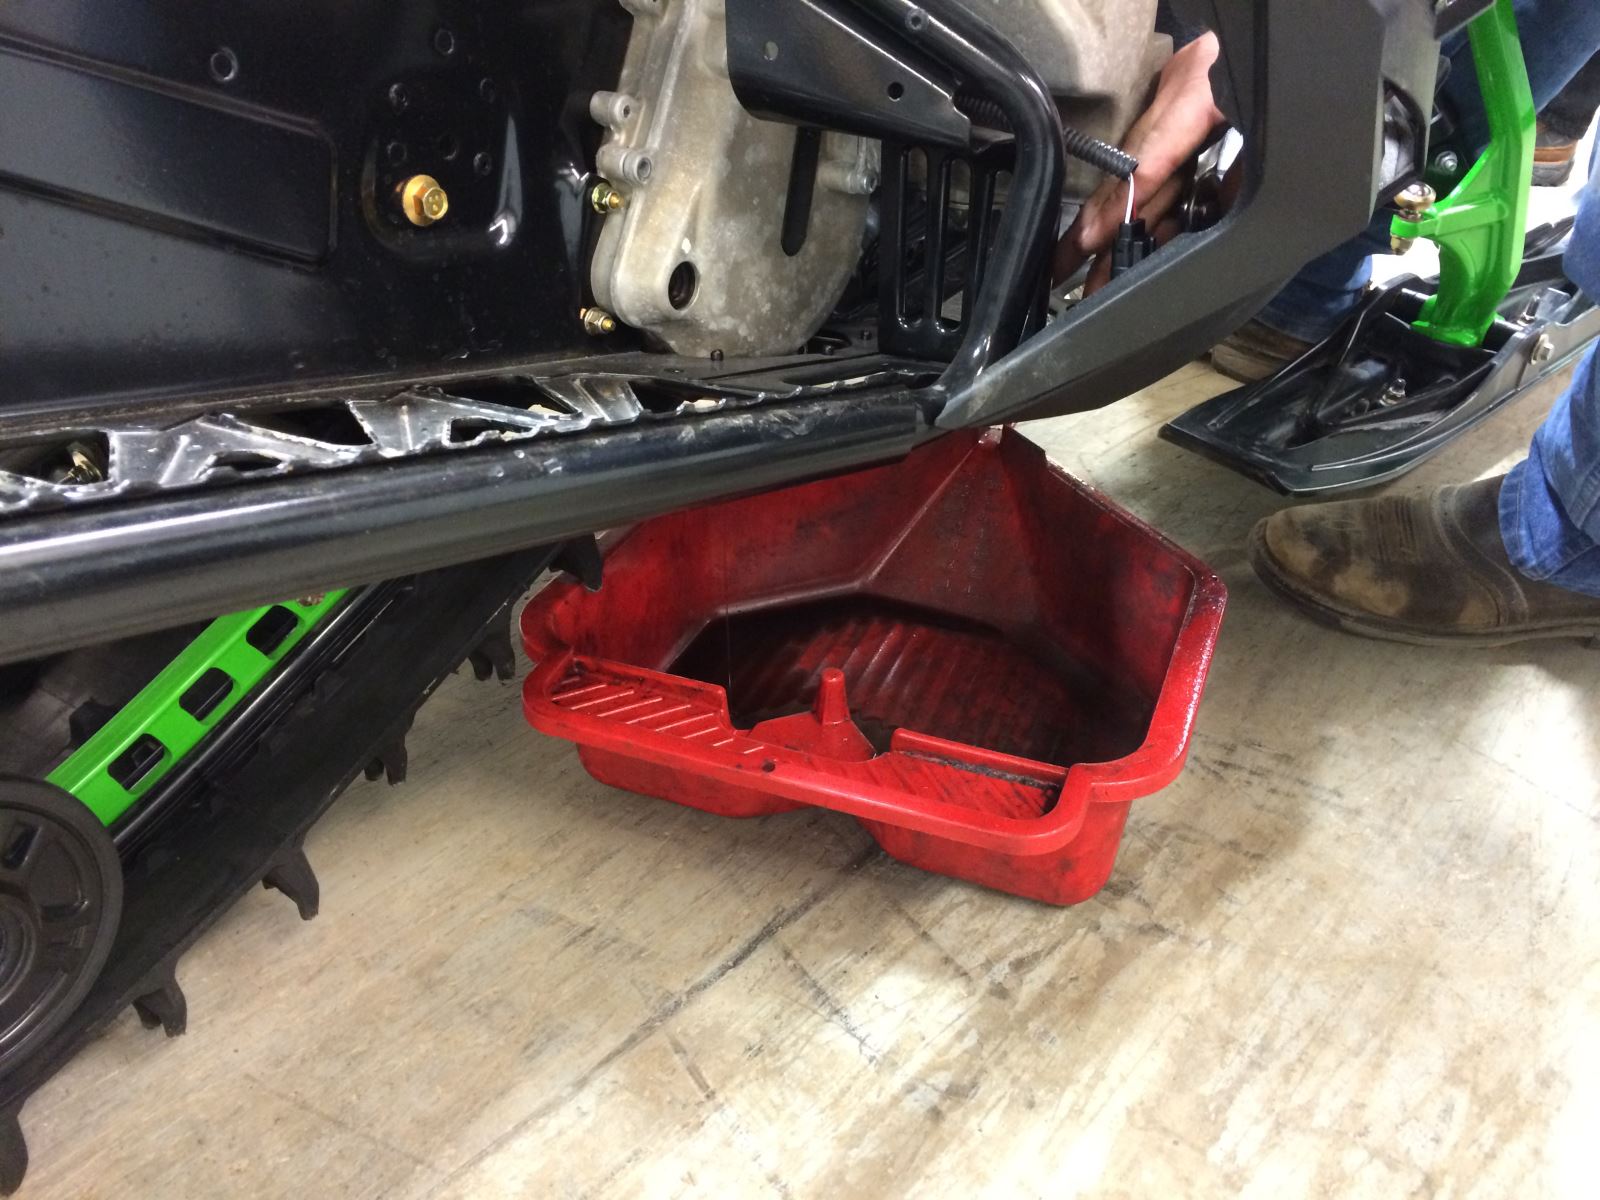
3) Moving to the chaincase, first put a catch-pan under your sled so when you crack open the chaincase you don’t have a mess.
4) Disconnect your oil pressure sensor and odometer cable and move them out of your way.
5) Remove the 10 black bolts that hold the oil reservoir on. Once the bolts are loose, allow the oil to puddle up in the bottom of the belly pan and find its way out to the catch-pan.
6) Remove the chain tensioner by pulling it straight off.
7) Remove the top gear. This involves two C-clips that hold the gear in place, and then another C-clip that holds the washer that attaches to the jackshaft. Now you can remove the jackshaft.
8) Remove the bottom gear by removing the C-clip that holds it in place.
9) Now we’re ready to install the Borg Warner gears and chain. First install the bottom gear, then install the chain. (Locate the black link on the chain and make certain it is on the outside.)
10) Now install the jackshaft. Be sure to put in the washer before you attach the C-clip. (The washer serves as a spacer to eliminate vibration. If there’s still a little play in the jackshaft, you may want to add another washer before proceeding further.)
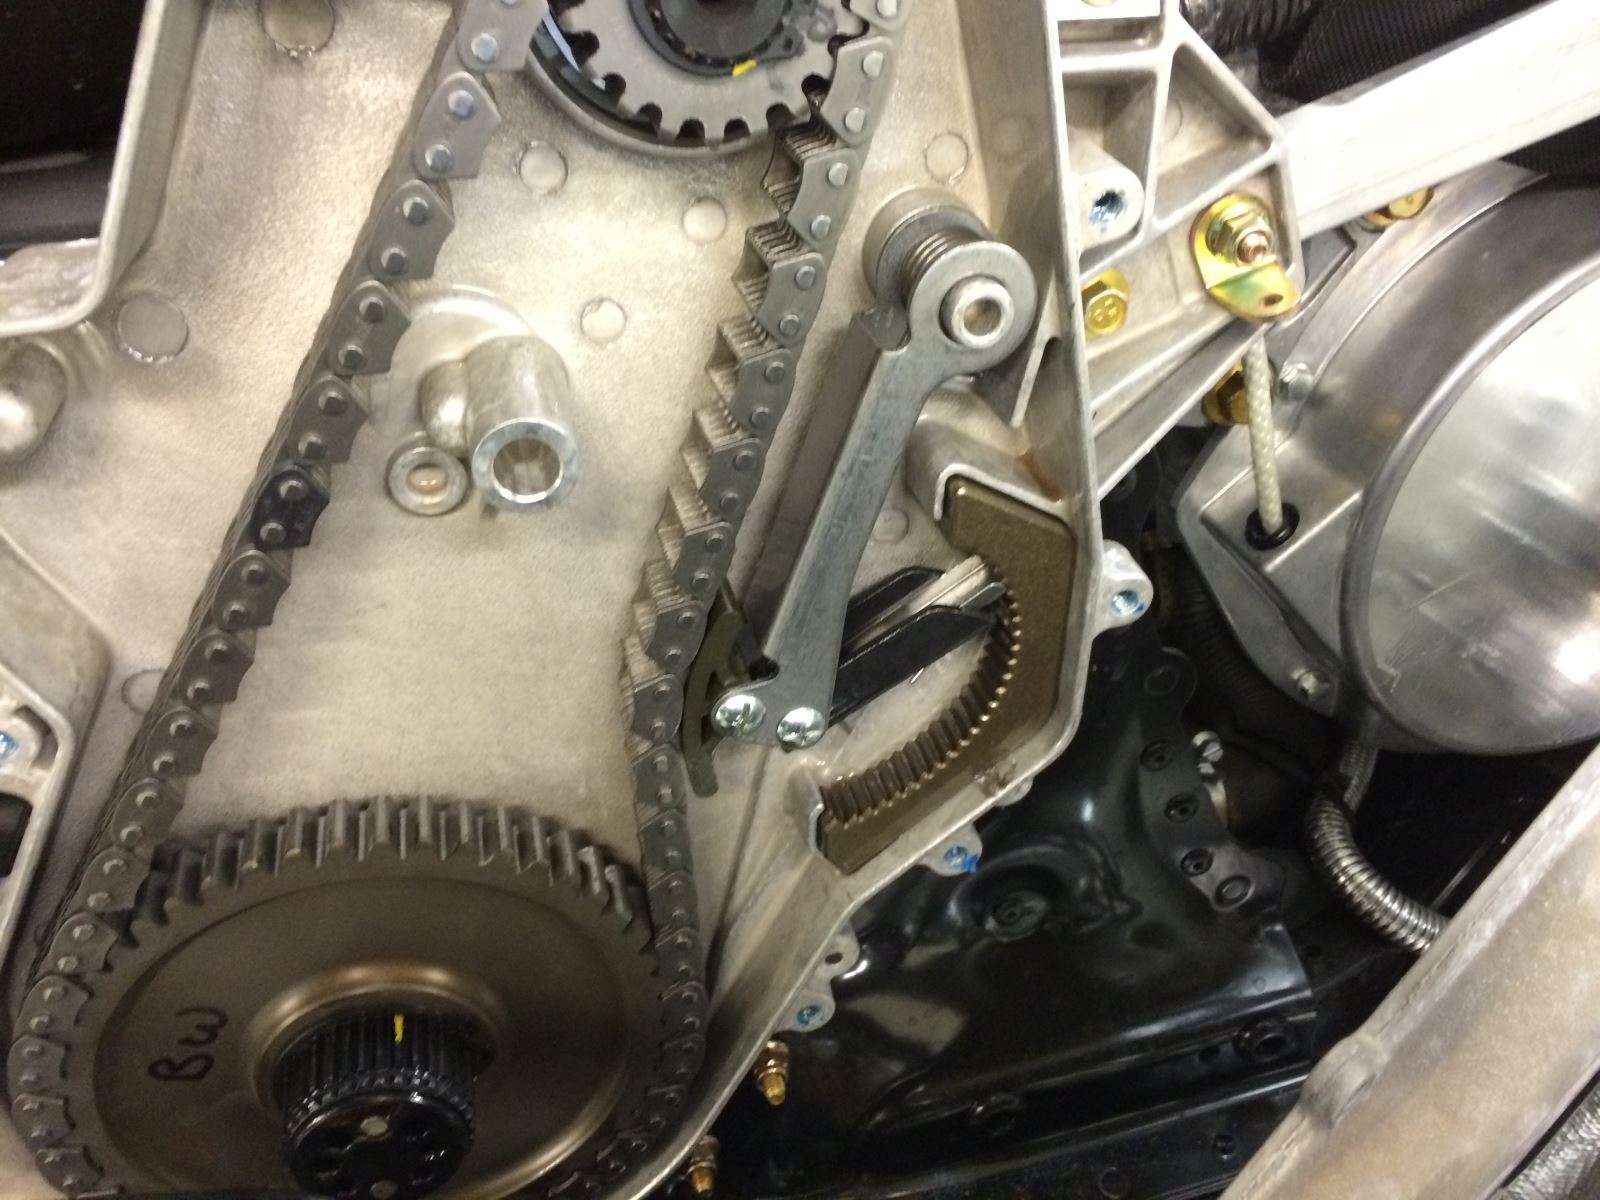
11) Install the top gear with the chain. There should be a little play in the chain … that’s what the self-aligning tensioner is for.
12) Install the chain tensioner. The spring will press against the case and you can then preload the tensioner. (You want to start with the chain a little loose as you put things back together because it will always tighten up. If you start with it too tight, there is no way for it to loosen up.)
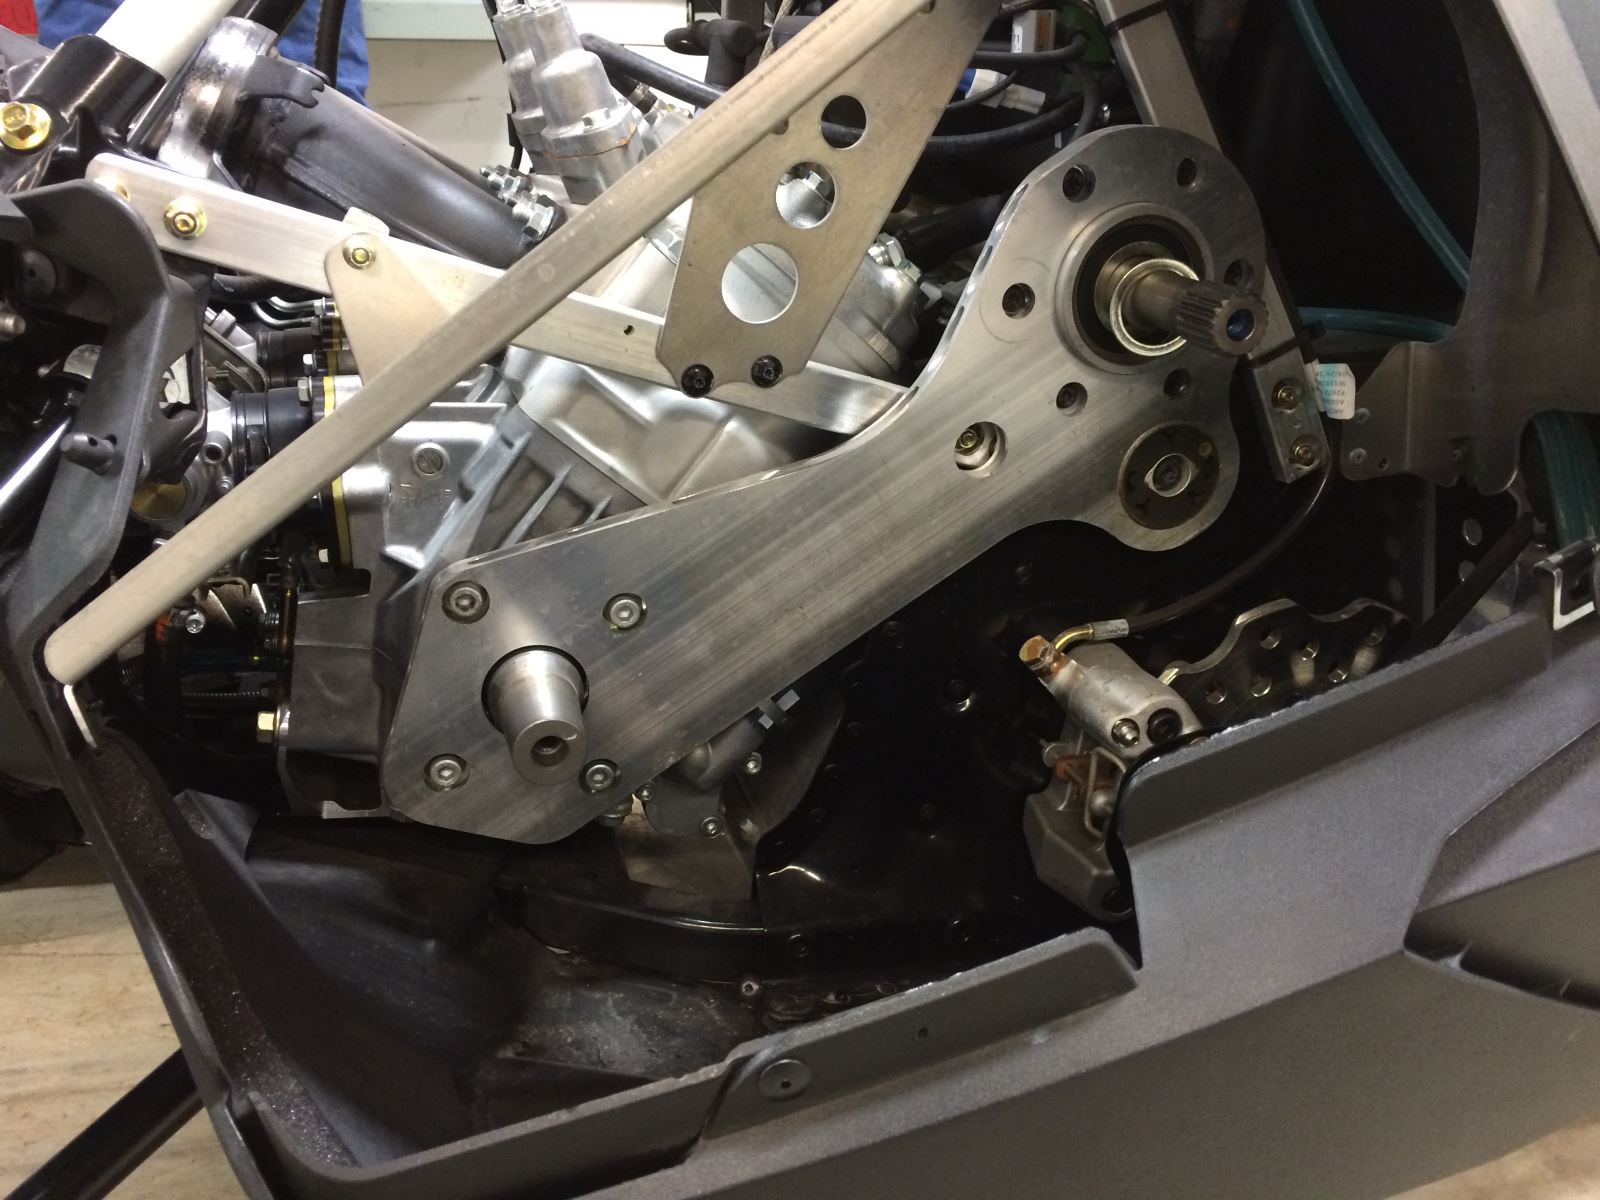
13) Install the torque plate (remembering to include the concaved washer that is located on the inside of the torque plate). You want to start every bolt on the torque plate first before tightening them up. They require 14-ft-lbs of torque on the six bolts behind the secondary and 30-ft-lbs of torque on the four bolts behind the primary.
14) Install the chaincase. Again, it’s best to start all bolts first and then tighten them up to 25-ft-lbs of torque.
15) Add 12 ounces of oil to the chaincase. Reattach the oil pressure sensor and the odometer cable.
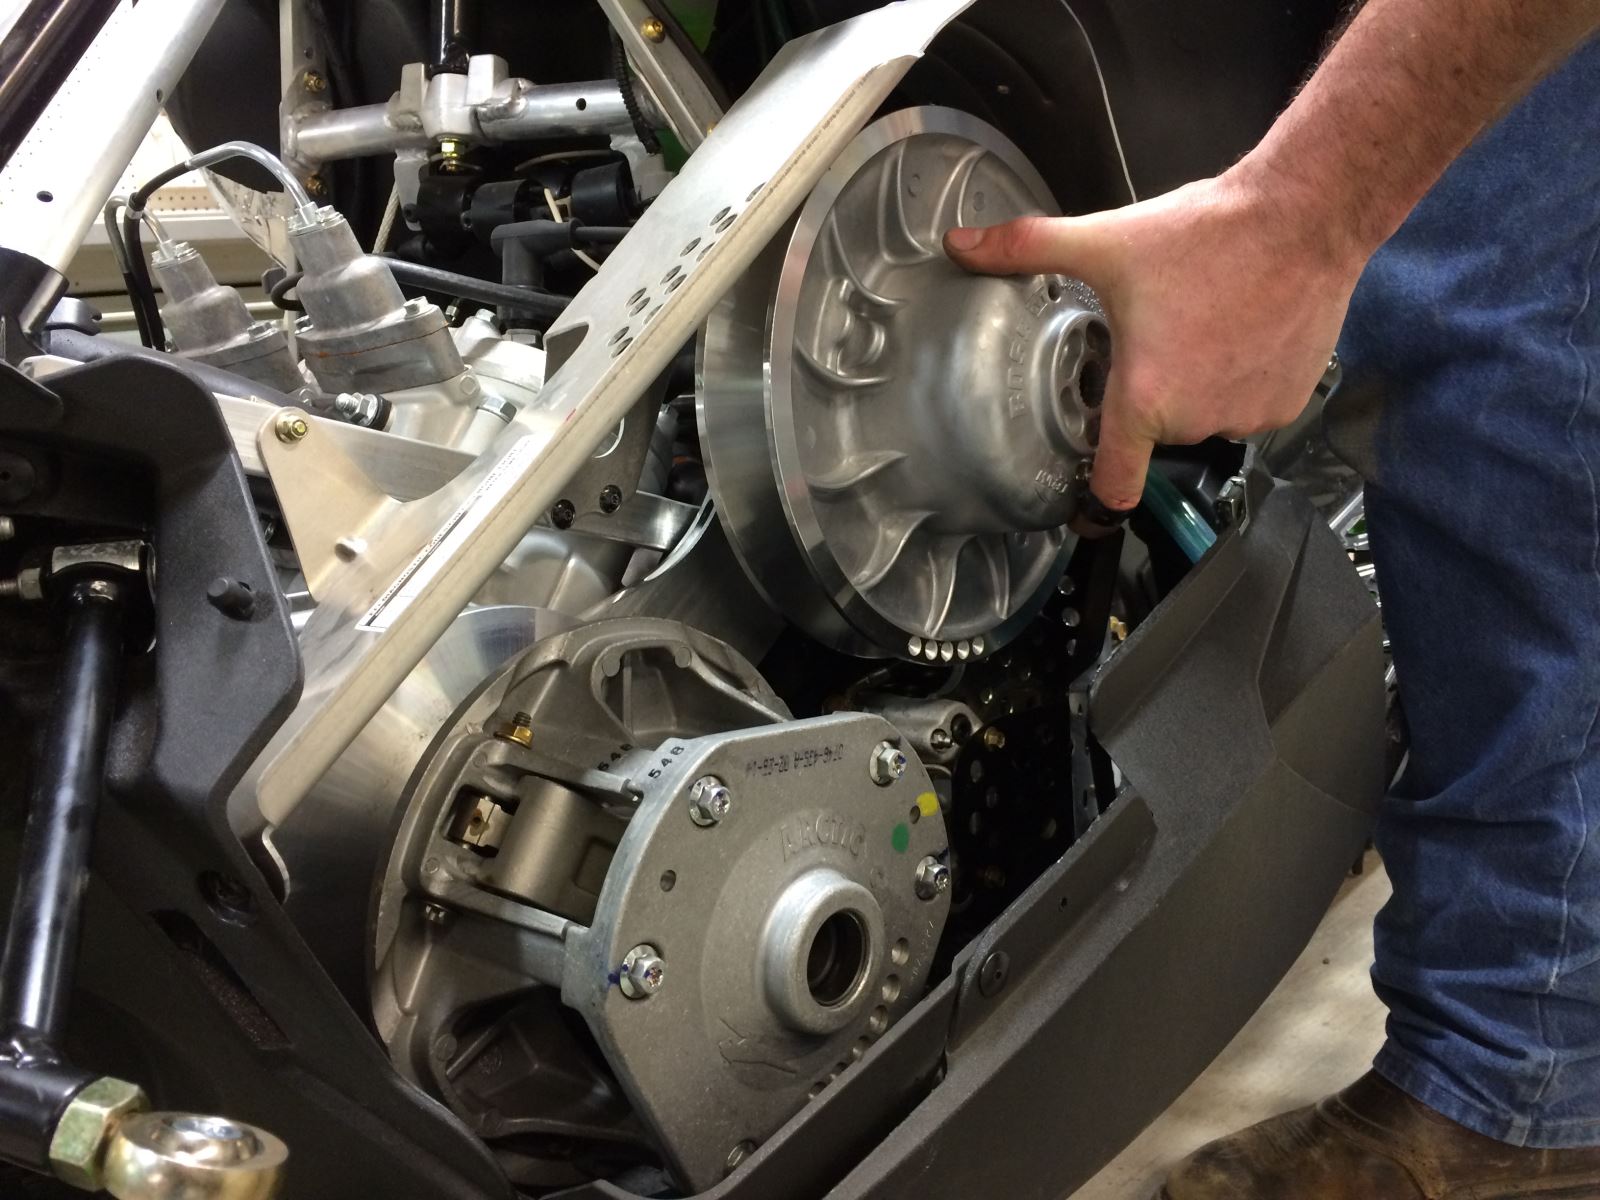
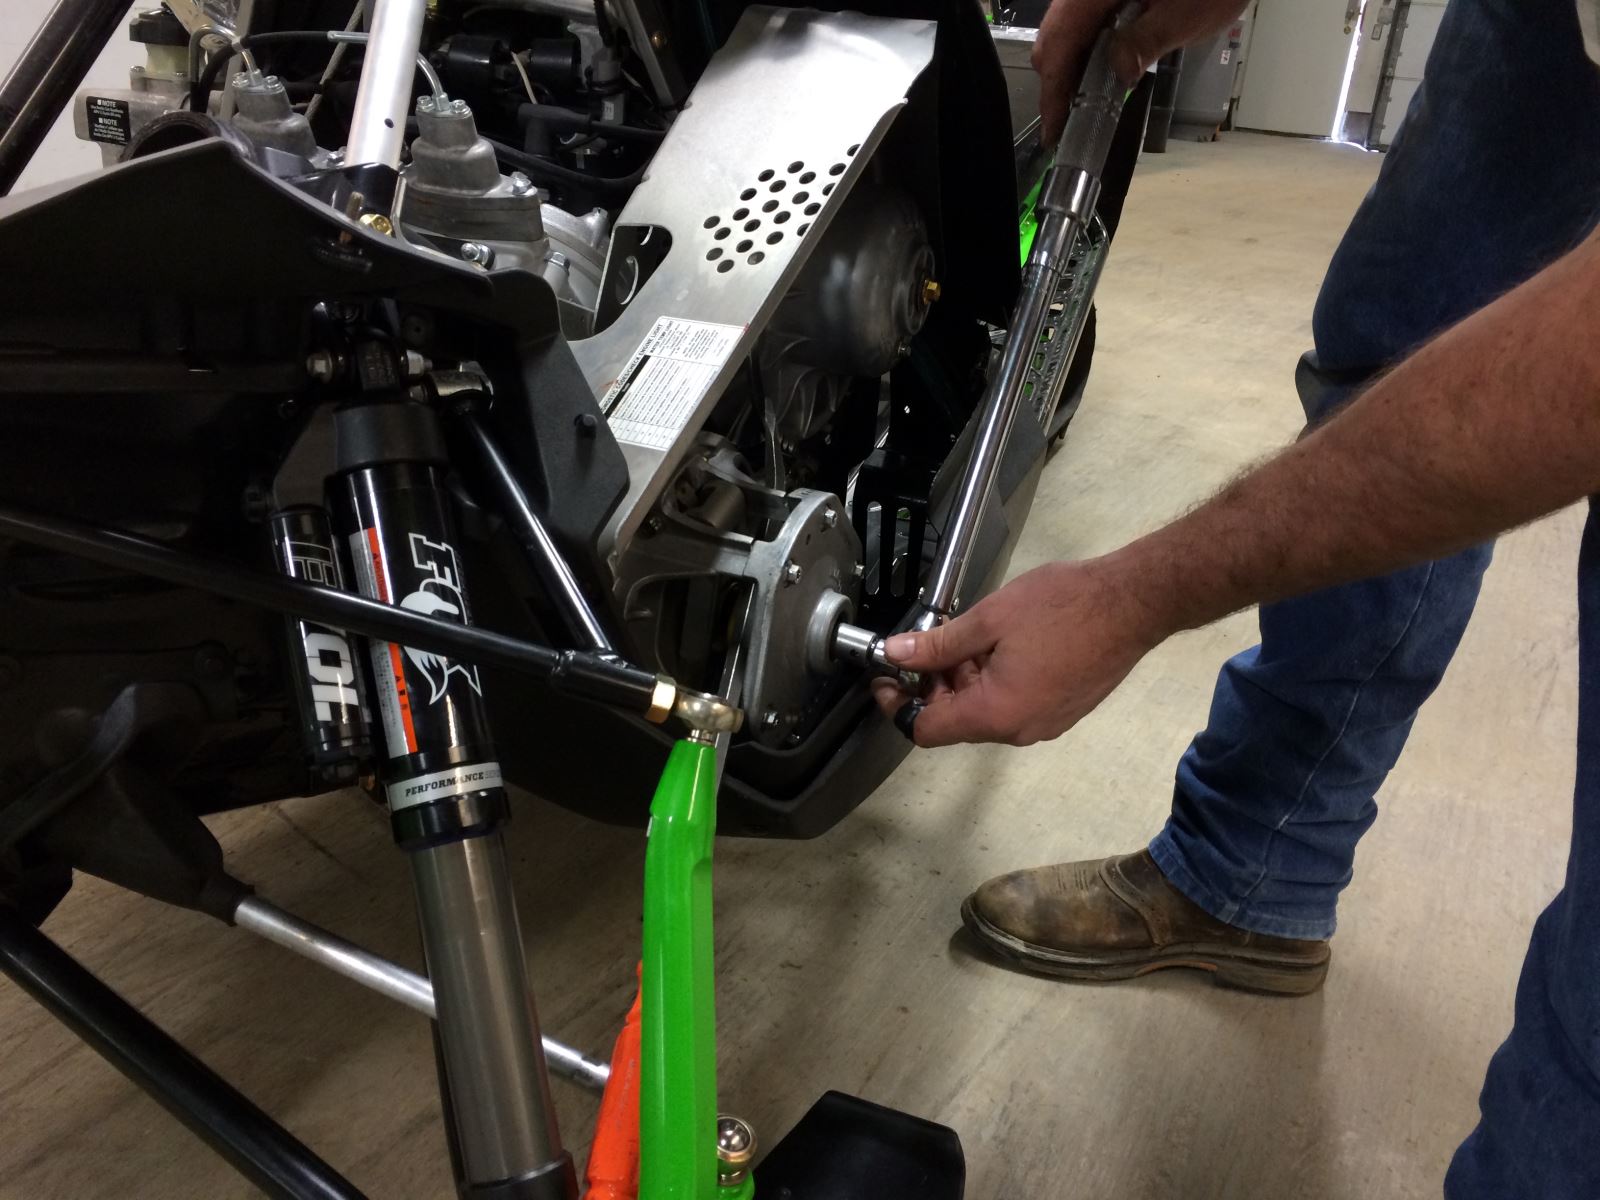
16) Install the clutches. The secondary clutch comes in two pieces with washers and spacers. Torque the primary and secondary clutches to 51-ft-lbs. Install the belt.
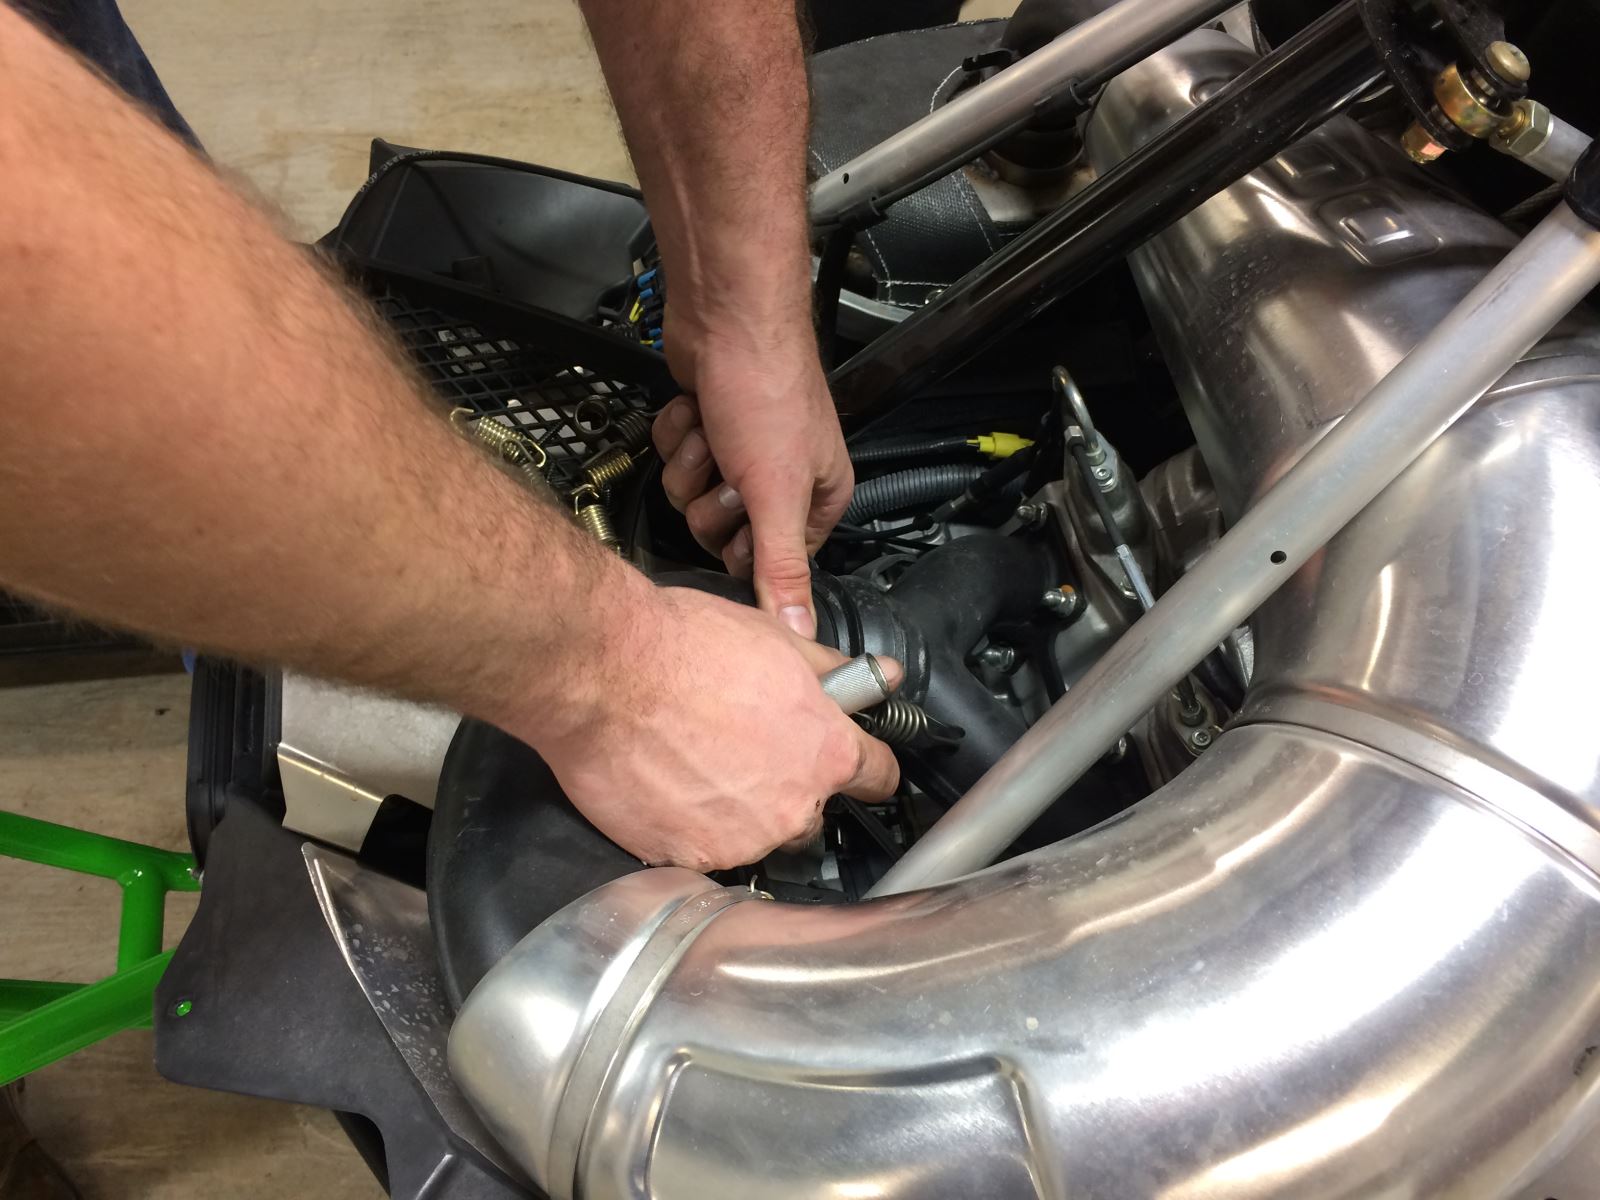
17) Install the pipes. (Put the long portion of the springs toward the engine.)
18) Attach the hood.
We didn’t do any clutch work at this point. Once we’re ready for the snowmobile to get on the snow, and after we’ve made whatever modifications we end up doing with this project Cat, then we’ll be able to fine-tune our clutching.
Project 2015/16 Arctic Cat M 8000 SnoPro Build – Part 2: Gears, Clutches
Published online: Apr 08, 2015 Arctic Cat Steve Janes Viewed 424 time(s)
Web Exclusive
(EDITOR’S NOTE: This is third in a series of articles about converting a 2015 Arctic Cat M8000 SnoPro into a SnoWest Forums 2016 Project Cat giveaway sled. Throughout the summer and fall we will be working with SnoWest Forum members to build the perfect snowmobile … and then we will give it away to a Forum member at the end of the build.)
http://www.snowest.com/2015/04/project-2015-16-arctic-cat-m
For most snowmobilers, the bulk of the transition between 2015 and 2016 Arctic Cat snowmobiles will focus on the front and rear suspensions. However, what we really noticed was the effect the change in clutching and gears had to do with how the snowmobile operated in the trees.
True, the front suspension changed how the 2016 SnoPro carved through the snow and sidehilled. And the rear suspension changed how it got up on top of the snow. But it’s the clutching change that made the 2016 more user-friendly.
To upgrade the 2015 drive system to Team Rapid Response/Reaction clutches, you had to start by replacing the jackshaft. And since we’re going through the bother of pulling the jackshaft, it made perfect sense to change to Borg Warner gears and chain (used by the Team Arctic racing crews).
The main reason we wanted to make the change to Team clutches was to lower and broaden the engagement range to allow the clutches to work better in tight and technical situations. Cat clutches always had a tendency of slamming in on engagement. For aggressive riders, that’s perfect. But for those of us who like to ease into certain situations (like crawling up a trailer ramp), this all-or-nothing sensation was a bit unsettling.
Arctic Cat made the change for its stock mountain sleds and for 2016 the clutches will engage about 500 rpm lower and offer more of a smooth transition on engagement. It will also deliver a broader powerband to allow the clutch to work better and pull harder.
Another bonus with the Team clutches is that they run cooler, which improves performance, increases roller life and increases belt life.
As for the Borg Warner chain, it will be stronger, more durable and feature less stretch. It’s the same chain Cat has used on its race sleds since 2004.
Here is what we did for our latest install.
1) Remove the hood and then the pipes to open up access to the chaincase. Also remove the drive belt and the primary and secondary clutches.
2) Remove the torque plate. It consists of four bolts behind the drive clutch and six bolts behind the secondary. (On the bottom bolt behind the drive clutch, be aware of a concaved washer that is located behind the plate. You will want to catch it when you remove the plate and know what direction it goes so you replace it properly when you put things back together.)
3) Moving to the chaincase, first put a catch-pan under your sled so when you crack open the chaincase you don’t have a mess.
4) Disconnect your oil pressure sensor and odometer cable and move them out of your way.
5) Remove the 10 black bolts that hold the oil reservoir on. Once the bolts are loose, allow the oil to puddle up in the bottom of the belly pan and find its way out to the catch-pan.
6) Remove the chain tensioner by pulling it straight off.
7) Remove the top gear. This involves two C-clips that hold the gear in place, and then another C-clip that holds the washer that attaches to the jackshaft. Now you can remove the jackshaft.
8) Remove the bottom gear by removing the C-clip that holds it in place.
9) Now we’re ready to install the Borg Warner gears and chain. First install the bottom gear, then install the chain. (Locate the black link on the chain and make certain it is on the outside.)
10) Now install the jackshaft. Be sure to put in the washer before you attach the C-clip. (The washer serves as a spacer to eliminate vibration. If there’s still a little play in the jackshaft, you may want to add another washer before proceeding further.)
11) Install the top gear with the chain. There should be a little play in the chain … that’s what the self-aligning tensioner is for.
12) Install the chain tensioner. The spring will press against the case and you can then preload the tensioner. (You want to start with the chain a little loose as you put things back together because it will always tighten up. If you start with it too tight, there is no way for it to loosen up.)
13) Install the torque plate (remembering to include the concaved washer that is located on the inside of the torque plate). You want to start every bolt on the torque plate first before tightening them up. They require 14-ft-lbs of torque on the six bolts behind the secondary and 30-ft-lbs of torque on the four bolts behind the primary.
14) Install the chaincase. Again, it’s best to start all bolts first and then tighten them up to 25-ft-lbs of torque.
15) Add 12 ounces of oil to the chaincase. Reattach the oil pressure sensor and the odometer cable.
16) Install the clutches. The secondary clutch comes in two pieces with washers and spacers. Torque the primary and secondary clutches to 51-ft-lbs. Install the belt.
17) Install the pipes. (Put the long portion of the springs toward the engine.)
18) Attach the hood.
We didn’t do any clutch work at this point. Once we’re ready for the snowmobile to get on the snow, and after we’ve made whatever modifications we end up doing with this project Cat, then we’ll be able to fine-tune our clutching.