Install the app
How to install the app on iOS
Follow along with the video below to see how to install our site as a web app on your home screen.
Note: This feature may not be available in some browsers.

You are using an out of date browser. It may not display this or other websites correctly.
You should upgrade or use an alternative browser.
You should upgrade or use an alternative browser.
Canada Sled Parts Gauge Lifter Install Pic Heavy
- Thread starter Broskie
- Start date
Started to put mine on tonight. I dont really like how close it is to the key, with my e start I dont think I can get my gloves in there and turn the key anyone else have this consern? I know e start is lazy but I payed for it im going to use it.
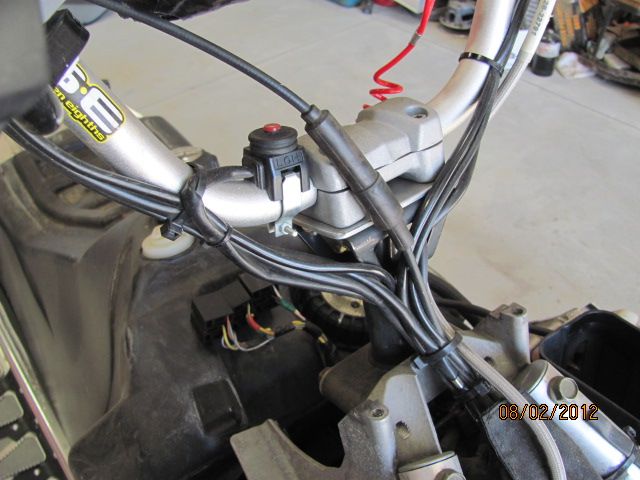
I have E-start on mine but rarely use the key (even thinking of removing it). I installed a push button switch (identical to the one for reverse but red not yellow) and installed it next to the handlebar mounting clamps. It's been there for two years and I have never accidentally hit it, plus it's alot easier to use than reaching over the top of the handlebars to turn the key.
I have E-start on mine but rarely use the key (even thinking of removing it). I installed a push button switch (identical to the one for reverse but red not yellow) and installed it next to the handlebar mounting clamps. It's been there for two years and I have never accidentally hit it, plus it's alot easier to use than reaching over the top of the handlebars to turn the key.
thats awsome how did you tie it in to the key switch?
Just tossed mine on this morning, great product!
Did they come with some kind of tape to seal up the plug? I made my own last year and used some 2 inch vinyl (electricians) tape to keep the water out.
Installed gauge relcation kit.
Nice pc, installation was a snap nice job, great value! Now about the button instead of the key idea------- NICE. anti up all the details!!!!!!
Nice pc, installation was a snap nice job, great value! Now about the button instead of the key idea------- NICE. anti up all the details!!!!!!
Nice pc, installation was a snap nice job, great value! Now about the button instead of the key idea------- NICE. anti up all the details!!!!!!
OK Here it is: Bought the red push button switch at my dealer. It is a momentarily ON switch that connects the contacts when depressed. I extended the wires and ran them down to the battery/solenoid(relay). One wire goes to the ground terminal of the battery and the other wire goes to inner small terminal on the solenoid(relay) The terminal with the small red wire shown in the picture below. This will only crank over the engine, you still need to have the key on and kill button pulled up to start it.
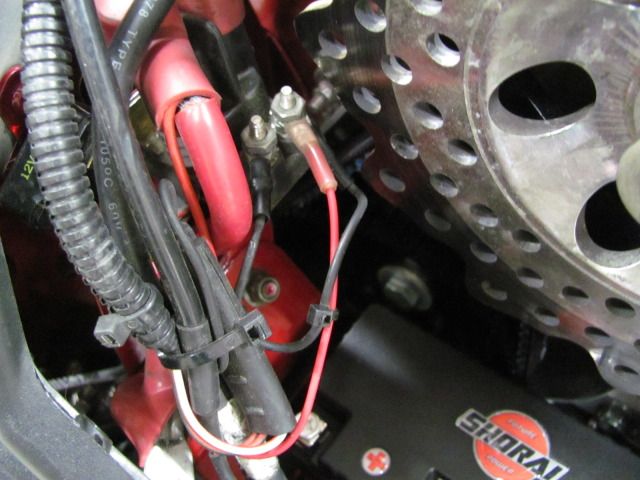
OK Here it is: Bought the red push button switch at my dealer. It is a momentarily ON switch that connects the contacts when depressed. I extended the wires and ran them down to the battery/solenoid(relay). One wire goes to the ground terminal of the battery and the other wire goes to inner small terminal on the solenoid(relay) The terminal with the small red wire shown in the picture below. This will only crank over the engine, you still need to have the key on and kill button pulled up to start it.
Great idea Snodawg, have you used the light weight battery before? been thinking about getting one, wondering how well they hold up in cold weather?
So I have been ordering parts like crazy and thought I would add a few photos during the install that I think get left out a lot. Overall the install was easy with the proper tools and taking your time anyone should be able to do this. I ordered the Canada Sled Parts Gauge Lifter last week and it came today. First impressions were it's made well and will serve it's purpose with no hiccups. The only thing to make sure you do before drilling is to measure enough width for the key to turn.
So now for the install.
Opened out of the package

Hood Gutted for install of Fire N Ice Vents and Gauge Lifter

Lined up for marking holes with rivet punch

Punch marks made and ready to drill with 3/16" drill bit

Getting the allen screws ready, They were really hard to get started by hand so I had to use the allen key to get them going.

Allen screws pushed thru and bolts put on loosely.

Front view

Different height test tall

Height test low

Back after being tighten down "very flush nice fitment"

Top view

Side view with gauge mounted

Bottom view gauge mounted

Back of bracket from inside

Completed and tighten down at height preferred.

One thing to measure before install was the key. So make sure you can still turn it as it's tight.

All in all it's an awesome product and made very well for the price paid.
great write up!....thanks!
Can anyone tell me what the hole size is in the stock hood that the gauge comes out of??
.
.
Last edited:
Have you thought of putting a high quality pancake fan behind the unit as an active vent?
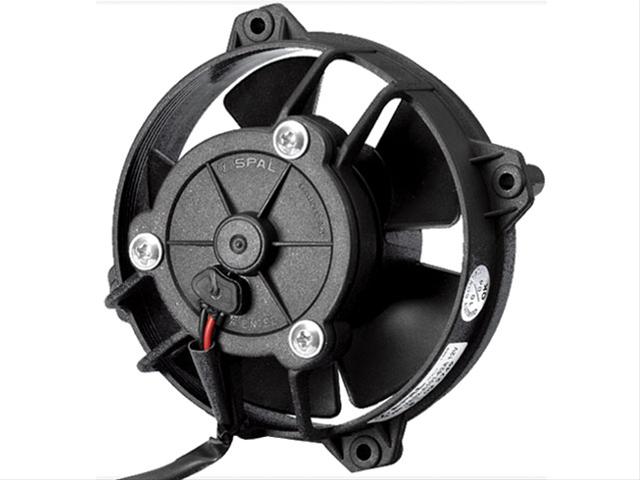
Something like the SPAL fan? Compact at 4" x 4" x 2.5" Completely waterproof and made for automotive applications.
To power it up... use the AC side of the lighting relay...Just a simple full wave rectifier, like Boondocker uses for their intercooler fan, off of the yellow lighting coil would drive it safely. Of course.. have an inline 5 amp fuse!
Nice... at at the top of the engine room where heat rises.
Would take advantage of natural convection.
Last edited:
Great thought, and I would, but I just backed I with pre filter and used it as another feed for my fire n' ice headlight delete/intake. Great product and looks amazing on the sled!Have you thought of putting a high quality pancake fan behind the unit as an active vent?
Something like the SPAL fan? Compact at 4" x 4" x 2.5" Completely waterproof and made for automotive applications.
To power it up... use the AC side of the lighting relay...Just a simple full wave rectifier, like Boondocker uses for their intercooler fan, off of the yellow lighting coil would drive it safely. Of course.. have an inline 5 amp fuse!
Nice... at at the top of the engine room where heat rises.
Would take advantage of natural convection.

W
wildchild
Well-known member
Were adding few new things this year to our gauge relocations .
One is fan that runs off of the sleds electrical system and is mounted on the relocation bracket. It's a complete new bracket specially made for fan, been working with mountainhorse on this.
The relocation is perfect spot for the fan , as you know heat rises and its the top most part of the sled.
And also key switch relocation kit for guys who have electric start and want to be able to start the sled with gloves on. As you know with relocation kits there very close to the key and make it hard to use.
www.canadasledparts.com
LOOKS GOOD!
Pricing? Didn't see it up on the site yet.
Sent from my SCH-I545 using Tapatalk 4
Sent from my SCH-I545 using Tapatalk 4
X2. Was going to order one for my '13, but I'm liking the fan idea!
I will try that thanks.... I have the slp air intake .. Hope she comes out not much room that way
I do too. It works REALLY well.
Kurt, you ARE The Man!!!
Were adding few new things this year to our gauge relocations .
One is fan that runs off of the sleds electrical system and is mounted on the relocation bracket. It's a complete new bracket specially made for fan, been working with mountainhorse on this.
The relocation is perfect spot for the fan , as you know heat rises and its the top most part of the sled.
And also key switch relocation kit for guys who have electric start and want to be able to start the sled with gloves on. As you know with relocation kits there very close to the key and make it hard to use.
www.canadasledparts.com
Similar threads
E
- Replies
- 15
- Views
- 4K
M