
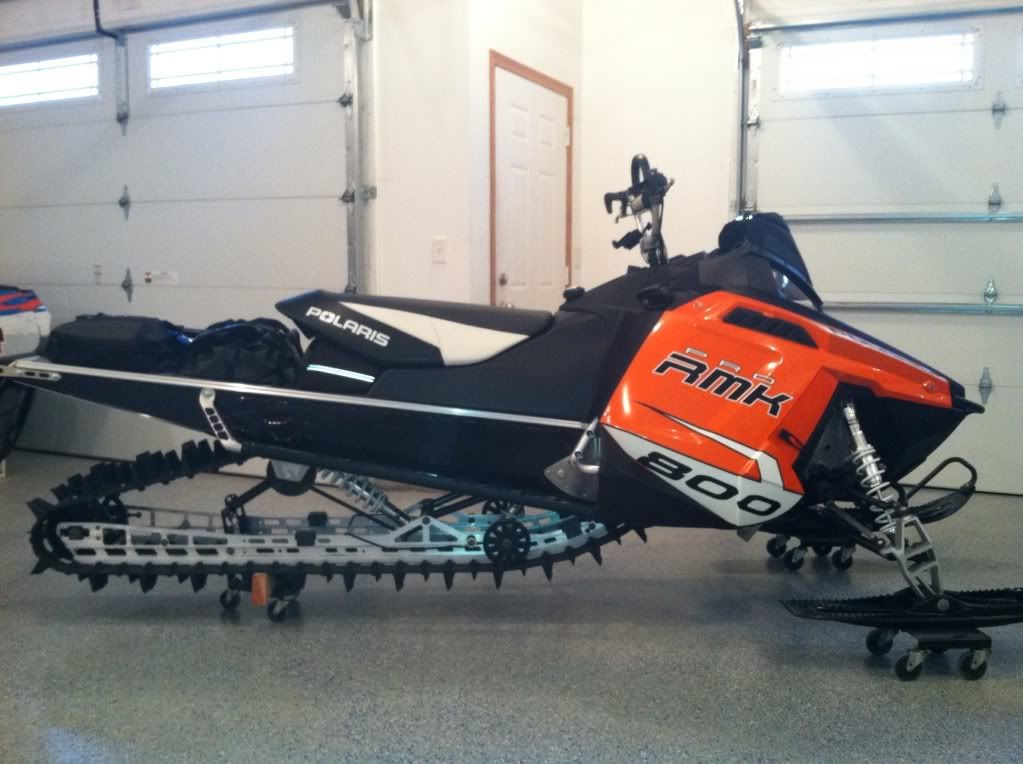
Nothing better then a nice long weekend to get a few projects done. Thought I would post a few pictures.
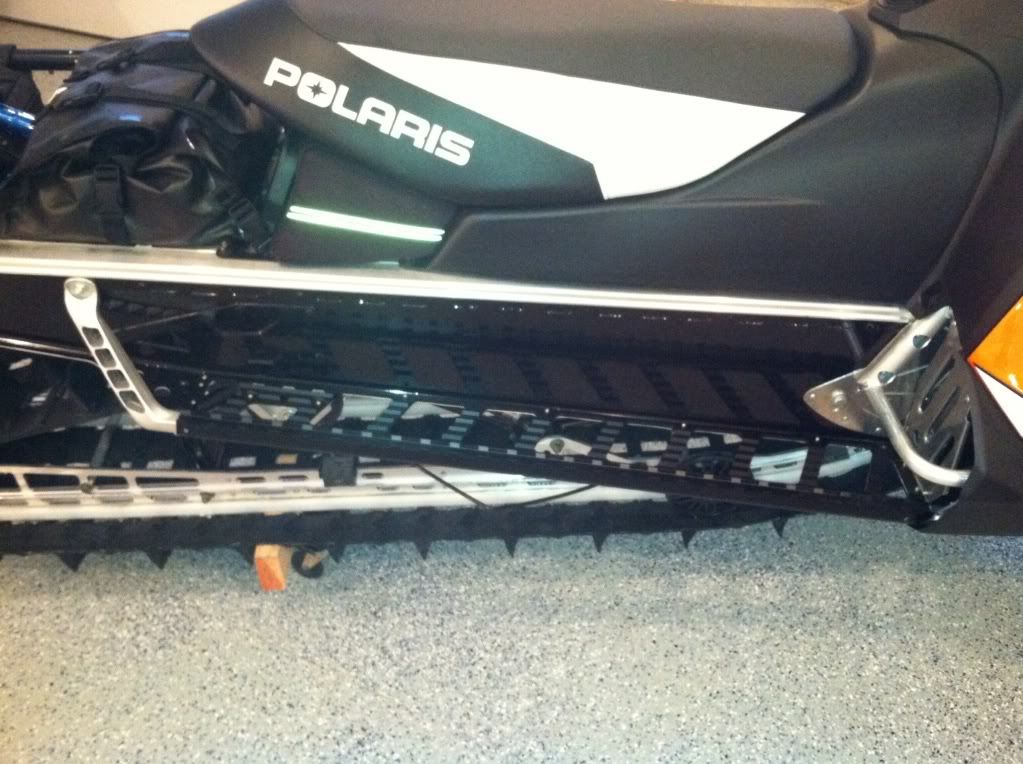
I installed the burandt boards on my 12 and like several other posts have mentioned I did all the cutting with a fine tooth blade in an air saw. I cut the blade height down to about 3/16" and it allows you to cut curves very easy. quick clean work. The template worked perfect, not sure why some posts say dont follow it.
Next did the tunnel wrap while the boards were still off. Not sure on the exact material but its holds up AMAIZING on my dirt track race car. It has the clear protective coating over.
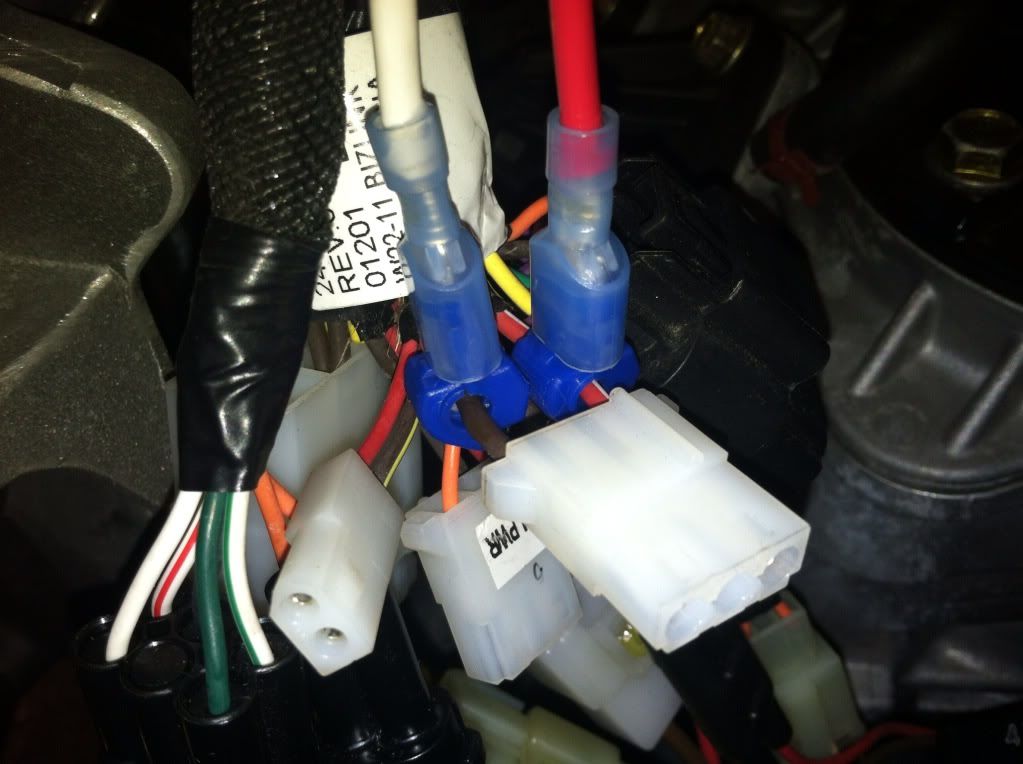
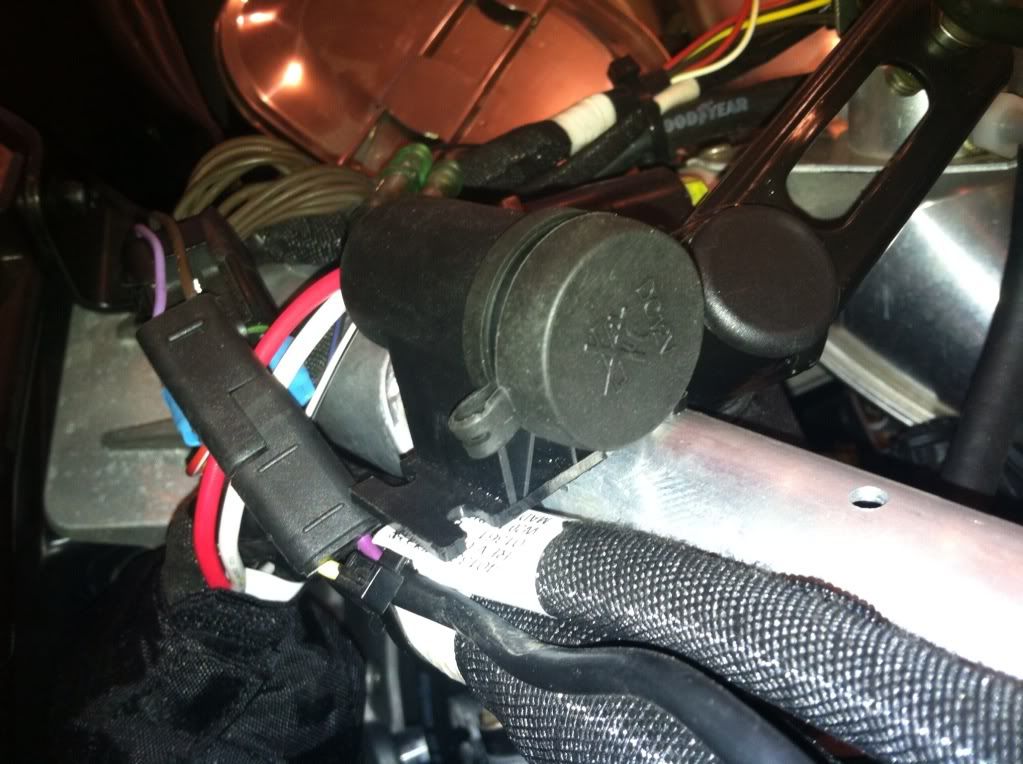
Next project was installing a 12v DC power outlet for emergency cell phone charging. I used the factory DC connector above the clutch and went with T-tap connectors to splice in my wiring. This is only for low amperage usage. I used plenty of dielectric grease in the splice and connections.
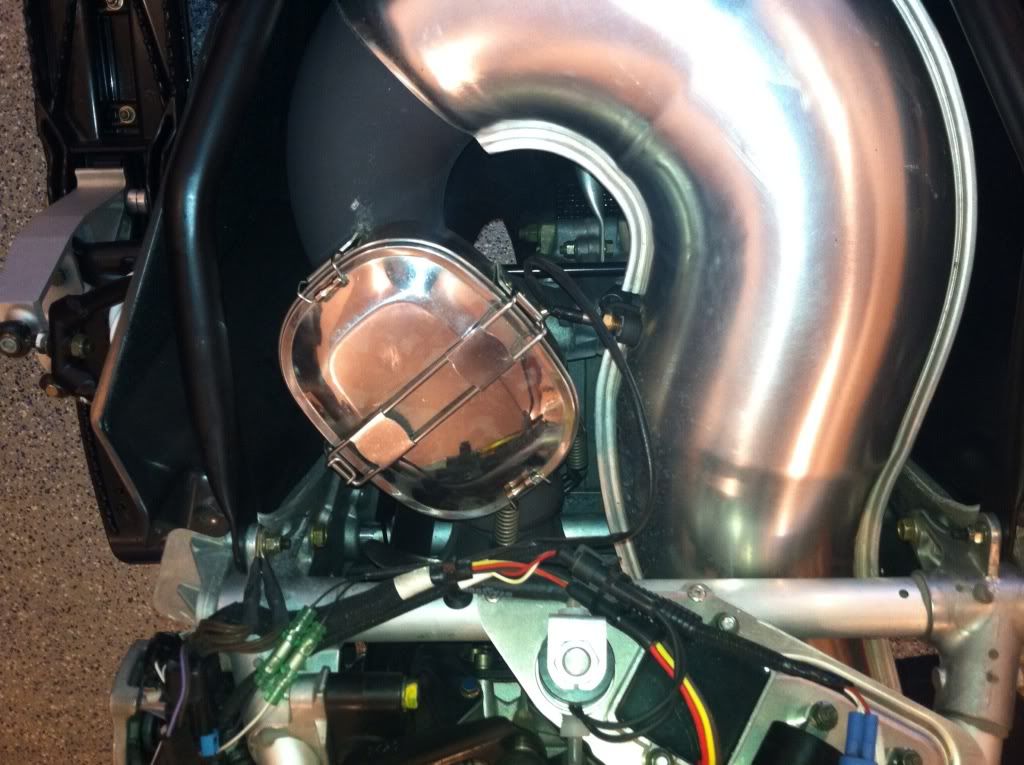
Re-mounted my muffpot on the y-pipe. This worked great last year but the clamps cam loose so while the sled was apart I installed a T-Bolt style clamp so it will not come loose again. This location is easy to get at by just dropping the side panle and heats much faster and hotter then over at the can.
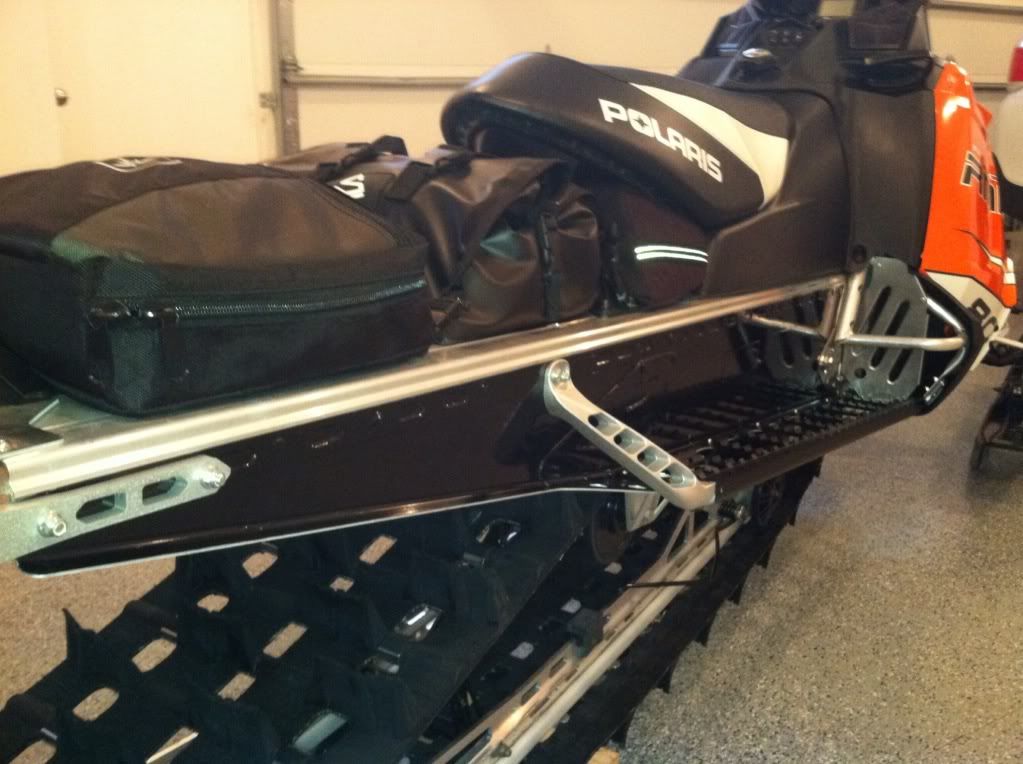
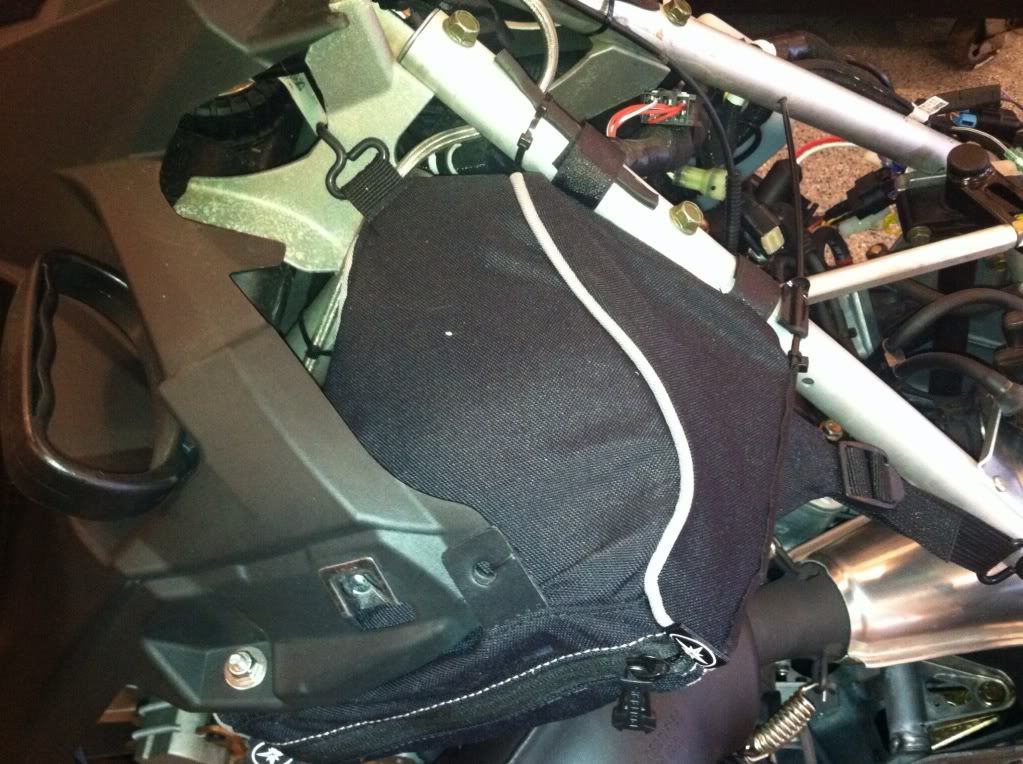
Last picture is just showing the underhood bag and how it should be installed to get full usable space out of the bag. Some guys were unsure of where the top hook should go.
Now we just need snow!!!
I installed the burandt boards on my 12 and like several other posts have mentioned I did all the cutting with a fine tooth blade in an air saw. I cut the blade height down to about 3/16" and it allows you to cut curves very easy. quick clean work. The template worked perfect, not sure why some posts say dont follow it.
Next did the tunnel wrap while the boards were still off. Not sure on the exact material but its holds up AMAIZING on my dirt track race car. It has the clear protective coating over.
Next project was installing a 12v DC power outlet for emergency cell phone charging. I used the factory DC connector above the clutch and went with T-tap connectors to splice in my wiring. This is only for low amperage usage. I used plenty of dielectric grease in the splice and connections.
Re-mounted my muffpot on the y-pipe. This worked great last year but the clamps cam loose so while the sled was apart I installed a T-Bolt style clamp so it will not come loose again. This location is easy to get at by just dropping the side panle and heats much faster and hotter then over at the can.
Last picture is just showing the underhood bag and how it should be installed to get full usable space out of the bag. Some guys were unsure of where the top hook should go.
Now we just need snow!!!
Last edited: