If you are not aware of the process... Here's a bit of info... For you seasoned pros... probably not of interest.
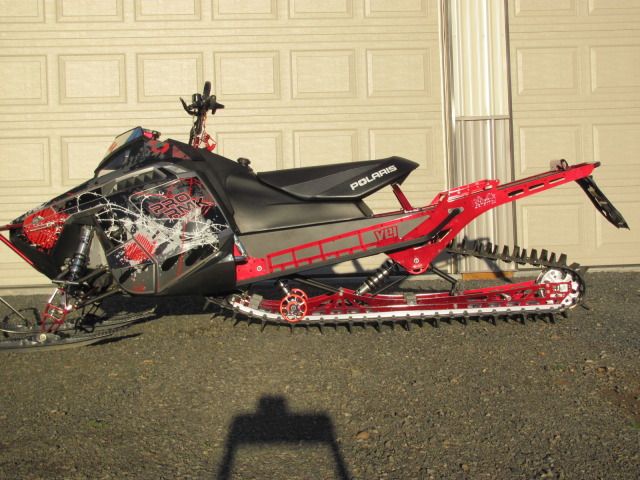
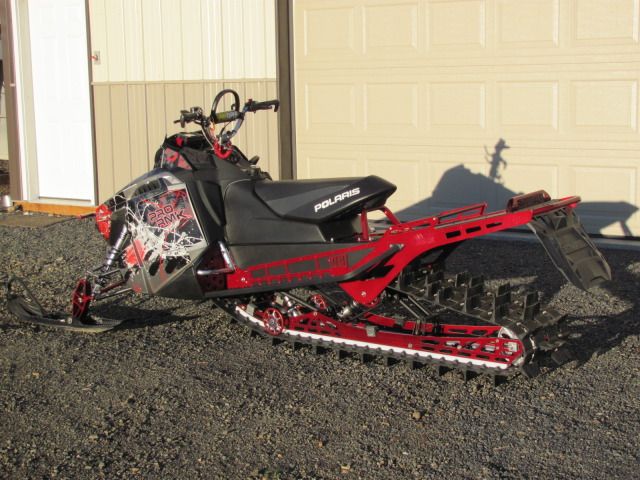
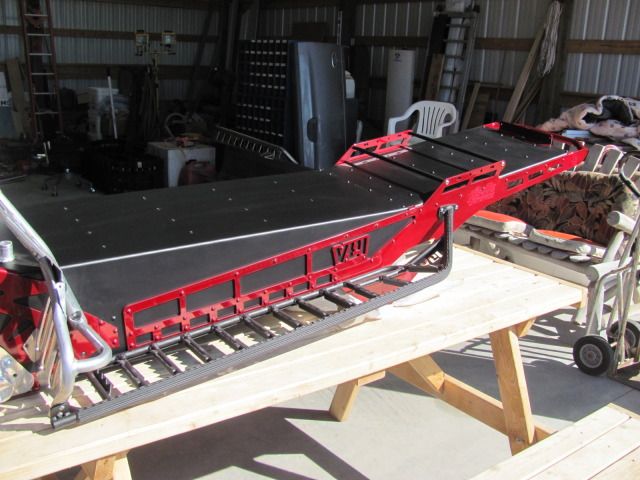
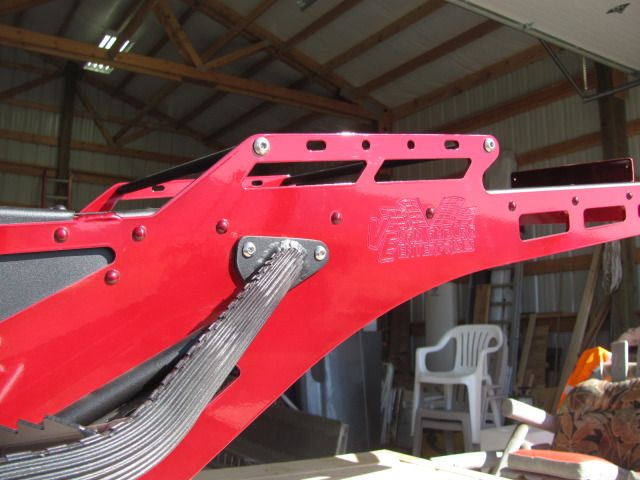
Installing a new tunnel will require you to dissassemble 80% of the sled to install... and also involve carefull de-bonding and re-bonding of components to perform the replacement.
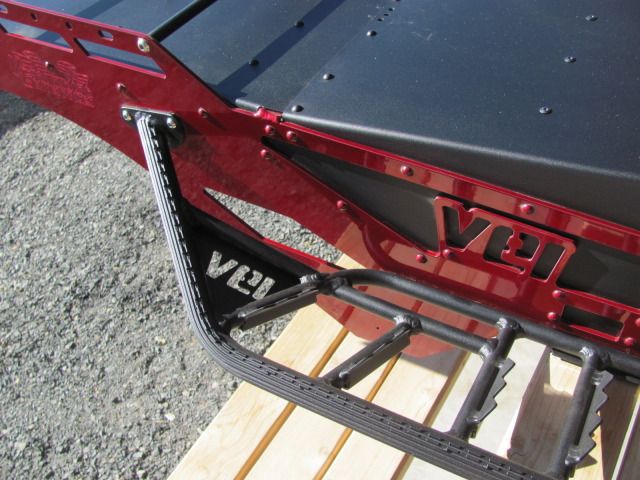
Installation of a tunnel, while not extremely difficult... is a time consuming and precise operation.
For most of the DIY'rs out there that are not experienced in this type of operation... it is best to have a shop do the install
You will need to have a hydraulic/pneumatic rivet gun, proper adhesive and applicator, proper rivets, locktite, torches and other general tools.... and a warm shop in which to work.
IMO... buy a new, complete, Factory Polaris chassis assembly with bulkhead and install a Vanamburg, AkSnowrider, PAR, CR or other tunnel kit on the new factory tunnel... sometimes it is even possible to bang out the factory tunnel and rivet/glue on a reinforcement kit to help with durability of the chassis without the need to replace the tunnel.
The cost of a new tunnel, when you also factor in the coolers and other misc items can exceed $2000 plus the labor and parts/adhesive involved in the install.