This afternoon my Skinz Protective Gear Nytro MTX Rear Bumper arrived from Sled Solutions (http://www.sledsolutions.com/store/product_info.php?products_id=902)
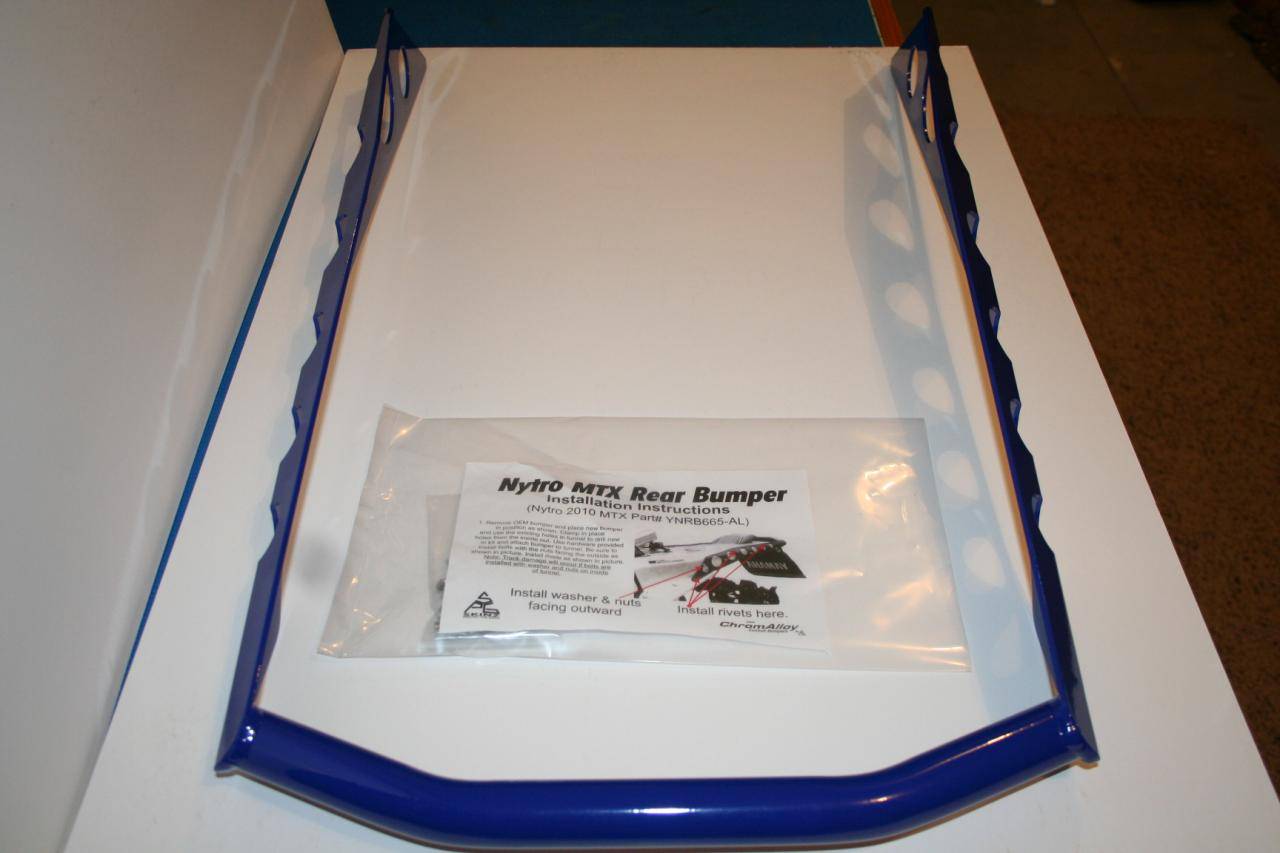
I requested this be powdercoated in Yamaha Blue as I thought it would add a nice touch to my Blue 2010 SE. Skinz was more than happy to accommodate this request and did a fabulous job on the powder-coating!
While I have not yet done the install, I wanted to let everyone know what was built and shipped to me.
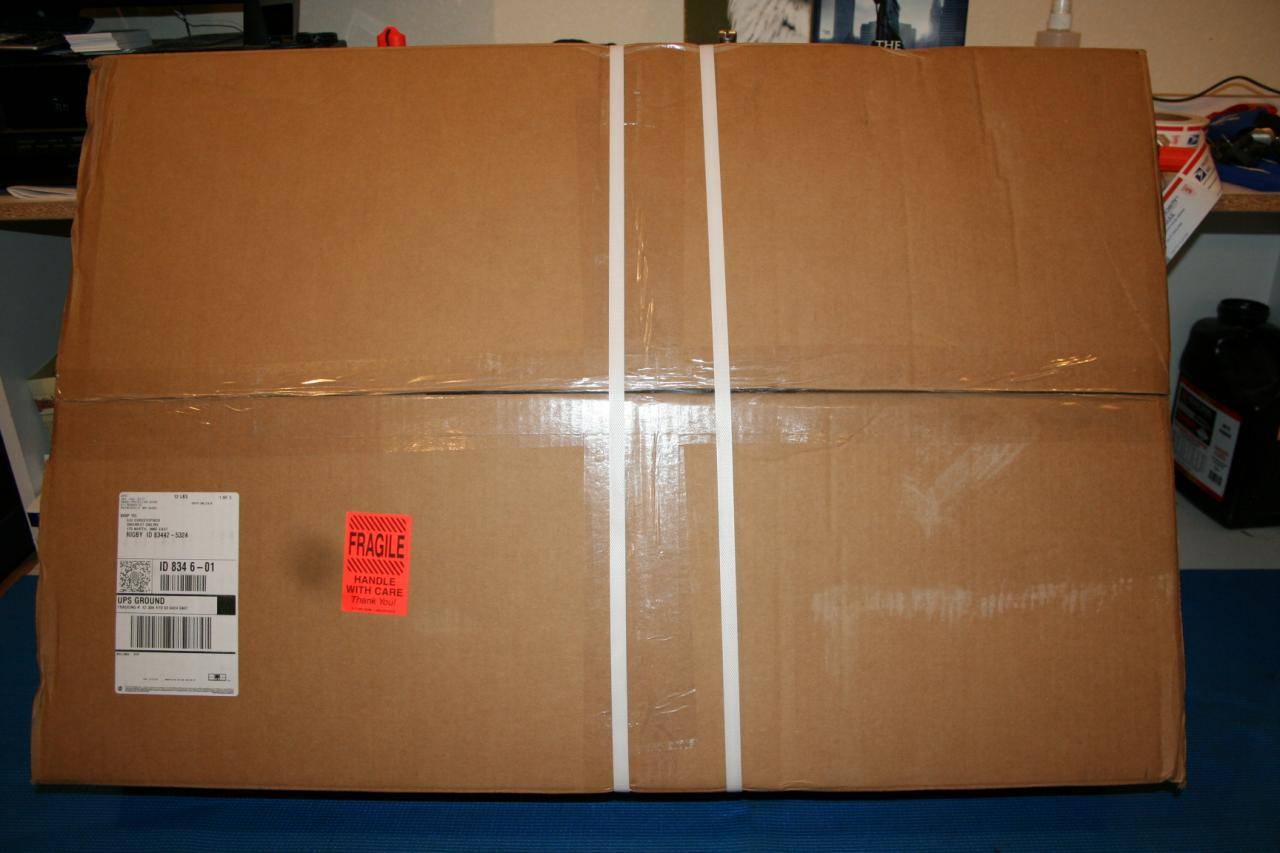
Some may ask why I bother with the photos of the shipping material. Having been in custom manufacturing, HOW a specialty product is packed and shipped to the customer says ALOT about the overall quality of the product itself.
Skinz packaging and shipping was FIRST RATE!
Everything arrived INTACT without any scratches or abrasions, extremely well wrapped and boxed.
The overall quality of the finished product "Appears" to be excellent!
The beauty of their aluminum welds speaks volumes all by itself.
As summer rolls along and I get this installed, I will add more to this post.
The Box
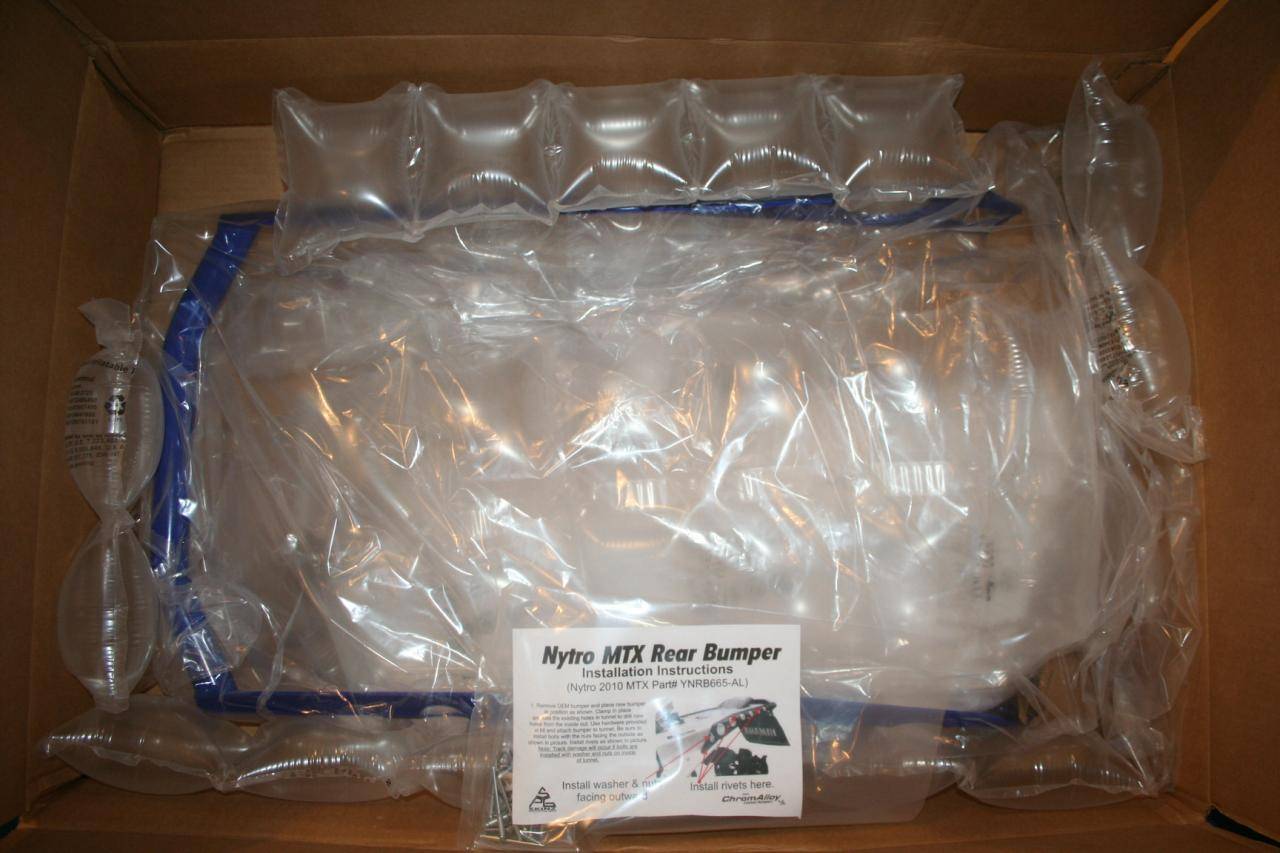
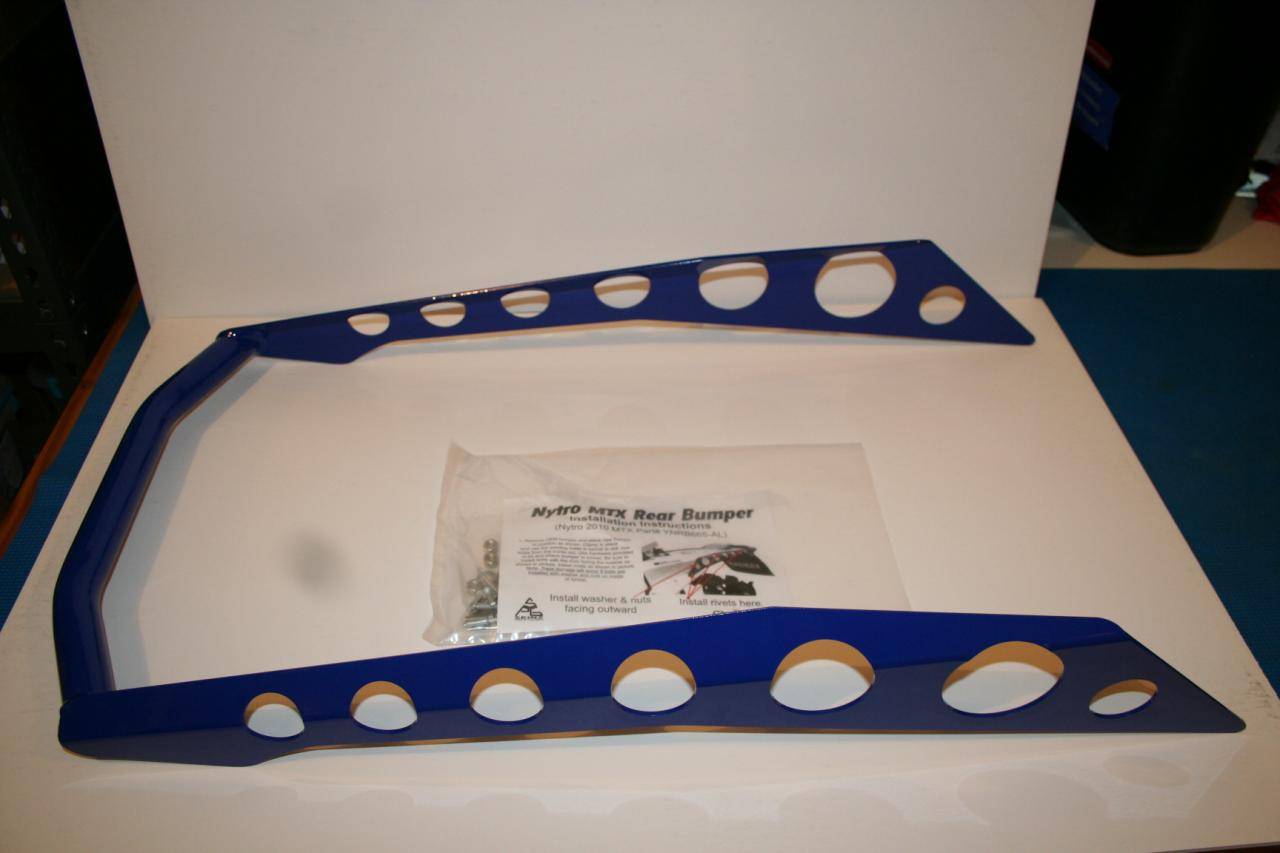
The contents
(note my under the tunnel exhaust came packed with my new rear bumper, and the muffler was TOTALLY Isolated from the bumper)
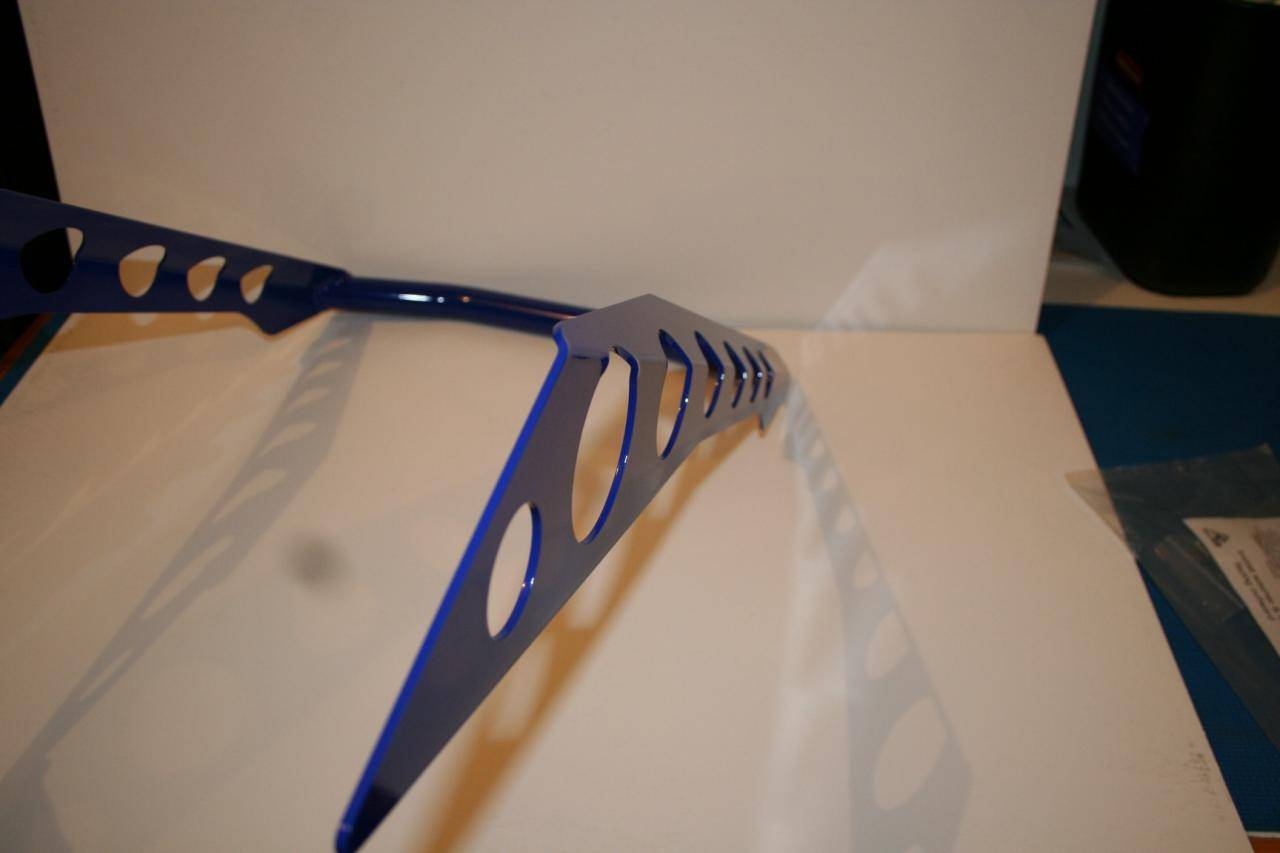
Rear Bumper showing the edge curve for tunnel
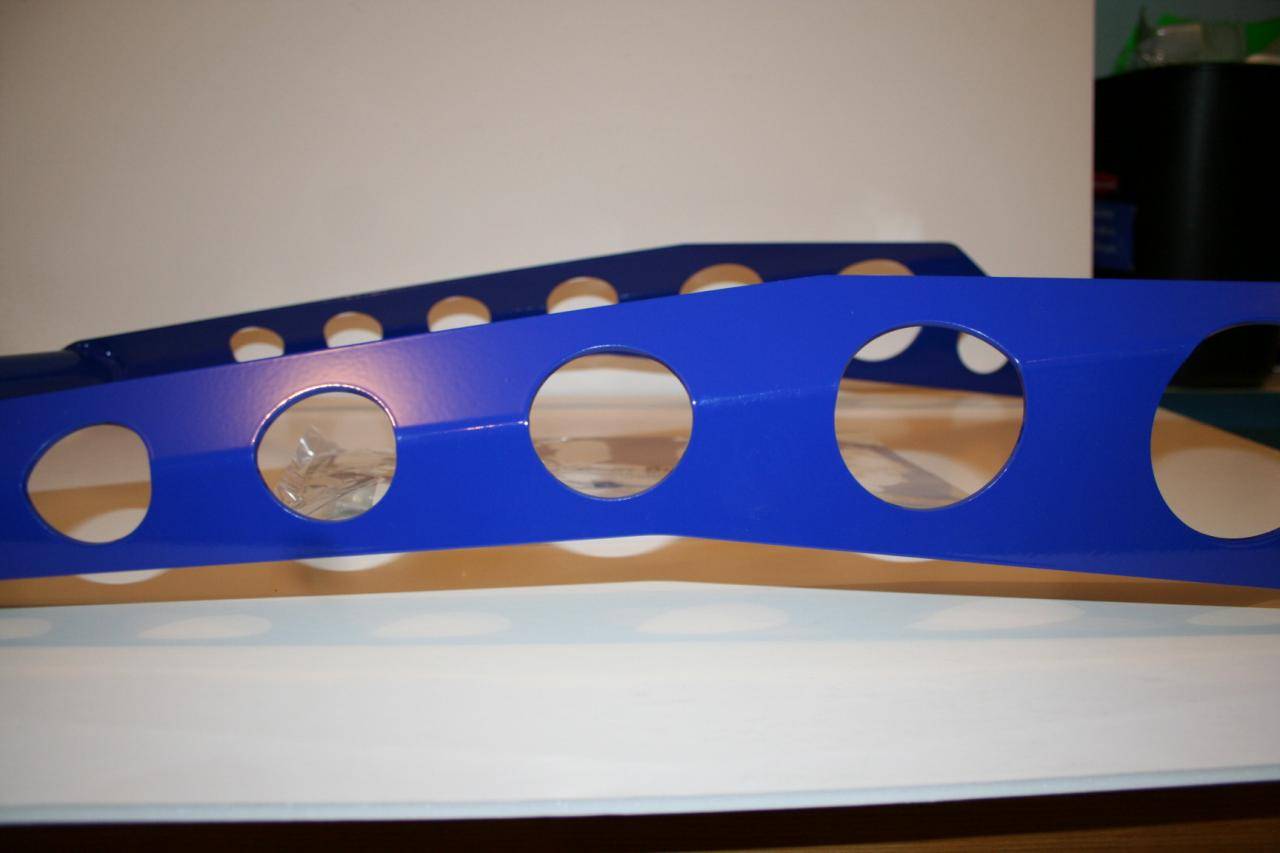
Sidewall showing curve
Sidewall showing curvature
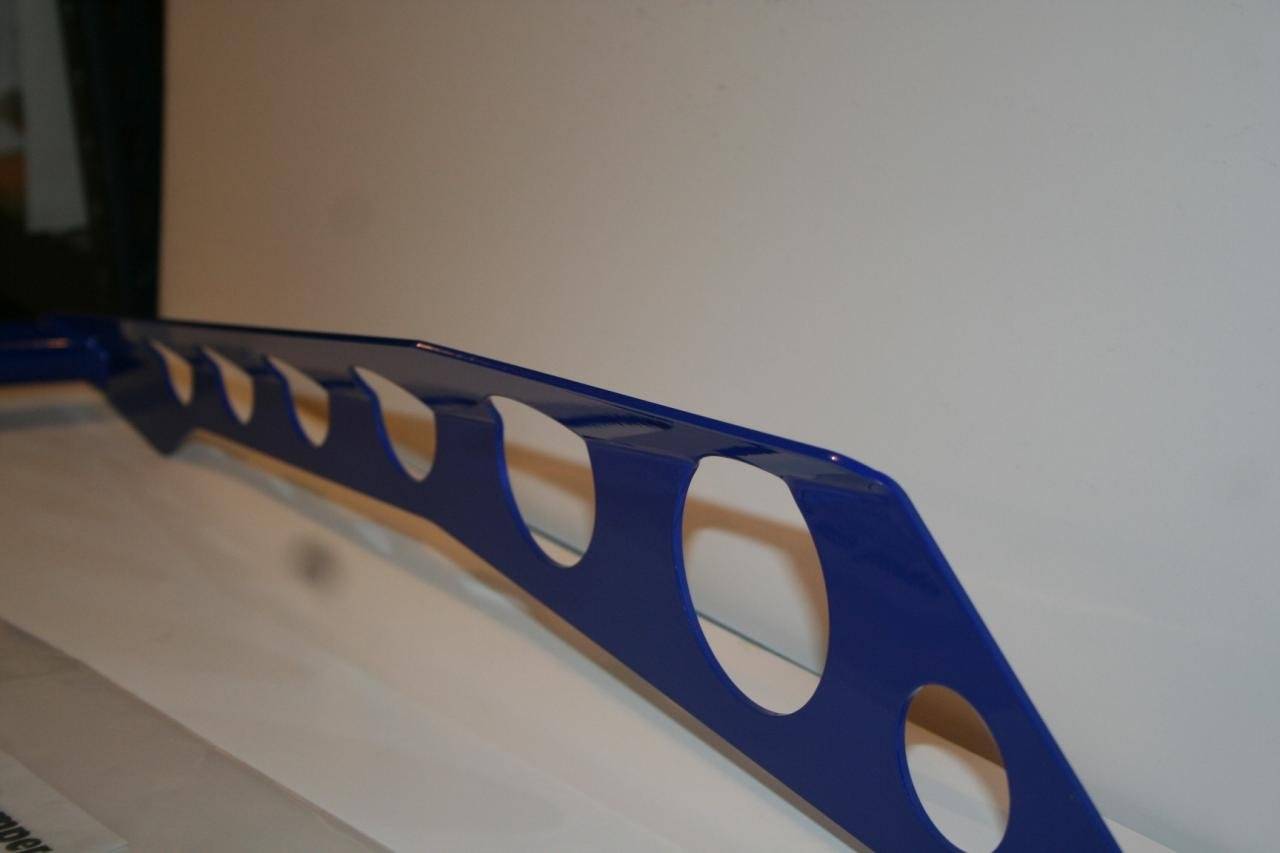
Vented Pattern Closeup
I requested this be powdercoated in Yamaha Blue as I thought it would add a nice touch to my Blue 2010 SE. Skinz was more than happy to accommodate this request and did a fabulous job on the powder-coating!
While I have not yet done the install, I wanted to let everyone know what was built and shipped to me.
Some may ask why I bother with the photos of the shipping material. Having been in custom manufacturing, HOW a specialty product is packed and shipped to the customer says ALOT about the overall quality of the product itself.
Skinz packaging and shipping was FIRST RATE!
Everything arrived INTACT without any scratches or abrasions, extremely well wrapped and boxed.
The overall quality of the finished product "Appears" to be excellent!
The beauty of their aluminum welds speaks volumes all by itself.
As summer rolls along and I get this installed, I will add more to this post.
The Box
The contents
(note my under the tunnel exhaust came packed with my new rear bumper, and the muffler was TOTALLY Isolated from the bumper)
Rear Bumper showing the edge curve for tunnel
Sidewall showing curve
Sidewall showing curvature
Vented Pattern Closeup