Install the app
How to install the app on iOS

Follow along with the video below to see how to install our site as a web app on your home screen.

Note: This feature may not be available in some browsers.

  • Don't miss out on all the fun! Register on our forums to post and have added features! Membership levels include a FREE membership tier.

Boondockers Turbo Dragon Install

T

theshadowrider

Well-known member
Help!


Okay so I am going to do a build thread of my install to show what it took to install. Until then I have a few questions. So far I have been impressed with the quality of bd.'s kit. I have run into a problem though. Trying to hook up the charge tube to the intercooler and it won't line up. I have a 2008 155 dragon and I guess on my sled it has the option of the extra heat exchanger. Boondockers told me that only a few 2008 dragon 155 have them. So, coming off the head there is a fitting in the way of the charge tube. This is the fitting that a line is hooked up to running to the heat exchanger on the front of the tunnel. From there it then runs to the over flow bottle. Boondockers told me that I need to bypass the cooler so the charge tube will work.

I think that some times people assume you know what they know. So, I found a thread from mountain horse talking about this. From what I can tell I will need to buy a new thermostat, head plug, and over flow. What I am thinking is I will put the plug in the head, and change the thermostat, and the overflow. Then I will just leave the cooler in and maybe next year when I change the track out I will remove the cooler? Do you think there will be any problems with this? I just don't want to remove everything that is needed to remove the heat exchanger, because it looks like I will have to have the track off to do so.

Is it nesscary to change the thermostat when getting rid of the heat exchanger? (I did notice there are two part numbers for two different thermostats, one with the exchanger and one without) Thanks for your help!
 
Last edited:
if your going to do the front cooler removal here is a write up from when i did mine last year

okay here's the pics of the cooler removal and install of the uhmw block off plate. to do this you will need polaris part numbers
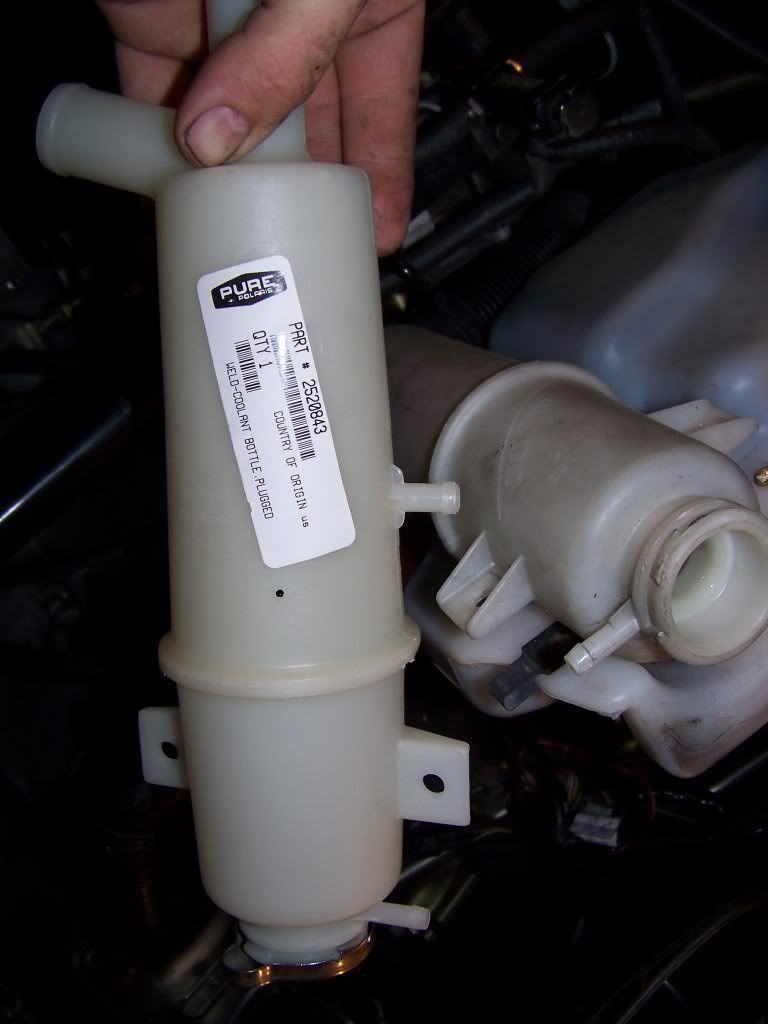
7052413,2520842, and 7052412. The 2520842 is the dragon coolant bottle which is not needed but gives a much cleaner look, however you can just put a slug in the hose to block it off and use the current coolant bottle. the other two part numbers are the dragon thermostat that has the proper bypass, and the pipe plug to go in the engine head.
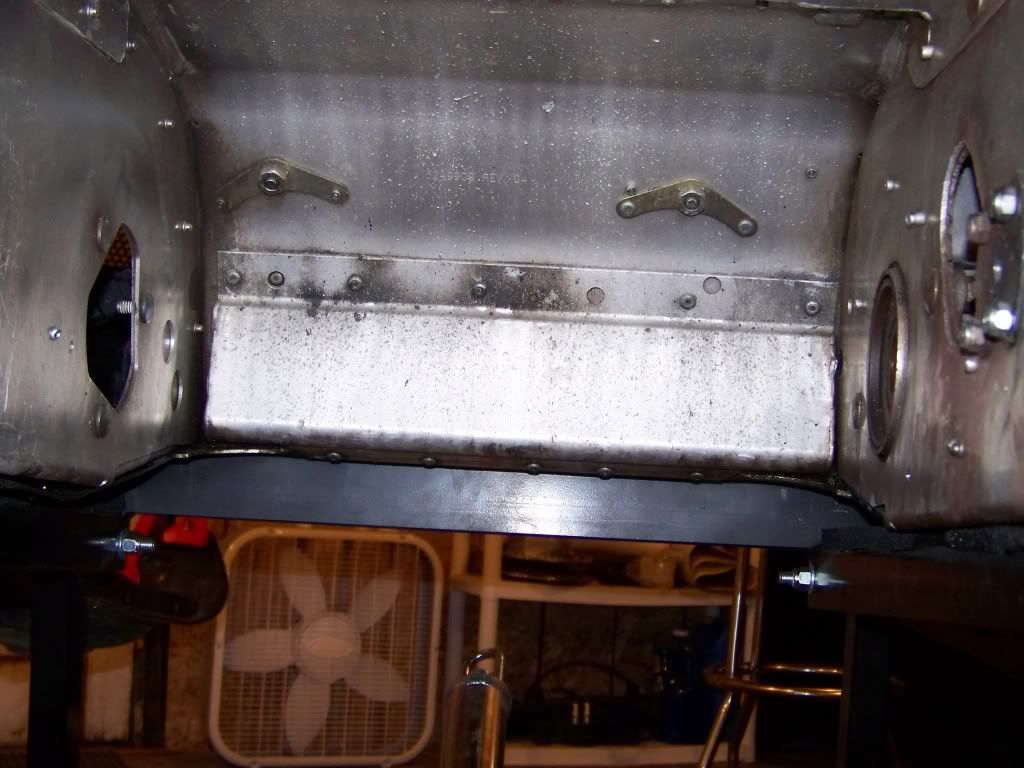
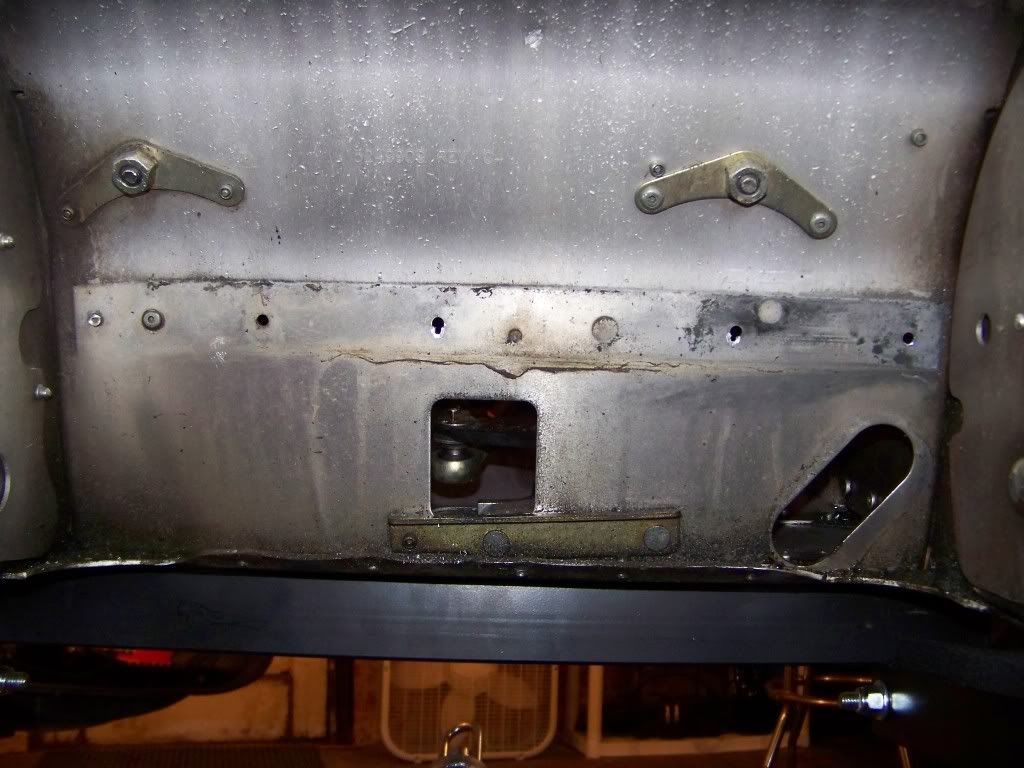
here is the cooler in the front of the tunnel

you must drill out the 10 or so rivets and the cooler will come right free

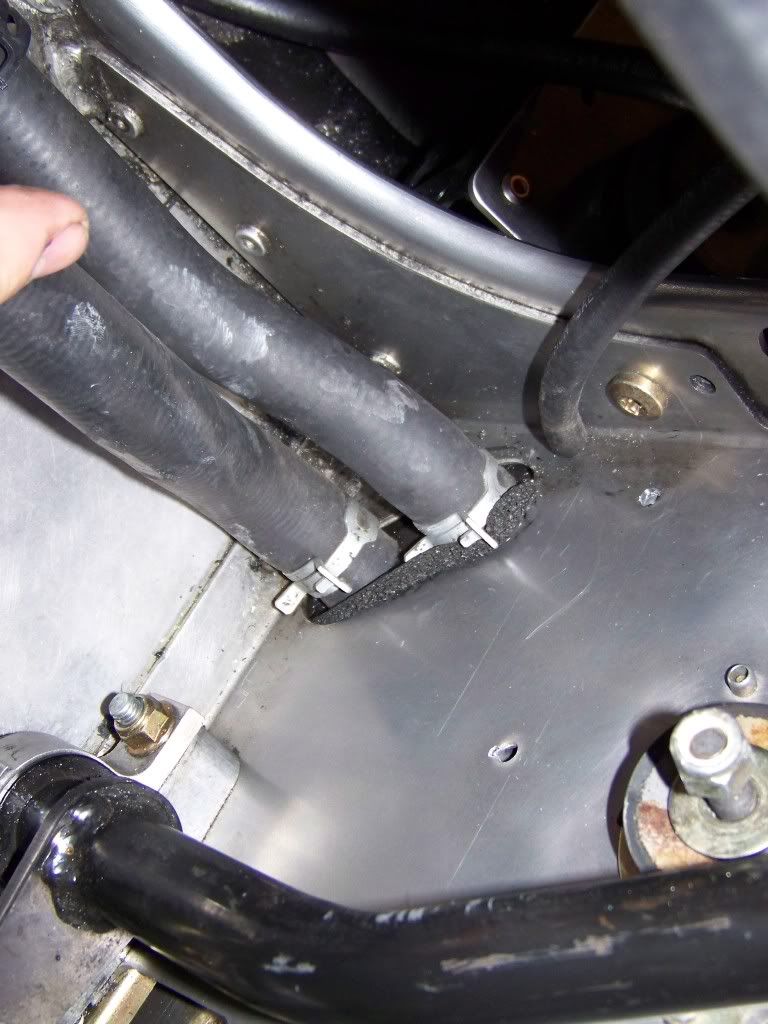
once you have the rivets out you then go to the inside and take off the two hoses to the cooler ( you can do this before you drill the rivets as well)


then the cooler should be free to come off the sled

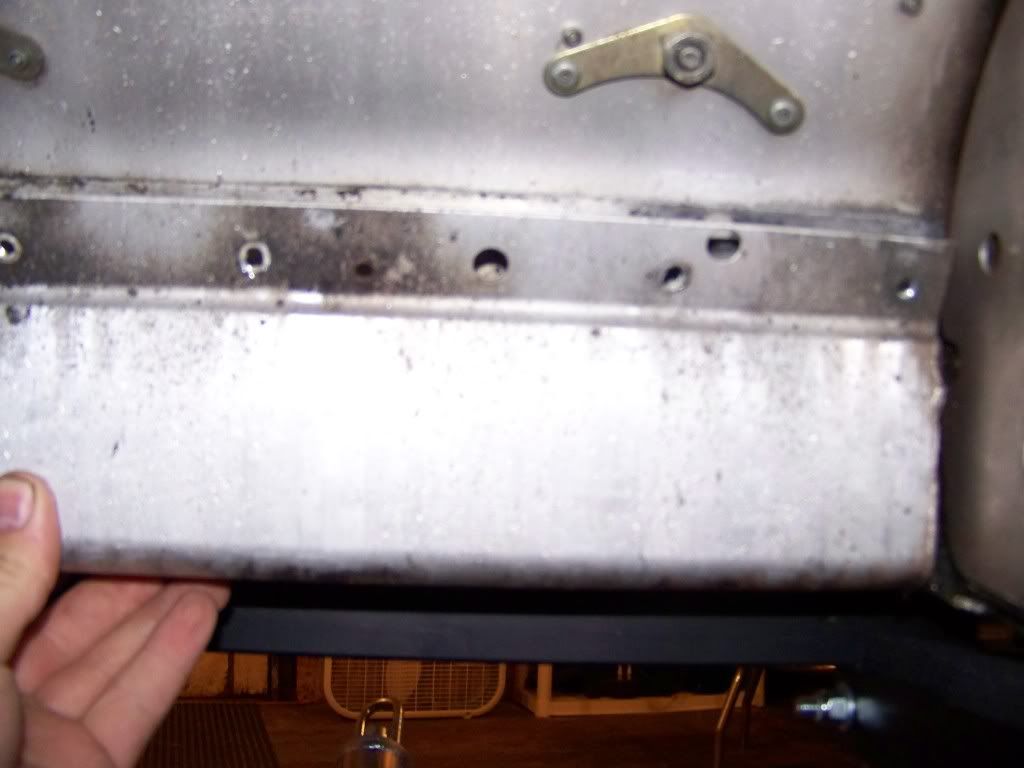
sorry for not getting a better picture of this step but you will also need to get a hammer and pound that tab that held the lower rivets of the cooler on up so it runs parallel with the bulkhead, this will give you a great mounting surface for the uhmw
 
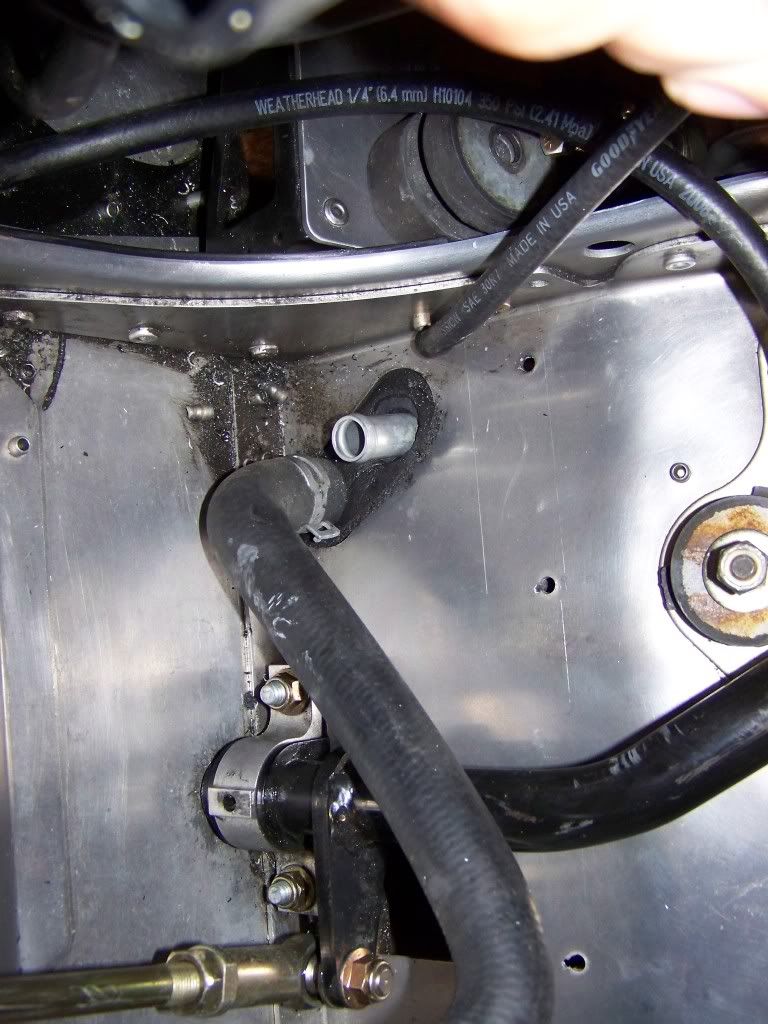
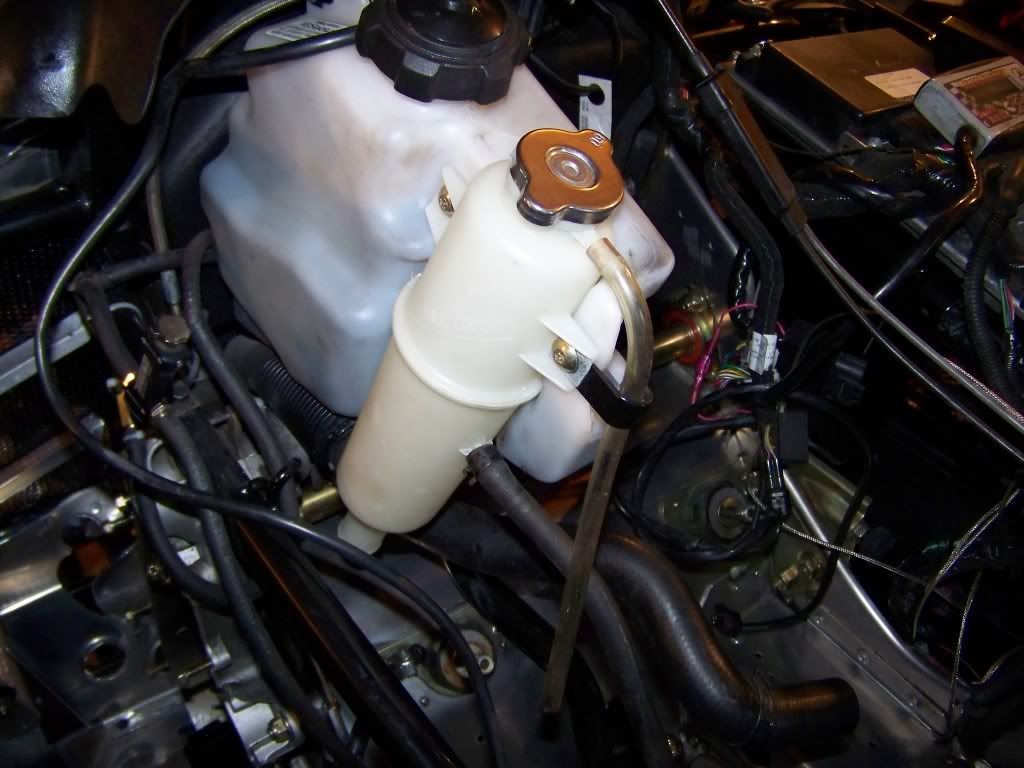
]at this point you can clean up the bulk head and then install the new coolant bottle (or slug in the hose if you choose to use your stock bottle)


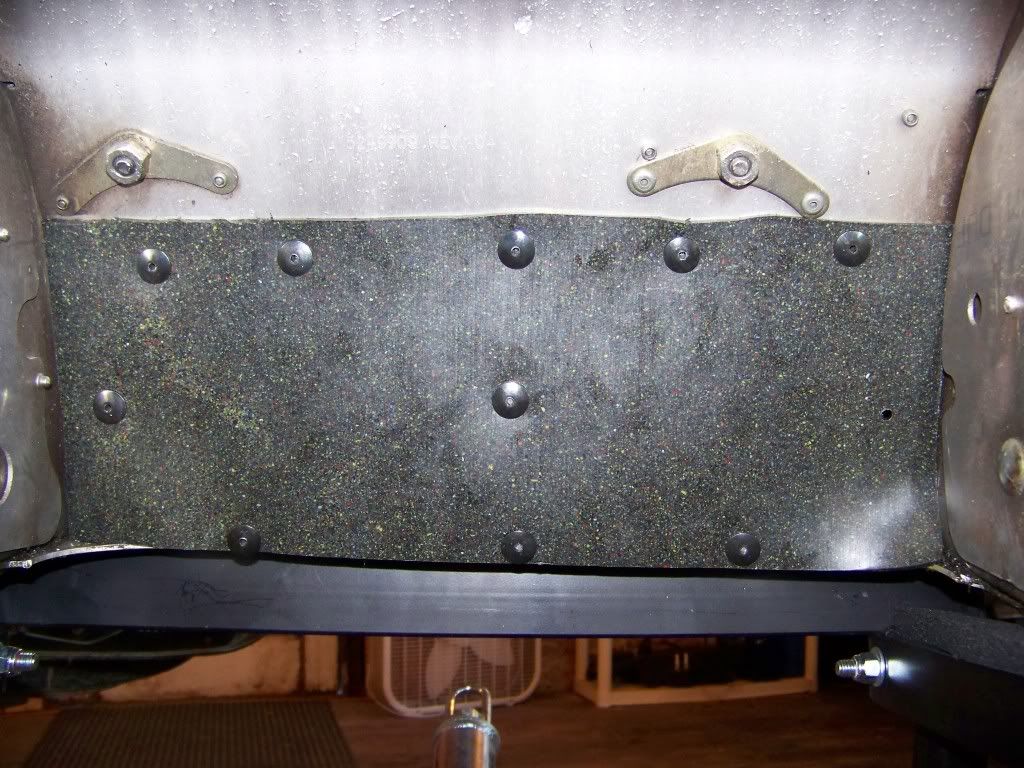
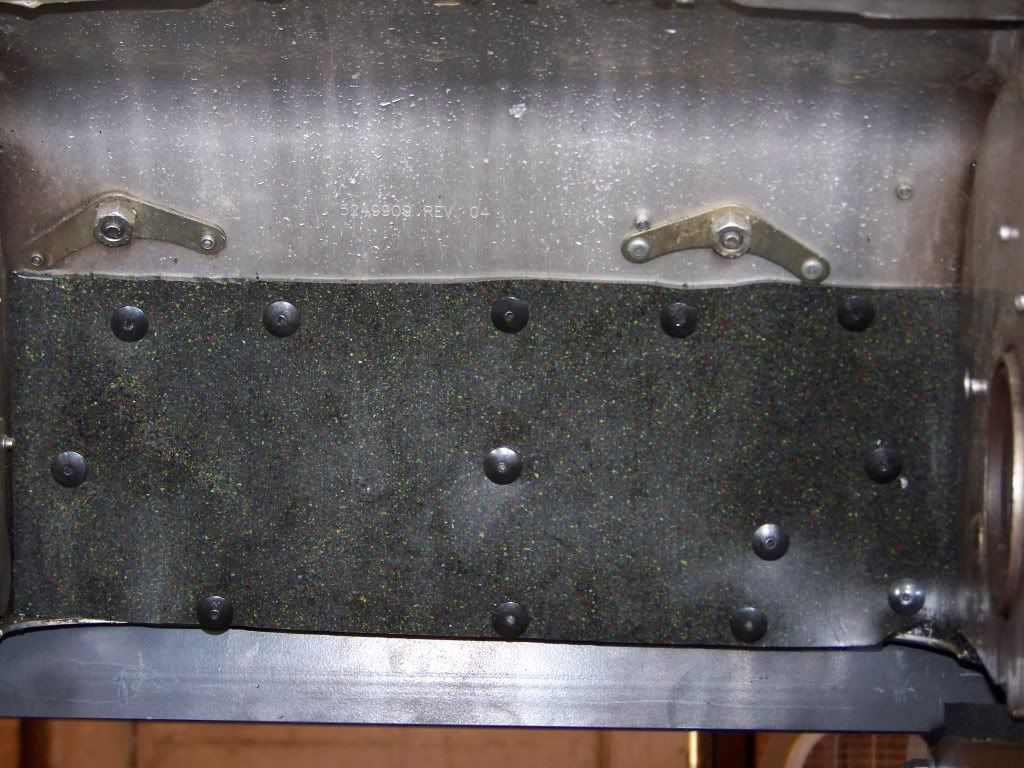
then cut a peice of uhmw the width of the tunnel and the height from the motor mount plates to the exit of the tunnel and rivit it on (probably should use coated rivets, less likely to build up with ice or snow)

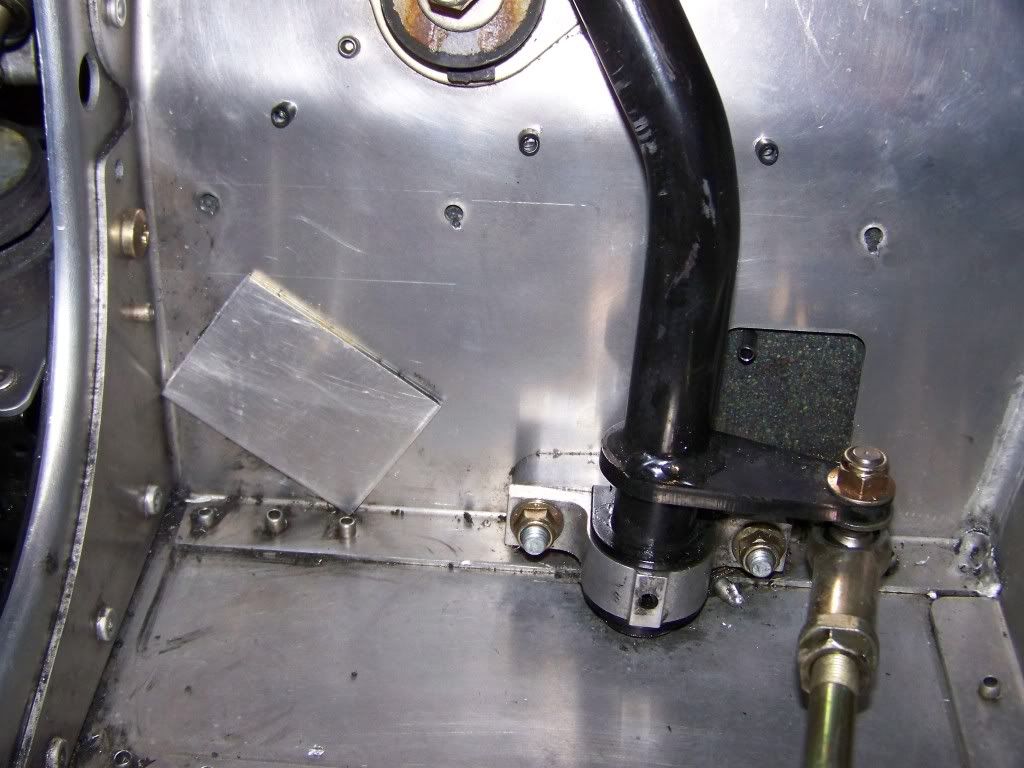
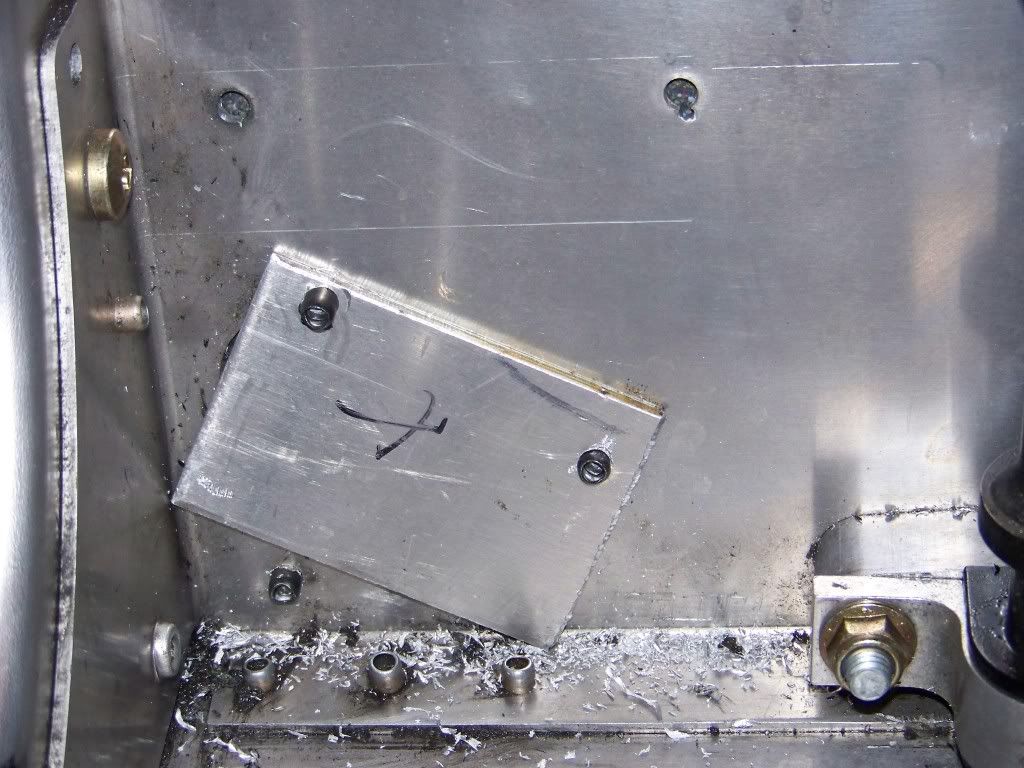
now you can cut a 3.25" plate of aluminum for a block off plate on the inside of the bulkhead where the cooler lines came through before

 
i used a few rivets and some aluminum adhesive to hold this plate on

once this plate is installed you can then go back under neath and trim the bottom of the uhmw to fit properly.. i had to trim a little of the lower right corner to get it to fit up insed the tunnel snug. i then added some extra rivets just for re-assurance.

and your done! well you still have to put the plug in the motor and install the new thermostat but i dont have my motor back yet so i dont have any pics of those steps.
by using the uhmw plastic though you create a super slick surface in the front of the tunnel and should gain aruond .15" more clearance.
 
if you have the clearance the uhmw sheet should go all the way to the top where the cooler is... i didnt feel like i had the room so i didnt do it, but now i have the FTX D&R and have tons of room!
 
You should not have any problems leaving the cooler in untill you are ready to remove the track and engine. With that being said the clearance you gain from removing the cooler is worth the extra effort.
 
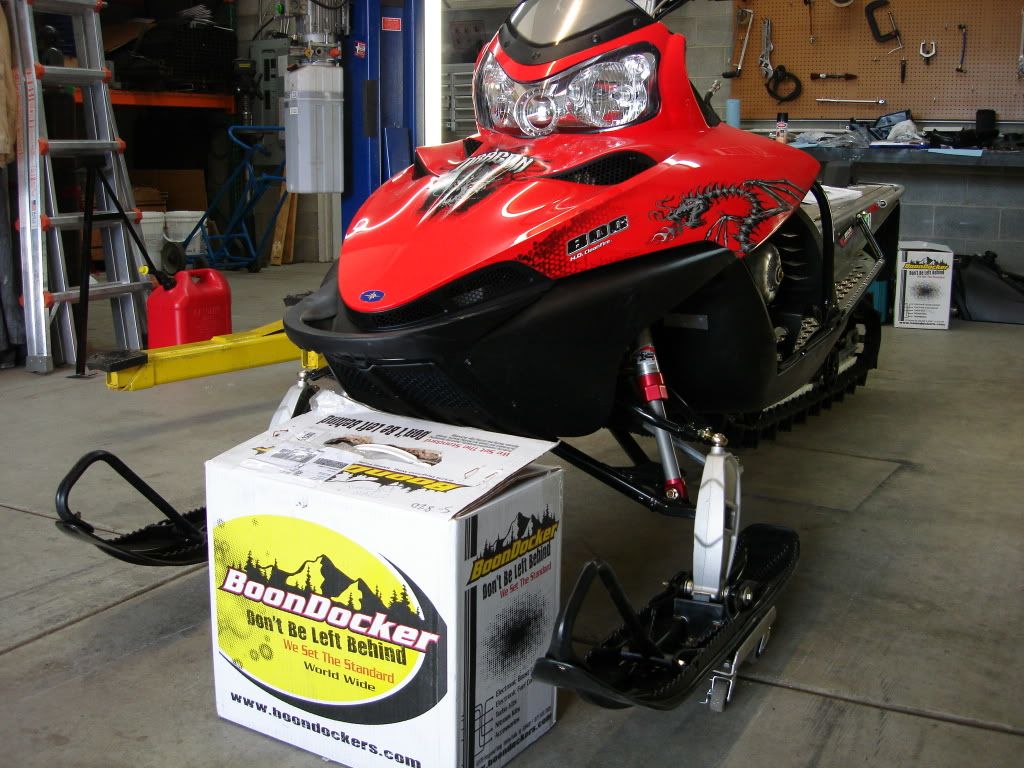
Yea my boondockers kit showed up! I got if from Justin from Code Red. The Legend is true about him. Awesome guy who works hard at what he does!! And good pricing. Thanks Justin! Okay here are the photos of my install. First off this has been fun and I have learned lots in doing it. I work on it when I can so it has been taking my awhile.

DSC01777.jpg


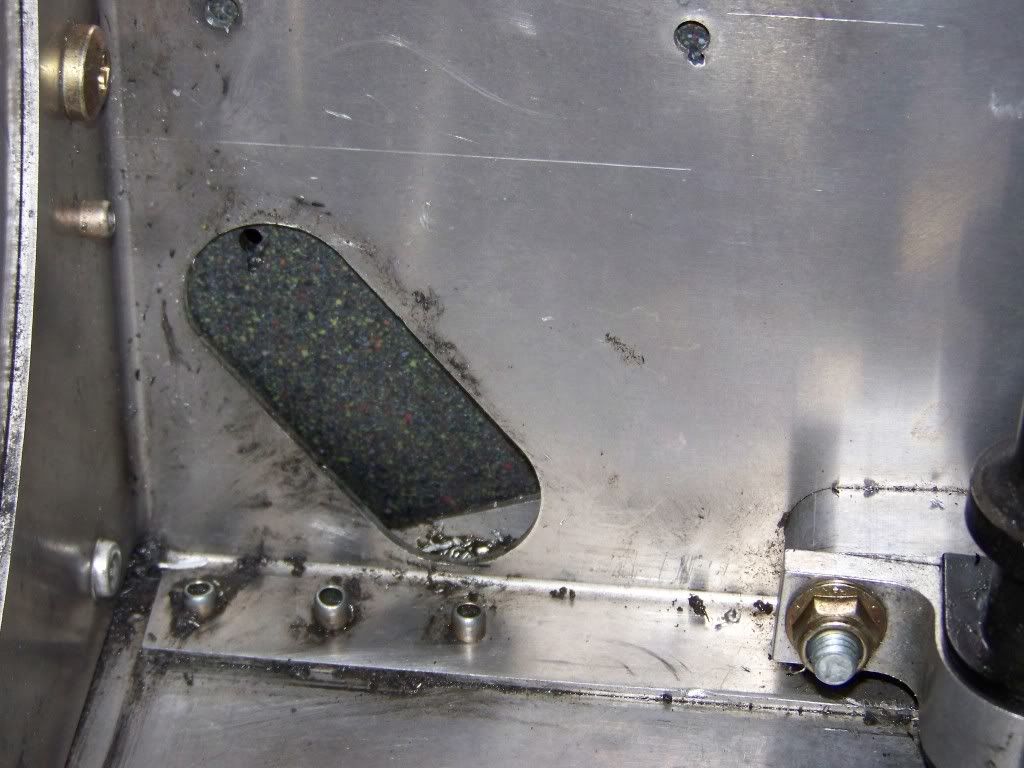
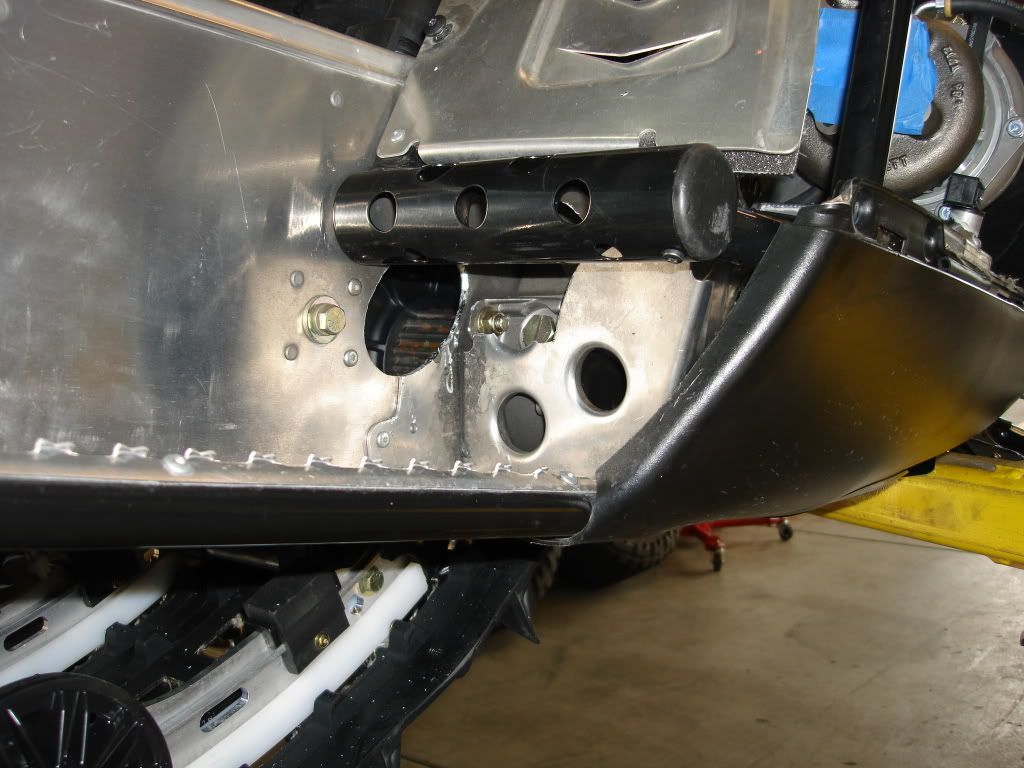
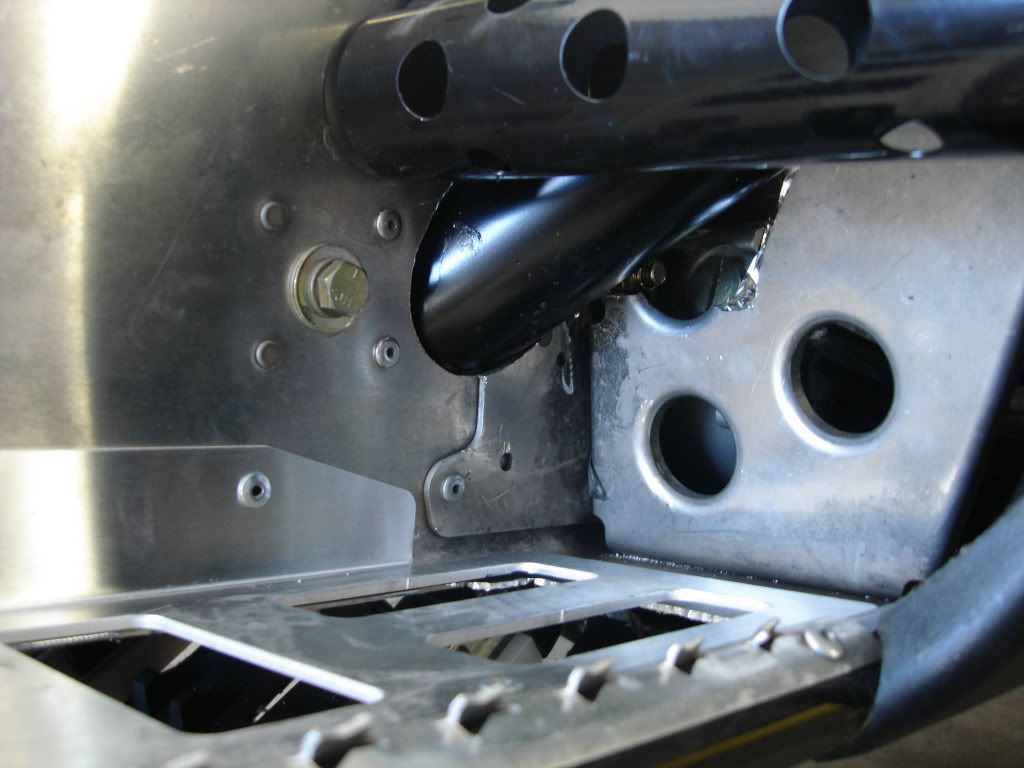
Got the tunnel dump hole cut using a hole saw and a die grinder. Kind of took awhile.....Yes it skipped off once as you can see.
DSC01790.jpg


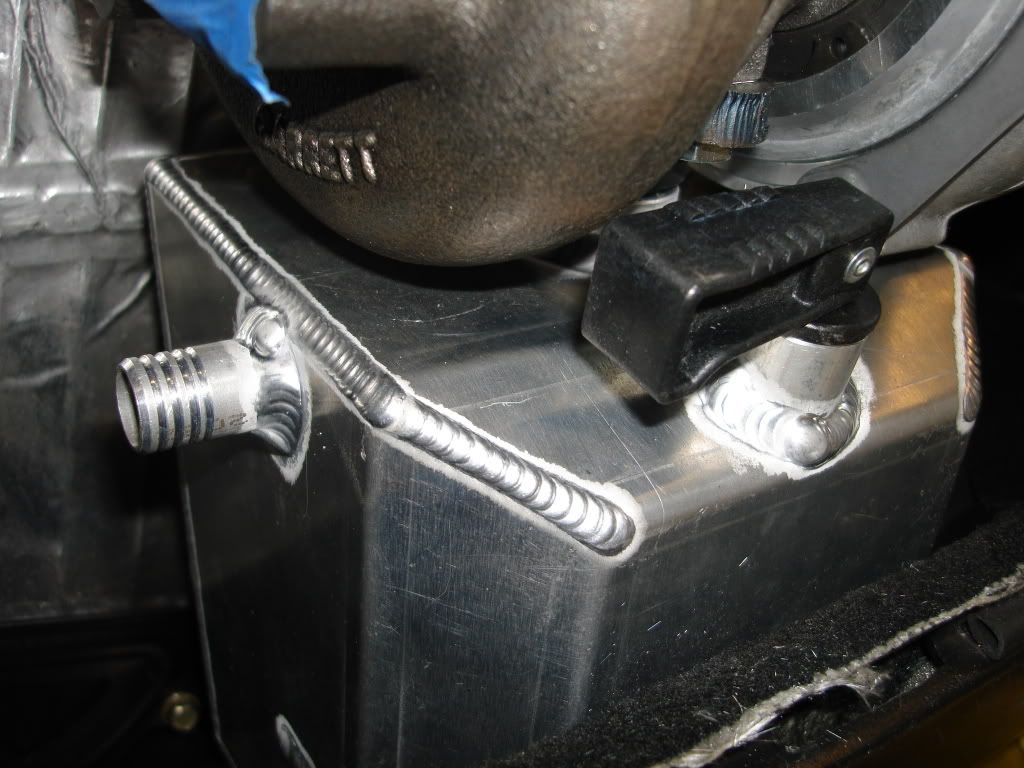
Craftsmanship is excellent. I was not disappointed especially for the price you pay for these kits.
DSC01789.jpg


DSC01787.jpg

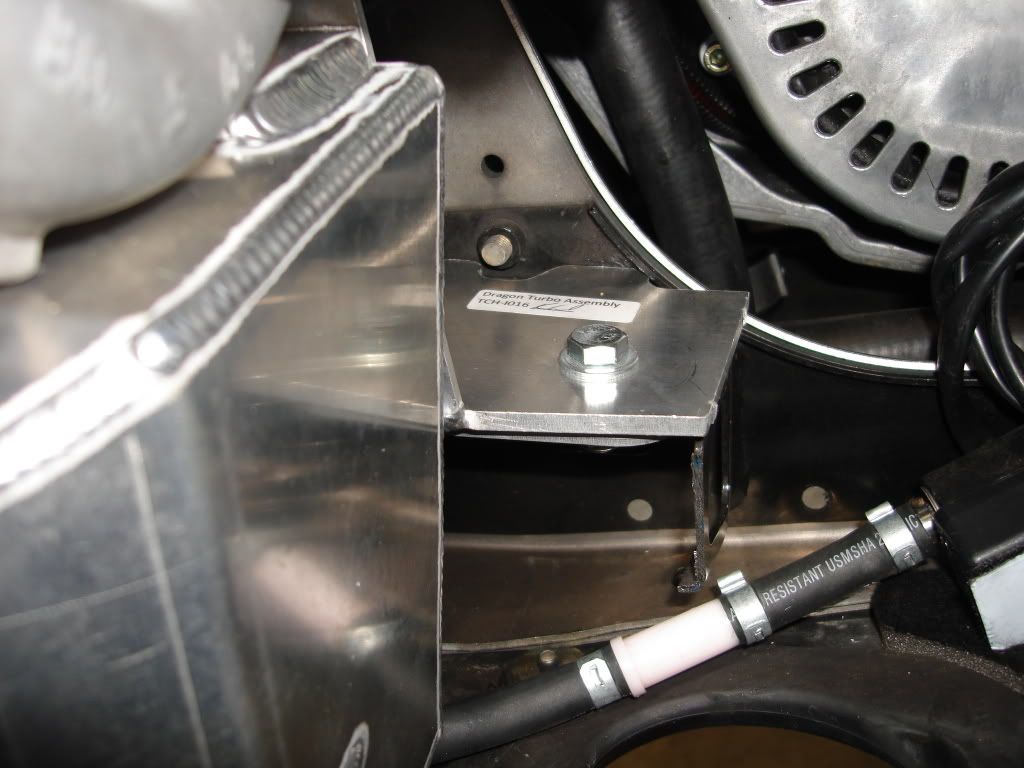
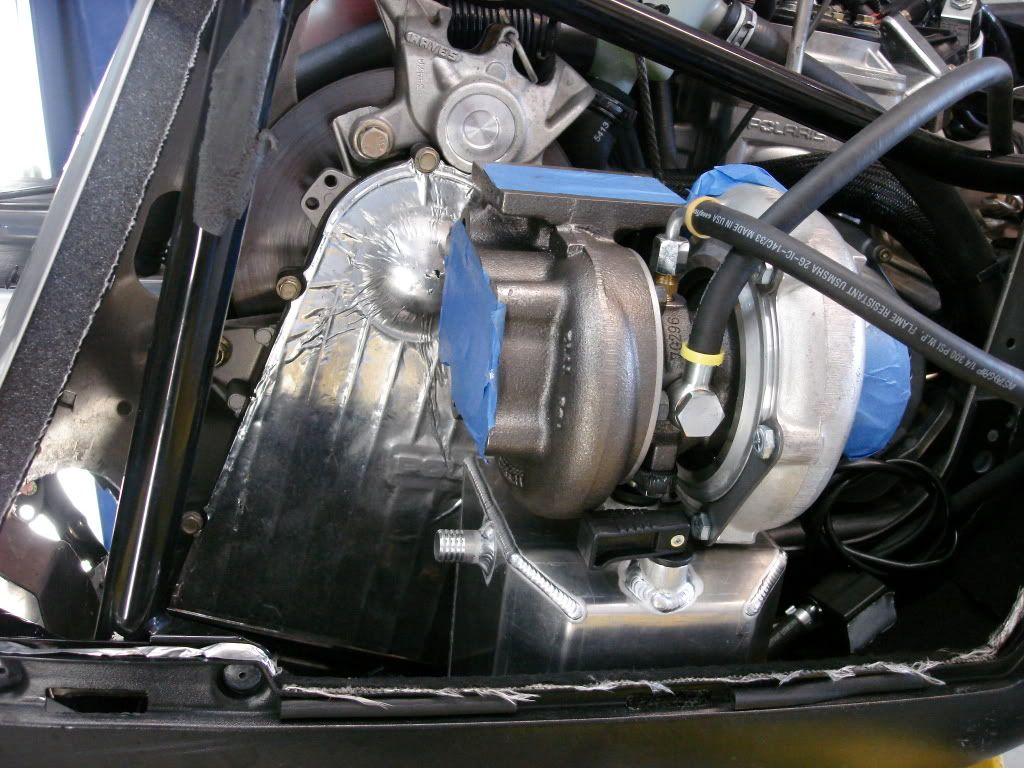
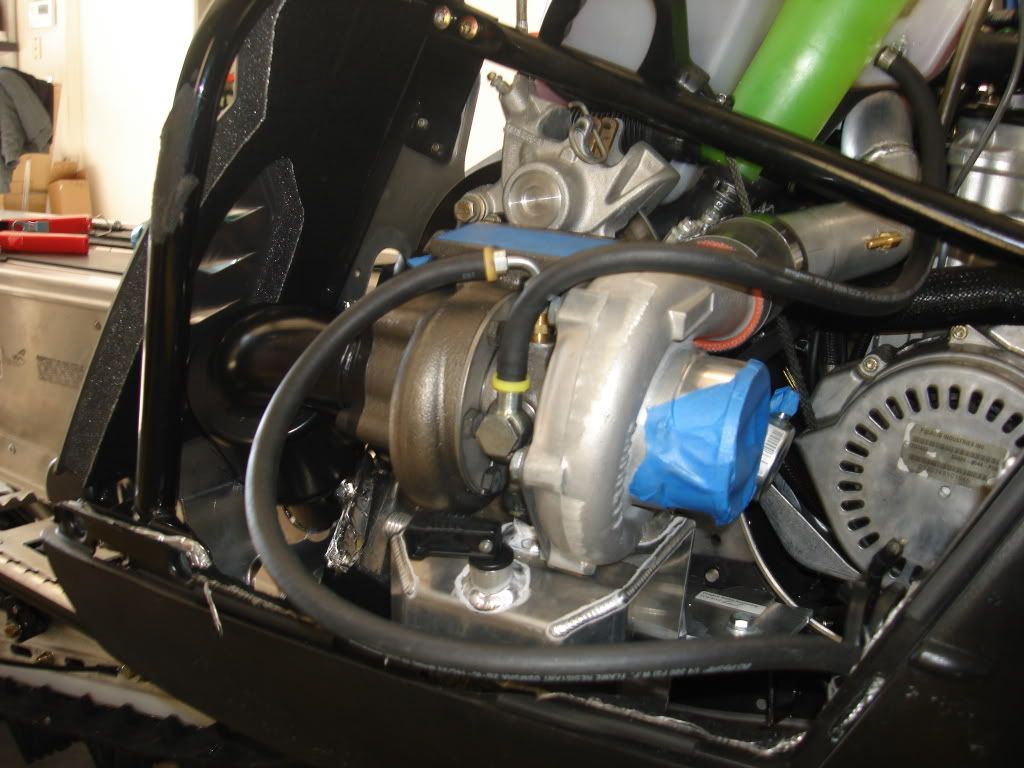
Here you see the turbo is installed and covered to keep f.o.d. from getting in the turbo.
DSC01791.jpg

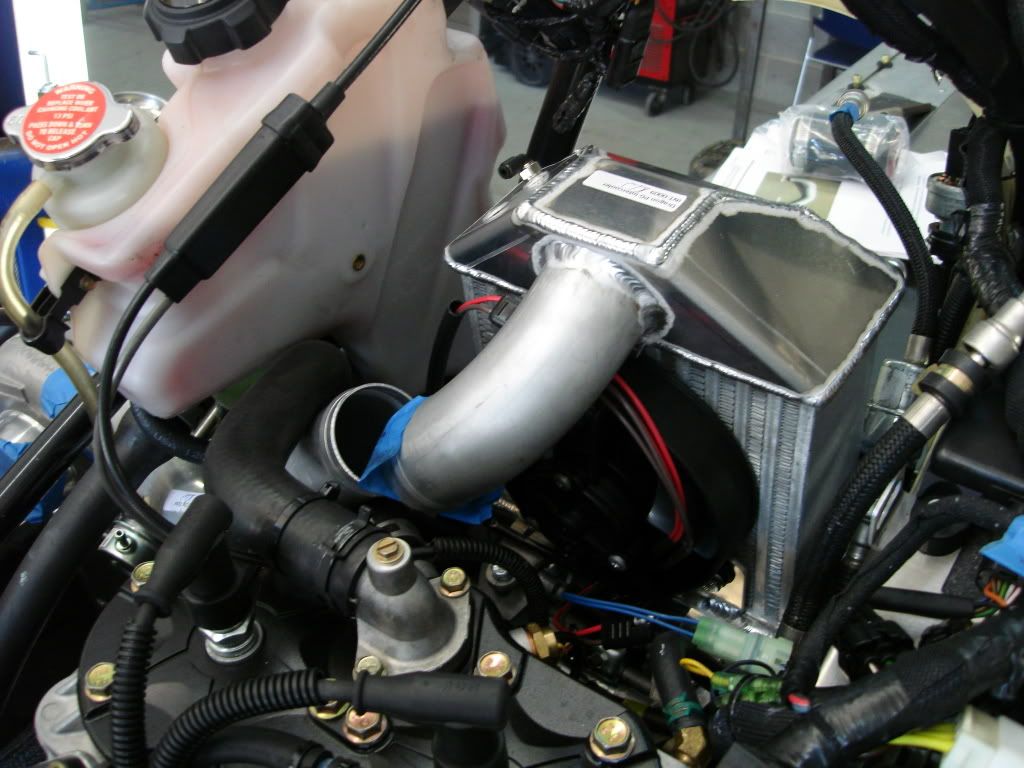
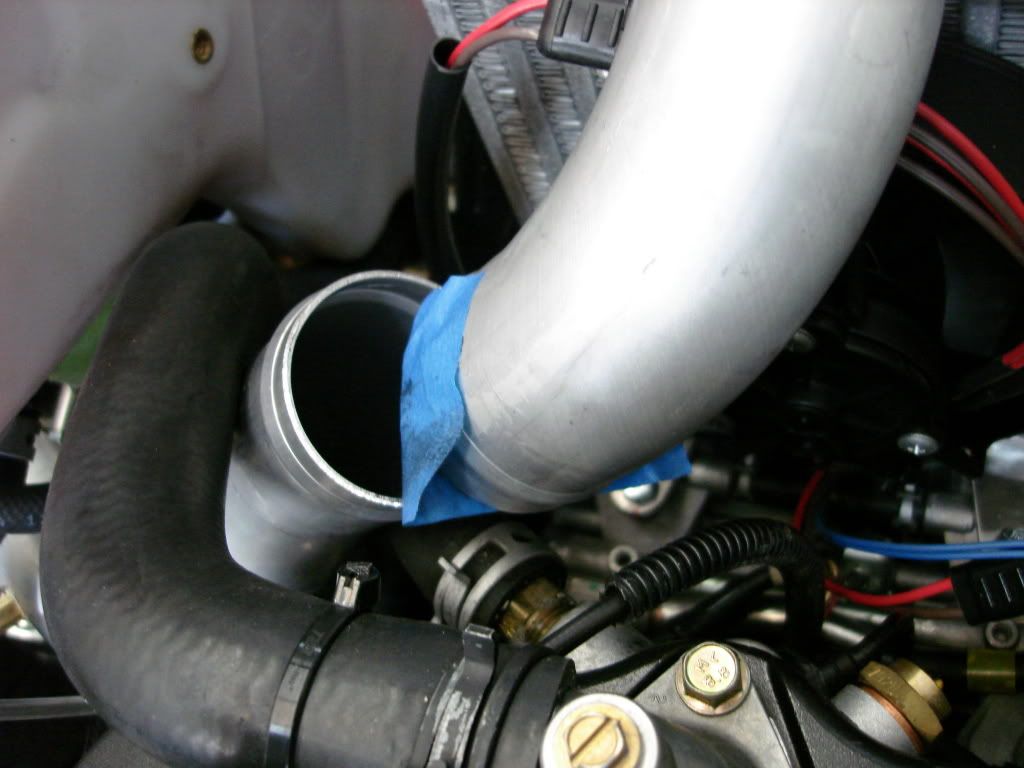
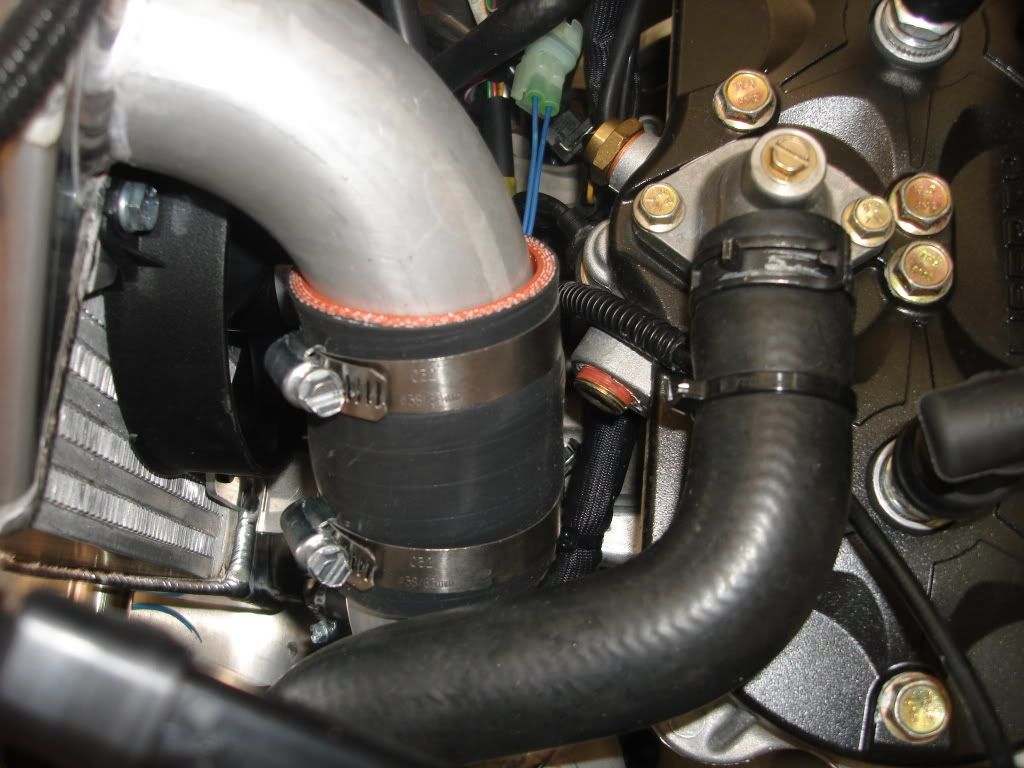
Can't get the charge tube to line up because of the coolant line for my cooler.
DSC01794.jpg

DSC01795.jpg


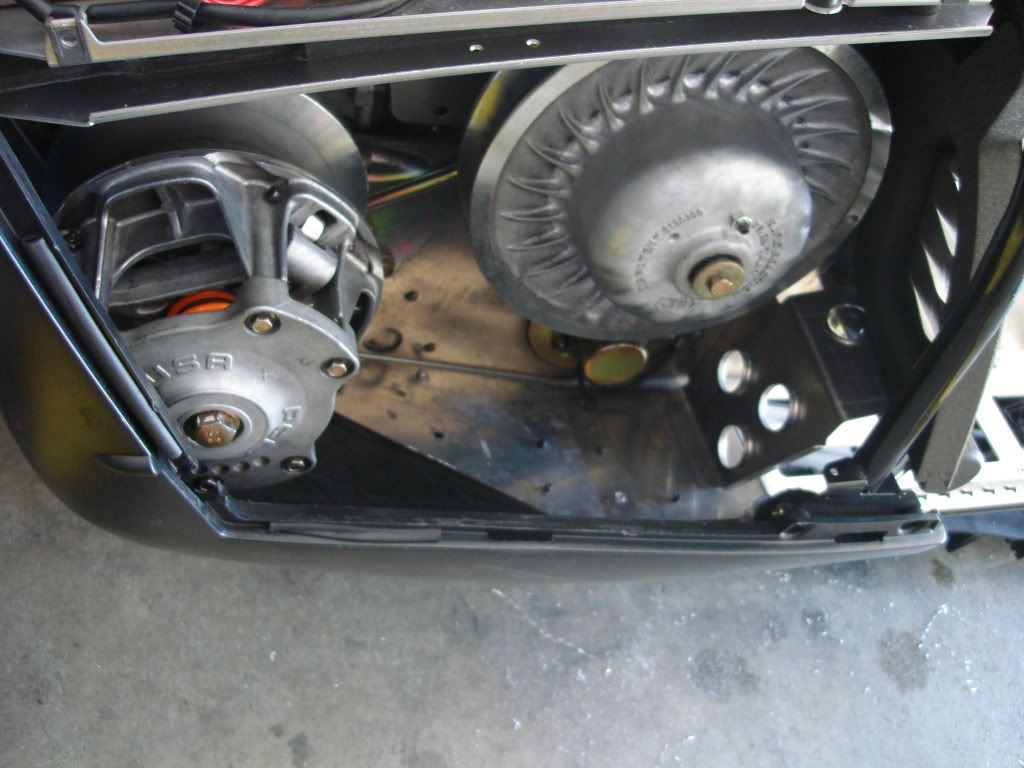
So I needed to order a new coolant bottle, head plug, and thermostat off the 163 in order to get rid of the front cooler on my 155. I am going to leave the cooler in until next year then I think I will remove it when I install a new track. So while I was waiting for parts I decided to install the clutch kit. I ruined the first puller and I think the second puller maybe shot also. Finally got the stupid clutch off. I thought I may have damaged my crank, but I checked the run-out and its like .0005 or less than .001.

DSC01887.jpg

DSC01888.jpg

Clutch is back installed, glad that portion of the install is over!
DSC01895.jpg

Parts showed up and got the new coolant bottle installed and coolant lines ran.
DSC01891.jpg

Charge tube is run now and clears head after the plug and thermostat is installed
DSC01892.jpg

Have been waiting for the EBC and EGTs to come so I got my shock vent installed
DSC01893.jpg

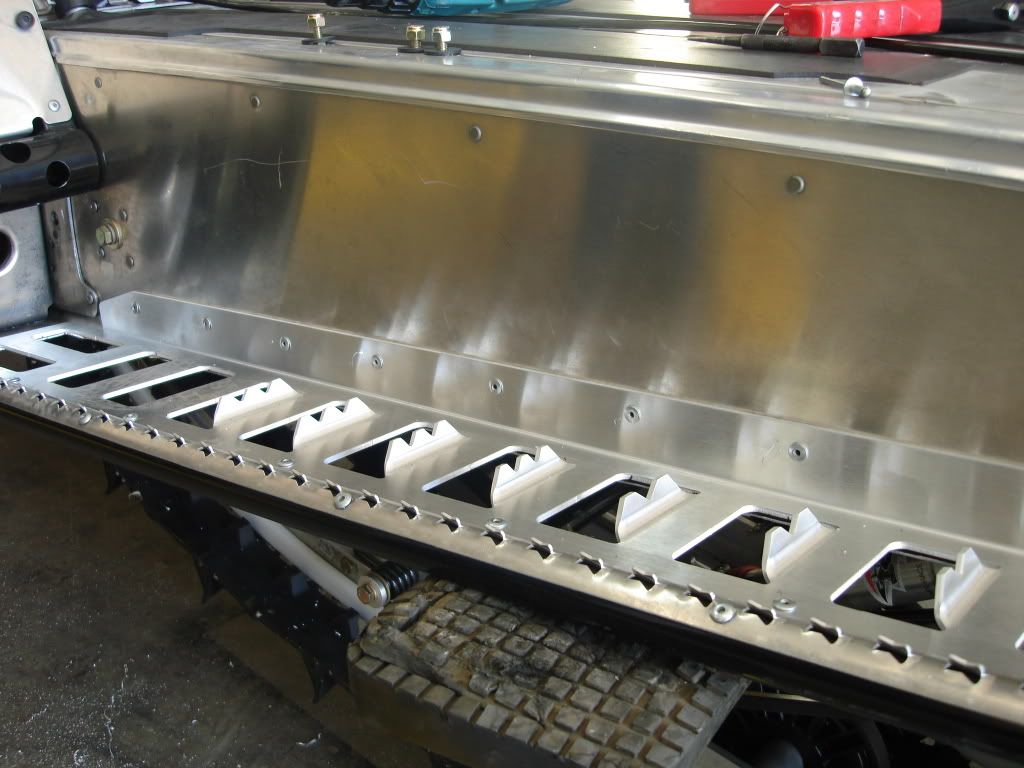
I decided to change out my running boards so I installed the Snow-Eliminators brand. I went with these because of the price and I also liked that they go up on the tunnel adding some strength to the tunnel.
DSC01889.jpg

DSC01890.jpg

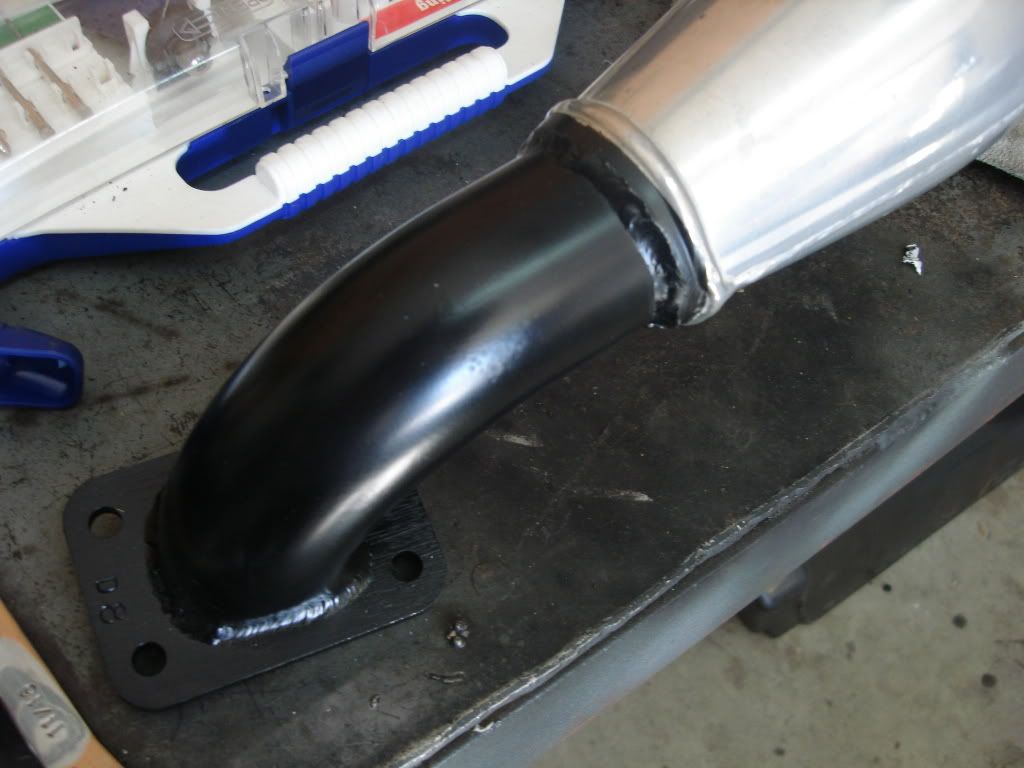
I got my pipe welded and painted
DSC01897.jpg

Muffler is installed
DSC01896.jpg

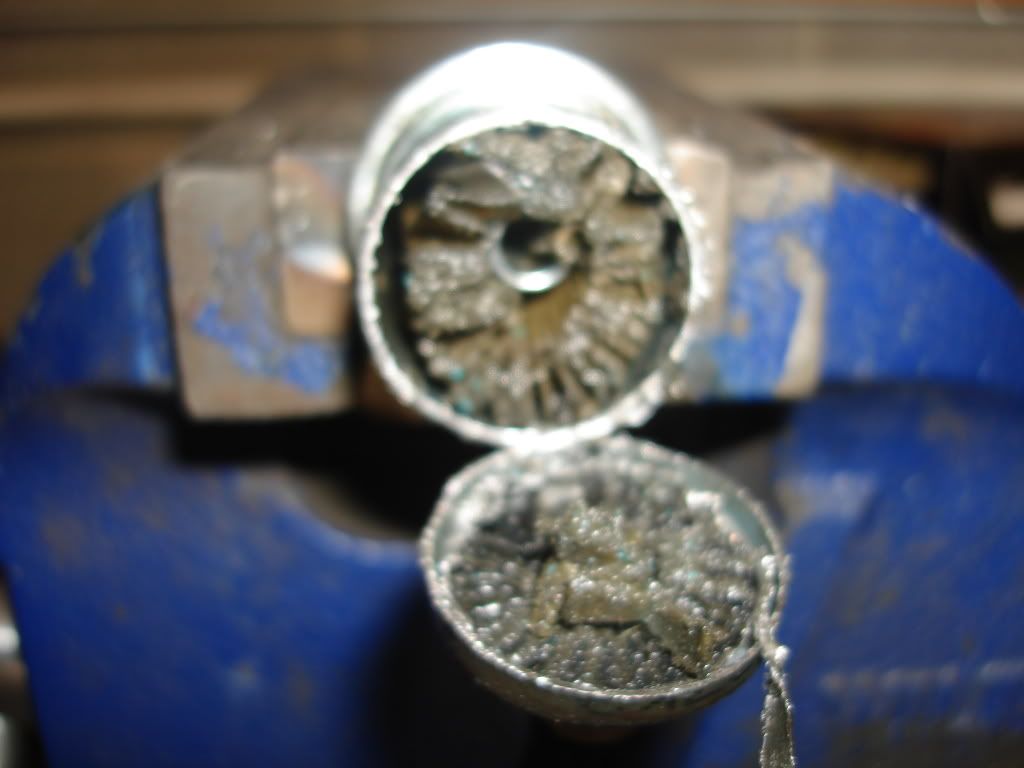
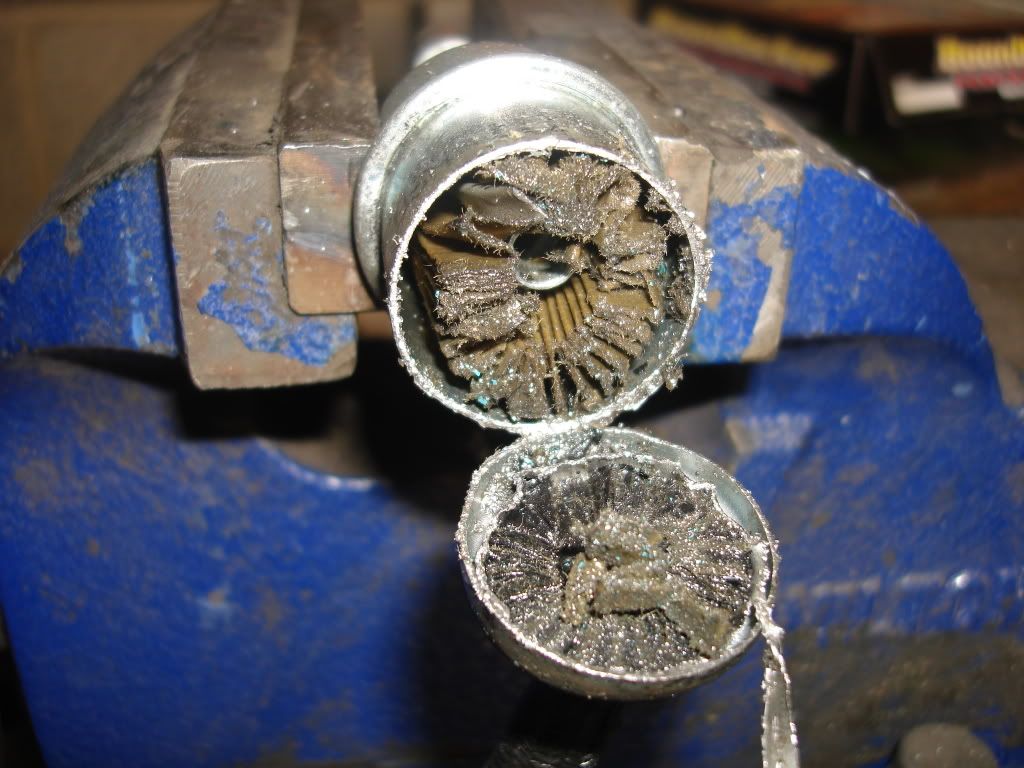
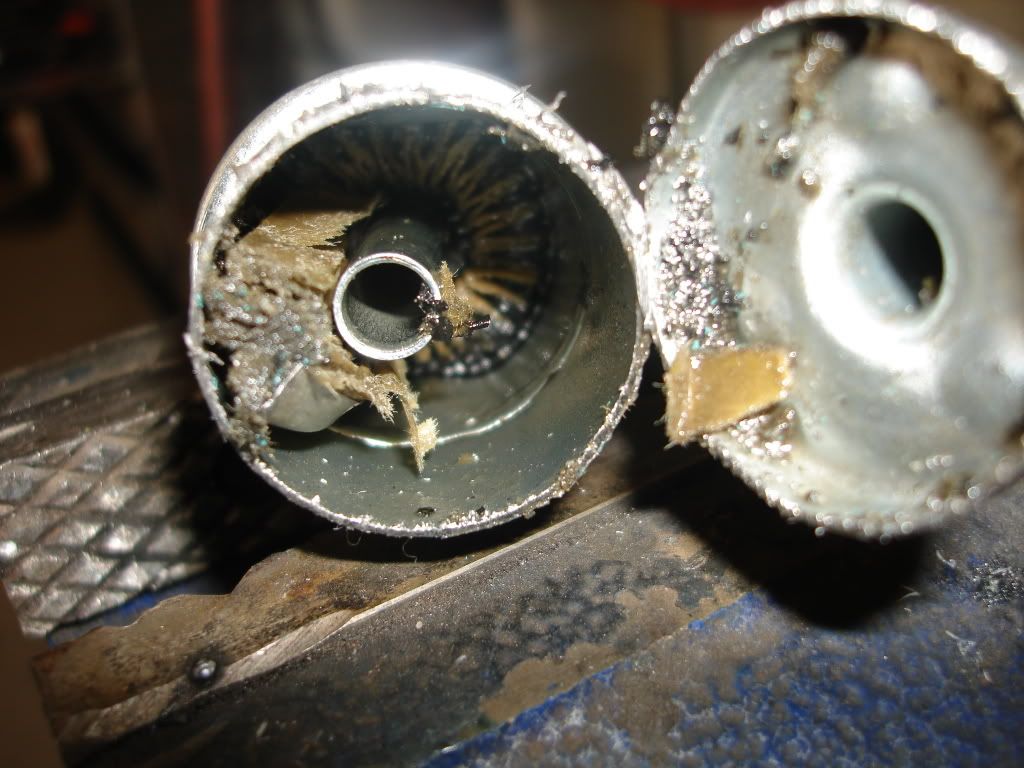
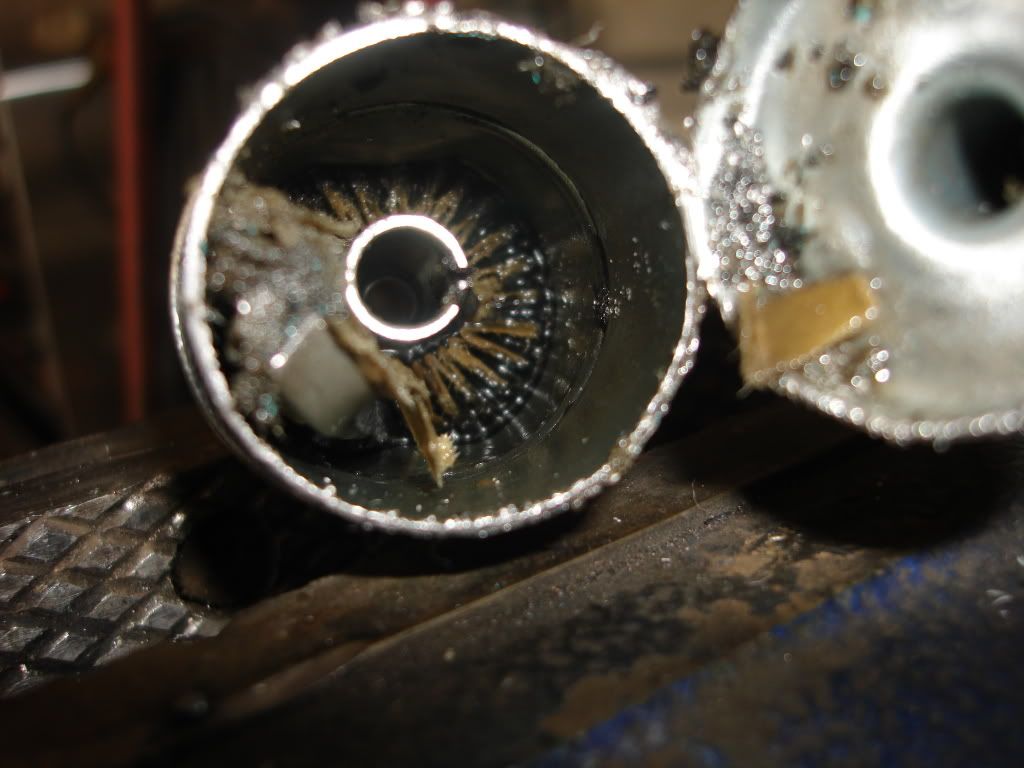
So I put on a new fuel filter as was recommend. I have 1000 miles on my sled, so I decided to cut my filter open and see what it looked like. Of course the metal shavings you see are from the hack saw, but still seems like quite a bit of crud in there!
DSC01898.jpg

DSC01899.jpg

DSC01900.jpg

DSC01901.jpg

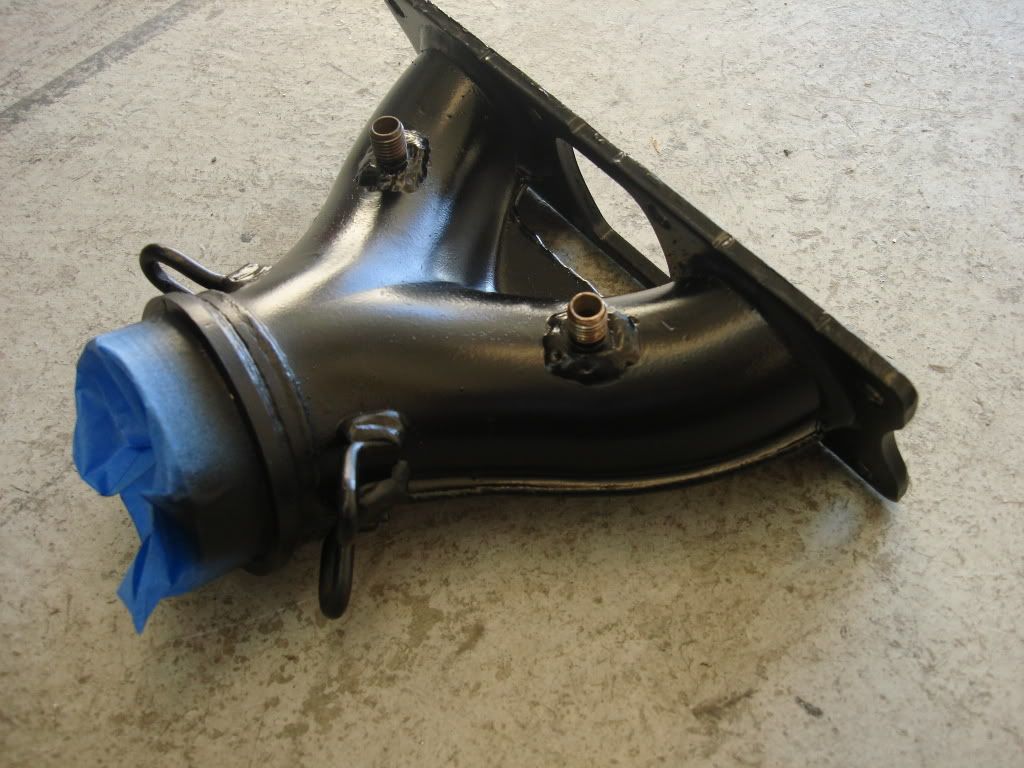
Y pipe is welded up to mount the EGT propes
DSC01903.jpg

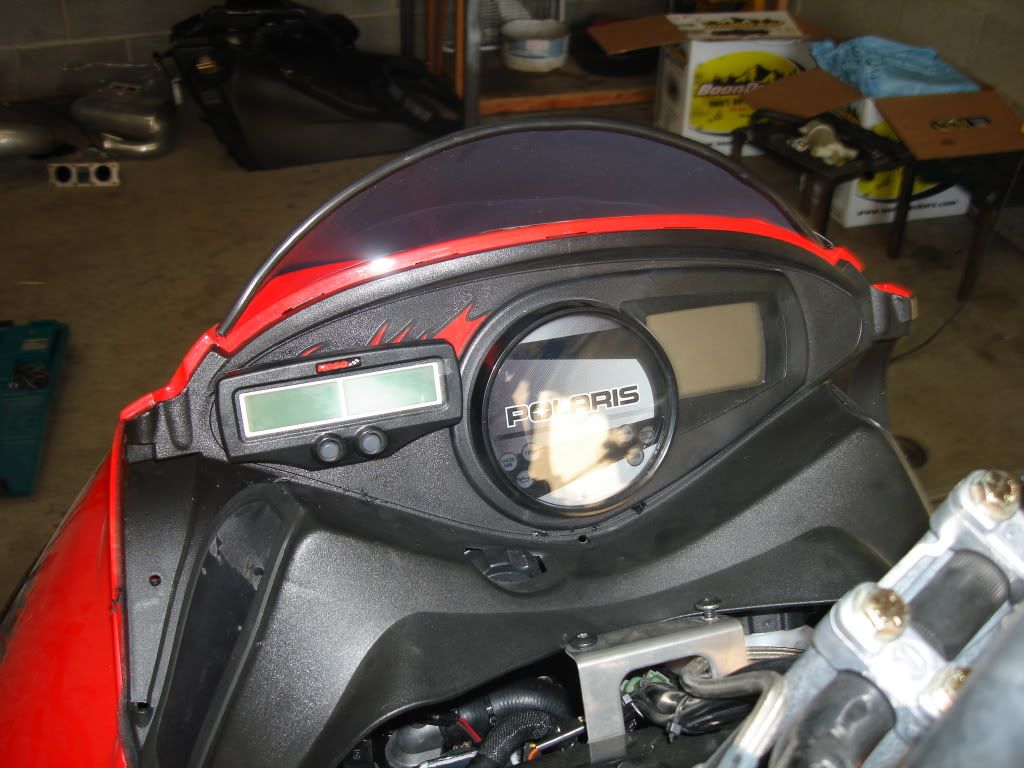
So I decided to go with the EGTs on the dash because it seemed to be the easiest place to see them when riding and if I have them on the bars I know I will take a spill and break them off. Also I plan on powering them off the harness for the center headlight option.
DSC01906.jpg


Hope you enjoy the pictures and I will post more with the progress.
 
Last edited:
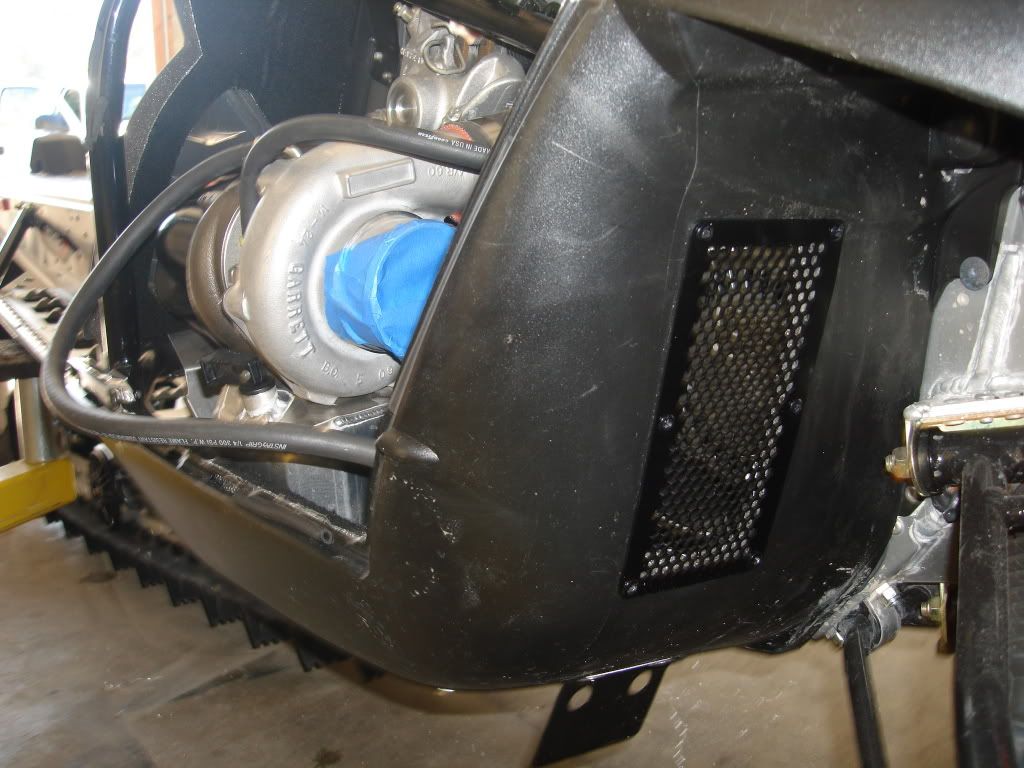
install looks great! nice and clean! but be careful with the snow-eliminators. there is a reason they are the only board company in the industry that has a lip that rivets up against the tunnel side. The polaris tunnel sides are very flimsy, and when riveted to a rigid object like they they will crack out under big stress loads (hard landings from jumps or hauling @$$ through a bumpy trail) lots of people have used them with good luck, but lots of people have replaced tunnels because of them as well.
 
install looks great! nice and clean! but be careful with the snow-eliminators. there is a reason they are the only board company in the industry that has a lip that rivets up against the tunnel side. The polaris tunnel sides are very flimsy, and when riveted to a rigid object like they they will crack out under big stress loads (hard landings from jumps or hauling @$$ through a bumpy trail) lots of people have used them with good luck, but lots of people have replaced tunnels because of them as well.

Ahhhhhhh........not what I wanting to hear after I installed them! I had looked around and thought that I had seen quite a few boards companies running this way like WRP does also. Well I guess I can just hope for no problems! I guess luckily I am not that extreme.
 
Last edited:
If you have some of that hi-temp paint left you may want to shoot some on your turbo housing (exh. side 4 sure) cuz I will be rusted before you get your boots off from the first ride. It really takes the glow off in a couple day when you pop the hood to show your buds your nice clean install.

Did you flush/blow out the oil tank just to be sure? If not you may want to supply some 12v to the oil pump and pump a bit of oil through it into a container just to prime the system and see what lands in the filter.

Looks like your well on your way to having a lot of smiles. Nice Job. EW
 
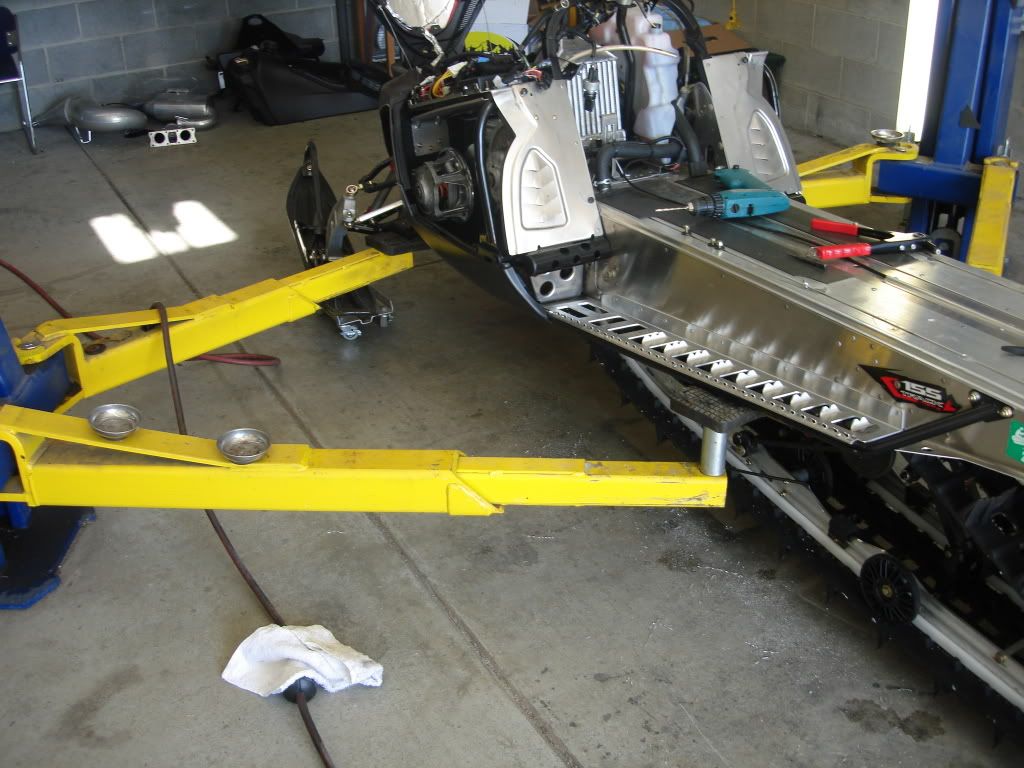
i had never considered using the car hoist before i think i might now instead of putting together my sled hoist haha
 
Premium Features


Back
Top