Install the app
How to install the app on iOS

Follow along with the video below to see how to install our site as a web app on your home screen.

Note: This feature may not be available in some browsers.

  • Don't miss out on all the fun! Register on our forums to post and have added features! Membership levels include a FREE membership tier.

Better boards on Nytros

Tuesday

Well-known member
Premium Member
Who has them? Any tricks to install as the directions are fairly vague? Any problems during install? Did you make cut outs or cut entire section? How is strength either way after?

Please post pics or email ppollock@telusplanet.net Going to be doing the install next couple of days so just looking for some more info.

Some general threads but didnt come across much about nytro BB.

Later
 
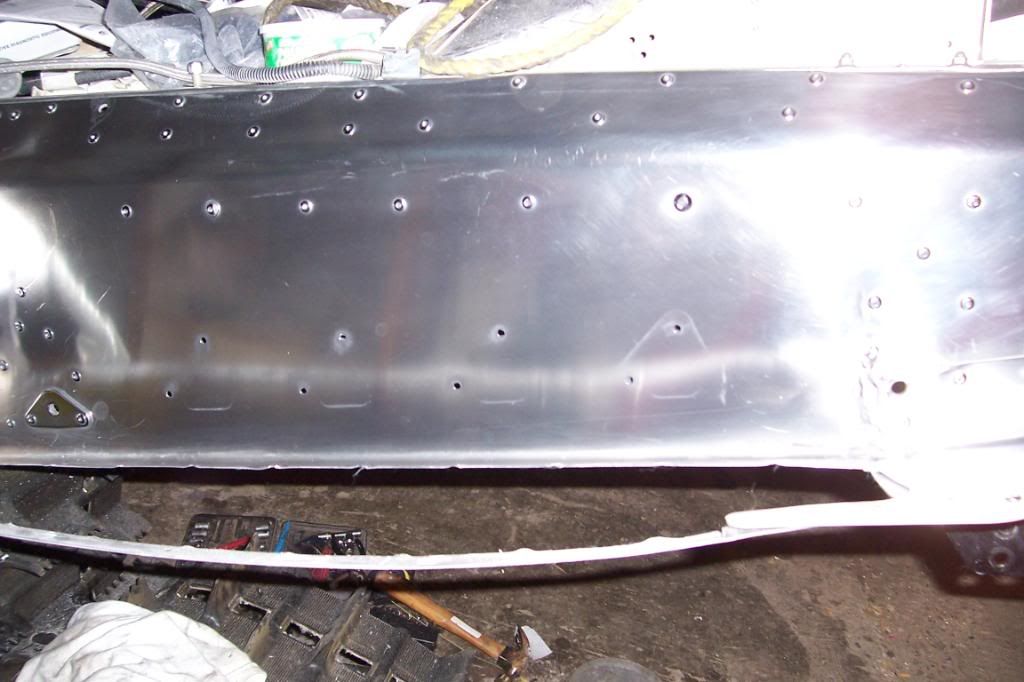
The instructions that I got were pretty straight forward to the install. I cut out the entire section after removing the factory fish bone support. I traced out the section to be cut, used a plasma, cleaned things up and then riveted in. Made the rails much stronger and gave added traction. Give Rob a call... I think he's back from the Christmas Holidays.
 
air saw works well too...used hammer (actually two one below supporting) to flatten traction pieces to get nice cut...
 
as ^^^ said plus use C-clamps first to hold boards to tunnel in 2 spots(use cloth to prevent scratches)drill and put rivets in as you go,after getting all popped get big clamps an pull the outer edges in a bit.
 
Paul I'll email you the supplemental (similar to this) for the NYTRO. Here are some install and cutting photos and a brief what to look out for pictorial. Yes they are strong....not only "BETTER" but way way stronger then stock. Over 300 sets of NYTRO's on the snow and only Nicolai (VERY SPECIAL CASE...Better Boards lastest just about as long as the rest of the sled did :D:D:D) reports a failure.

tips: the key with the NYTRO is getting some "meat" of the Better Boards on the outside front where there are the factory rivet holes. It's very close up there and part of the strength and structure is getting those rivets set. You will notice that the Boards do not rest perfectly up against the tunnel under the front suspension bolt. That bend and part is there by design. All of the factory tunnels are not microscopically precise and the same. We designed in the space in that area on purpose so that all of the boards will install universally when the tunnel to footboard width varies. That slack area is the least visable and non functional area available to work with.

1) grind/drill out the three outside rivets (some times two rivets and a screw) from the outer footwell.

2) grind/drill out the rivets that hold on the wishbone support and remove it completely

3) layout the Better Board for a template to remove the cut out section (CUT ONE BIG HOLE!) You will also have to press or bend down any of the star cut outs that are still half way in place and in your way. Nibbler, airbody saw, rotozip, sawsal, or plasma are all used successfully. Check your cut out markings several times to insure a correct hole. I cut out 1/8 larger hole then the Better Boards inside edges so that there is enough metal to get your rivets but no hang showing through and looking unprofessional or unsanitary.

attachment.php


(you can see we left the factory rivet holes in place...obviously you can cut a nice line and save tons of clean-up time)

attachment.php


(see the rivet placement from birdseye view)

attachment.php


(note the rivet placement on the support wings)


4) grind/drill out the rivets along the outer extrusion along the footbed as well as the rivets along the front of the rear suspension. Note that the three piece tunnel then springs apart. Once you have a flat working surface clamp the Better Board in position and double check underneath to insure a tight fit between your running board and Better Boards. Hammer tight from the underside with rubber malet if necessary.

5) have an assistant push the extrusion metal all back together in place with the Better Boards in position and drill up through the existing front footwell rivet holes first and foremost. RIVET THOSE in place. Now work your way back drilling through the existing rivet holes from the bottom up and place your rivets. Drill one hole rivet one spot and work your way back along the outer extrusion. Once you have that set then you can rivet the raised tunnel supports in place. I always do the back top first then down to the lower section working your way forward avoiding metal bunching since you are working with two different strengths of material. Watch out not to put your rivets too near the existing holes from the removal of the wishbone.

attachment.php


(ready to ride)


Nytro pre install.JPG Better Boards black Nytro top down.JPG Better Boards black Nytro side profile.JPG Turbo NYTRO with Better Boards.jpg
 
unreal f-bomb i thank you big time!!!!! very tidy install and strong!
100_1488.jpg
 
Last edited:
Premium Features


Back
Top