The November issue of SnoWest features a product review on the Lightweight Silencer from Starting Line Products. Here's the step-by-step process of how to install it on your machine.
Although installing the Lightweight Silencer isn’t rocket science, if you want a nice clean finish you should take a little extra time on the prep end of things. Simply put, you remove the stock silencer, add some heat tape, and bolt on the SLP can.
The advantages of adding the SLP Lightweight Silencer is outlined in SnoWest Magazine November issue. The highlights include an 8-pound weight reduction and a quicker, cool-sounding snowmobile.
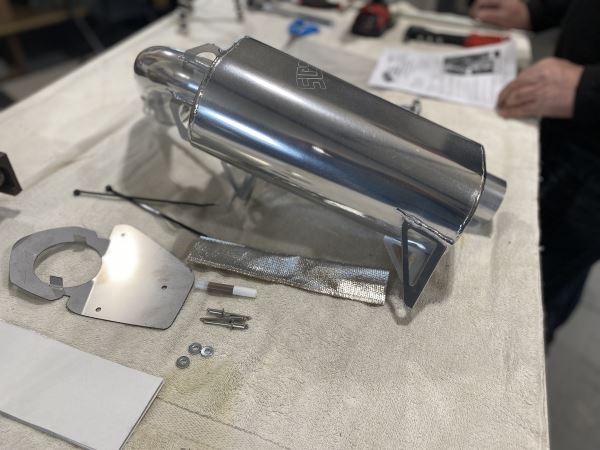
Here’s a quick look at the process on a 2024 Ski-Doo Summit X. The SLP instructions take you through the step-by-step process and everything you need is included in the kit.
Install Prep
-
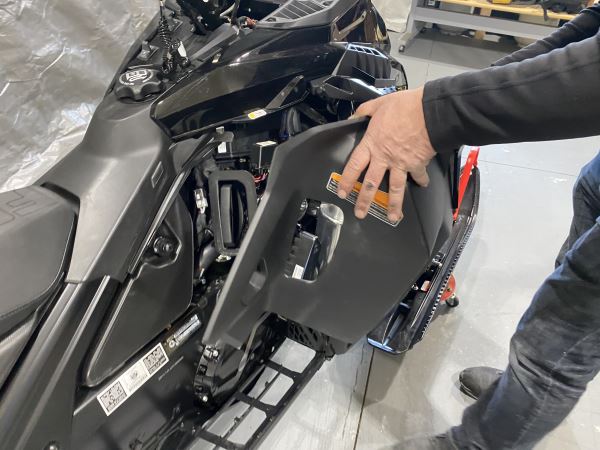
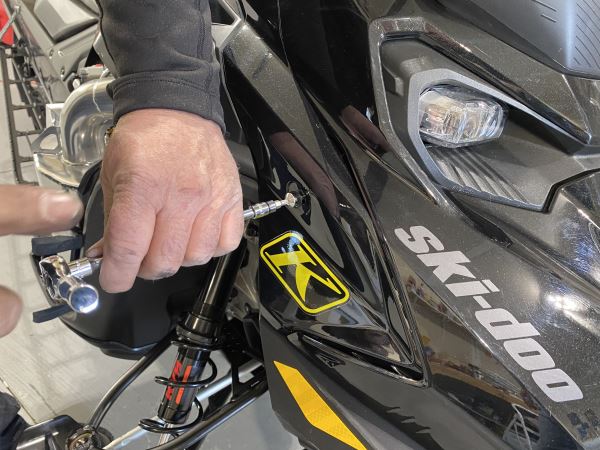
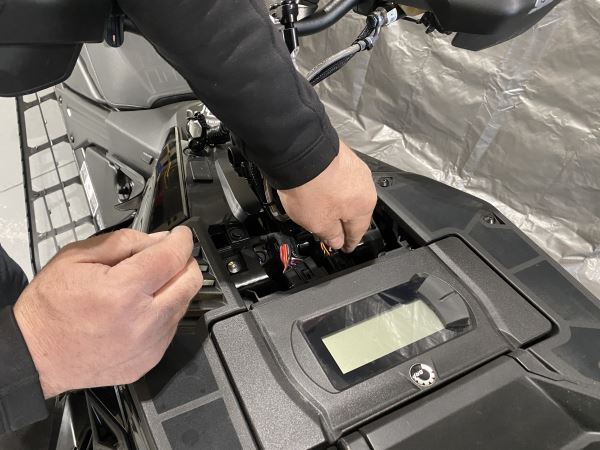
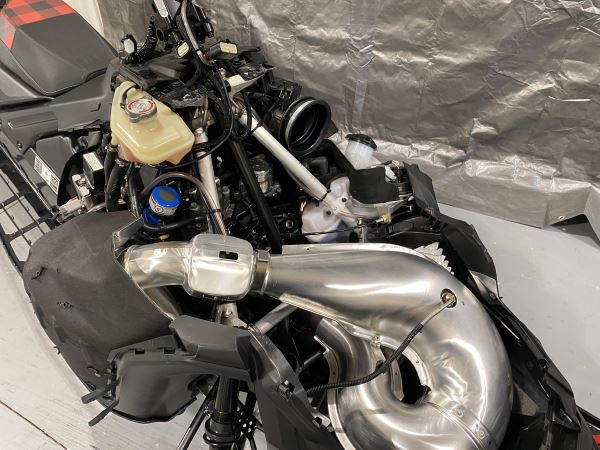
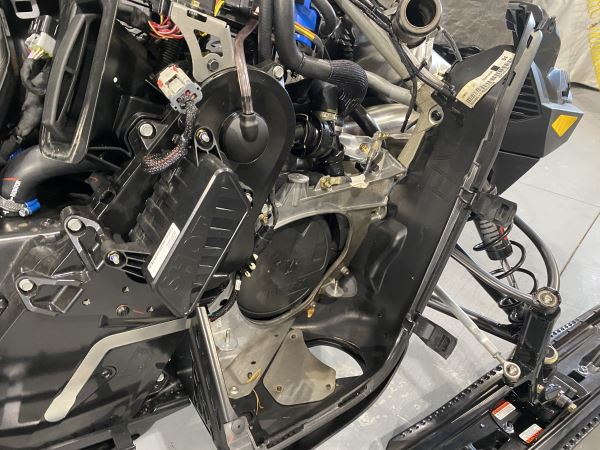
Remove the hood and side panels. You will need to disconnect the wiring on the hood and loosen the airbox before you pull it out. (Photos 1-4)
-
Remove the side heat shields. The two black shields just basically pull out. (Photos 5-6)
-
Disconnect the heat probe wiring but leave the probe on the stock muffler for now.
-
Disconnect the springs holding the muffler to the pipes. Also remove the side bolt that keeps the muffler secure. (Photo 7)
-
Remove the muffler. (Photos 8-9)

Remove the heat shield plates surrounding the exit hole in the belly pan. You will need to drill out a few rivets that hold them in position.
-
Start the process of attaching heat shield tape to everything that is in the muffler cavity, including vent lines, recoil case, chain case rubber cap and vent tube, SHOT housing, and inside of belly pan in the muffler cavity. Put heat sleeves over odometer cable and heat probe cable. (Photo 10)
.JPG_600.jpg)
-
Re-install the heat shields that surround the bottom exit hole of the belly pan.
-
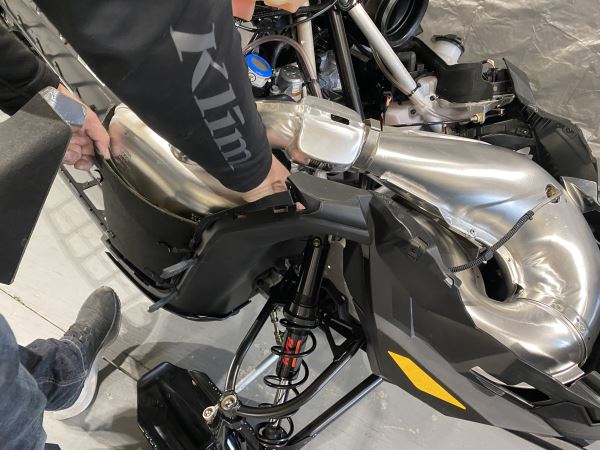
Remove the heat probe from the stock muffler and attach it to the SLP silencer, also attach the rubber dampers from the stock pipe to the SLP silencer.
-
Install the SLP silencer. Attach the springs to the exhaust pipe and re-install the side bolt that keeps the silencer secure. (Photo 11)
-
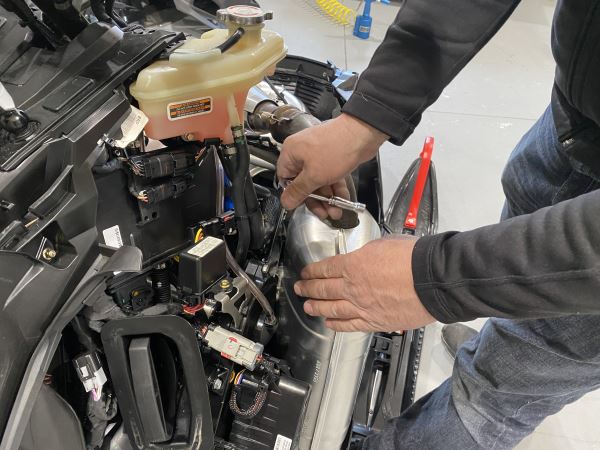
Route the heat probe cable to where it needs to plug in.
-
Re-install the black side heat shields that protects the side panel.
-
Re-install the hood and reconnect the airbox and wiring harnesses.
-
Attach the side panels. It’s ready to ride.

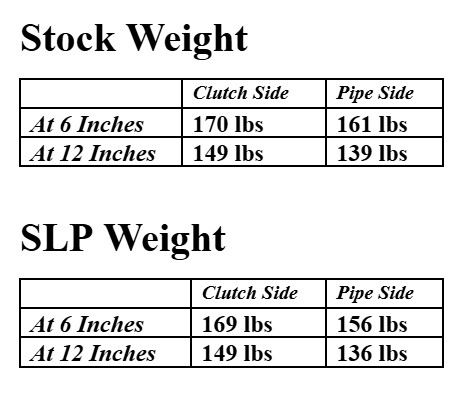
The weight savings advantage is more that shaving off eight pounds. It makes the snowmobile lighter as you lift it from side to side. This makes the snowmobile handle easier and respond quicker.
The following chart shows the side weight as we lifted the snowmobile off the ground at 6-inch and 12-inch heights.