Install the app
How to install the app on iOS

Follow along with the video below to see how to install our site as a web app on your home screen.

Note: This feature may not be available in some browsers.

  • Don't miss out on all the fun! Register on our forums to post and have added features! Membership levels include a FREE membership tier.

Oil Pump Adjustment

Thread Rating
5.00 star(s)

die hard poo

Well-known member
Lifetime Membership
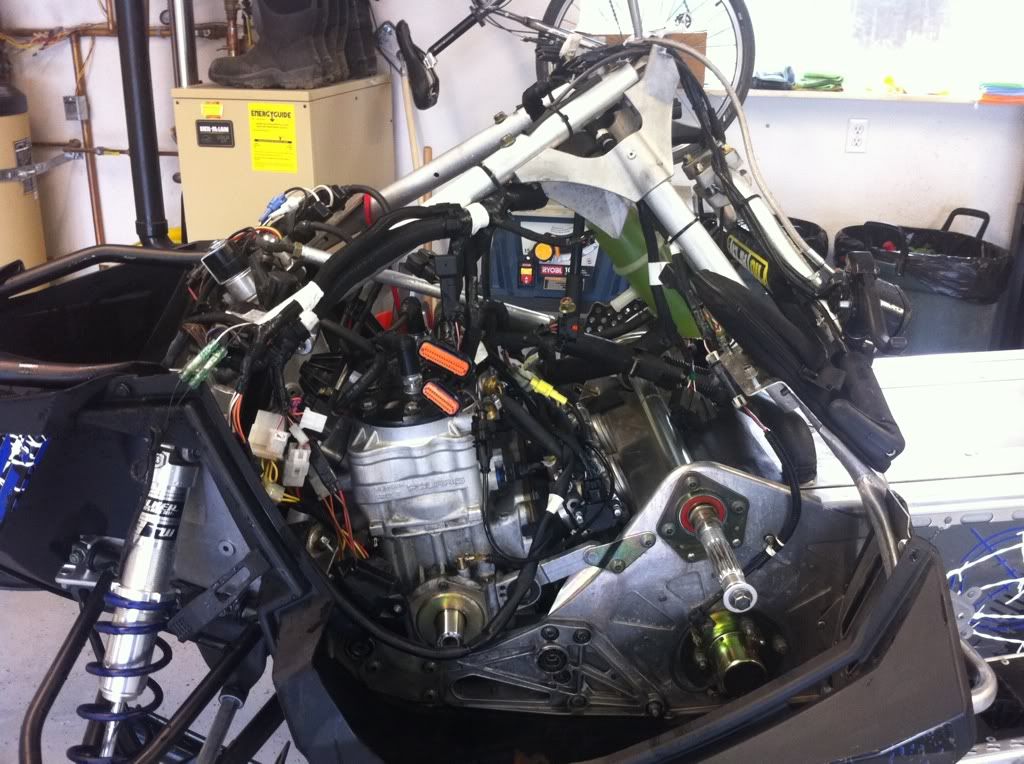
Hey guys, I decided to increase the oil pump flow rate while I had the pro torn down for other projects.
It is kind of a chore to get to, but easy to adjust once you get access.
So in order to get to the adjuster easily you must:
Remove side panels, hood, and rear plastic cover
Remove seat
Remove Gas tank
Remove airbox(which is tight to get out!)
-I had the Oil tank, clutch cover, and clutches off to get the most access, but you might be able to get to it without taking out those parts.
9b89837d.jpg


Once all that is out of your way, you will need to screw IN (Clockwise, right tighty) the set screw on the throttle body linkage shown here:
82e4287a.jpg

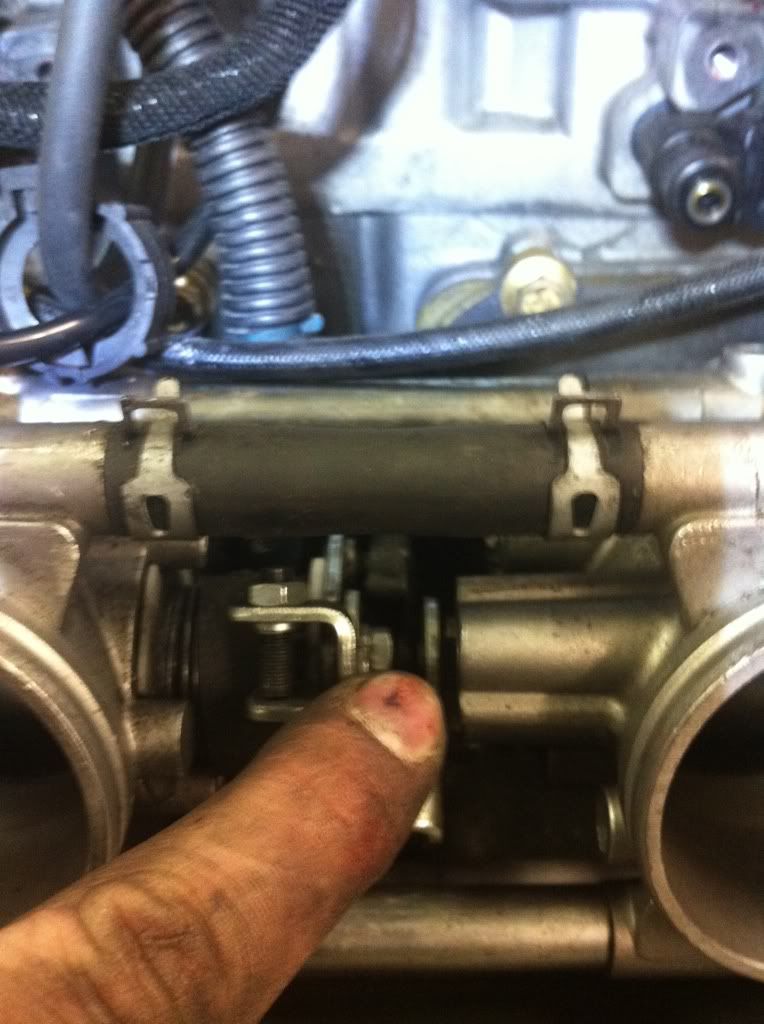
It takes a 8mm (or a 10mm, cant remember lol) to loosen the back up nut and then a flat blade to screw in. You have to push the linkage down like this to adjust it:
64b17c26.jpg

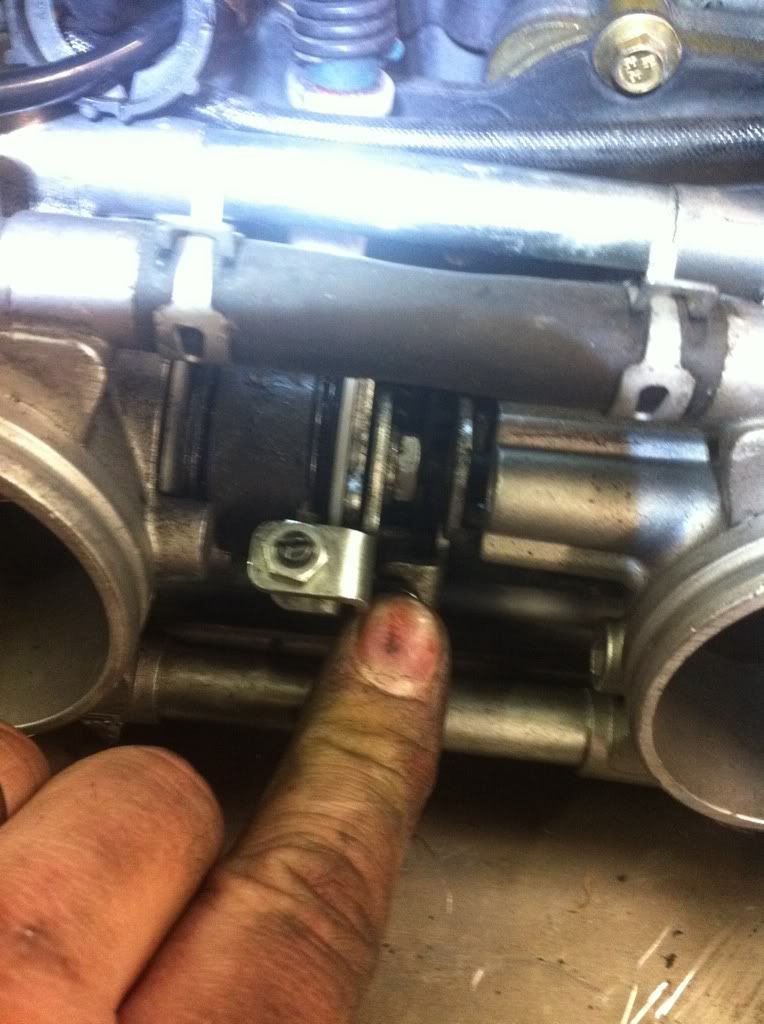
This is what it looks like normally
5116fdf2.jpg

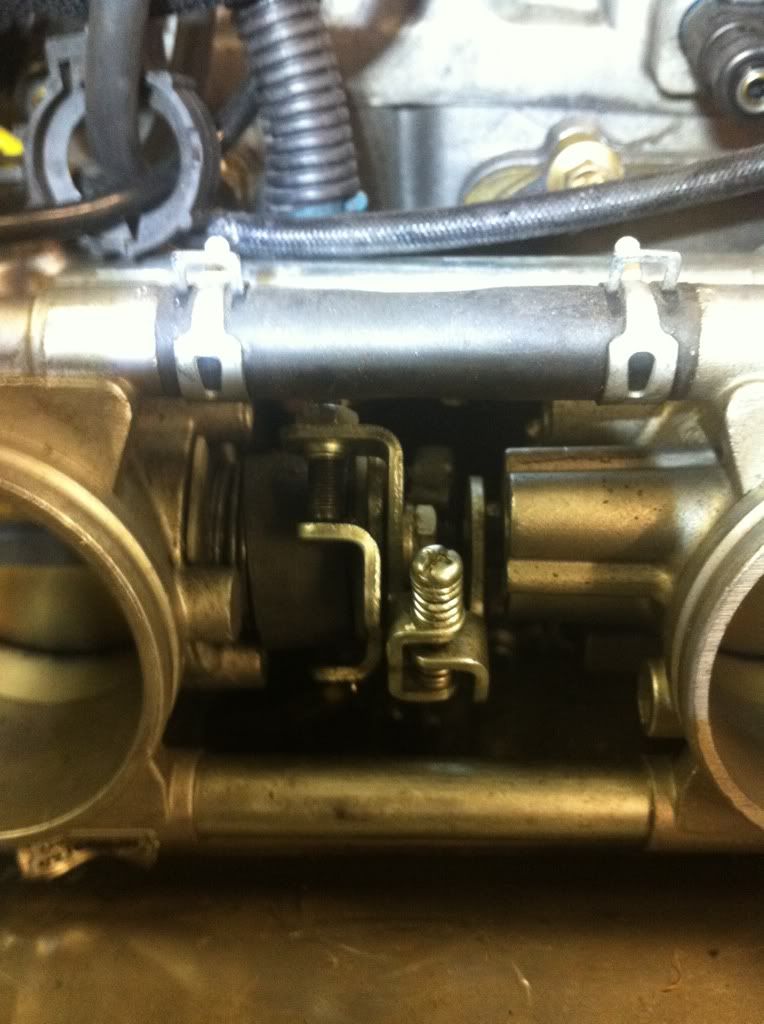
One thing to note is that the oil pump arm set indication is kind of hard to read compared to older Polaris pumps. This is due to the indication arrow being inverted rather than extroverted. So lining up the arrow to the line on the pump's body is harder to see, especially through the little space between the throttle bodies.
Hope this helps!
 
I think that is a great idea. Mountainhorse had a nice post about how they are prolly setting the oil for EPA compliance and not engine longevity. Gonna do the same to my new pro before I even ride it. How much did you adjust it?
 
Any reason that this is preferred instead of just adding some oil to the gas?
 
Any reason that this is preferred instead of just adding some oil to the gas?

Adding oil to the gas will not benefit the crank bearings on this engine. The bottom end gets its lube from oil injector nozzles in the case, the fuel/oil mixture from the injectors all ends up in the top end. The only way to add extra oil to the top and bottom end is to turn up the pump.
 
Last edited:
I think that is a great idea. Mountainhorse had a nice post about how they are prolly setting the oil for EPA compliance and not engine longevity. Gonna do the same to my new pro before I even ride it. How much did you adjust it?

Mine require approx. 3 full turns on the set screw. In the pics shown, the set screw was set at the factory adjustment. Now the head of the screw is barely above the back up nut. The inverted arrow on the oil pump's arm was originally lined up on the top part of the arrow, and now I have it on the bottom side of the inverted arrow... It will make more sense once you tear into it. I would of taken a picture of the oil pump arm, but I couldn't really get a good shot of it...

The reason I did the oil pump adjustment vs. adding oil to my gas is I would rather just let the pump do the work and get to all the areas of the motor. Didn't see it being as beneficial to add oil to the gas when it doesn't get the crank bearings.

How did you know which way to adjust the screw to get more oil flow ?
 
How did you know which way to adjust the screw to get more oil flow ?

Pretty simple, the more the set screw pushes the arm(tighten), the more oil is being introduced into the engine vs throttle body movement. Again once you are there, you can play with the throttle linkage and see how it all works, and it will make more sense!
 
FWIW, I had the oil tank, clutch cover, secondary and airbox off while installing a set of reeds. You can adjust the pump with just these components removed (maybe fewer). You need a small mirror to see the scribe mark. Mine also required about 3 full turns to get it where I wanted (just slightly above the scribe mark), and it seemed to be slightly BELOW the scribe mark from the factory, meaning less oil injected...might be something to have your dealer check upon delivery, as mine seemed to be on the "bad" side of adjustment.
 
Pretty simple, the more the set screw pushes the arm(tighten), the more oil is being introduced into the engine vs throttle body movement. Again once you are there, you can play with the throttle linkage and see how it all works, and it will make more sense!


Well I disassembled it today, took a few hours but worth the effort to learn how it comes apart and goe's together.

What I found was the screw only had 3 turns left that you could take, One thing that I did note was my wye pipe drips a lot of oil, in which leads me to believe this machine was set up to run rich from the get go. I did not have a small mirror to find the scribe mark, so I aborted and re assembled.

What amazed me was how few tools this job took.

Right on, good job! I know what you mean, really only takes a 10mm to take this thing apart to near stripped.
On your y pipe issue, I noticed quite a bit of oily residue in my belly pan, but it was from the Exhaust valve solenoid vent line. I decided to eliminate the vent by plugging it with a 1/4" bolt and a hose clamp and cut the hose up near the solenoid valve. That might be the major culprit to your mess in your bulkhead area. I used engine cleaner for automotive to really de-grease and clean my engine to near new condition, worked great!
 
Last edited:
Right on, good job! I know what you mean, really only takes a 10mm to take this thing apart to near stripped.
On your y pipe issue, I noticed quite a bit of oily residue in my belly pan, but it was from the Exhaust valve solenoid vent line. I decided to eliminate the vent by plugging it with a 1/4" and a hose clamp and cut the hose up near the solenoid valve. That might be the major culprit to your mess in your bulkhead area. I used engine cleaner for automotive to really de-grease and clean my engine to near new condition, worked great!


Maybe, however my wye pipe grafoil donut is loose fitting and has been from the get go, ( I will see if my dealer will warranty it ) It appears to have not seated correctly due to at least 1/8 inch clearance around where it seats. I started it up and noted new oil that had blown out from front to rear, the wye pipe was very oily and I will be replacing it very soon, I will be looking at this vent line as I noted way to much oil migrating where the coolent supply line go's into the block which is of coarse close to my Primary clutch.

As you look from the seat side into the throttle bodys, on the left upper side is the oil screw, what does the middle screw do ? is that the throttle sync. adjustment or ?
 
Ya I think the center screw is for sinking the two throttle body butterflys with each other...
 
So have you guys ridden your sleds with three full turns in? Mine was running rich after just one turn in last year so I'm surprised unless you're simply basing this off of the marks (which have told me nothing on all my previous sleds; aligning marks never guaranteed proper fuel/oil ratios for me).

Have FUN!

G MAN

PS - I didn't remove a thing to change mine tho I do recall it was a beeatch to get the locknut loosened.
 
Last edited:
So I went and looked at the adjustment screw on my '12 Pro tonight,it does not look all that hard to access without taking anything other then the exhaust can off. It looks like a socket to loosen the nut and a short screw driver to turn the screw would do the trick. I noticed my lock nut is marked with yellow paint, I am guessing this is so they can tell if it has been tampered with for warranty? Would this void the engine warranty if they seen it was no longer lined up?

Here is a pic looking over the exhaust can, you can see the lock nut marked with yellow paint.
100_0661.jpg

I can't answer your question about the warranty, but that's a great picture!
Thanks
 
The paint is there for a reason and I would guess Polaris could use it against you in the event of a warranty/engine claim..
 
Premium Features


Back
Top